
PanzerArm
Private 2
- Joined
- Nov 2, 2010
- Messages
- 78
Hello everyone, just thought I would share a little project that has taken up shelf space in my hobby room for going on 3 years now.
Back in 2014 I got the idea to turn a 1/32 21st century Panther ausf G into a ausf D and making it far more accurate than 21st Century tended to make their tanks. Call it a hybrid between a toy and a model kit. The down side of course being that no one made a kit to do such a thing, so large parts would have to be scratch built. I decided early on to make molds of the parts I made so that down the road, should I be inclined to make another ausf D, or an ausf A for that matter, I would be well on my way before even starting. So without further ado, here is a brief timeline of progress on this project up to where I stand now:
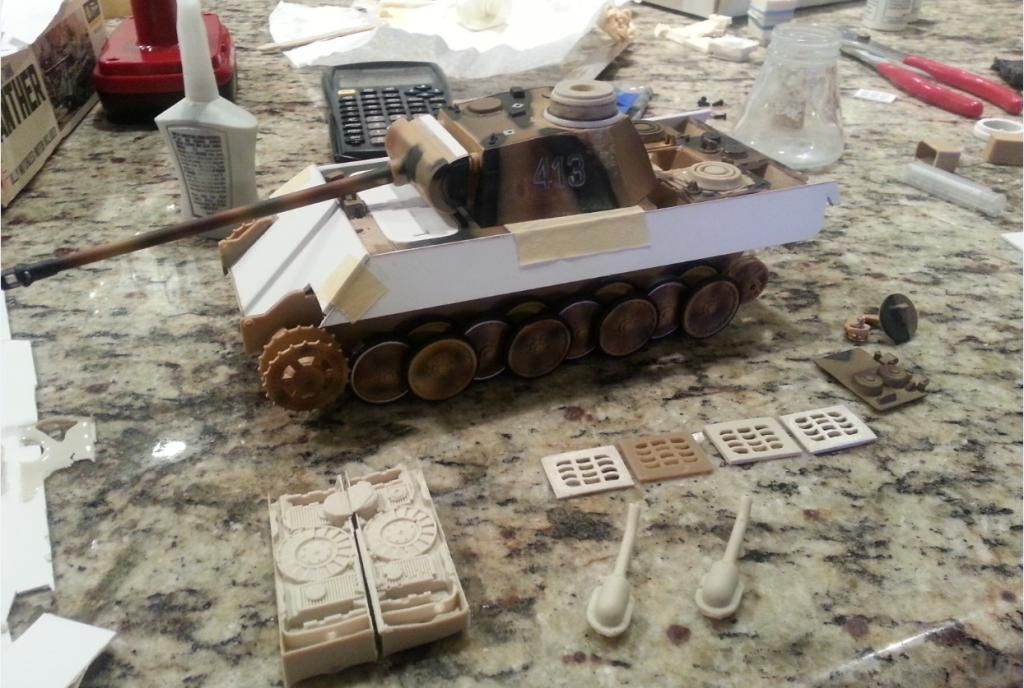
Here is the oldest image I can find of the project, from sometime back in the spring of 2014 I think. At this point I have made molds from some FoV radiator fans, and some exhausts from a 21st Century Jagdpanther. The exhausts taht came with the 21st panther G are a very late G variant and not suitable for the D model. I also made some new engine grates and cast copies. The "chin" mantlet was removed from the 21st panther, as were the hull sides and front. The cabin heater on the left radiator fan housing was removed as well. The early cupola master sits atop the turret but is not complete.
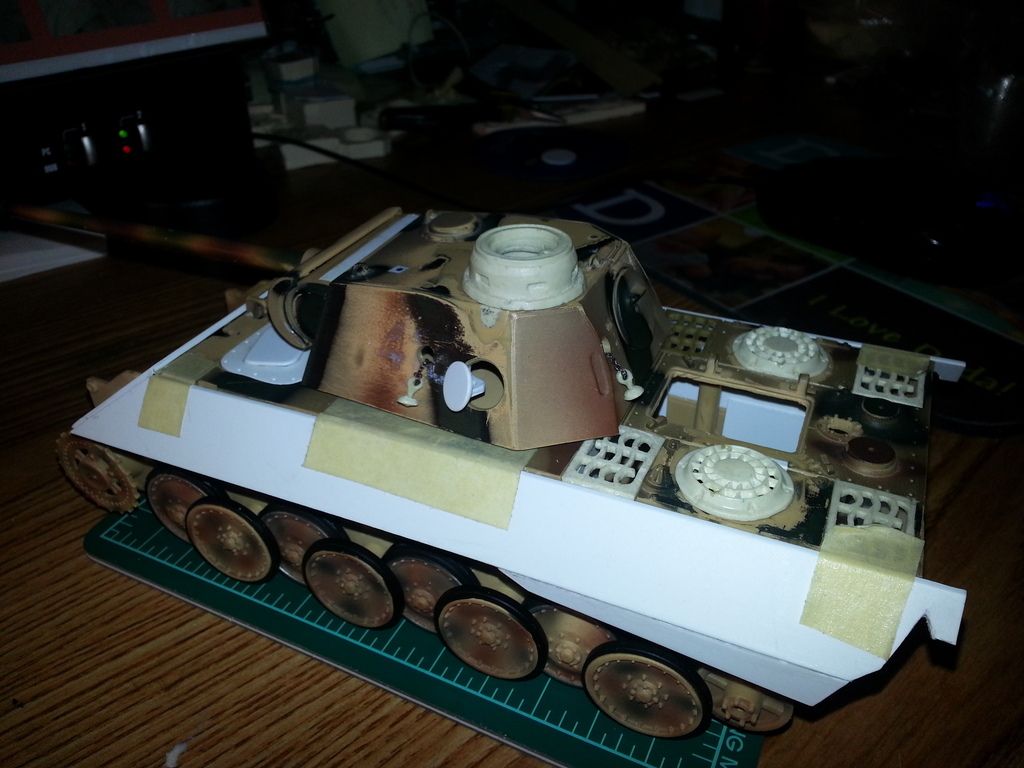
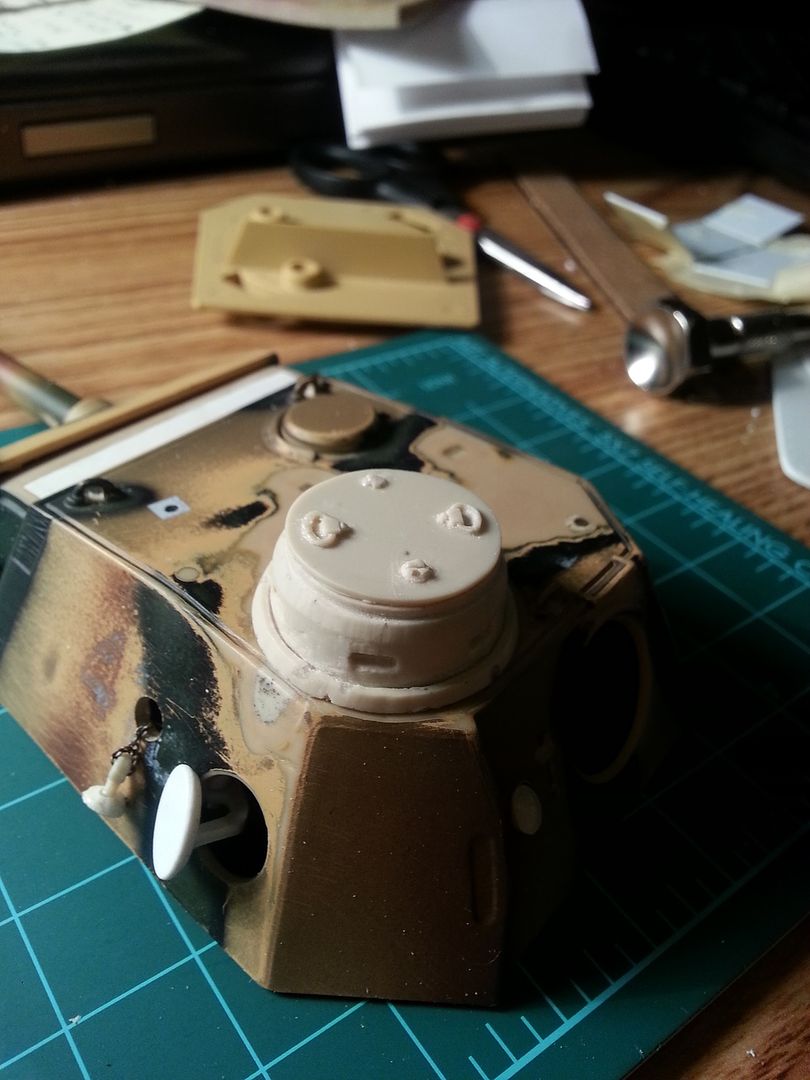
Next step was replacing the existing fan housing with the early spiral versions. These were casts from the old Tamiya 1/35 panther ausf A which has several things about it that are out of scale, including these housings. I also added the plate above the driver and radio operator with the roughed in early hatches, as well as a working signal port and pistol ports on the turret. The cupola master is compoete and a successful cast of it is in place. The hull sides and front plate are slightly more refined thatn the last picture.
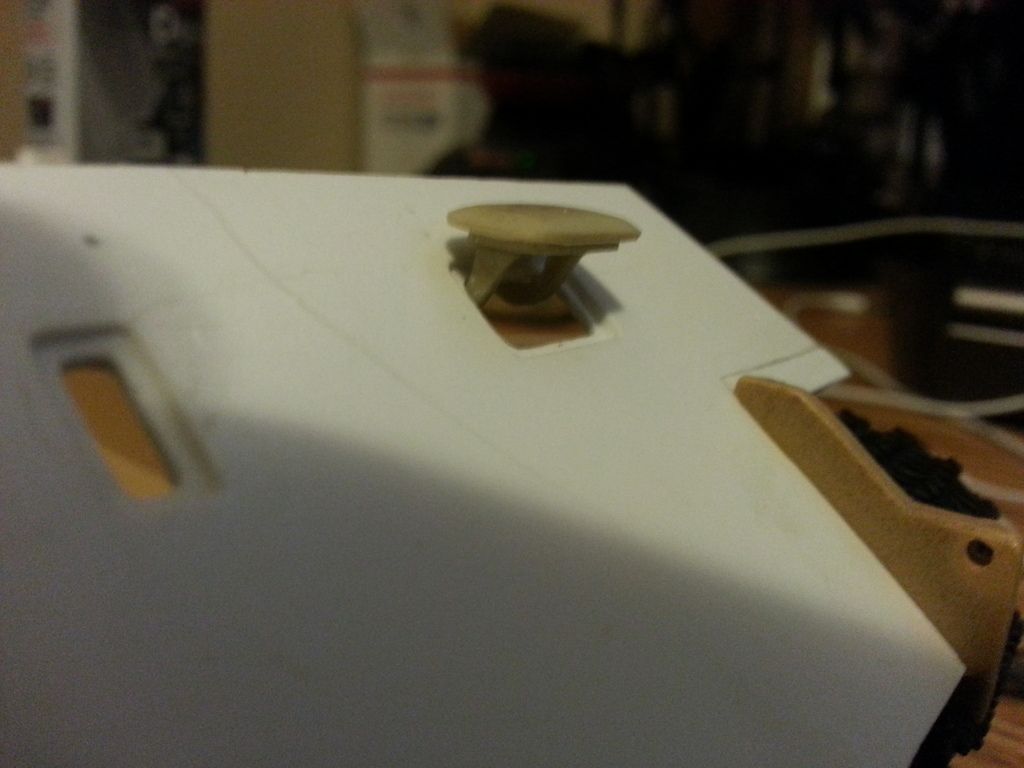
More detail of the front plate. The driver's and radio operator's ports both work.
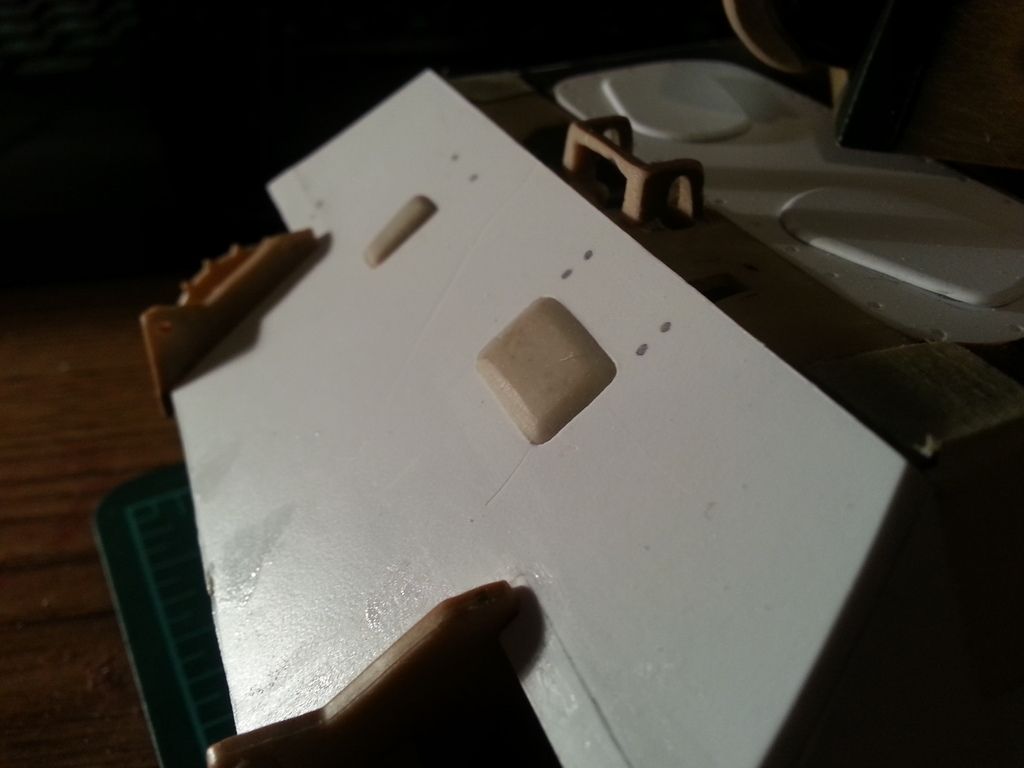
Drivers port open
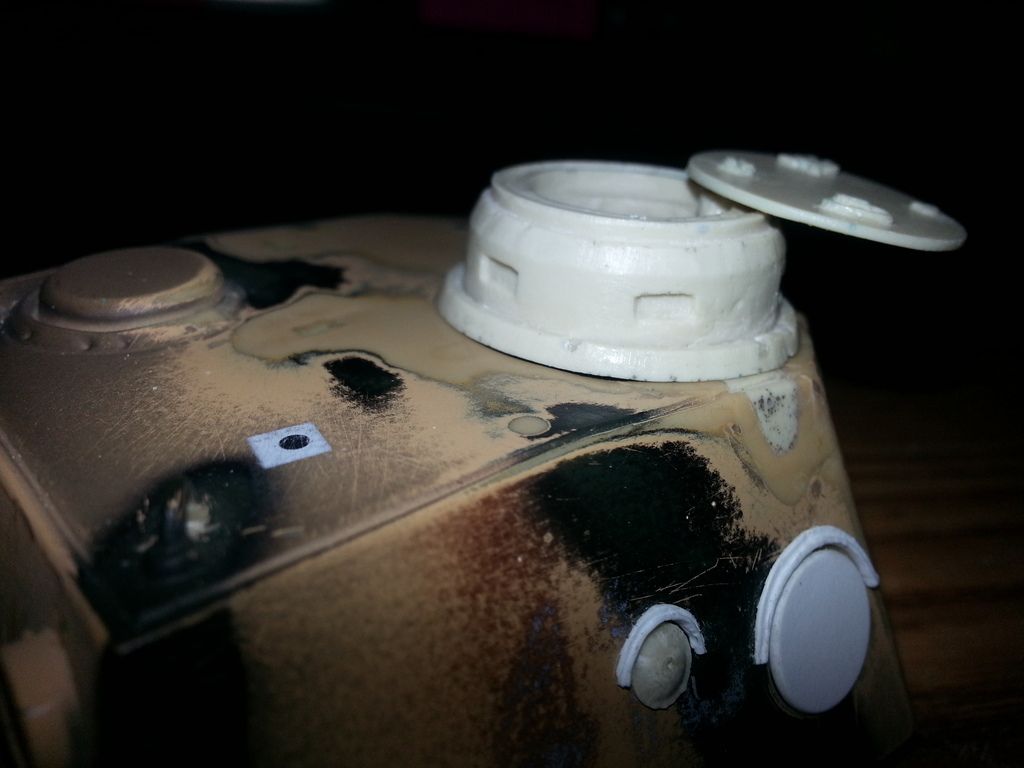
The cupola with its hatch. Looks a bit rough, but many of my resin parts need a bit of squadron putty love to correct casting errors.
Another angle of the cupola and the rain guards over the signal and pistol ports added.
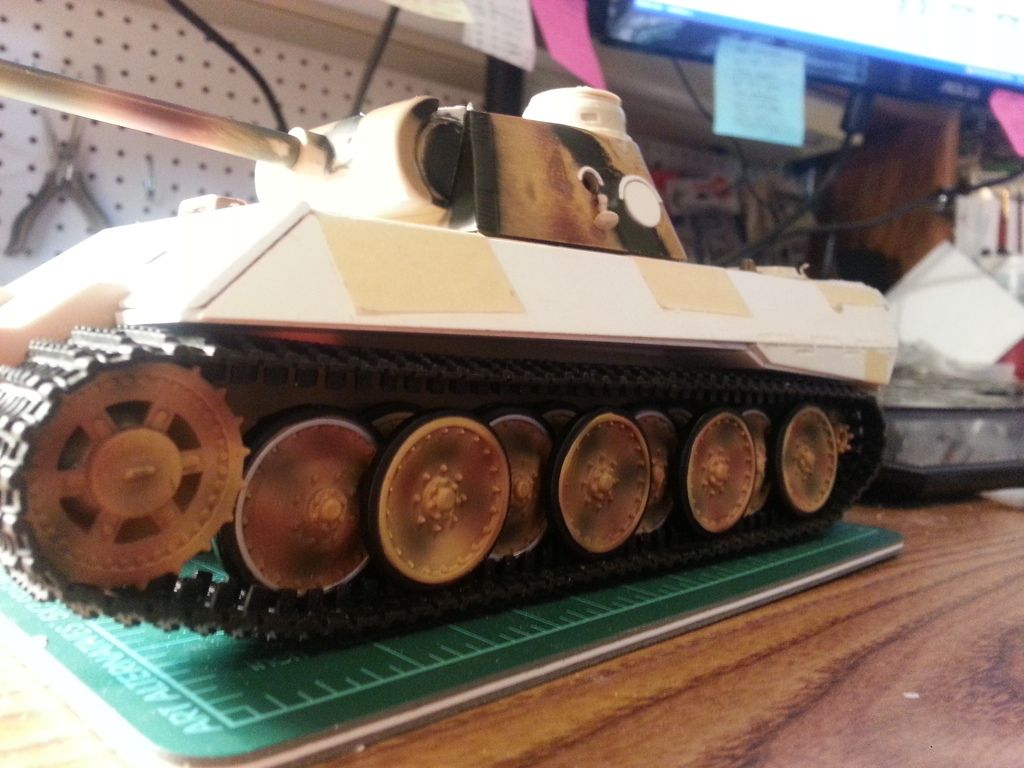
Here is a side show showing the D/A model side plate and sponson. This was a challenge getting all the angles to work out and unfortunately the rubber band tracks dont sag to allow the more natural look the Ds and As has with some lower hull visible.
Making a mold of the mantlet. Had to get creative because the gun tube was a bugger to remove so I just said to heck with it and made the mold with it still on.
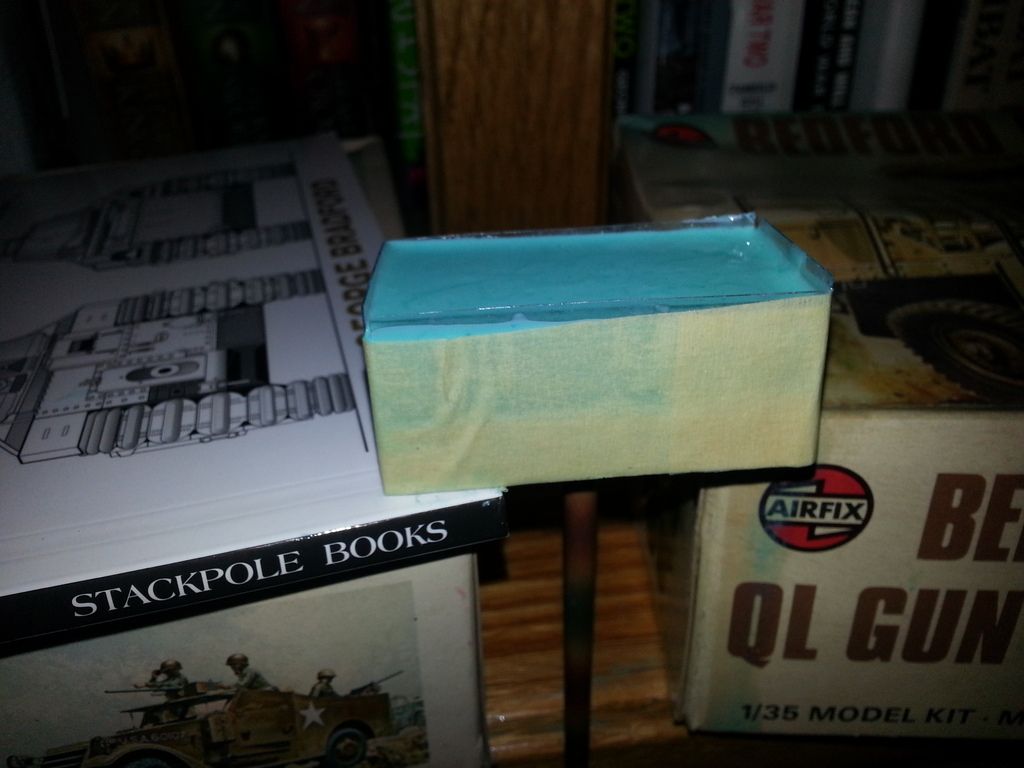
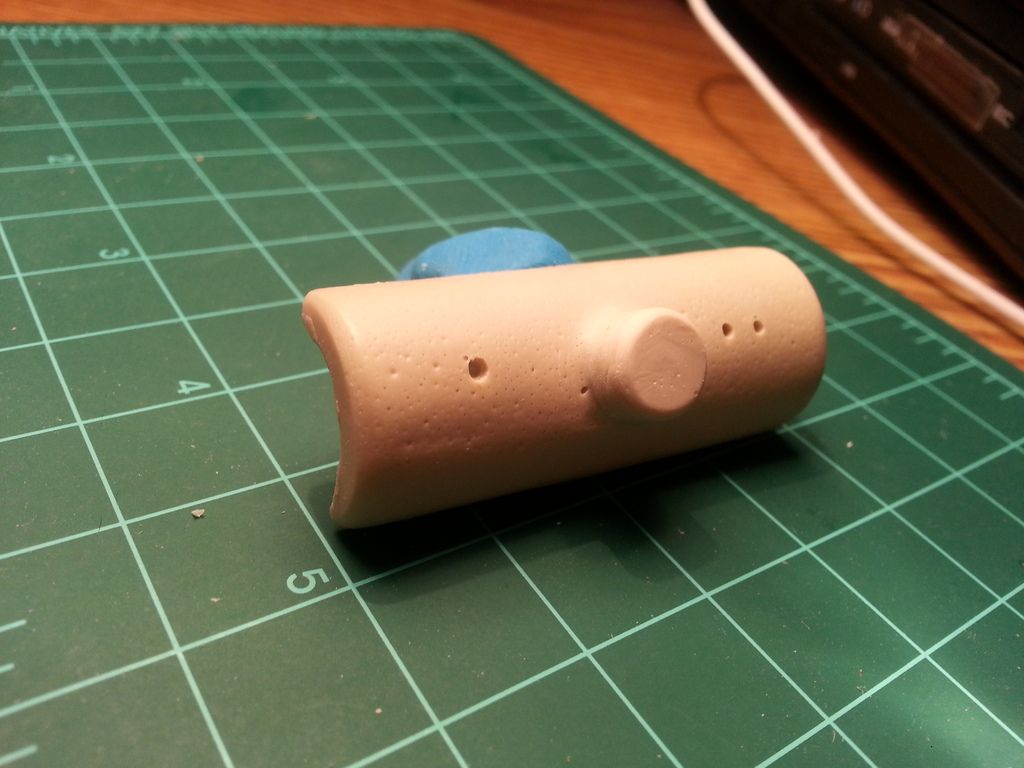
A constant batttle with resin, darn air bubbles. Lots of time spent re-casting things or filling parts that had too many air bubbles.
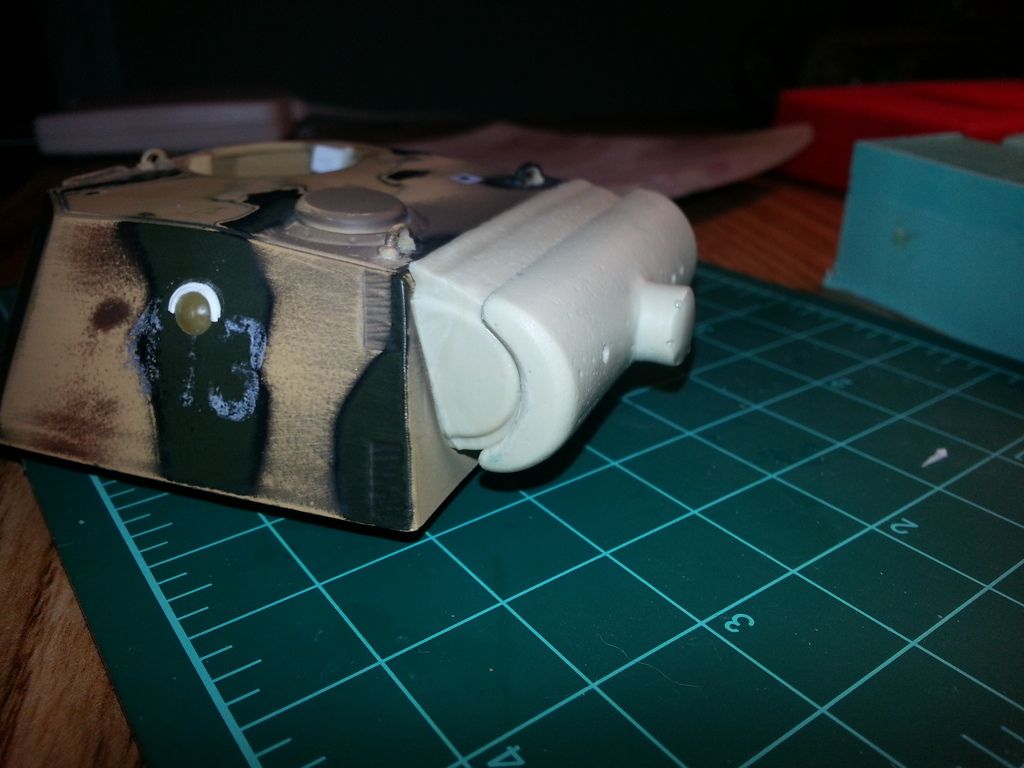
New mantlet cast and added (didn't want to use the master on this project).
Back in 2014 I got the idea to turn a 1/32 21st century Panther ausf G into a ausf D and making it far more accurate than 21st Century tended to make their tanks. Call it a hybrid between a toy and a model kit. The down side of course being that no one made a kit to do such a thing, so large parts would have to be scratch built. I decided early on to make molds of the parts I made so that down the road, should I be inclined to make another ausf D, or an ausf A for that matter, I would be well on my way before even starting. So without further ado, here is a brief timeline of progress on this project up to where I stand now:
Here is the oldest image I can find of the project, from sometime back in the spring of 2014 I think. At this point I have made molds from some FoV radiator fans, and some exhausts from a 21st Century Jagdpanther. The exhausts taht came with the 21st panther G are a very late G variant and not suitable for the D model. I also made some new engine grates and cast copies. The "chin" mantlet was removed from the 21st panther, as were the hull sides and front. The cabin heater on the left radiator fan housing was removed as well. The early cupola master sits atop the turret but is not complete.

Next step was replacing the existing fan housing with the early spiral versions. These were casts from the old Tamiya 1/35 panther ausf A which has several things about it that are out of scale, including these housings. I also added the plate above the driver and radio operator with the roughed in early hatches, as well as a working signal port and pistol ports on the turret. The cupola master is compoete and a successful cast of it is in place. The hull sides and front plate are slightly more refined thatn the last picture.

More detail of the front plate. The driver's and radio operator's ports both work.

Drivers port open

The cupola with its hatch. Looks a bit rough, but many of my resin parts need a bit of squadron putty love to correct casting errors.

Another angle of the cupola and the rain guards over the signal and pistol ports added.

Here is a side show showing the D/A model side plate and sponson. This was a challenge getting all the angles to work out and unfortunately the rubber band tracks dont sag to allow the more natural look the Ds and As has with some lower hull visible.

Making a mold of the mantlet. Had to get creative because the gun tube was a bugger to remove so I just said to heck with it and made the mold with it still on.

A constant batttle with resin, darn air bubbles. Lots of time spent re-casting things or filling parts that had too many air bubbles.

New mantlet cast and added (didn't want to use the master on this project).


