You are using an out of date browser. It may not display this or other websites correctly.
You should upgrade or use an alternative browser.
You should upgrade or use an alternative browser.
Napoleonic Imperial Courier (2 Viewers)
- Thread starter blaster
- Start date
blaster
Major
- Joined
- Sep 10, 2008
- Messages
- 6,000
Napoleon1er
2nd Lieutenant
- Joined
- Oct 11, 2010
- Messages
- 3,083
It looks great!
Sandor
Sandor
blaster
Major
- Joined
- Sep 10, 2008
- Messages
- 6,000
Hello Sandor and all,
Hope you are enjoying this brace of Nappie threads.
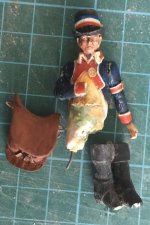
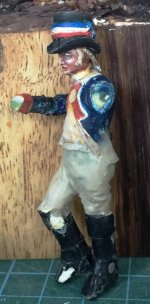
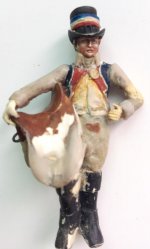
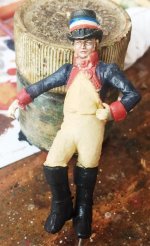
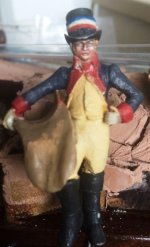
There are several ways to heave a saddle around. I decided that this Imp Courier, being an experienced fellow, would decide to do it one-handed. Besides, it allows me to display his uniform clearly upfront.
I filed the inside of the saddle to let it fit nicely against one leg and braced underneath his right armpit. Then the saddleflaps were reshaped accordingly. The right arm is now being sculpted.
I also raised the height of his collar.
Rgds Victor
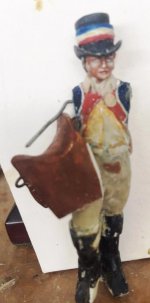
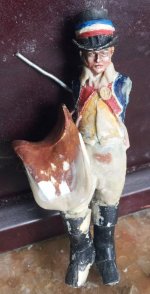
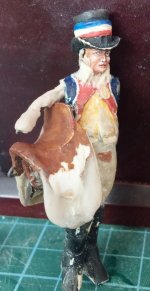


Hazebrouck
Sergeant
- Joined
- Aug 30, 2010
- Messages
- 626
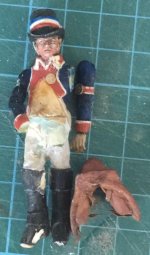
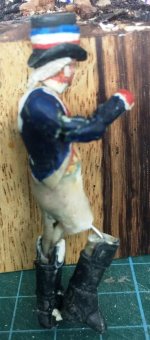
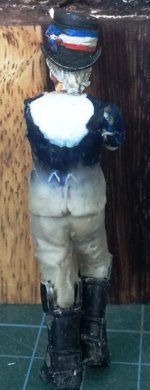
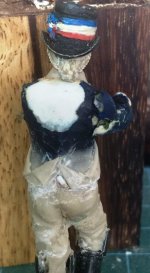
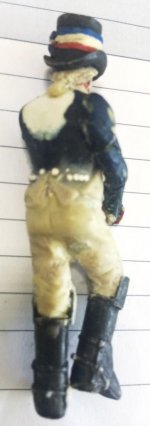
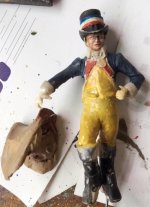
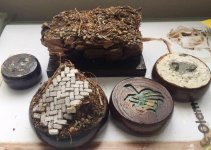
I came back to this piece. To make the buttons, I took out my very expensive die tool and punched out the buttons, 0.8 and 0.9 mm, from plastic sheet.
The trousers were sculpted. They have a crinkly look to their folds.
View attachment 260577
Hi Victor,
Can you show us your very expensive die tool for punching out the buttons?
Scott
Hazebrouck
Sergeant
- Joined
- Aug 30, 2010
- Messages
- 626
Hi Scott,
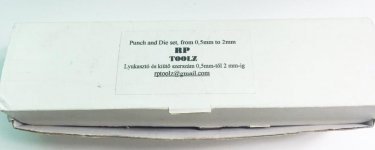
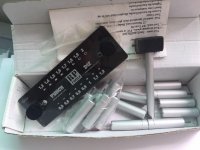
I got the tool from Historex Agents. They also have a similar tool for hexagonal outlines for making rivets.
Rgds Victor
View attachment 260914View attachment 260915
Thanks Victor.
That looks like a useful tool to have around.
Scott
blaster
Major
- Joined
- Sep 10, 2008
- Messages
- 6,000
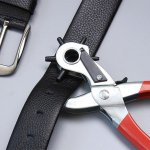
Good idea but I think the belt hole puncher works for larger scales. For the small scale, the RPZ tool seems very suitable for miniature buttons.
The idea is simple - make your own punch tool with cut off ends of brass or steel rods. Then drill corresponding holes thru two thick plastic acrylic slabs which are screwed together for alignment.
However, I found the RPZ tool reasonably well made with so many hole sizes so I think that the price is not unreasonable.
Users who are viewing this thread
Total: 3 (members: 0, guests: 3)


