Hi There!
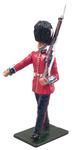
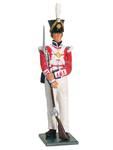
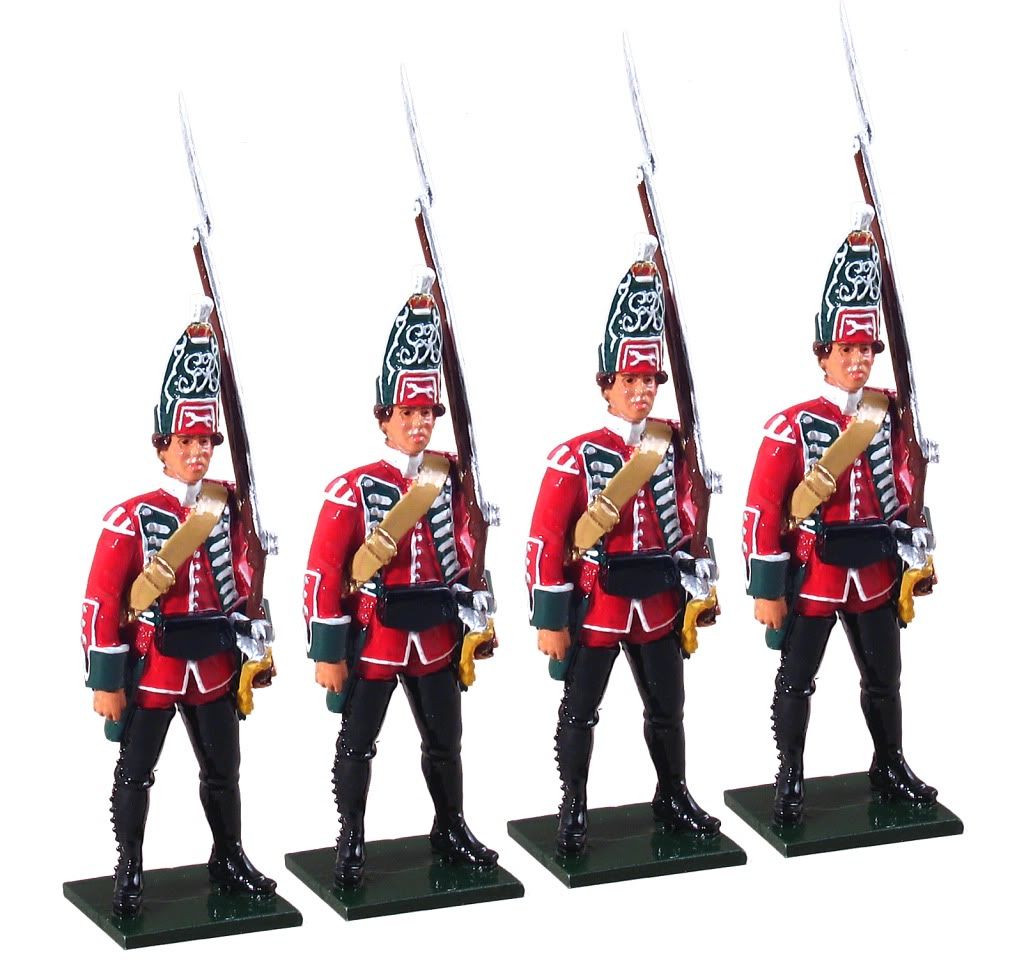
10 is at advance arms and 11 is at shoulder arms. If these muskets did not have the bayonets fixed they would be at advance firelock and shoulder firelock. Men on the move could also be at slope arms, or firelocks.
Often the NCOs would carry the arms at the advance position while the men carried at shoulder or slope positions... confusing eh?
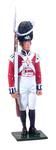
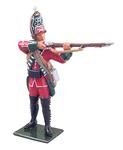
4 is at advance arms in formation, 5 is at order arms, 6 is at rest arms, 7 is at support arms and if the right hand was also grasping the musket at the wrist it would be, maximum support.
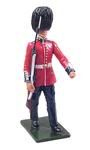
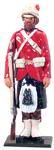
9 is at the shoulder, or 'the position of the soldier'. This is position the men would fall in at under arms, but usually without the bayonet fixed. Both 7 and 9 could be on post as sentries. In rainy weather there is also the position of secure arms where the muzzle is angled toward the ground with the butt tucked under the left arm. I haven't sculpted a figure in this position yet.
1 + 8 are not at precise drill positions.
If 8 was at the correct leg position for 'present' second rank, the left heel would be tucked into the instep of the right heel.
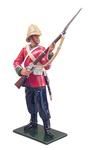
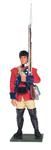
If 1 were at proper 'port arms' then the body would be faced to the front... this is more of a variation of 'on guard'.
Figures 2+ 3 were sculpted by another artist and I cannot speak for them, although I do know that the incorrect arm position was a factory error.
Hope this helps.
Ken


") ill do a google search & read up more on the different drills, I didn't even think to do that.
ill do a google search & read up more on the different drills, I didn't even think to do that.