
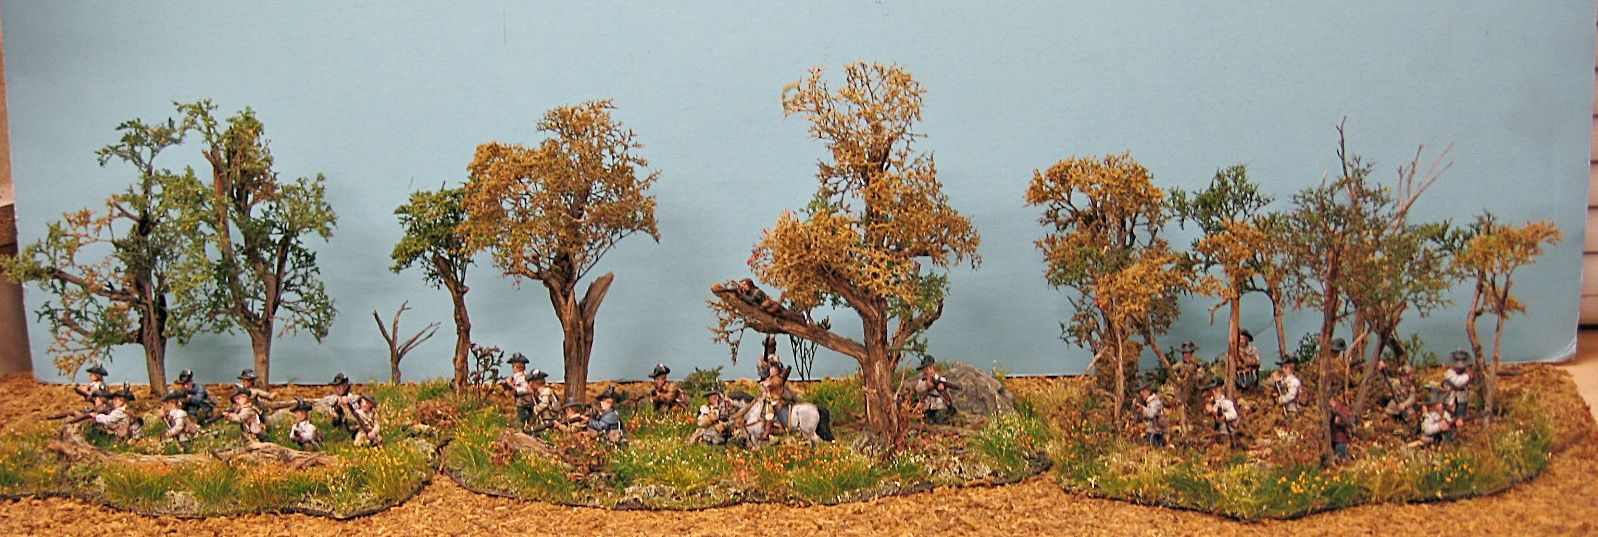
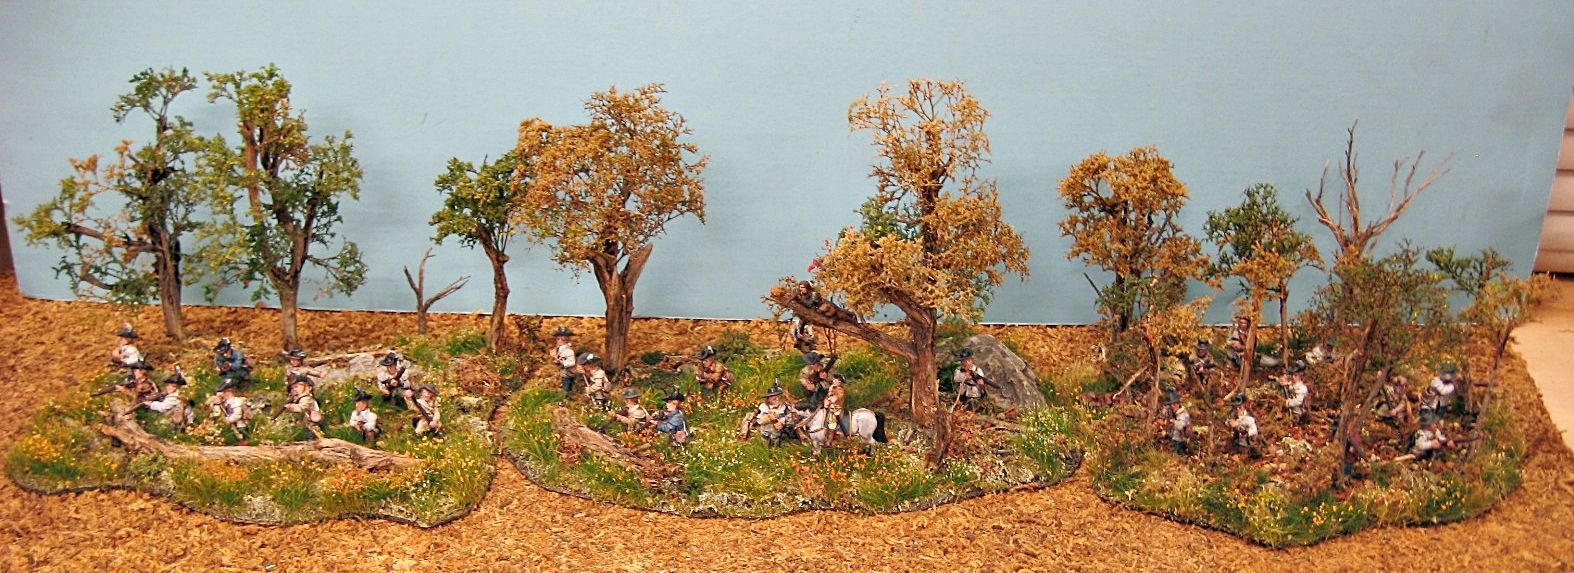
Here is the entire Morgan's Rilfemen extravaganza finally finished. It can now move from the workshop to the attic display shelves. This was a fun piece for me to do, but took a long time. The trees took the bulk of the time but the end result, I think, is worth it.
This was built to be used in a larger Saratoga diorama which is taking shape nicely.
Besides portraying Morgan ordering the shooting of the gallant British Officer, Simon Fraser, the pieces could be used in any of a number of battles for the AWI. The left and right pieces would be fine in the F&I War, also.
All of the figures are conversions. Mainly Battle Honors bodies with Kings Mountain heads. Although there are a couple of Perry and OG hidden in there.
Figures painted by the incomparable John Bryant.
Everything else is scratchbuilt by me.
Extra credit if you can find the laying down dead guy in there somewhere. He blended right into the groundwork and is hard to see.
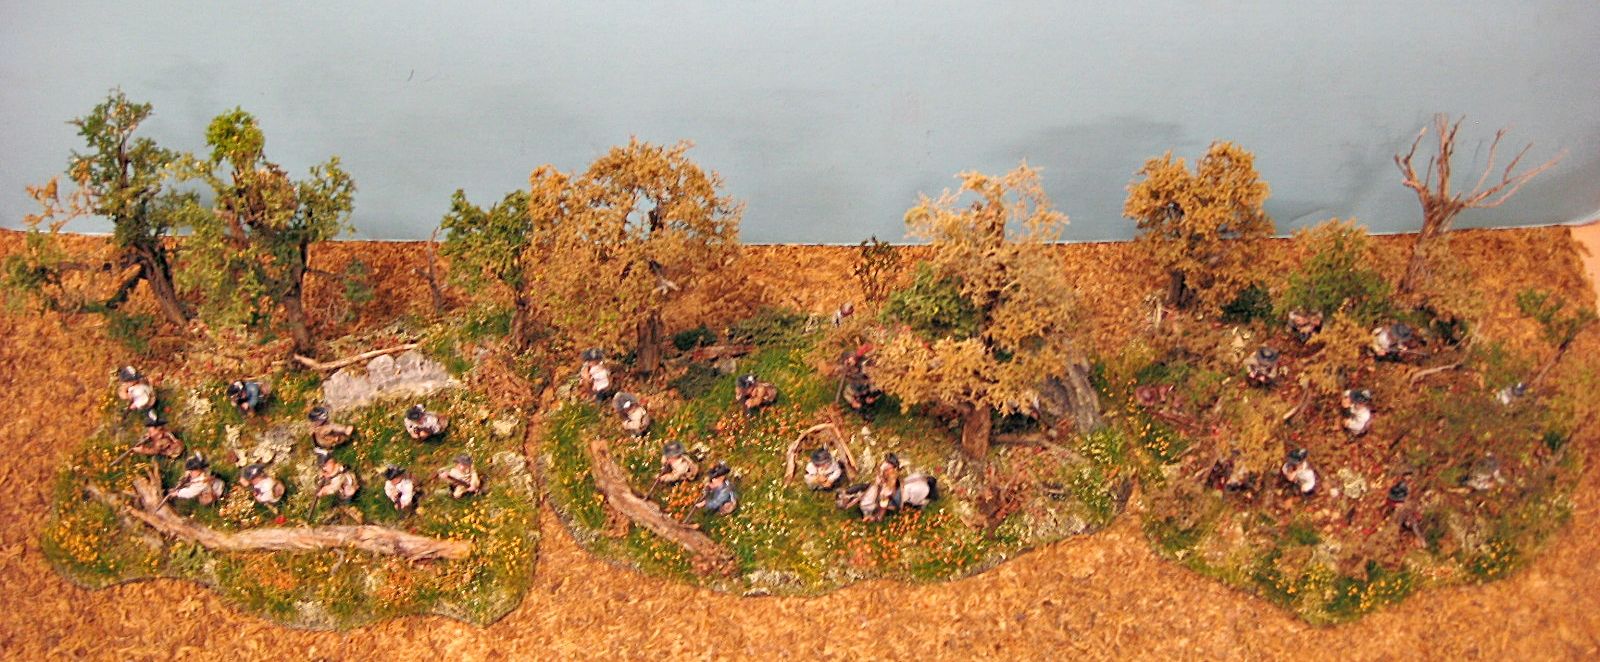
A couple of frontal shots and an arial view that didn't come out all that great. But I wanted to show how it would look from above
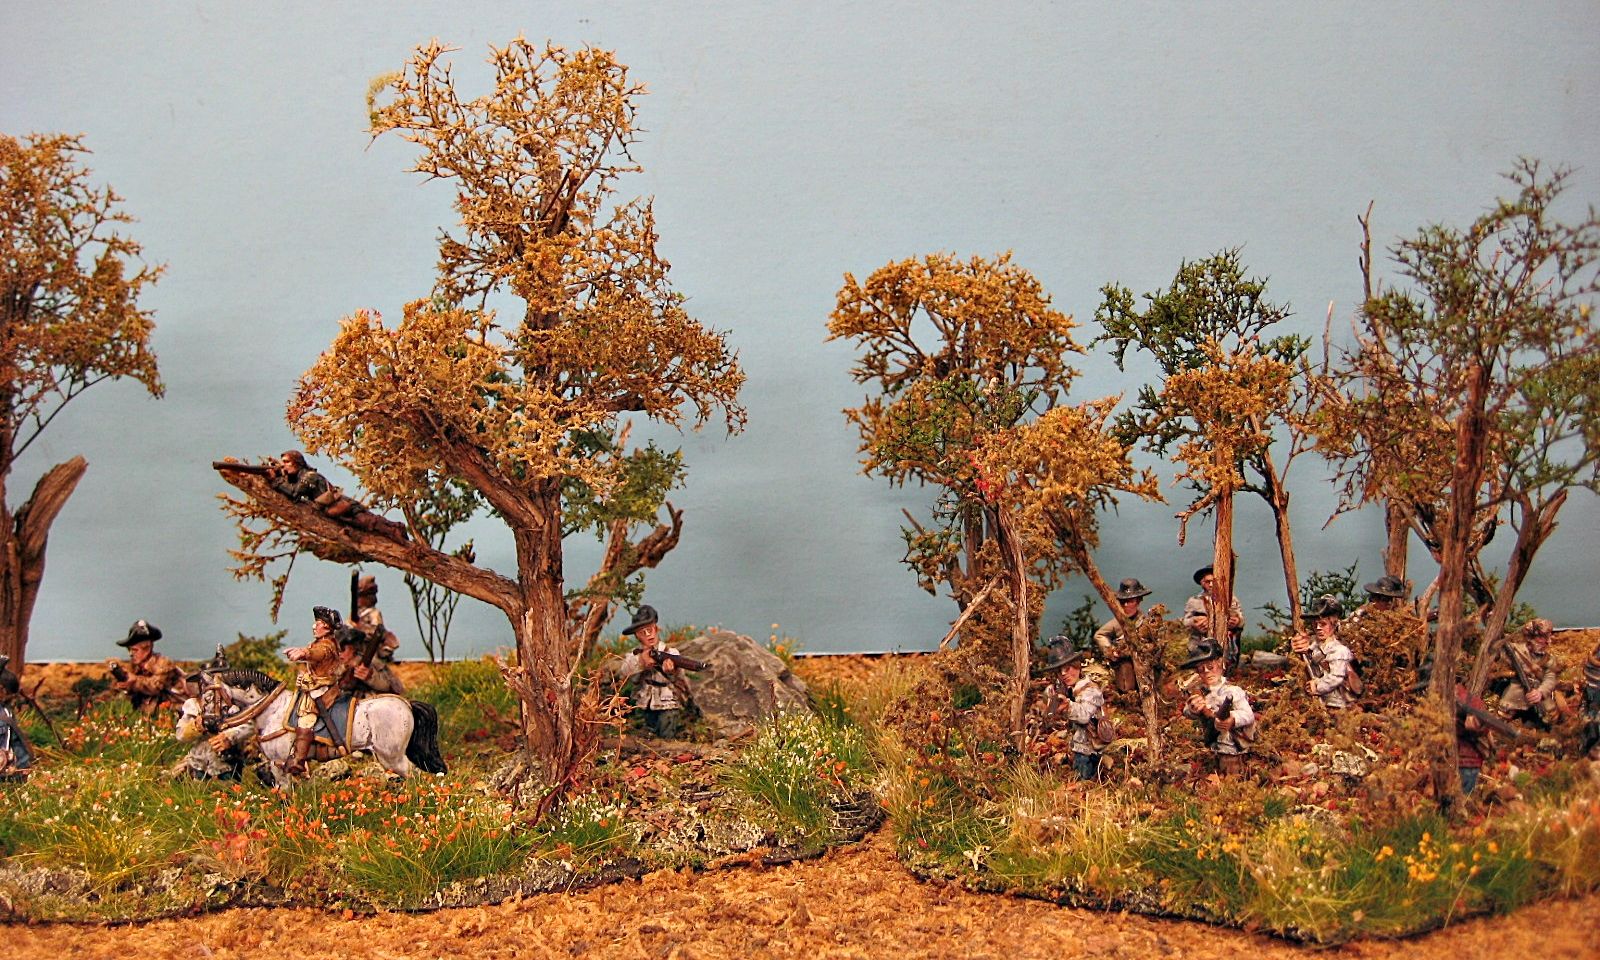
View from the far right.
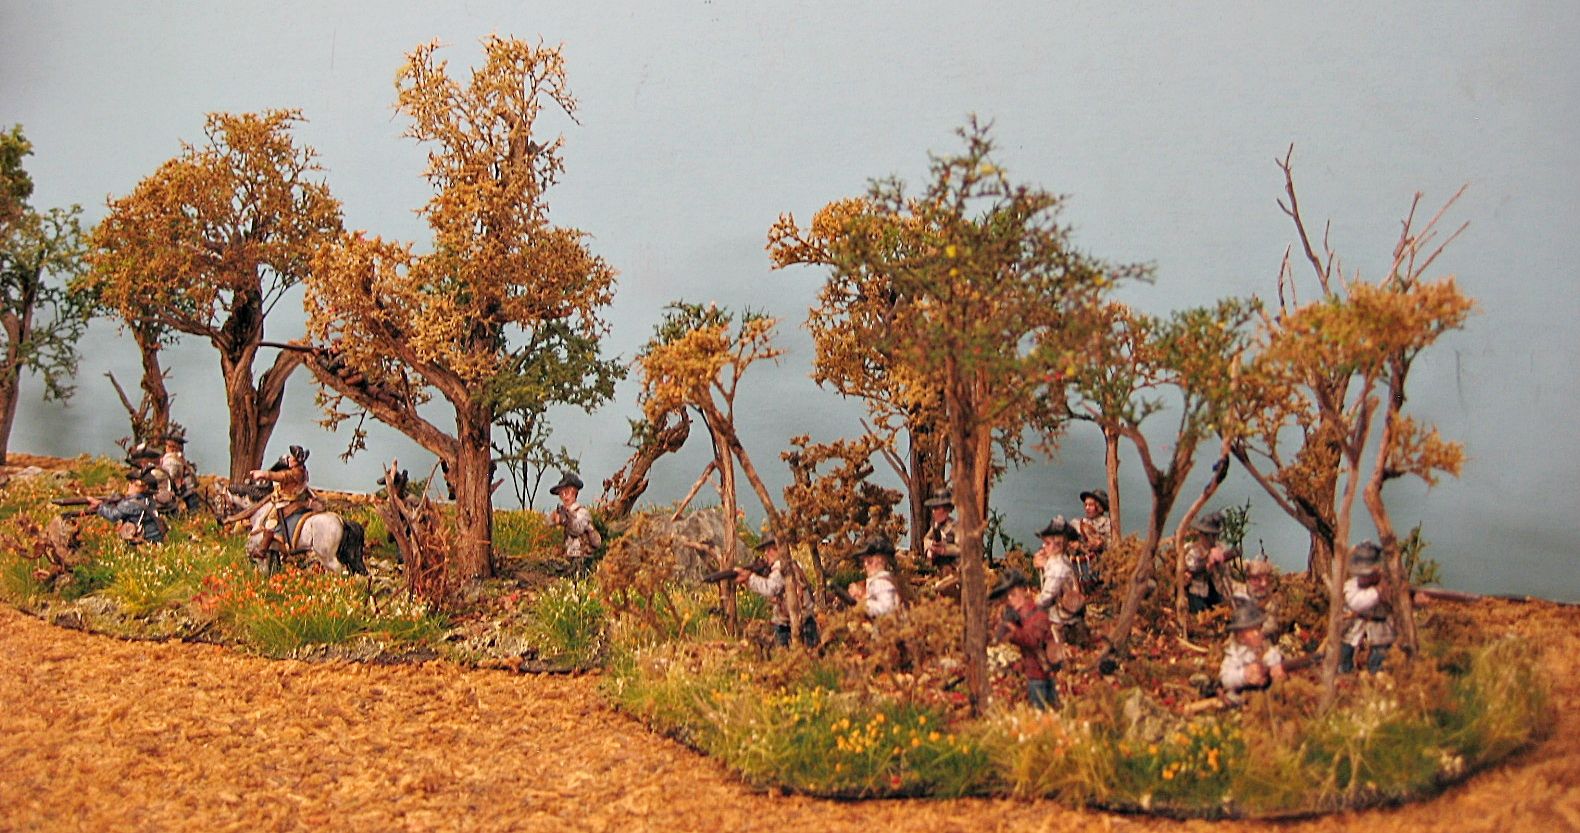
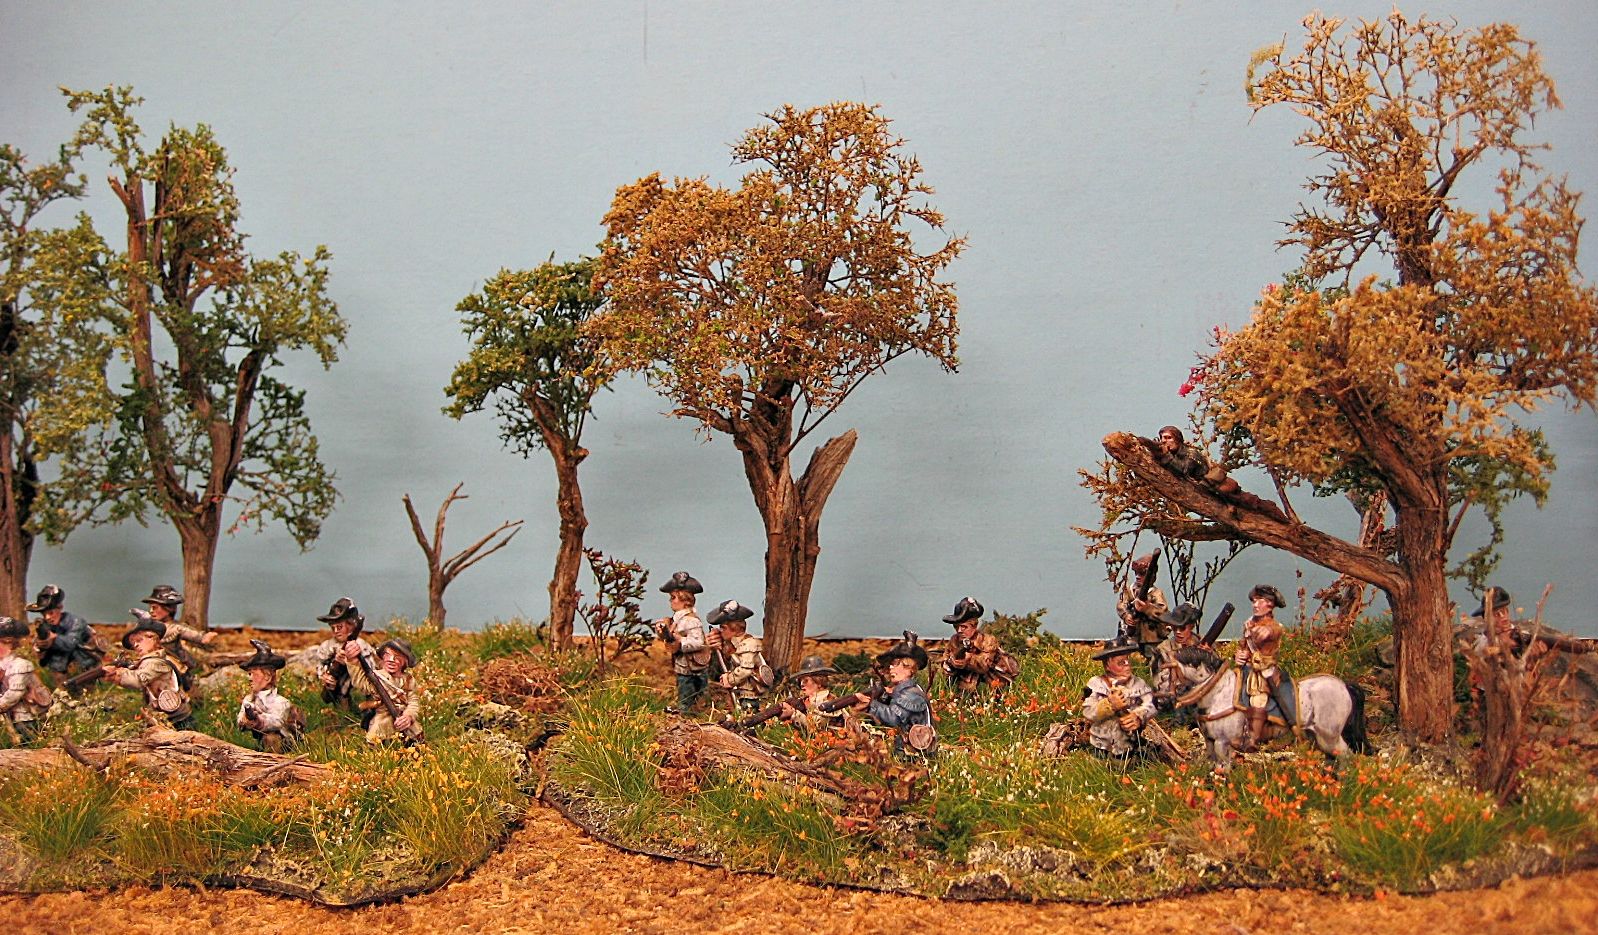
From the mid right
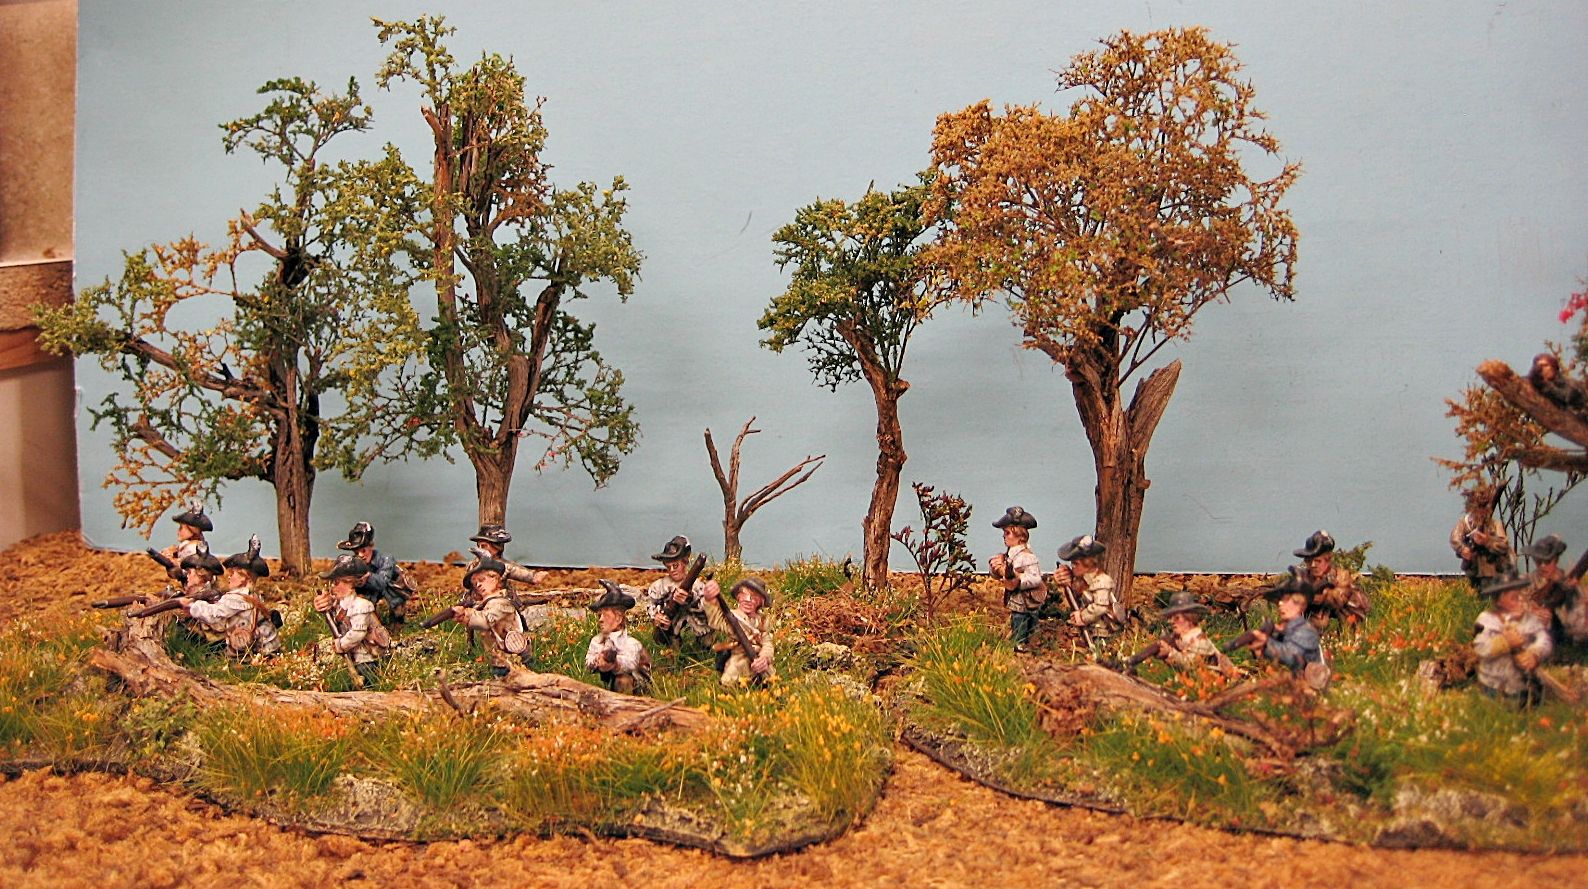
From mid left
Finally far left. I wish I knew how to join these together, but I do not.
That's it. Hope you enjoyed seeing this as much as I did, building it.
This was built to be used in a larger Saratoga diorama which is taking shape nicely.
Besides portraying Morgan ordering the shooting of the gallant British Officer, Simon Fraser, the pieces could be used in any of a number of battles for the AWI. The left and right pieces would be fine in the F&I War, also.
All of the figures are conversions. Mainly Battle Honors bodies with Kings Mountain heads. Although there are a couple of Perry and OG hidden in there.
Figures painted by the incomparable John Bryant.
Everything else is scratchbuilt by me.
Extra credit if you can find the laying down dead guy in there somewhere. He blended right into the groundwork and is hard to see.
A couple of frontal shots and an arial view that didn't come out all that great. But I wanted to show how it would look from above


View from the far right.

From the mid right

From mid left

Finally far left. I wish I knew how to join these together, but I do not.

That's it. Hope you enjoyed seeing this as much as I did, building it.