Ambush at Bunker's Ford. (1 Viewer)

Captain

Sergeant
Joined
Feb 22, 2008
Messages
746
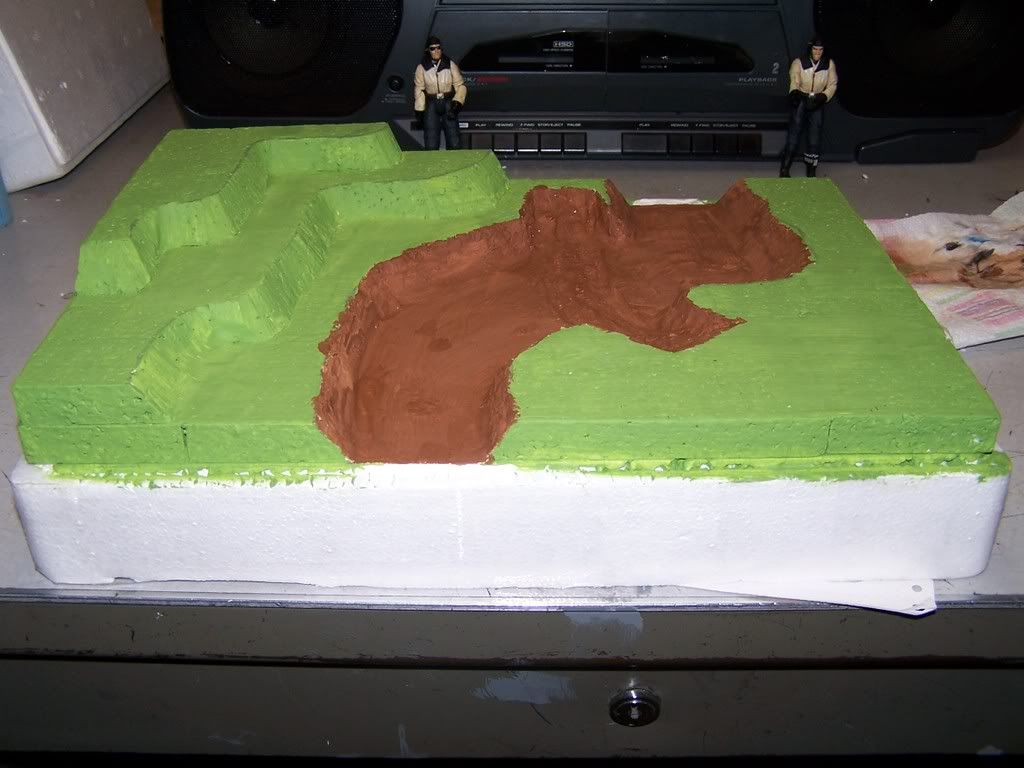
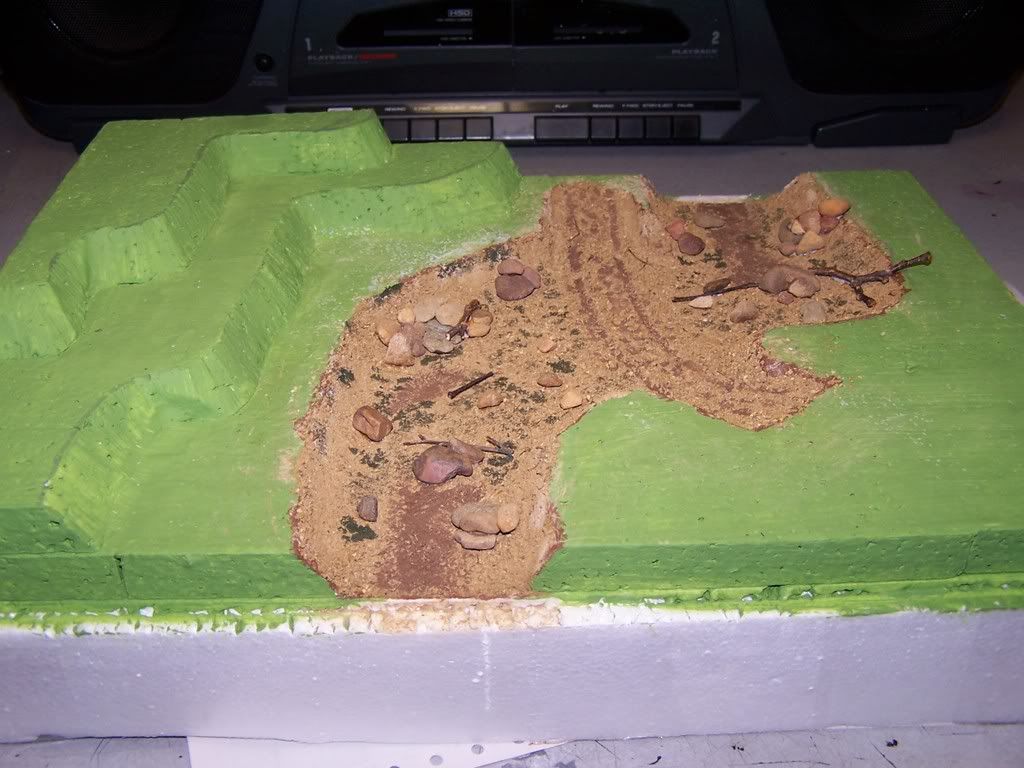
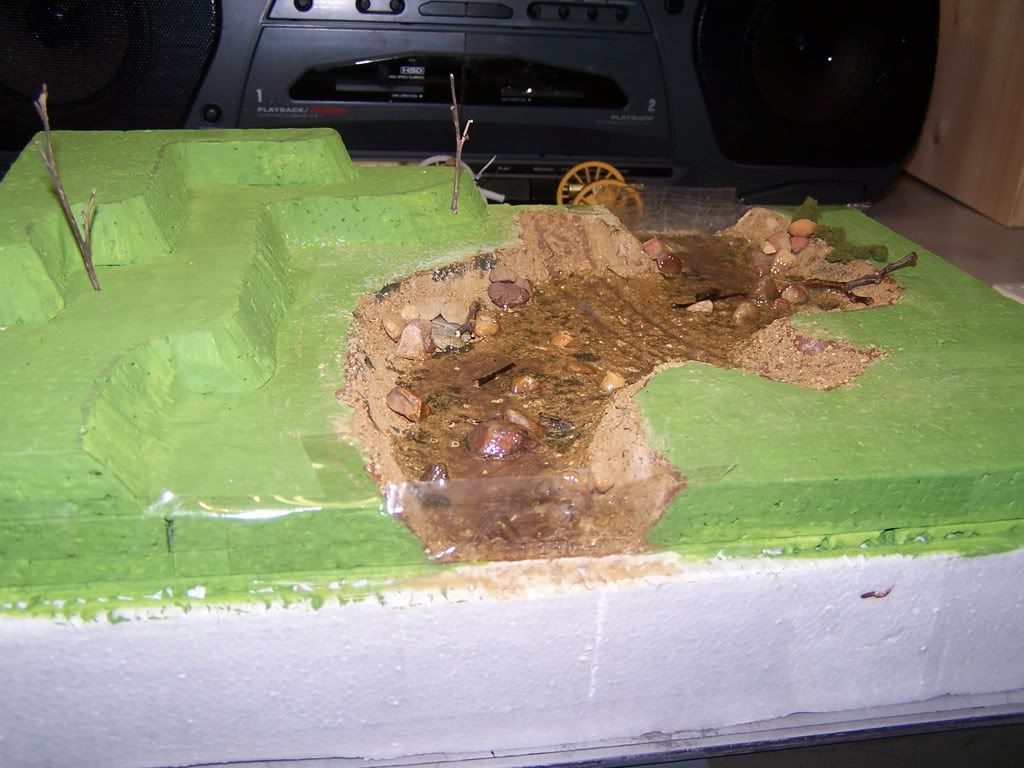
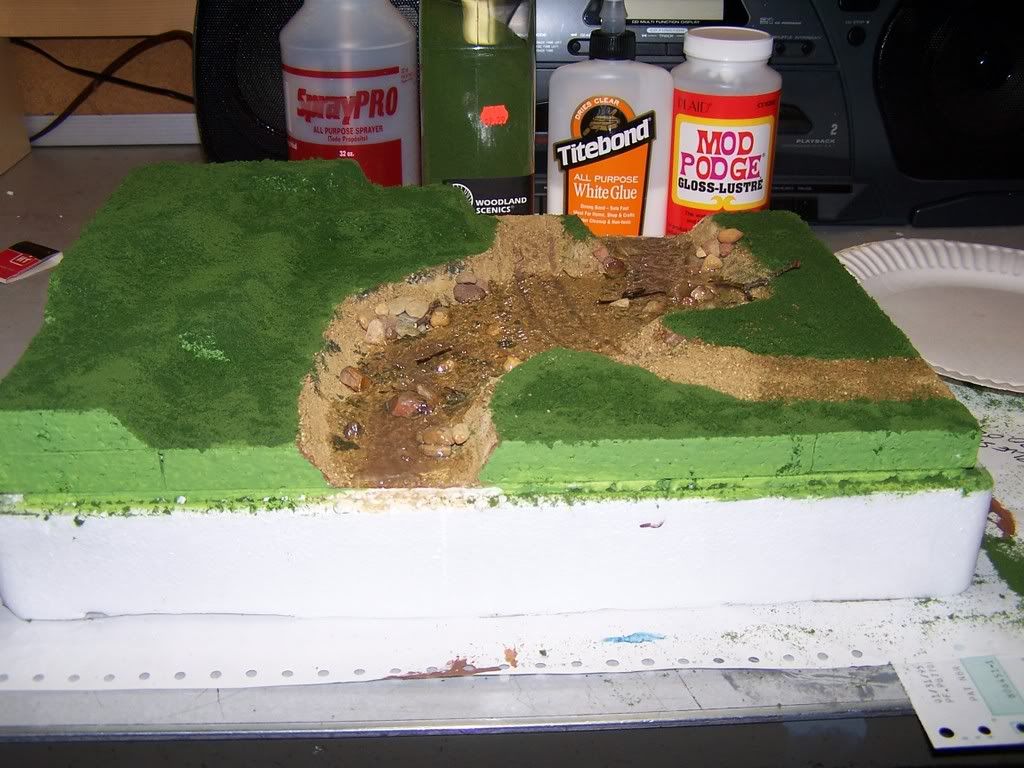
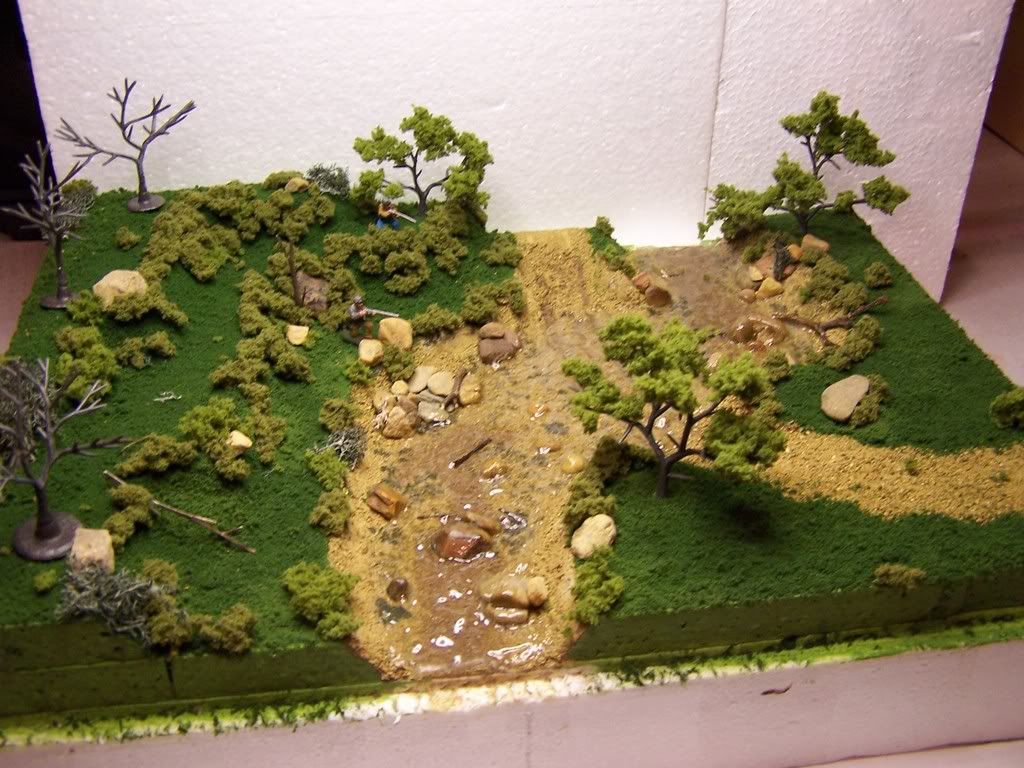
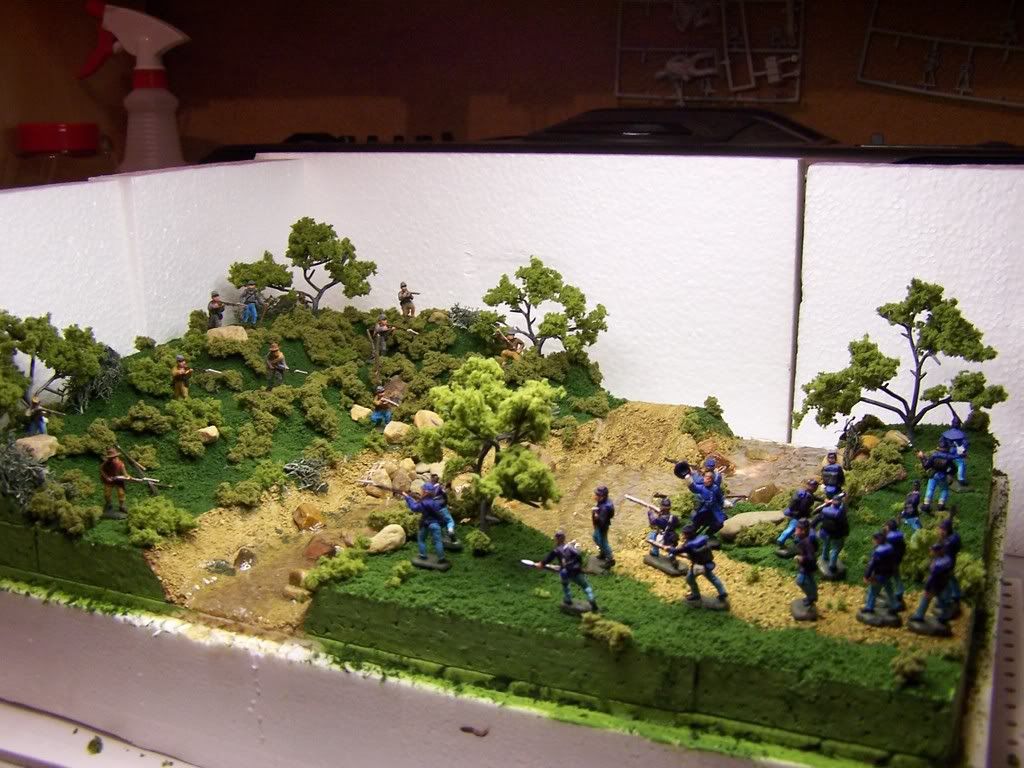
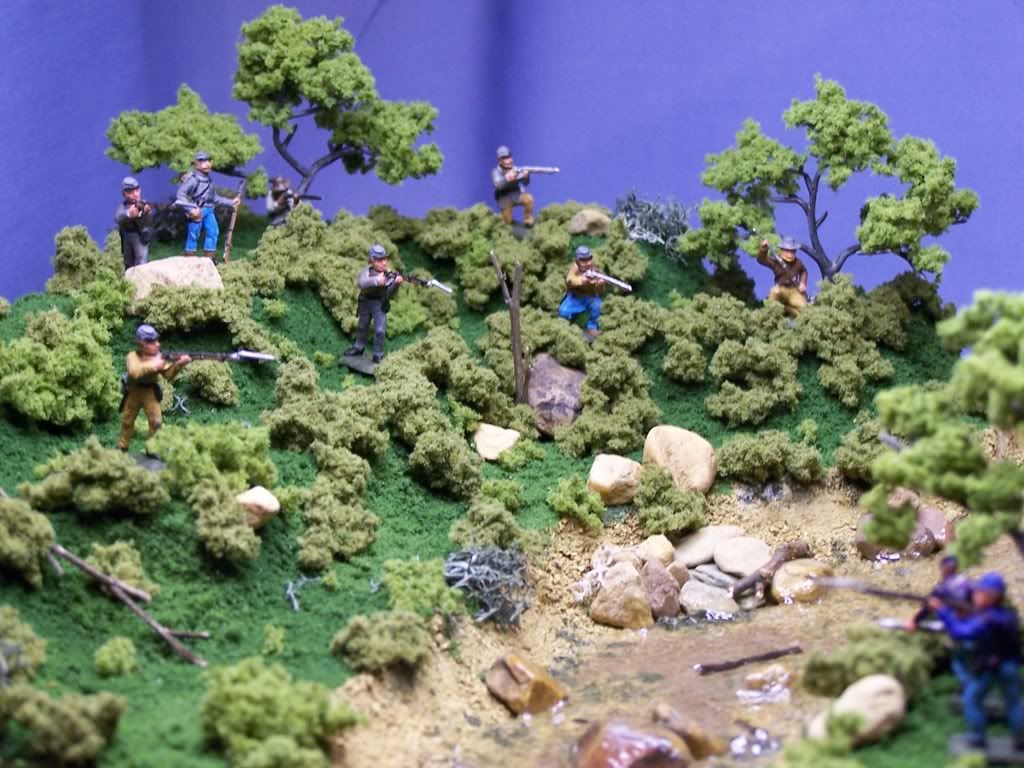
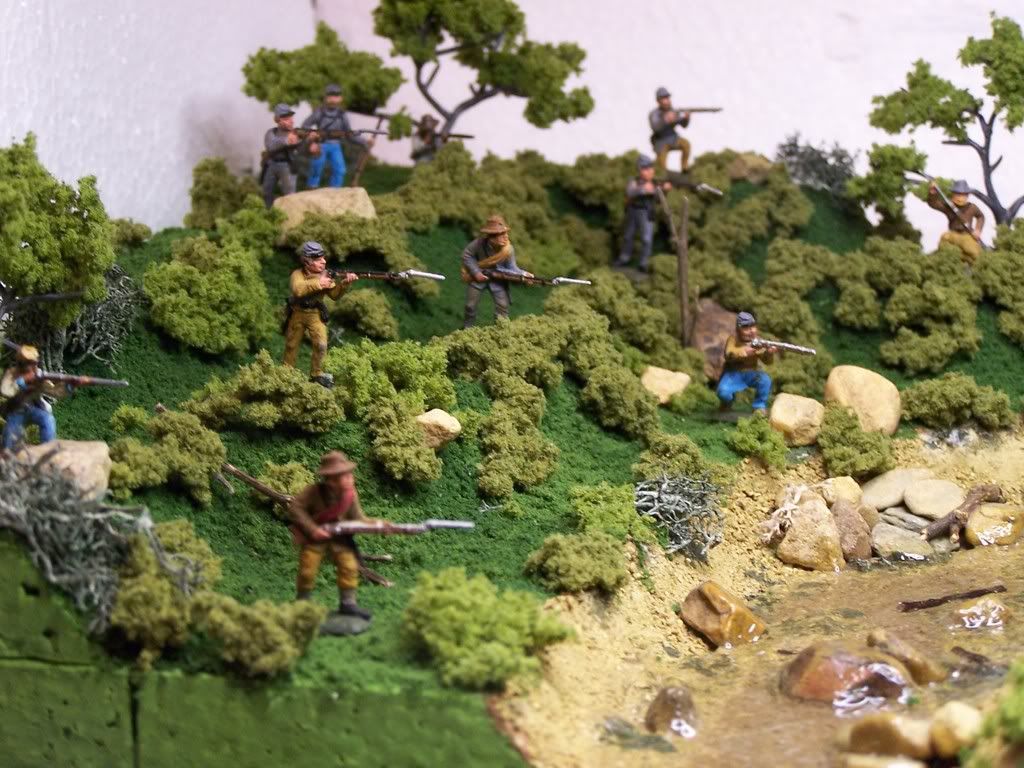
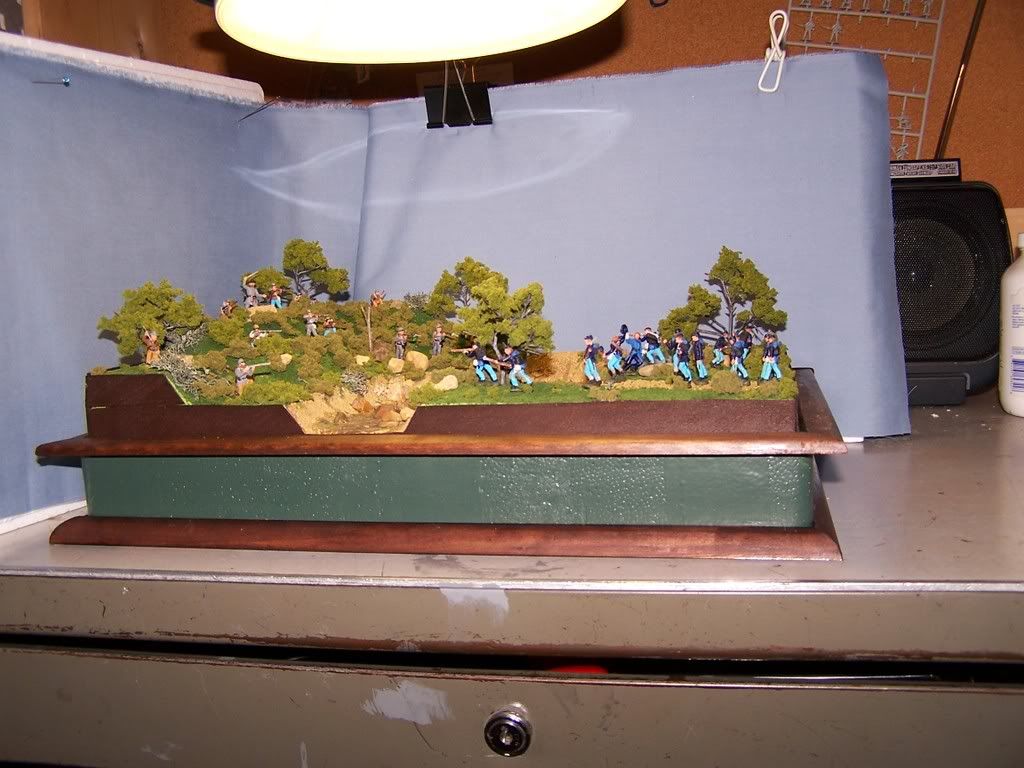
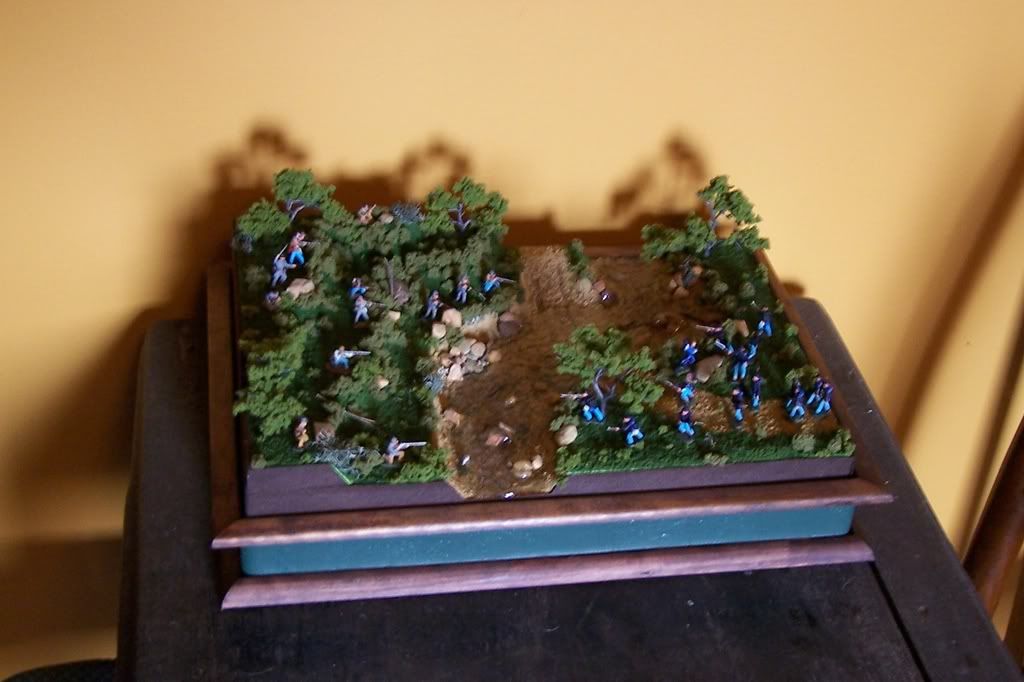
I posted the almost finished results some time ago in another diorama section but thought I would go ahead and post the pictures of the whole build and (now that i am about to finish it completely) through to completion.
100_1647.jpg

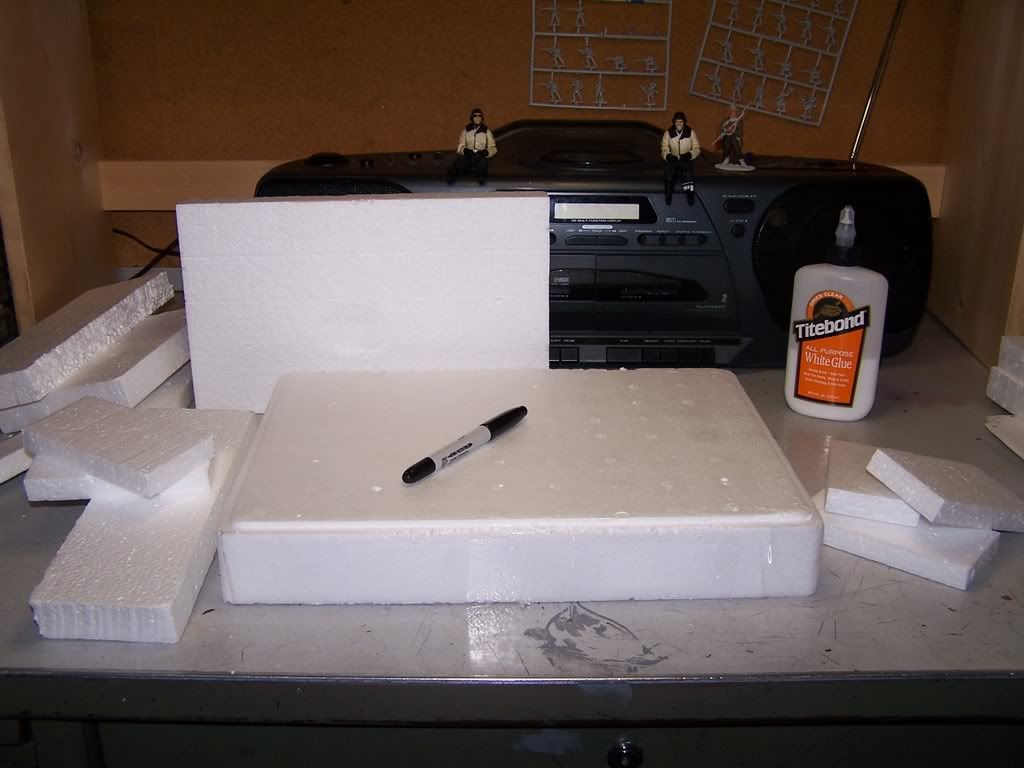
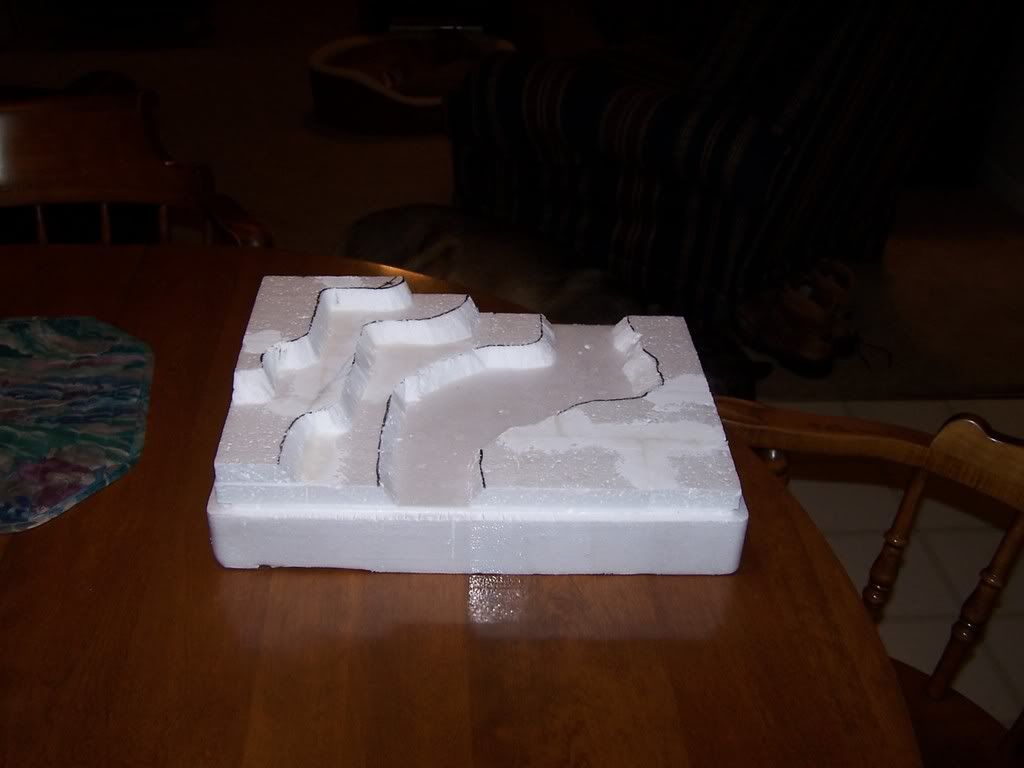
This styrfoam I collect from work. They throw away enormous amounts of these small inner-packs that we recieve parts in. They looked like just the ticket for a small dio and have become the base for most of my dios.
 
I had been wanting to experiment with water and elevation so I decided on a layout, drew it out cut and glued the foam where I wanted it.
100_1643.jpg

I then spackled all the seems.
 
I added a Ford across the creek because I decided there needed to be a reason for a skirmish in the first place. I then painted a base coat so that any foliage/grass or dirt that got knocked off would not show up glaring white.
100_1652.jpg
 
I brushed on full strength white glue into the creek bed and put in sifted dirt from my yard and a few pebbles, sticks etc. Then sprayed with a glue/water/alcohol solution. I add 5% alcohol to the 50/50 glue water mix because it lets the glue flow better.
100_1655.jpg
 
I then began brushing on layer after layer of water. It was very easy to do but it has to be put on in thin coats or it will never dry. I had intended for the water to be very deep but after about 20 coats I should have painted the creek bottom to show more depth instead of try to ahieve it with the fake water. It still worked very well and looks very realistic it just isnt very deep.
100_1692.jpg
 
I then glued in the grass, etc. In hind sight I should have done the grass first because I had to make a template to cover the water so i didnt accidentally glue grass to my creek.
100_1717.jpg

The Mod Podge product is what I used for the water.
 
After a good soaking again with the glue mixture and letting it dry I added my trees, rocks, sticks etc. I tried to hide the fact that the elevation was "terraced" but, it was necessary to have flat places for the figures to be firing from. I thought the use of underbrushed worked well for that.
100_1725.jpg
 
At this point it was time to try adding figures and "playing" a little bit
100_1737.jpg
 
I then posted a few pics of the dio and didnt mess with anymore.
100_1752.jpg

100-1750A.jpg

100_1732.jpg
 
I picked it back up this week and have painted the base, worked on a plexiglass lid and am going to put wood trim around it to give it a nice finished look and I'll post pics as I go. I have gotten pretty bad lately about not finishing some of my hobby projects. So ya'll help me if you would by asking for some pics if I dont post any for a while. Dont let me get started on something else I wont finish until after I get this done!
 
That looks really good Captain and thank you for posting the step by step process.

NOW!!! Get on with finishing it otherwise no more projects for you !!! :D :):)
 
Great diorama, Captain, thanks for the SBS!

What scale are the figures? I thought they're 54mm, but from some angles, they look like they're smaller, like wargaming figures.

Prosit!
Bradley
 
Yes, thanks for taking the time to post these. Looks really good, I like the way you did the water effect.

Jeff
 
Cap'n
Y'all make sure them Johnnies give them Yankee boys hell!

Great and impressive set-up

Reb
 
Thanks UKReb. It was fun to post it and it will help me get it finished and maybe it will help or give somebody some ideas on their next project.
 
Thanks UKReb. It was fun to post it and it will help me get it finished and maybe it will help or give somebody some ideas on their next project.
Great series Captain, it certainly gave me some ideas. I especially like how you created and then concealed the terracing to make places for the figures. Now you need to finish it and do some more.;):D
 
Ah, 1/72!

Yes, your work on the water effect looks good, too. And thanks for the tip about using styrofoam packaging, I never thought about using that for contouring.

Prosit!
Bradley
 
Well here is the finished product. I decided against the plexiglass lid. It actually detracted from the detail I thought. I will use it for another one down the road. Boy, if you ever want to find imperfections in your work just take some pictures of it. They will sure stand out. I never saw that gap in the laminate letting the light green paint shine through over on the left side. I will fix that. I put those thin wooden strips on the sides because I just didnt like the appearance of like a section of earth dug from the ground. I think in the future I will taper the elevations down to the base heigth of the dio. After a bit of touch up this one is finished so on to finishing up the next.
100_2100.jpg
 
One last shot of this dio. Completely finished and on display in the "Powderkeg" which is my basement bar-room.
100_2145.jpg
 

Users who are viewing this thread

Back
Top