mikemiller1955
Lieutenant General
- Joined
- Aug 3, 2008
- Messages
- 17,491
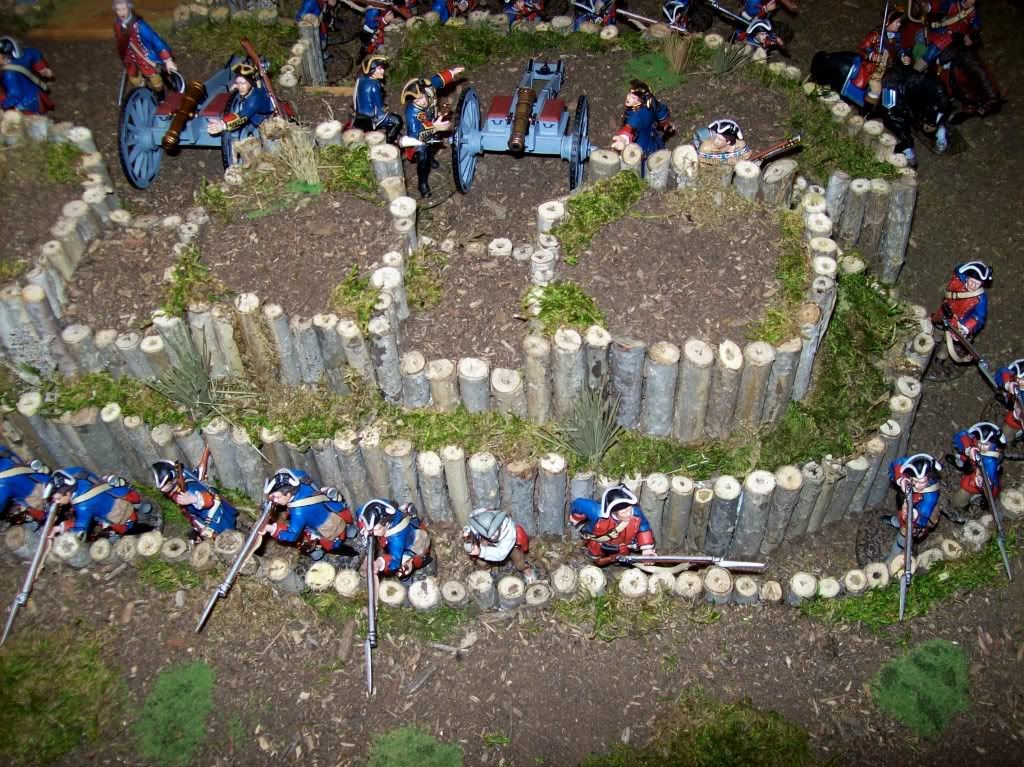
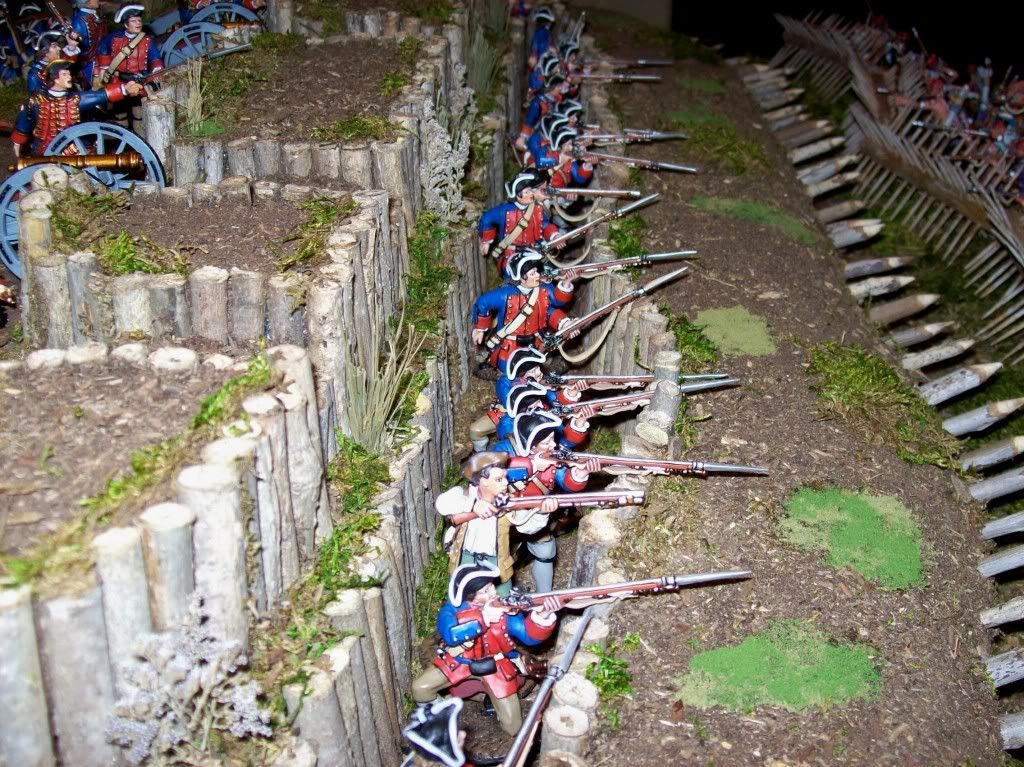
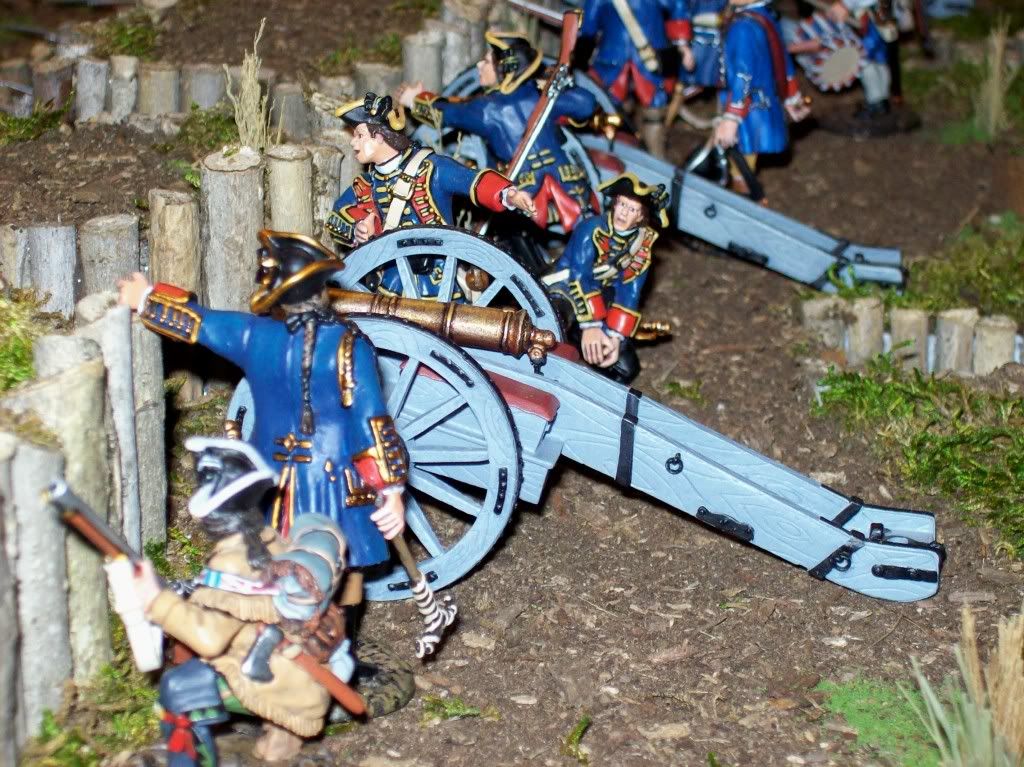
I'm pretty much finished with this artillery battery...
I like the way it turned out...and learned a lot from my mistakes...
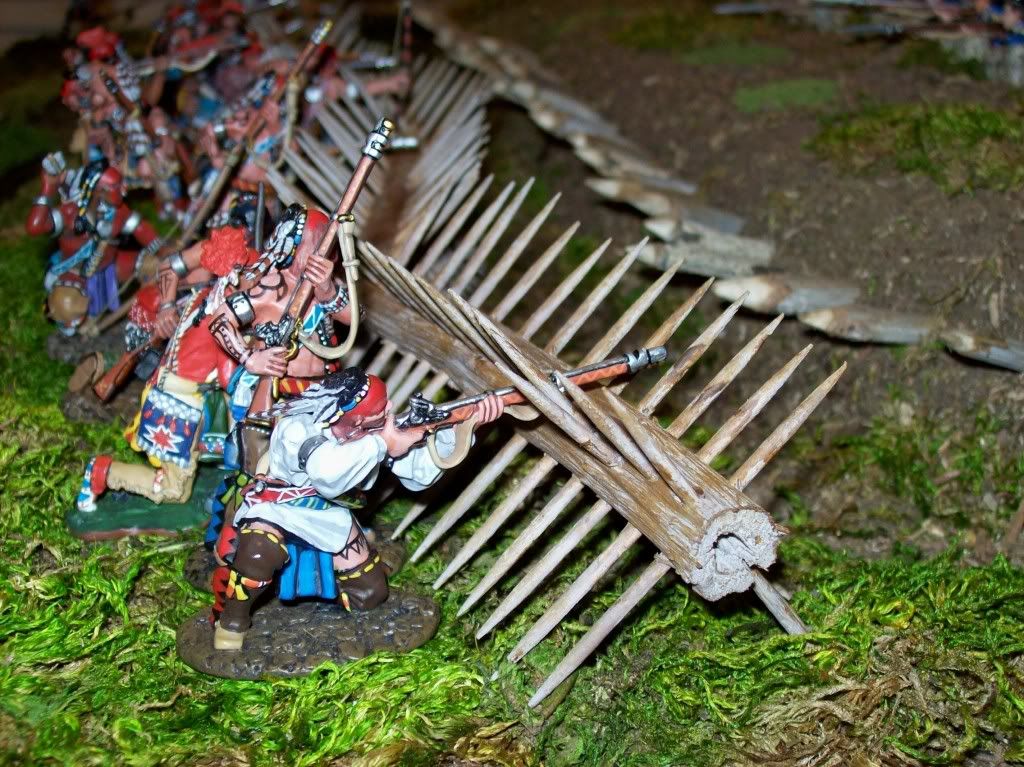
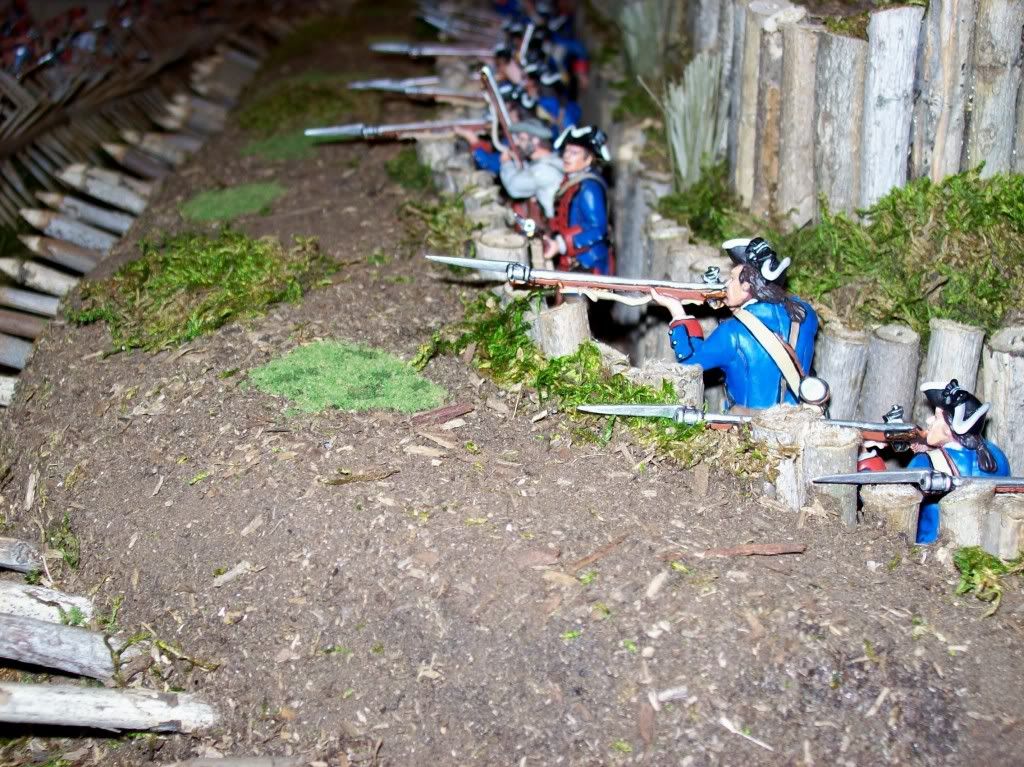
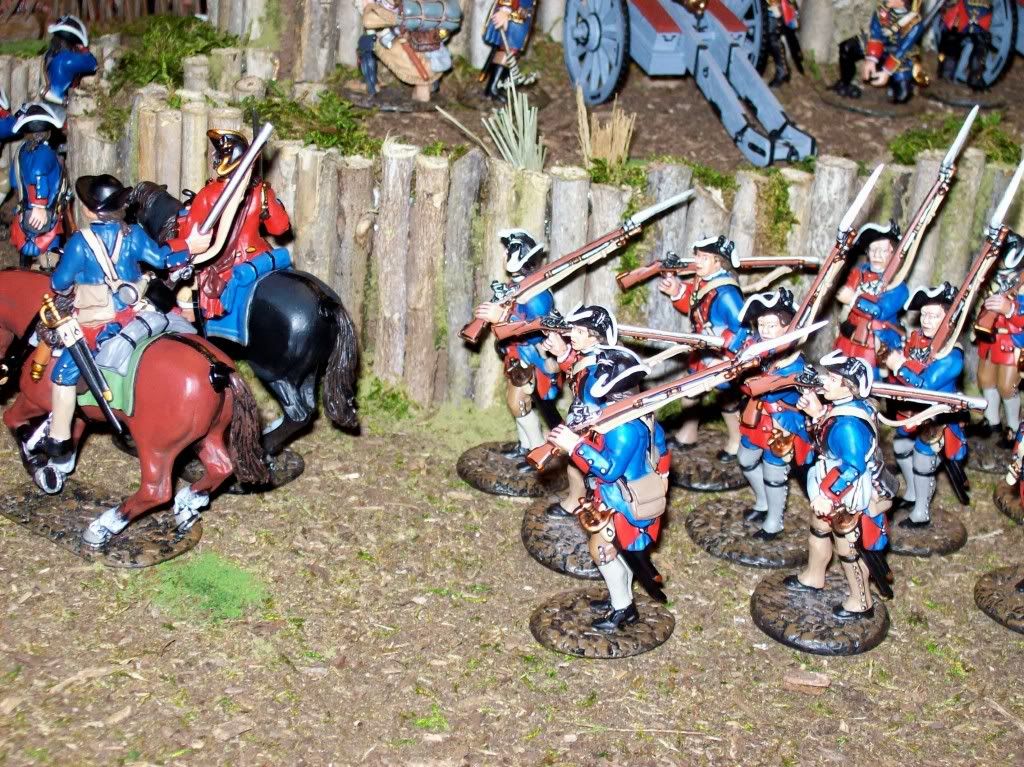
I used some Jenkins Virginia Provincial Battle of Monongahela and Jenkins Indians to stage a conflict...
I want to thank Tim...aka...Fishhead for the inspiration to do it and the advice on how to do some of it...
I was almost finished...but had some knee surgery last Monday and have been kind of laid up some...but it was an easy and fun project...
I wish I had a more versatile posed artillery crew to man the guns instead of duplicate crew members...but...it looks okay for now...
I don't own any other artillery crews in the series I collect...but I think John might be making some for Battle of Chippewa in the near future and I would like to set it up with the US Army defending and Royal Scots attacking...
I think it would be perfect for the battle of New Orleans...
I usually hide the bases of the figures I pose with terrain for pictures...but I didn't on this one...just too lazy...hahahaha...
I will when I set up the next one...
I want to do a few more things with it still...
I want make another piece the same size as this piece (36x40) for the attacking armies...it will be just flat grassed terrain...and will be real easy to to make...no more than a days work I'm sure...on this new piece I want to make another stream that "forks" off in two directions...
I also want a smaller piece to put behind the battery (the encampment)...
about half as big as this piece...but at least big enough to hold a line of trees three deep for a backdrop...
I want to make a small "officer's headquarters"...made of of the same wood as the battery...just something simple like a timber hutch with a door...not real big...it should be pretty easy to do...
the wood used in the battery is just branch stems that I picked up from a neighbors debris pile of clippings on his curb...but since they are real...they required no painting...
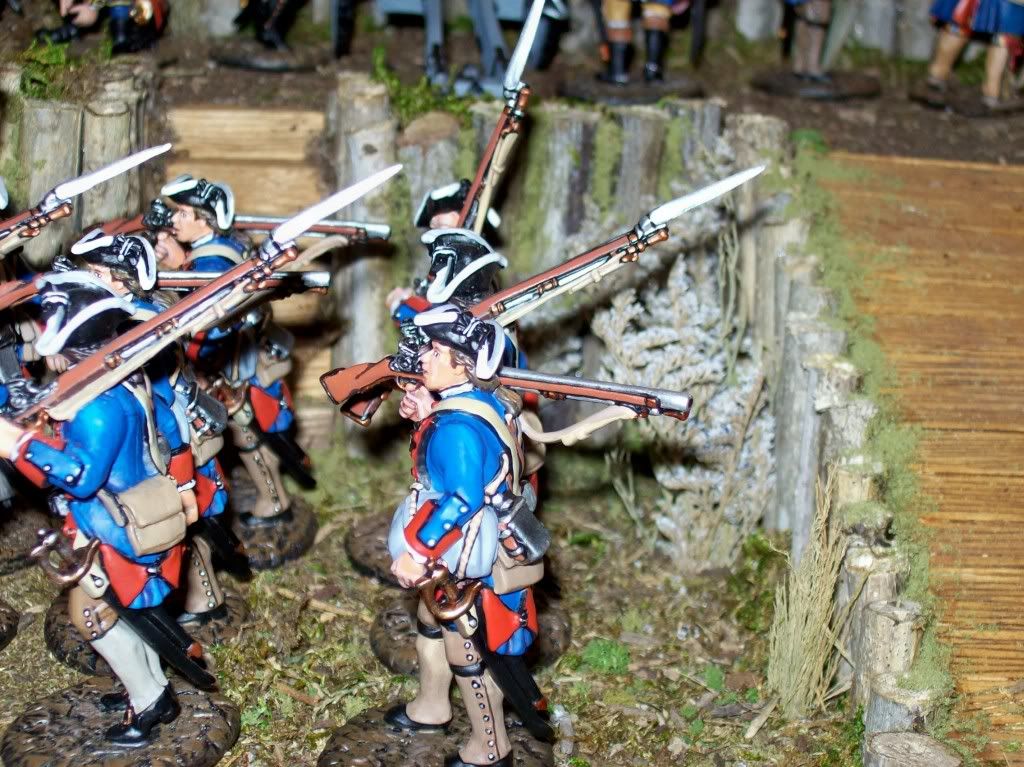
I want to put a "worn" wooden platform under the guns and wheels...as suggested by Ken...aka...Fraxinus...so the guns wouldn't slide or sink in the dirt and mud...more authentic and realistic...made from popsickle sticks and painted...then sunk into the terrain...
I want to put a few rocks in the terrain...just had not done it before I took the photos...
The dark "dirtish" terrain is just mulch I took out of the flower bed and ran through my coffee grinder til it got the right size...I like the dark look it gives...kind of like sodded earth...
For the grass...I tried a new product I found...it's called "Super Moss", that I bought at Hobby Lobby...I really liked the look...but especially the price...
I used 3 sheets of the Super Moss on this diorama...it's about $4 a sheet for about 1 sq. foot and stretches out a little extra...on top of that...they often have it on sale for 50% of and almost always have a coupon available for 40%off too...
I really like it...pretty cheap and pretty grassy looking...I just glued it down with Aleens...
I added a small stream...nothing real big...I just wanted a little water to break up the grass some...
It's mostly styroprene and a little styrofoam...about $14 a sheet...I used almost the whole sheet of styroprene...
I put a piece of 1/4" birch under it for a base and glued it on for strength and durability when moving it around...
The Cheval de frise...the "spikey logs"...I made from branch pieces and toothpicks...pretty cheap...
I used an enormous amount of glue making this thing...probably two large bottles of Aleen's and probably 6 glue sticks...maybe 8...maybe 10...hahahaha...a lot of glue...
the Aleens was used for the terrain and the glue gun for the sticks...
I can't tell you how cool the glue gun is...it's so fast...it literally dries in place in 5 seconds...dried completely so you can move really fast...
about as fast as you can pick up the next log...the last one is already dried...
The main gun ramp is made from the long skinny popsickle sticks from Wal Mart and the steps are made from 4 sided dowel sticks and cut to size...
The tents, wagons, horses, and cannons are Jenkins...
The water trough for the horses I made from popsickle sticks...
All the water is "Magic Water"...
unrealdetails.com
I love this product...mix and pour...too easy...it dries so hard in 24 hours...
anyway...no more text for now...I took a ton of pictures to show some detail...
I particularly like the way the terrain and shrubs turned out...
thanks again Tim for the help...


