
fishead19690
Command Sergeant Major
- Joined
- Nov 3, 2005
- Messages
- 2,555
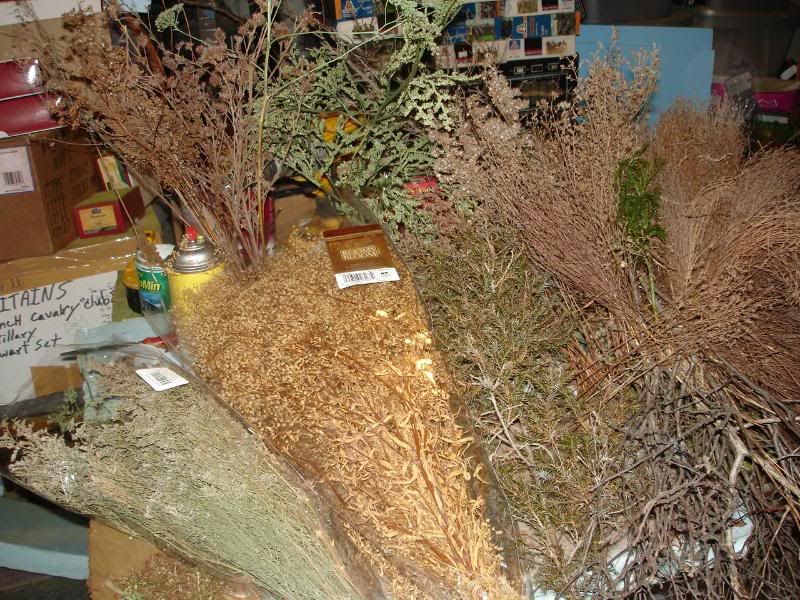
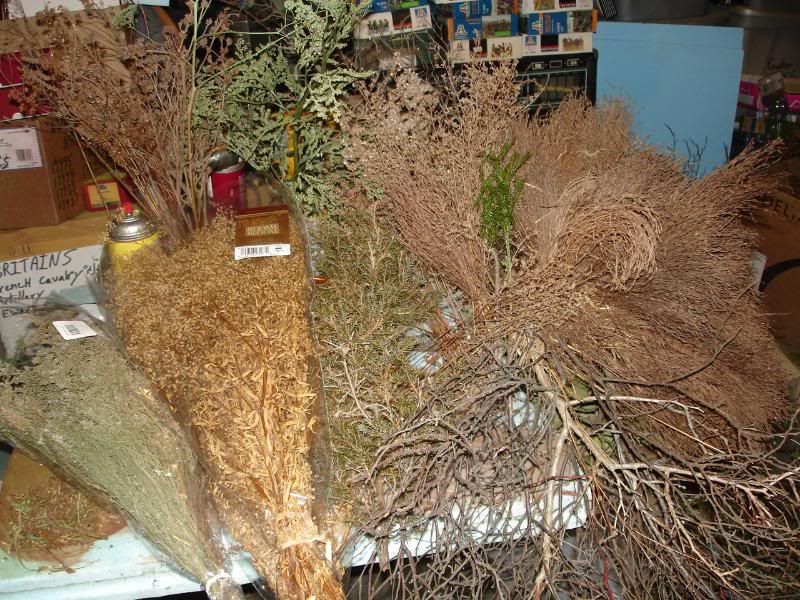
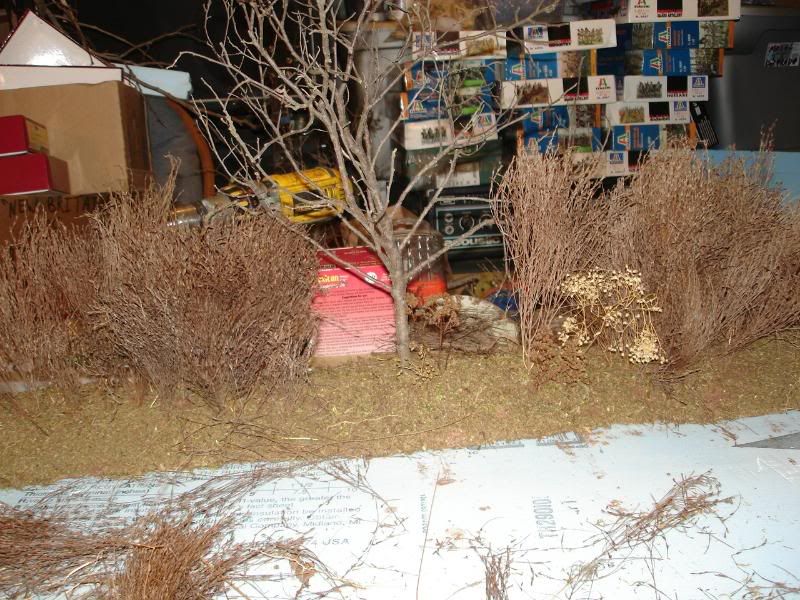
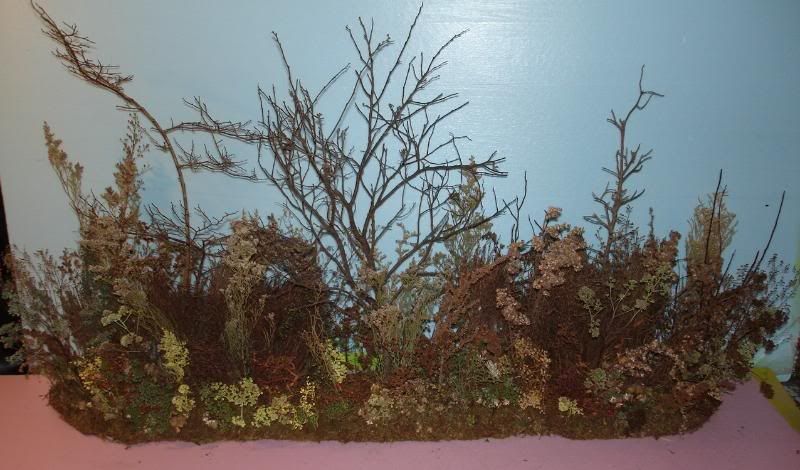
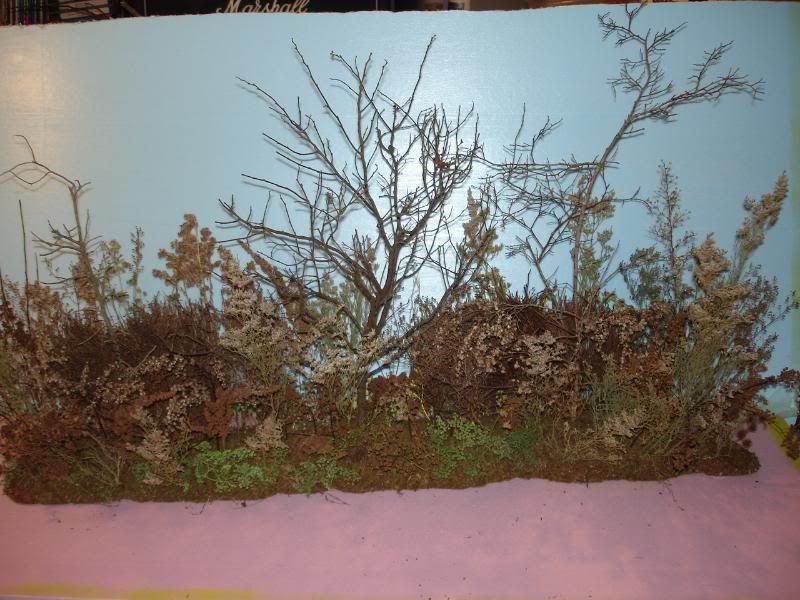
I made another backdrop piece last night after I took a walk in a nature trail and found some various little things I thought might work out alright for a cheap backdrop! So while I was at it I snapped a few pics! So here we go! The pictures should pretty much do all the talking and this isn,t that hard to do and can make a diorama hopefully look a little better??? Remember I found most of this stuff for free in the woods!
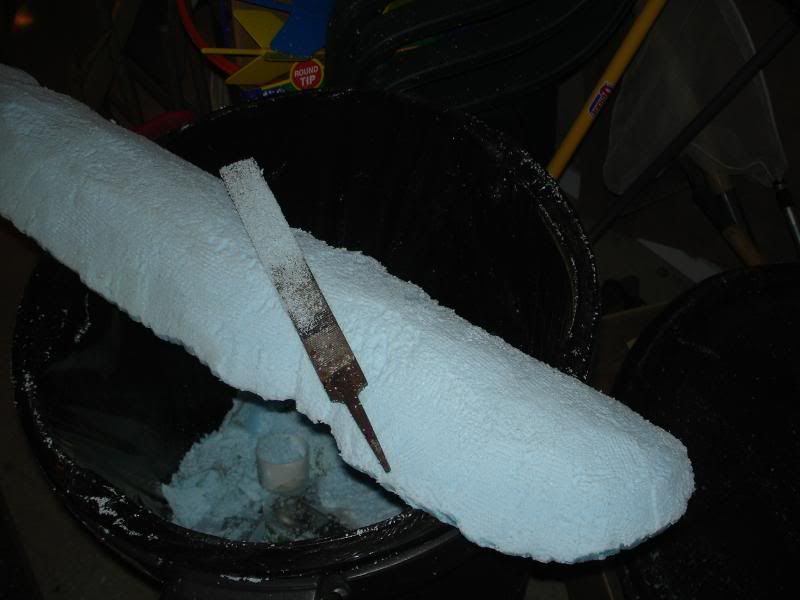
Here we go!
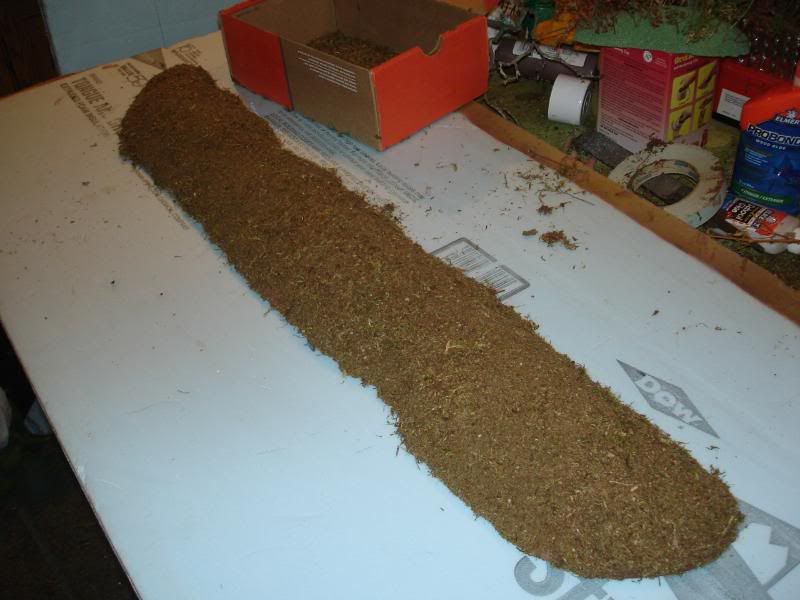
Start out with some foam to stick all this stuff into. Floral foam works better for this because its much easier to stick your dried twiggs ect. into, but pink or blue foam will work also as you can see from the photos and I got the piece of blue foam for free. A bastard file rasp or even a wire brush will give you a nice tapered edge but make sure you do this outside or over a big barrel.
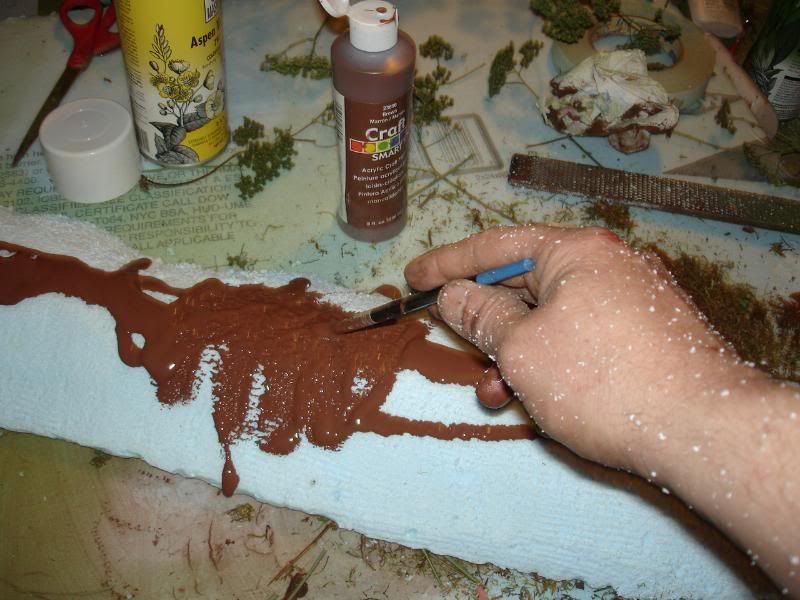
Then when you get the piece to the shape you like you can paint the piece an earth color brown in case your flocking falls off you won,t see blue foam underneath. A bigger brush then the one I have in the photo will do much better to cover the piece quick but I was in a rush to get this done and actually put the paint and glue on pretty much at the same time and wanted to use a cheap disposible brush for both as they would mix together.
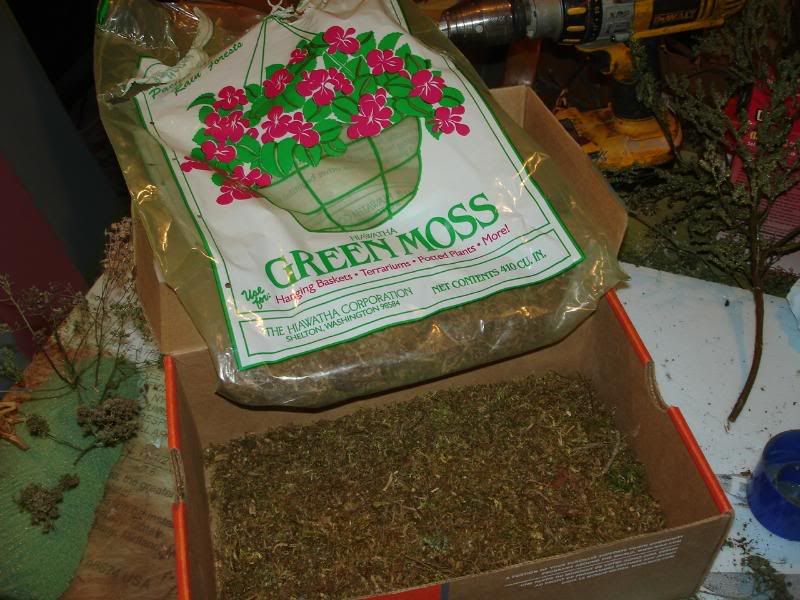
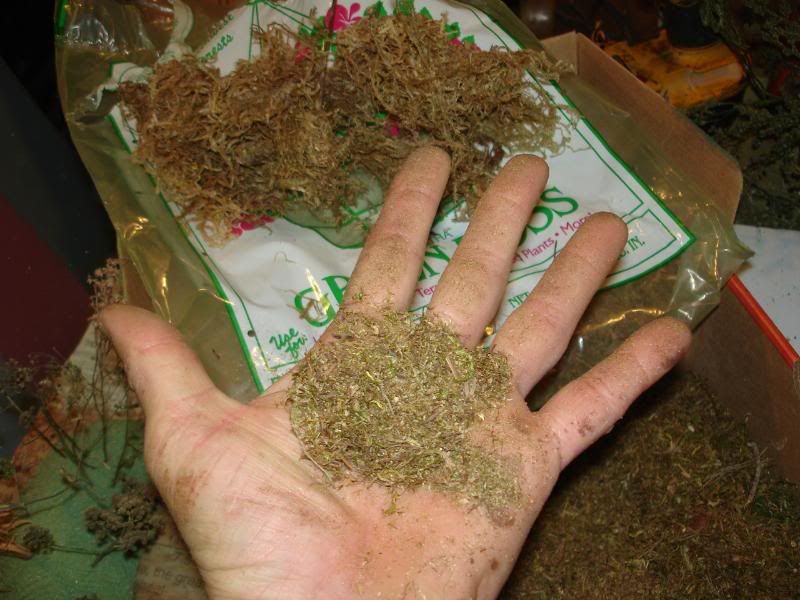
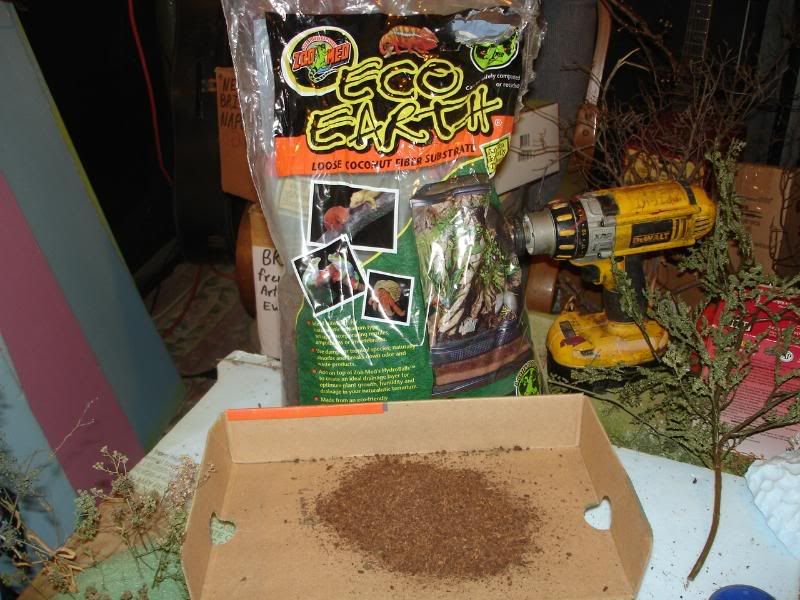
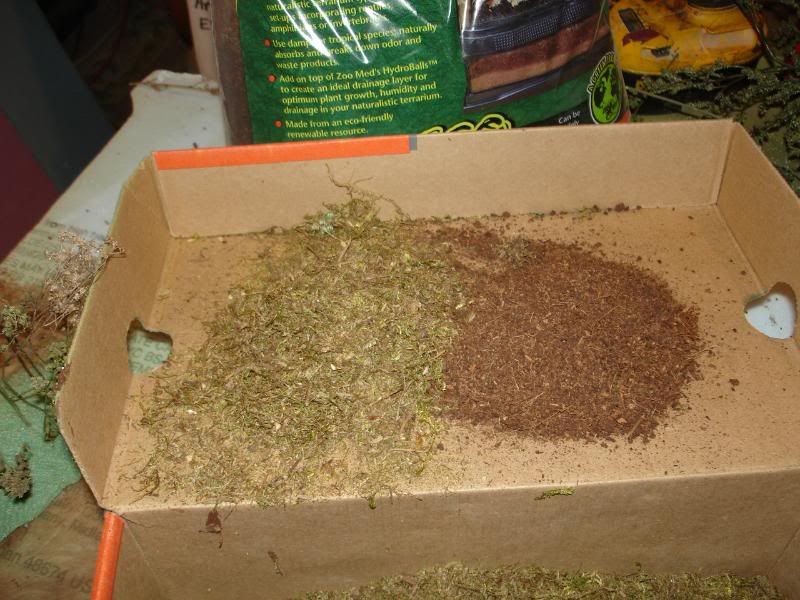
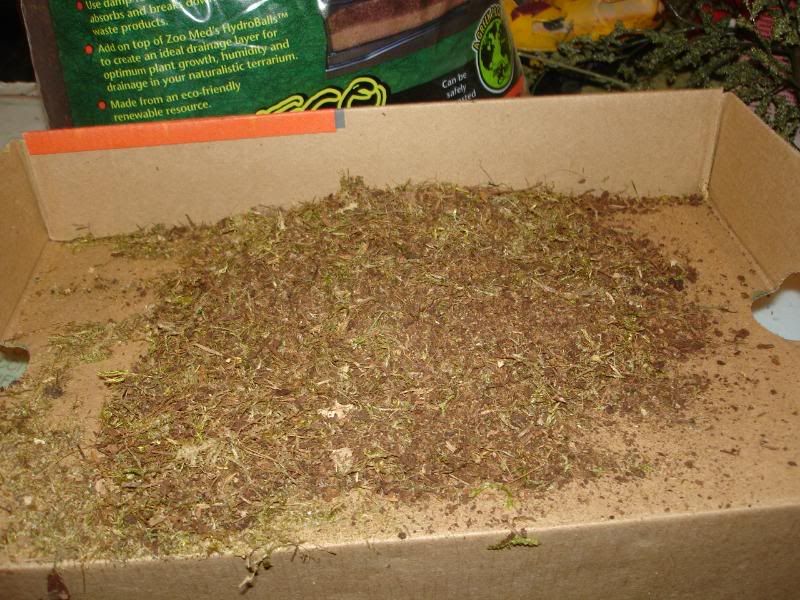
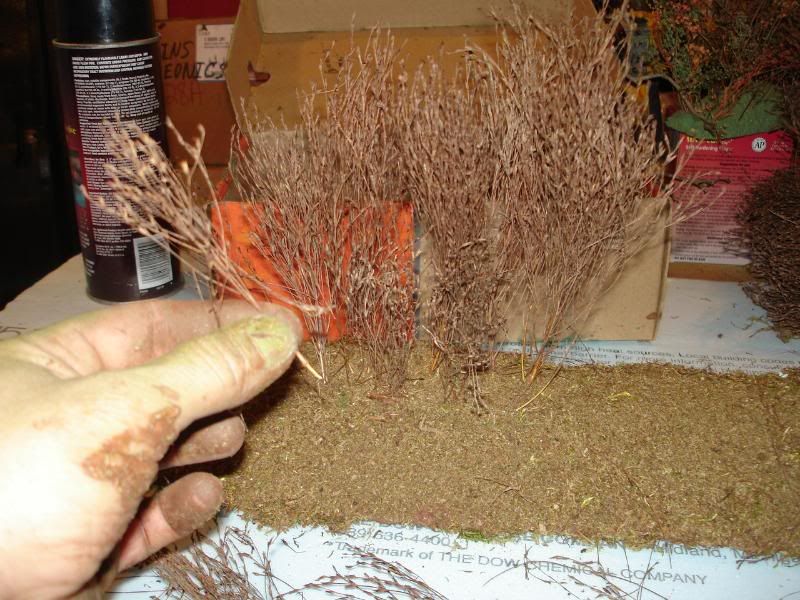
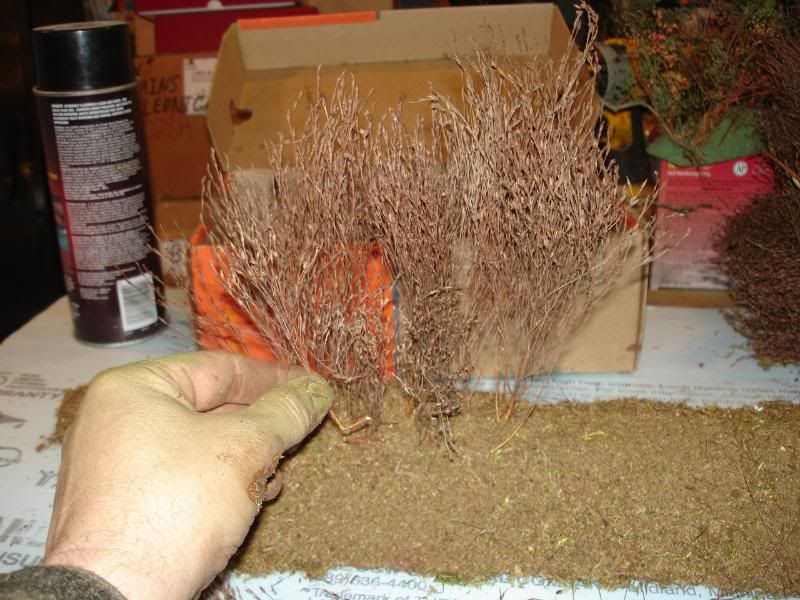
When the paint dries use a cheap brush you don,t care about to add glue because the brush will be junk after this and using either wood or white glue cover the whole piece with glue and then flock the piece with some type of hobby grass or static grass or something? What I used was a type of moss that is used for floral settings found at most craft and floral shops and with my hands crushed it into a fine ground cover. This stuff crumbles pretty easy and at the bottom of the bag when you get it there should be a good amount already crumbled to the perfect size. Just use your hands and crumble some more till you get enough to do what you want. This also makes a great ground scatter to cover the bases of your figures in a diorama. I also mix in some of this reptile tank cover also thats made from Coconut fiber and the two make a really nice looking ground cover! Just spread this over the glue and pat it down a bit so it sticks good and shake off any extra.


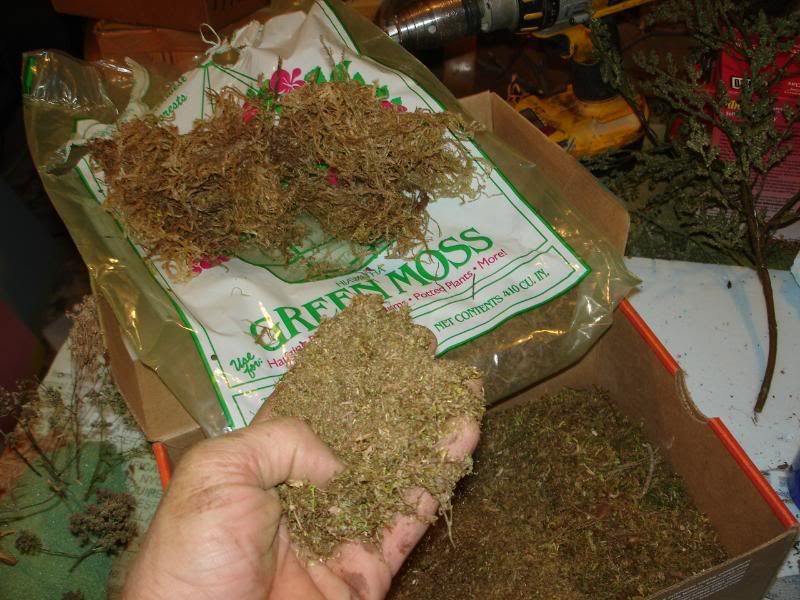
Here they are mixed together
Here we go!
Start out with some foam to stick all this stuff into. Floral foam works better for this because its much easier to stick your dried twiggs ect. into, but pink or blue foam will work also as you can see from the photos and I got the piece of blue foam for free. A bastard file rasp or even a wire brush will give you a nice tapered edge but make sure you do this outside or over a big barrel.
Then when you get the piece to the shape you like you can paint the piece an earth color brown in case your flocking falls off you won,t see blue foam underneath. A bigger brush then the one I have in the photo will do much better to cover the piece quick but I was in a rush to get this done and actually put the paint and glue on pretty much at the same time and wanted to use a cheap disposible brush for both as they would mix together.
When the paint dries use a cheap brush you don,t care about to add glue because the brush will be junk after this and using either wood or white glue cover the whole piece with glue and then flock the piece with some type of hobby grass or static grass or something? What I used was a type of moss that is used for floral settings found at most craft and floral shops and with my hands crushed it into a fine ground cover. This stuff crumbles pretty easy and at the bottom of the bag when you get it there should be a good amount already crumbled to the perfect size. Just use your hands and crumble some more till you get enough to do what you want. This also makes a great ground scatter to cover the bases of your figures in a diorama. I also mix in some of this reptile tank cover also thats made from Coconut fiber and the two make a really nice looking ground cover! Just spread this over the glue and pat it down a bit so it sticks good and shake off any extra.
Here they are mixed together
 Best ways to remove glue, paint and glued on flocking from your hands???