Mitch
Major General
- Joined
- May 1, 2010
- Messages
- 13,519
Oliver...
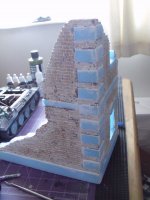
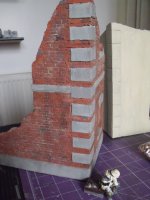
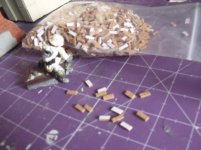
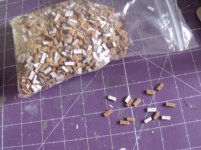
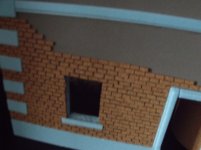
I use cork roll 2mm thick for my house bricks. I just simply draw the lines at the required size and cut them out with a guillotine and then chop them to the correct size with scissors.
The roll I use is adhesive backed and allows you to peel the backing off and stick the individual bricks down no messing around with glue and, it gives a better, immediate stick.
Once they all have been applied I use a tile grout (I used polyfilla and putty but, its not as good) to fill all the gaps and give a rendered finish. As soon as its on I wipe the tiles with a damp cloth removing most from their surface and, allow to dry and paint.
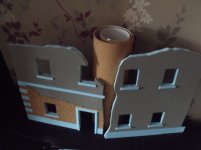
The shots in this and the next post show the blue foam buildings before and after painting and some in the process of being done as well as the rolls of cork. Ignore TG figure as its just for scale and, he is changing from writing on a shell to cleaning his rifle!!
The cork can be cut to any shape or size you want for building stones from large desert ones to small brick houses and, comes in varying thicknesses
I am currently working on a conte style church for a collector and a few other things where this has been an invaluable medium. It also means I can work anywhere in the house as there is no mess, dust or other nasty stuff from carving foam board.
Takes a little time and patience but, I l(though, its amazing how quick you can make 10,000 bricks!!) but I like the effect and, you can easily add depth and carve away the brickwork for battle scared buildings
Hope its a help
Mitch


