Duchy of Tuscany Kettledrummer (1 Viewer)

blaster

Major
Joined
Sep 10, 2008
Messages
6,372
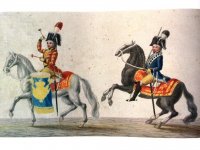
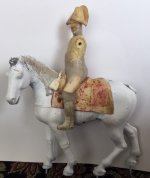
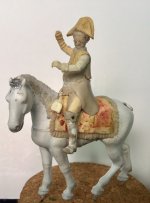
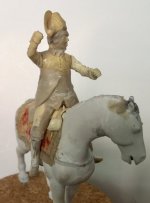
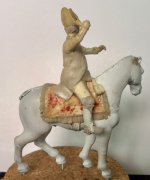
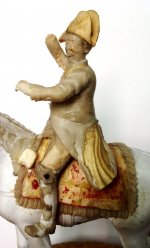
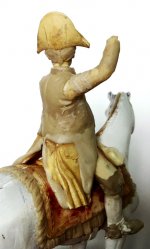
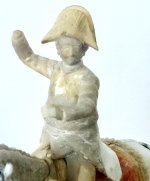
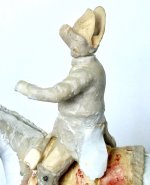
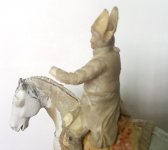
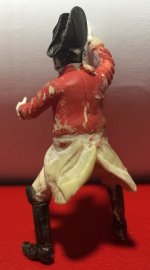
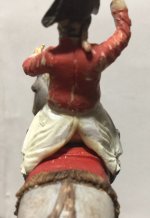
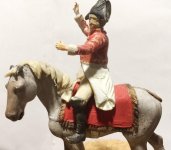
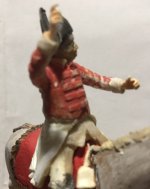
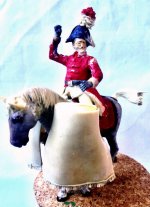
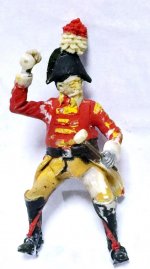
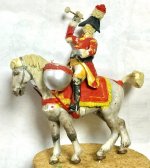
I was inspired to do this piece based on a naïve drawing found in my book on the Tuscany militia. This figure is around 1780-90. The uniform cut appeared to be based on typical French units of the revolutionary period. The saddle was heavy cavalry, with a fringe. The kettle drums were completely covered by the long banners. The hat appears to be in the form of a tricorne or bicorne with a large white plume.

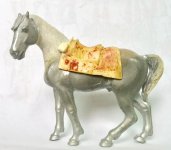
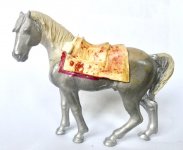
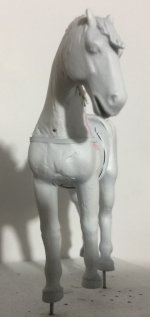
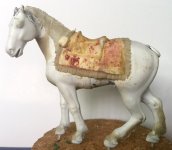
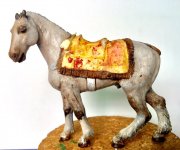
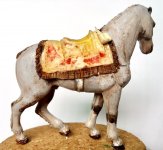
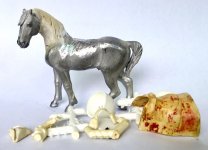
I decided to use one of my prized metal heavy horses. A heavy horse would be suitable as a kettledrummer's mount. So here are some of the parts assembled for this project. I try to scavenge from my spares box first before dipping into my precious hoard of unopened kits.

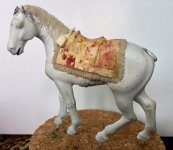
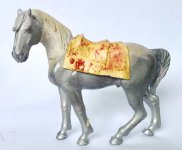
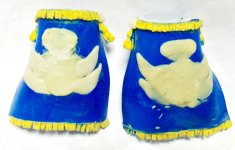
Notice how I removed parts of the horse to accommodate the saddle. I then removed the previous mane and resculpted it again. I also improved on the tail. I have already attach the kettledrum pads to the saddle.
aa8.jpgaa9.jpgaa10.jpgaa12.jpg
 
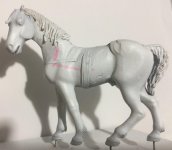
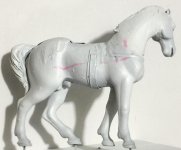
Added the straps to the horse. An undercoat was sprayed to reveal imperfections.

as.jpgas2.jpgas3.jpg
 
I've started to scrape and sand down the imperfections. Removed the forelock and replaced the tail completely.
 
I decided to remove all the mane and tail completely and will replace this with synthetic hair later. A groove was made into the neck of the horse. A hole was drilled for the forelock. The sides of the neck were repaired.

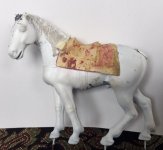
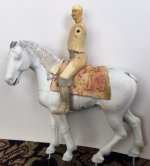
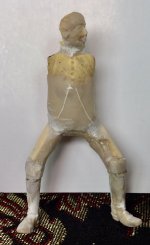
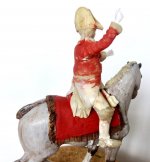
The saddle was epoxied to the horse. A mounted figure was quickly made up from spares and wire. I think it is better to work this way to avoid the repeated mannequin look of assembled Historex figures. The shape of the figure was also roughed out as a slightly pot-bellied man.

The head was built up.

a18.jpga19.jpga20.jpg
 
The cut of the uniform was determined and detailed sculpting of the figure was undertaken. The face was completely resulted, making it slightly larger. The seat of the figure was carefully determined and putty was packed into the legs and buttocks which was pressed wet against the saddle for a perfect fit. The back edges of the saddle were rounded off and the fringe of the saddle was carefully sculpted.

a22.jpga23.jpg
 
The waistcoat was sculpted. The coattails were added and allowed to drape naturally. Hands were selected and glued to the figure.

a27.jpga28.jpga29.jpg
 
The arms were sculpted over, minimizing the folds. Decorative lace was sculpted over the arm sleeves.

I decided to use some Historex skirt parts as these were available. It seemed easier than sculpting the skirt details.

a1.jpga2.jpg
 
In between the sculpting of this piece, I was busy with other figures...:)

It would appear that the Historex coat skirts were unsuitable substitutes. These standard parts do not fit my rotund figure and the position of the pleats and buttons are wrong. The coat skirts also do not drape nicely on the saddle. Hence, I sanded off all the details, retaining only the physical plastic shape for structural rigidity. I sawed off the head and shortened the face slightly. This was reglued into position.
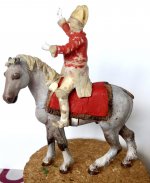

a9.jpga10.jpg
 
I had a blast over the weekend. Finally finished the lacing on the figure. Still working on the coattails.
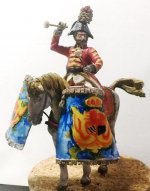
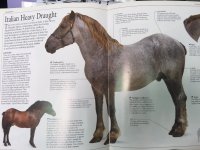
I painted the horse as an Italian heavy draught horse. Hence I changed the conformation slightly - deeper chest, thicker neck and more hair around the fetlocks. The coat colour is painted as a blue roan, white hair mixed with dark hair. The head and points being of a darker colour with white socks.

aa10.jpg

aa12.jpgaa17.jpgaa15.jpgaa16.jpg
 
I decided to resculpt the mane and tail instead of making it from faux hair as I currently don't have a supply of light yellow hair. I've started to add the underlying structure to make the mane waving, assuming a light zephyr blowing around. Also resculpting the coattails now. Hopefully done soon so that I can move onto the kettledrums and banners.
 
I sculpted in the lacing on the coat and added a red undercoat to the upper torso to check for defects. The coattails take some effort as I wanted it to drape naturally.

qa.jpgqa2.jpg
 
Some progress here. The sleeves are almost done. The coattails are being finalized.

aa3.jpg
 
Still couldn't get the details of the coattails correct. So I removed the sculpted coattails and substituted with Historex parts which were then modified to fit my figure and the pose.

aa4.jpgaa5.jpgaa6.jpg
 
I took out this older conversion and continued to work on it.
The kettledrum straps were added and the banners were made from rolled out putty. The hands were substituted and I added kettledrum sticks to the figure.

aaa3 small.jpgaaa7 small.jpgaaaa6 smaller.jpg aaa14 small.jpg
 
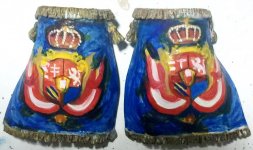
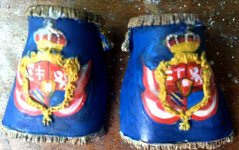
I added the fringes to the banners. For the design on the banners, historically, these can be embroidered or painted on. I decided to on a mix of minor embroidery and painting. Hence I semi-sculpted the outline and will sand down the design.

aaa15 small.jpg
 
i have started to paint the coat of arms. I had stopped earlier at this stage because I could not decide whether to paint it in full colour or only yellow embroidery. On my recent trip to Spain, all the flags and coat of arms that I saw were in full colour, some heavily embroidered as well. I have now opted for the former which looks very promising.

b11.jpg
 

Users who are viewing this thread

Back
Top