aujj65
Colonel
- Joined
- Sep 30, 2005
- Messages
- 9,153
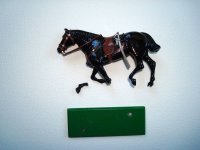
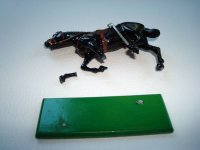
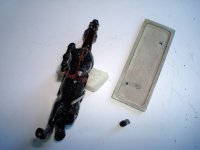
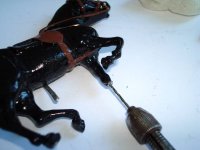
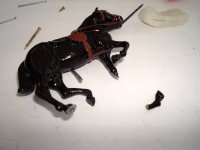
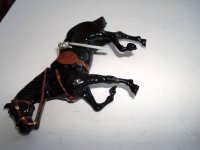
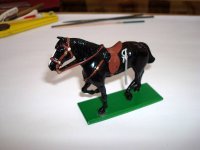
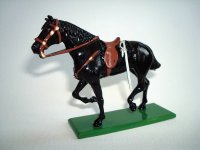
Britains Hamleys Hussars! 
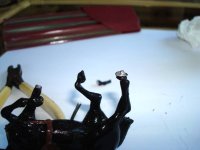
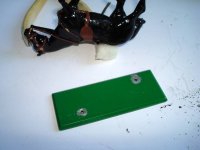
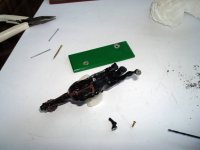
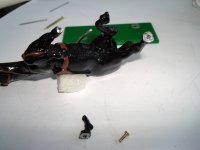
This time Tom (tdubel on the forum) has a set of these “rather prone to breakages” figures and a horse in particular is a bit worse for wear!
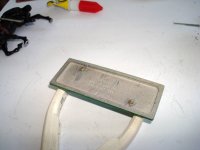
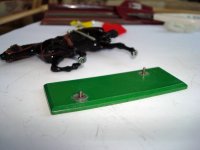
The front leg has broken off and the lugs that hold the two legs to the base have snapped off as well.
Jeff
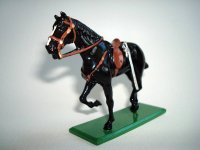
This time Tom (tdubel on the forum) has a set of these “rather prone to breakages” figures and a horse in particular is a bit worse for wear!
The front leg has broken off and the lugs that hold the two legs to the base have snapped off as well.
Jeff