tmanthegreat
First Sergeant
- Joined
- Nov 27, 2018
- Messages
- 1,458
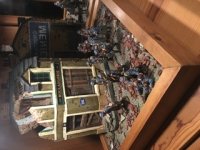
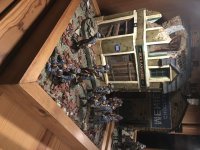
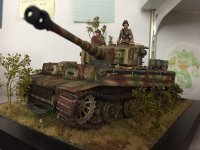
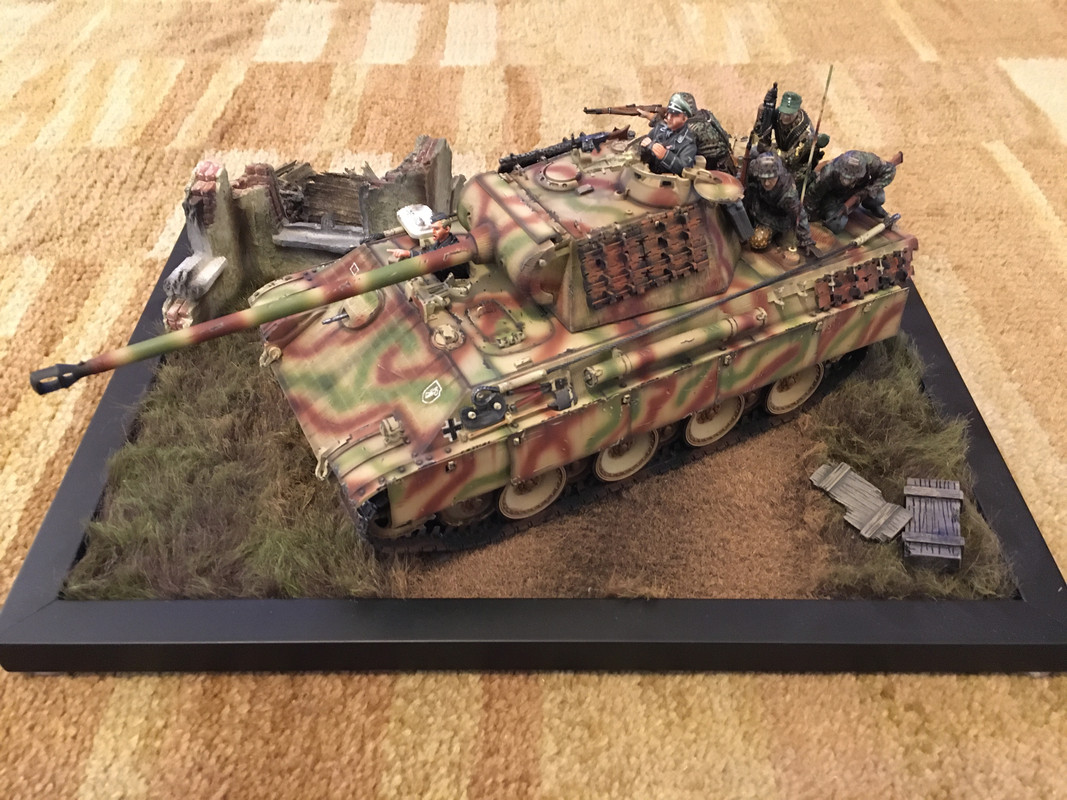
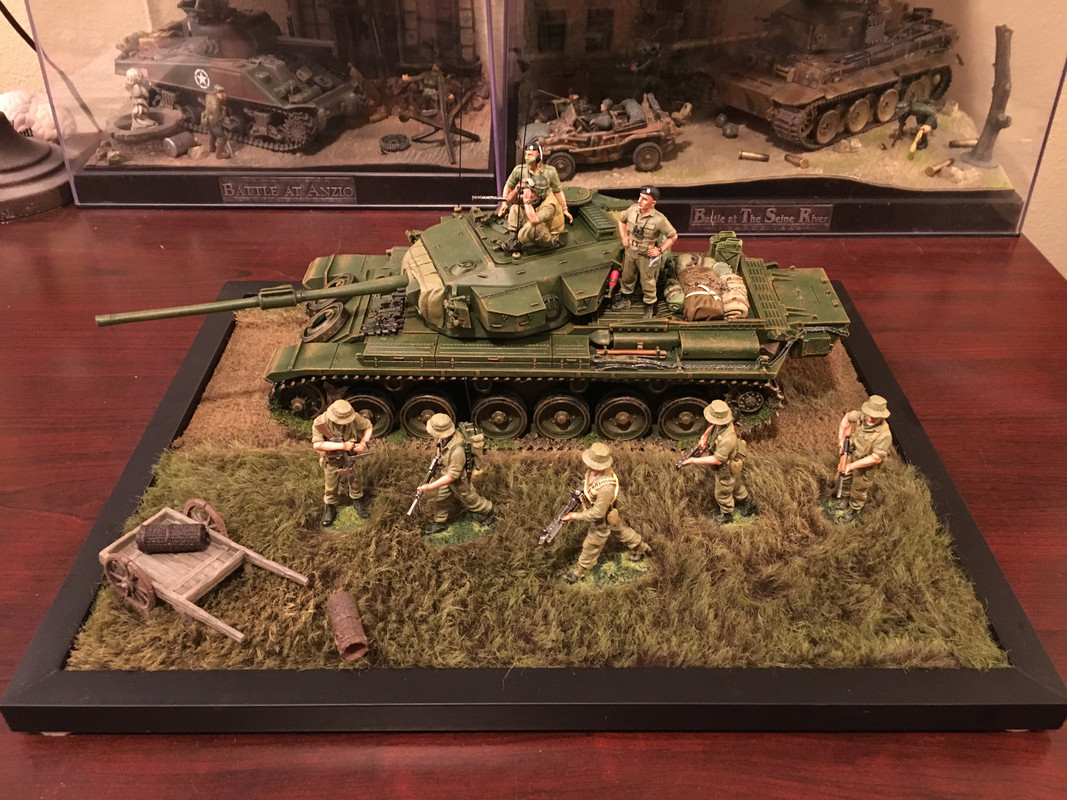
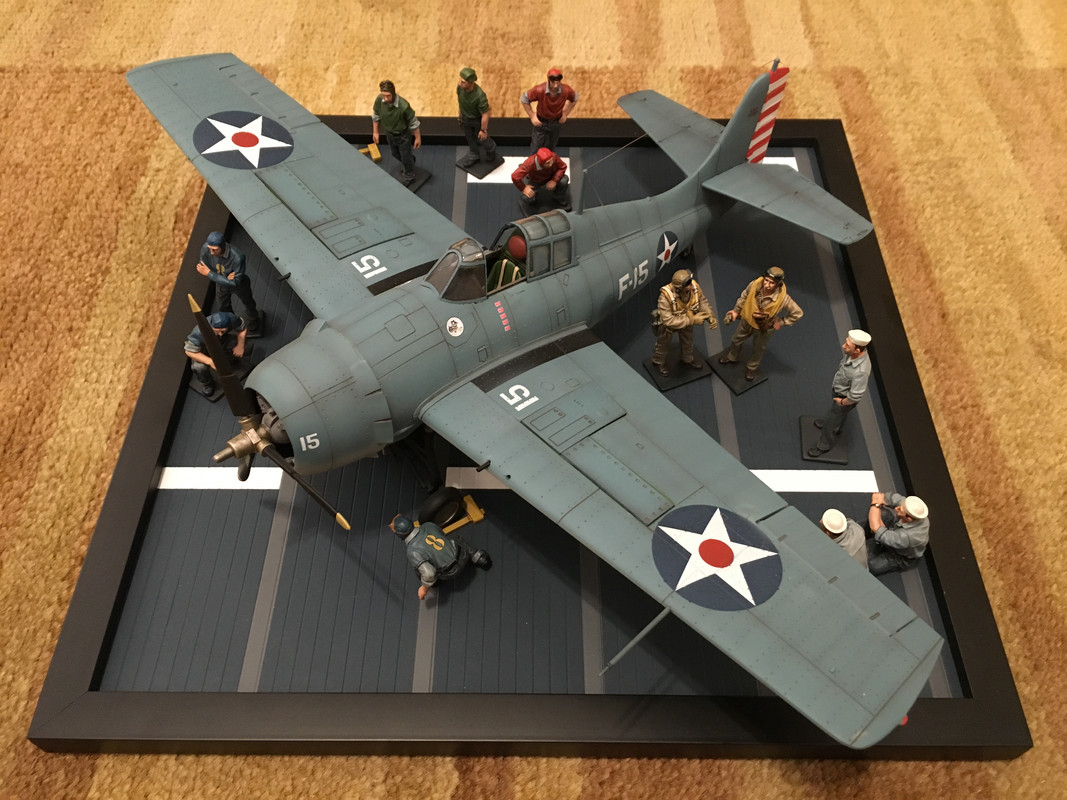
I’ve gotten some positive feedback on my various “Picture Frame” dioramas and have had people post questions to me on social media as to how I make them. I thought I’d share here as well. I adopted this format for displaying my 1/30 scale armor, aircraft, and figures as the vignettes take up less space than a larger diorama and the picture frame makes for a nice border containing the scene. The vignette format allows one to focus on a single vehicle and figures without it getting lost in a larger setup. I’ve included some pics throughout this post.
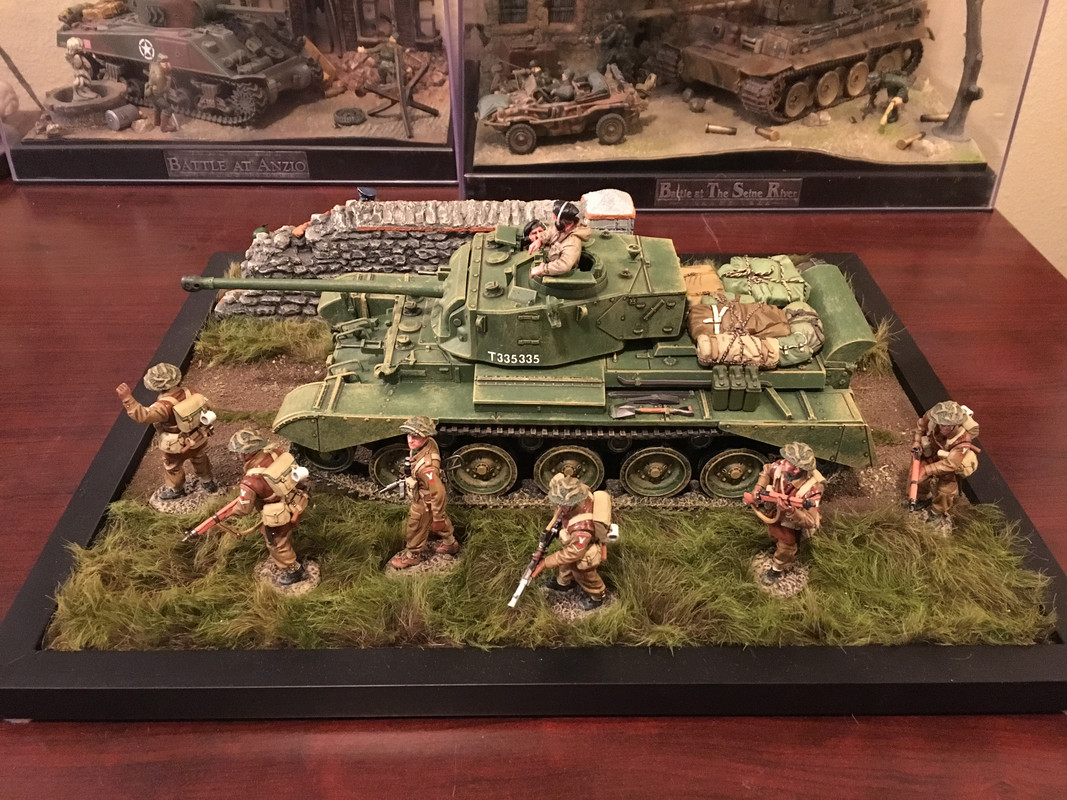
Anyways, making the displays is relatively simple: I’ll get a basic picture frame from Hobby Lobby or another craft store. I’ve mostly used 11”x14”, 9”x12”, 12”x12” frames, along with some smaller 5”x7” frames.
Once I have the frame, I remove the backing and the glass and use the glass to measure and cut a sturdy base from either cardboard, balsa wood or craft plywood.
Once I have the base cut out, I will take some diorama terrain matting, such as that made by JG Miniatures or Build-a-Rama, cut out a section that fits the base, and glue the matting to the base.
I will then insert the base/matting into the picture frame, and reinstall the frame’s cardboard backing if there’s space to do so. I’ll then place some of those sticky pads one sticks under a chair or table leg on the corners of the frame so it doesn’t scratch the table I have the display on.
With the framed display base complete, I can now place the vehicle, aircraft, building structures, figures, and other items on the vignette display where I want.
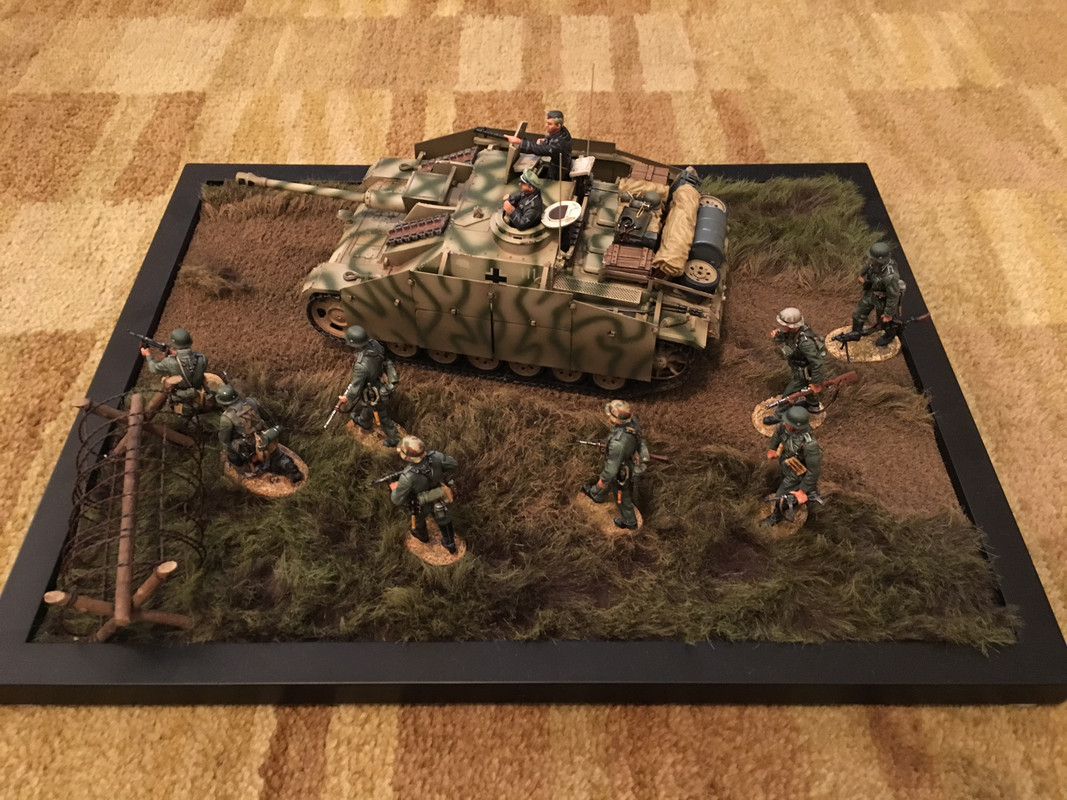
The above method also works well with the printed display boards Thomas Gunn makes, though I usually have to trim off part of the TGM board to make it fit in a frame. Occasionally I’ll make my own terrain, usually by fixing fine dirt/sand to a baseboard using spray lacquer. I’ve made my own WWII-era carrier decking by painting styrene sheeting as well.


Anyways, making the displays is relatively simple: I’ll get a basic picture frame from Hobby Lobby or another craft store. I’ve mostly used 11”x14”, 9”x12”, 12”x12” frames, along with some smaller 5”x7” frames.
Once I have the frame, I remove the backing and the glass and use the glass to measure and cut a sturdy base from either cardboard, balsa wood or craft plywood.
Once I have the base cut out, I will take some diorama terrain matting, such as that made by JG Miniatures or Build-a-Rama, cut out a section that fits the base, and glue the matting to the base.
I will then insert the base/matting into the picture frame, and reinstall the frame’s cardboard backing if there’s space to do so. I’ll then place some of those sticky pads one sticks under a chair or table leg on the corners of the frame so it doesn’t scratch the table I have the display on.
With the framed display base complete, I can now place the vehicle, aircraft, building structures, figures, and other items on the vignette display where I want.
The above method also works well with the printed display boards Thomas Gunn makes, though I usually have to trim off part of the TGM board to make it fit in a frame. Occasionally I’ll make my own terrain, usually by fixing fine dirt/sand to a baseboard using spray lacquer. I’ve made my own WWII-era carrier decking by painting styrene sheeting as well.