fishead19690
Command Sergeant Major
- Joined
- Nov 3, 2005
- Messages
- 2,555
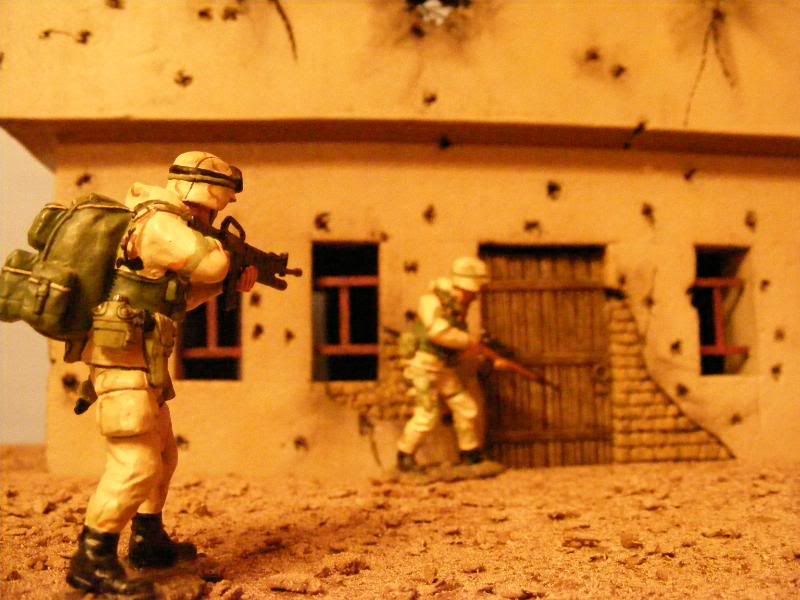
Those look great Simon! Makes me want to get back to work on my building project.
Makes me want to get back to work on my building project. Makes me want to get back to work on my building project.
All finished and ready for playing with
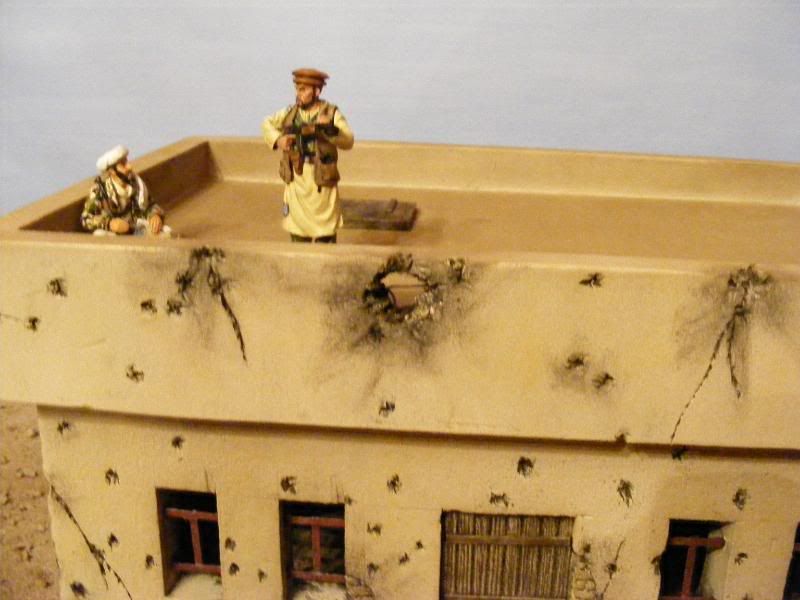
Just got the rest of Baghdad to finish now.....
Simon
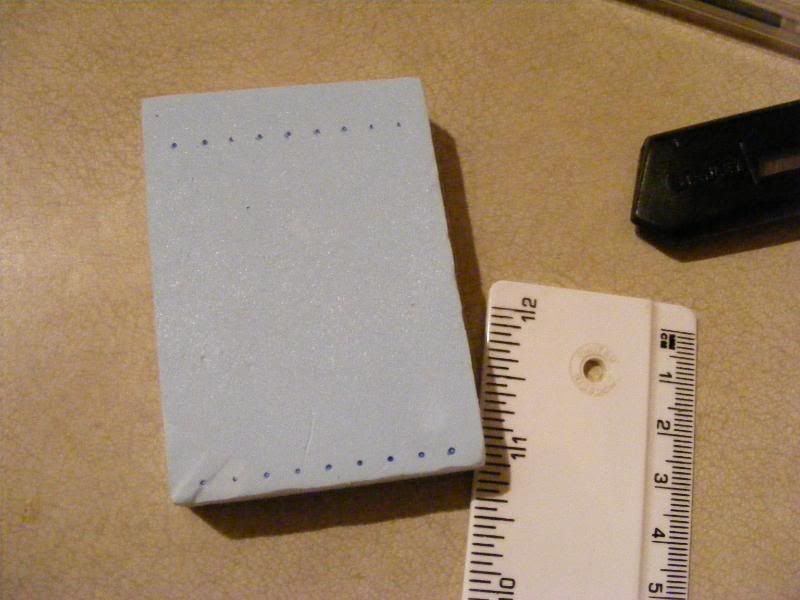
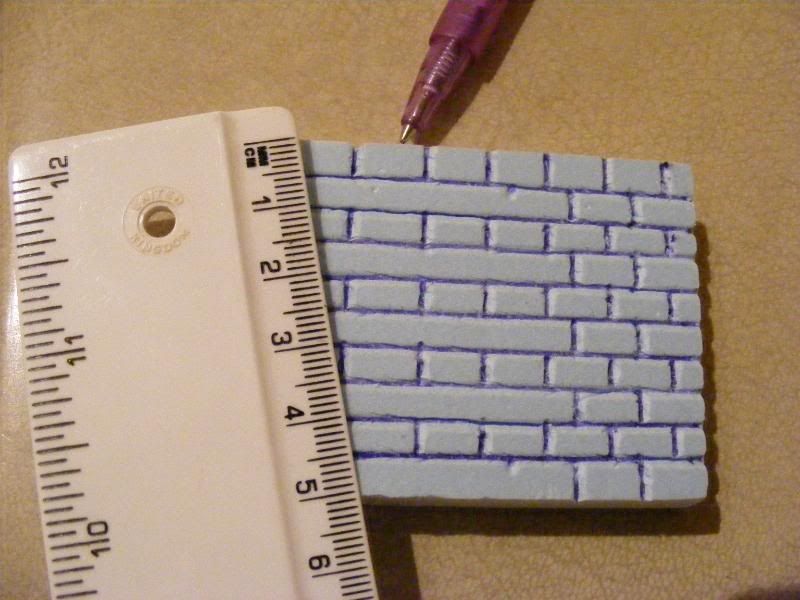
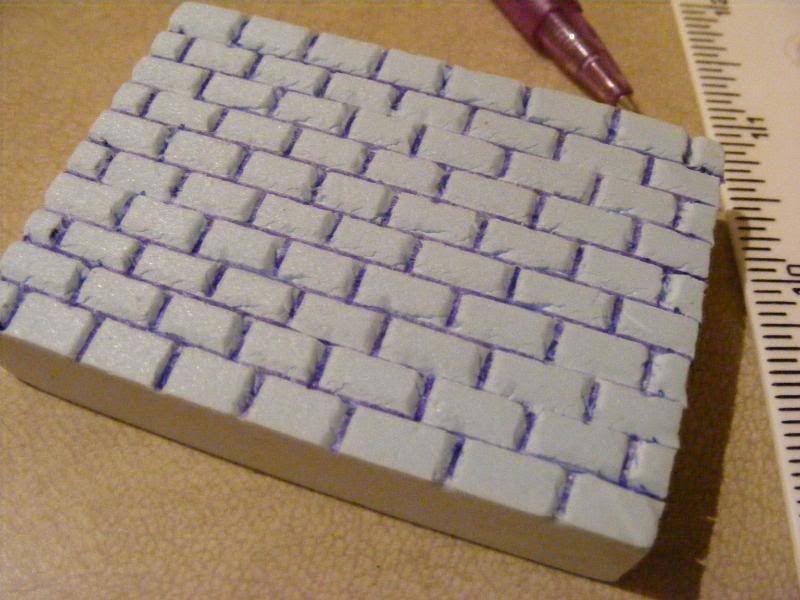
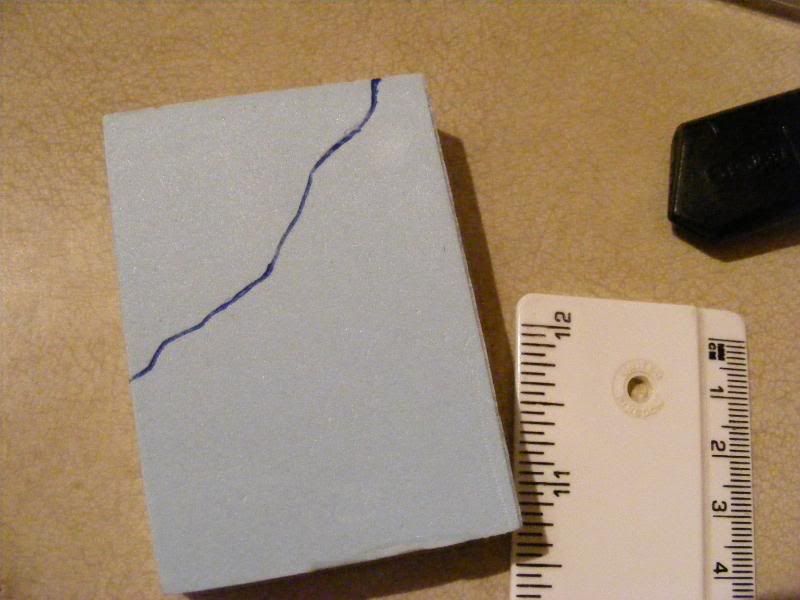
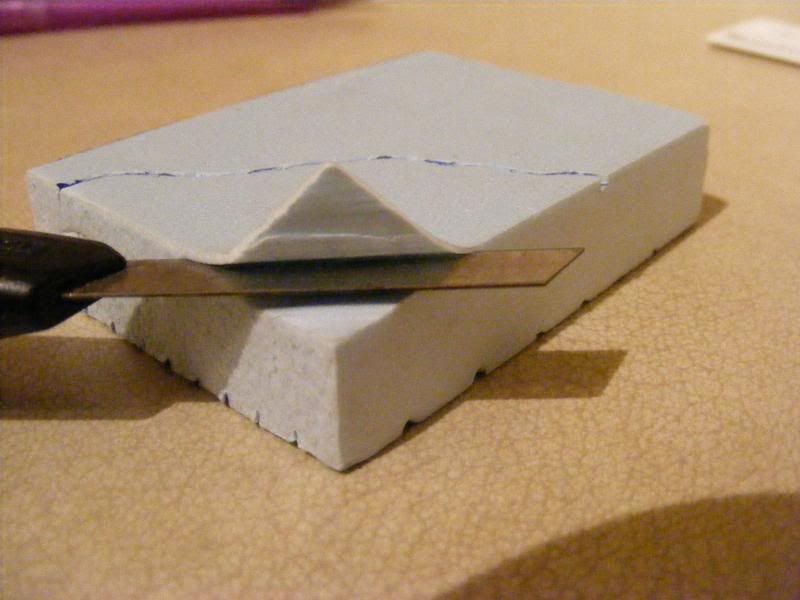
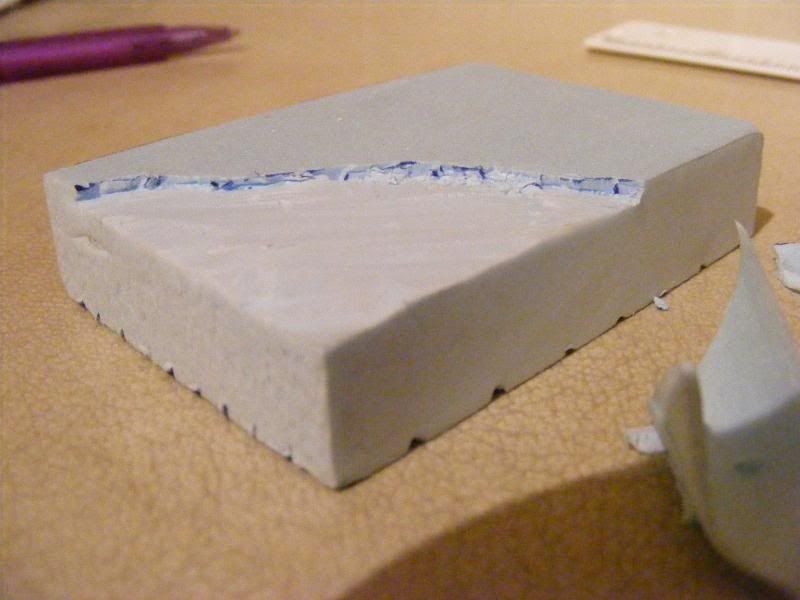
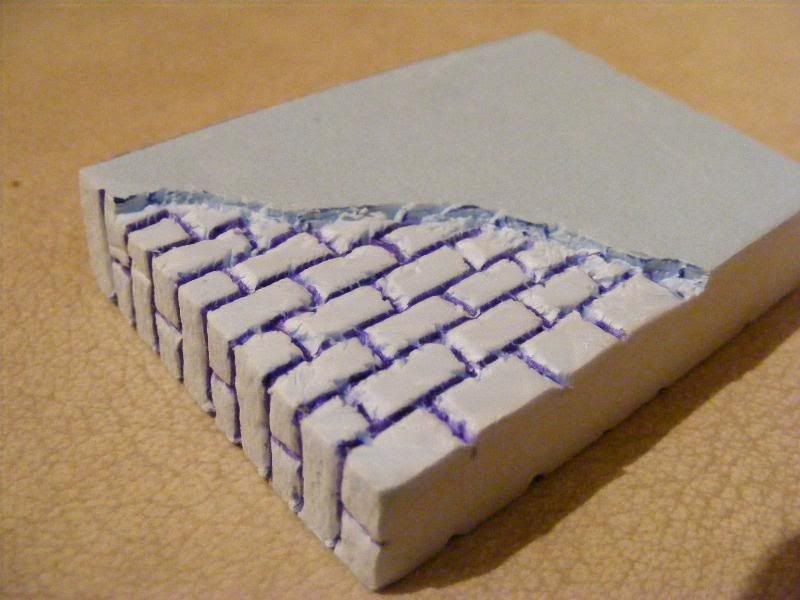
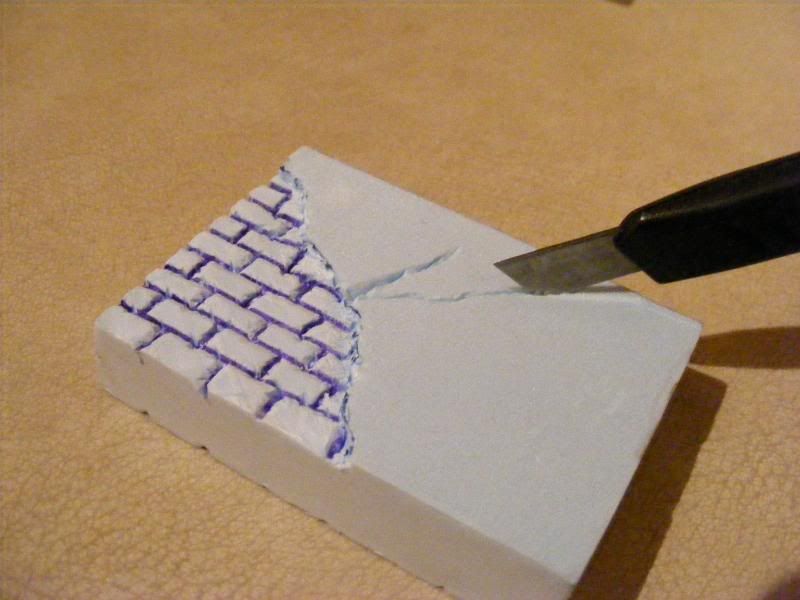
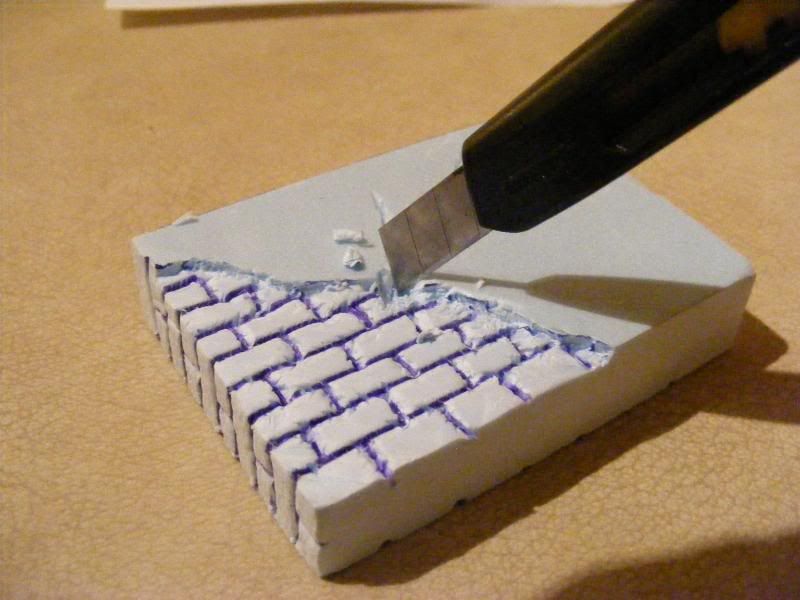
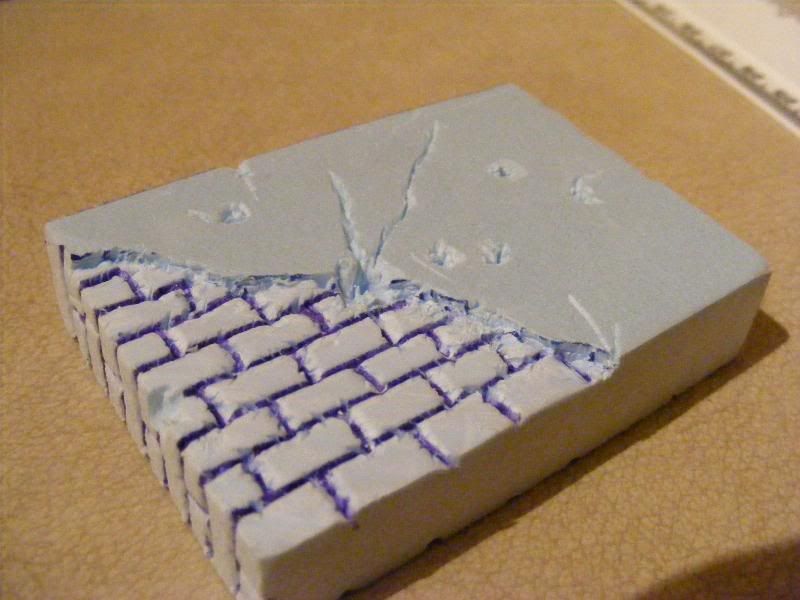
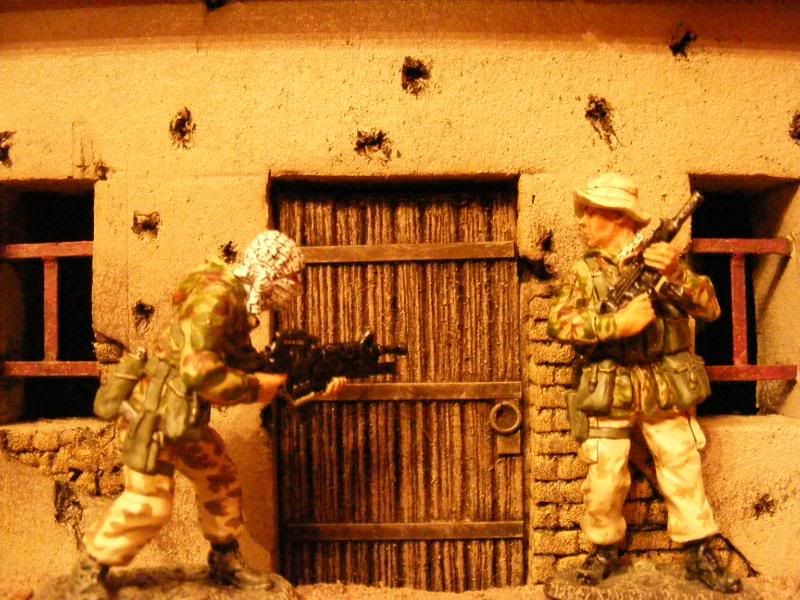
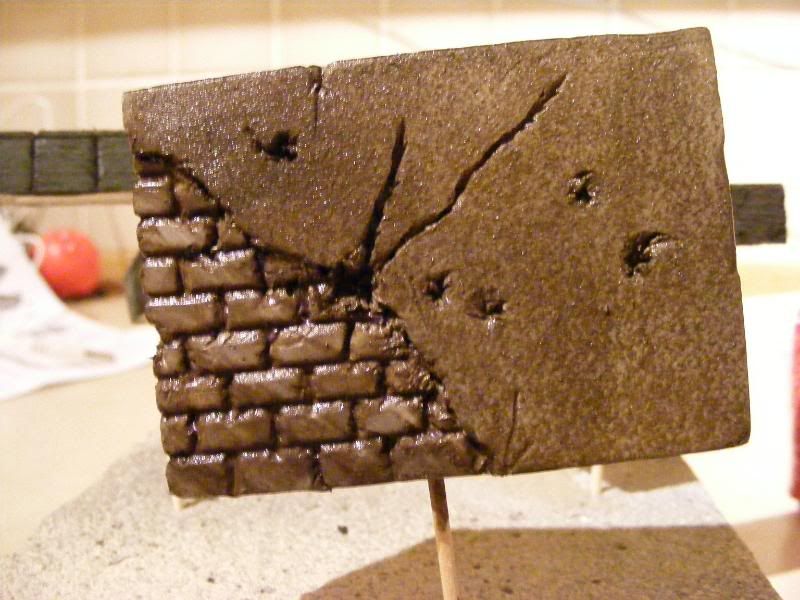 I have also used this technique before and it can add a great looking effect to a building. I did my damaged sections a little different from the way you did yours because my building was complete and already painted when I added my damaged sections. The idea was pretty much the same as yours but I had to cut out and carve away in smaller sections then yours. I used a clay sculpting tool that was curved and sharp to cut away the damaged section then I used a pencil to add the brick detail into the foam.
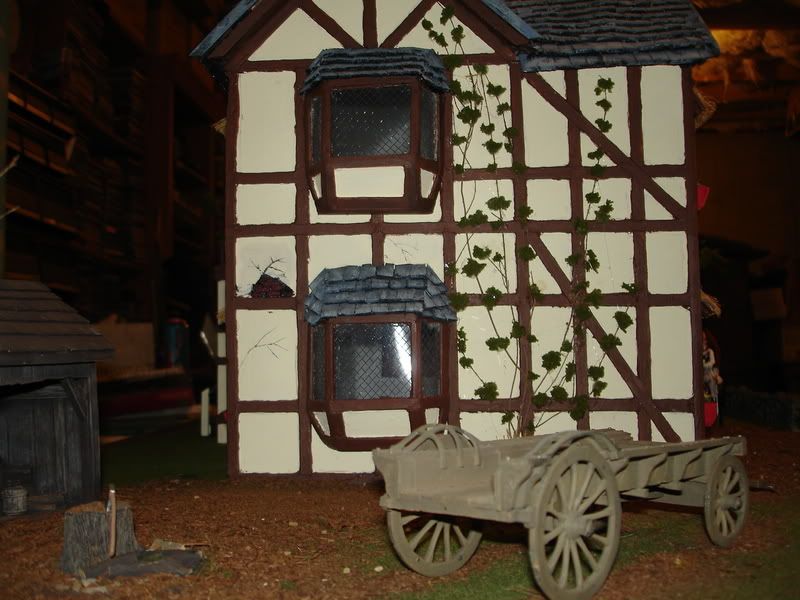
Very nice Fish, your house-building is very good. I’m interesting in your chariot who make it?
Rod.