fishead19690
Command Sergeant Major
- Joined
- Nov 3, 2005
- Messages
- 2,555
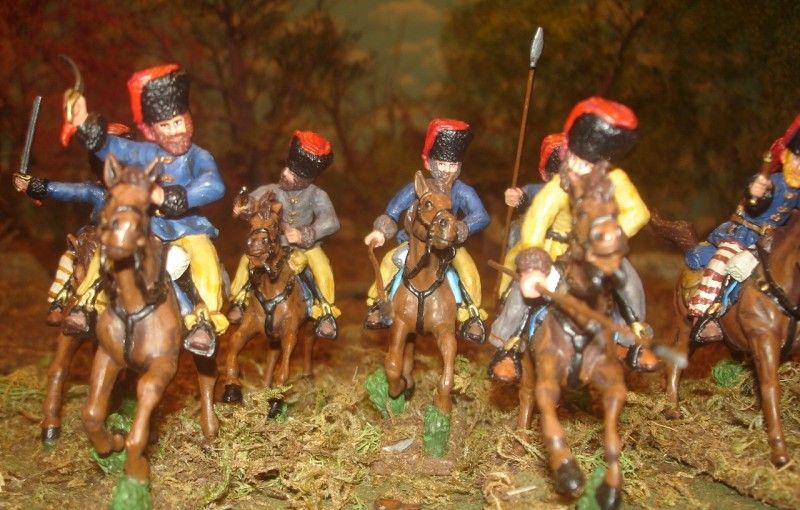
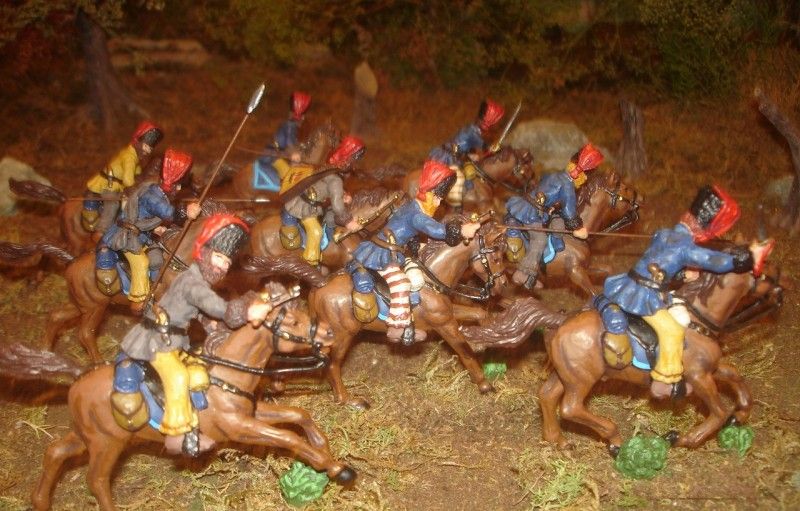
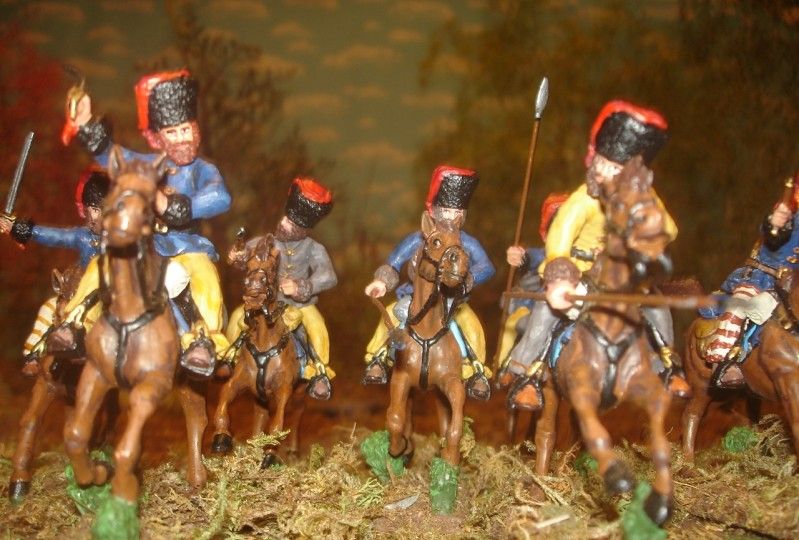
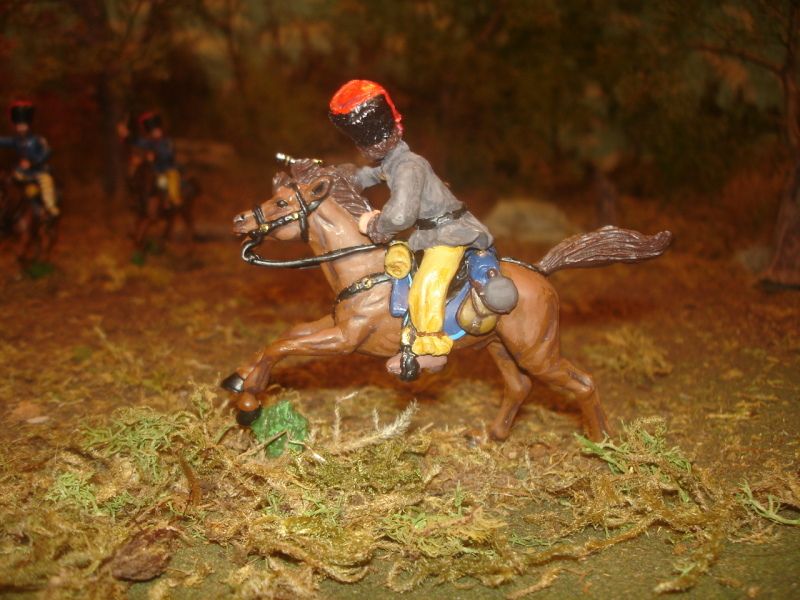
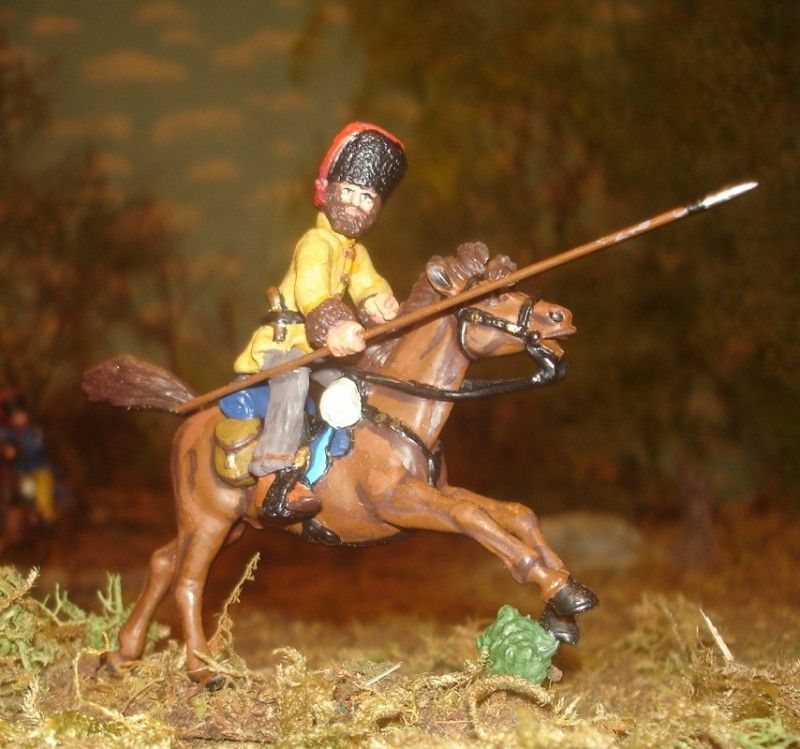
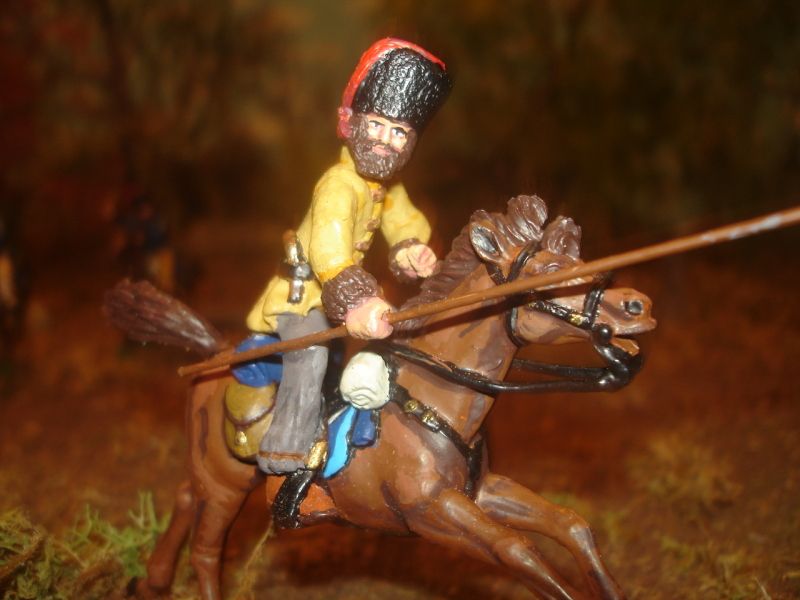
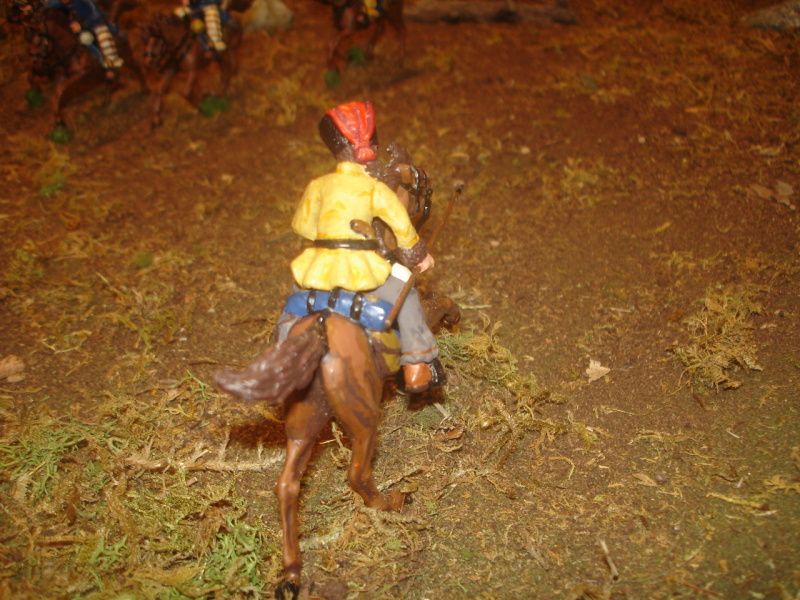
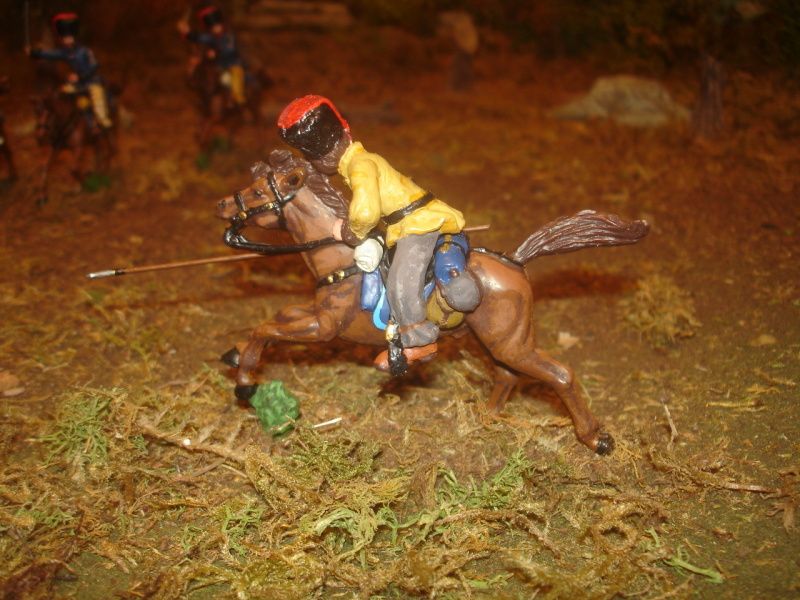
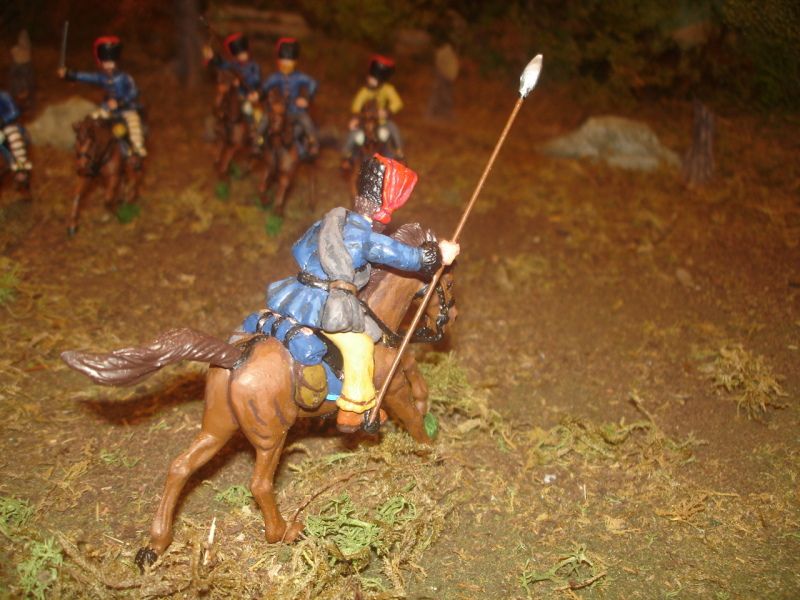
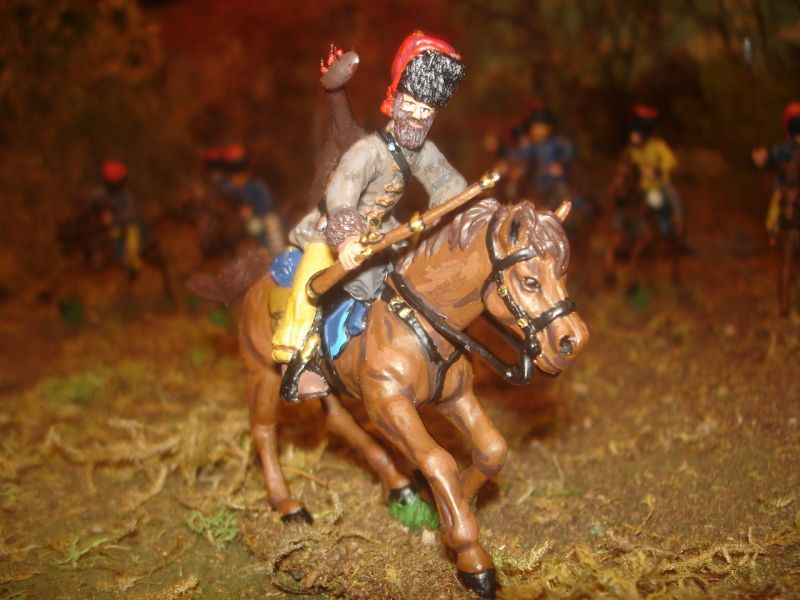
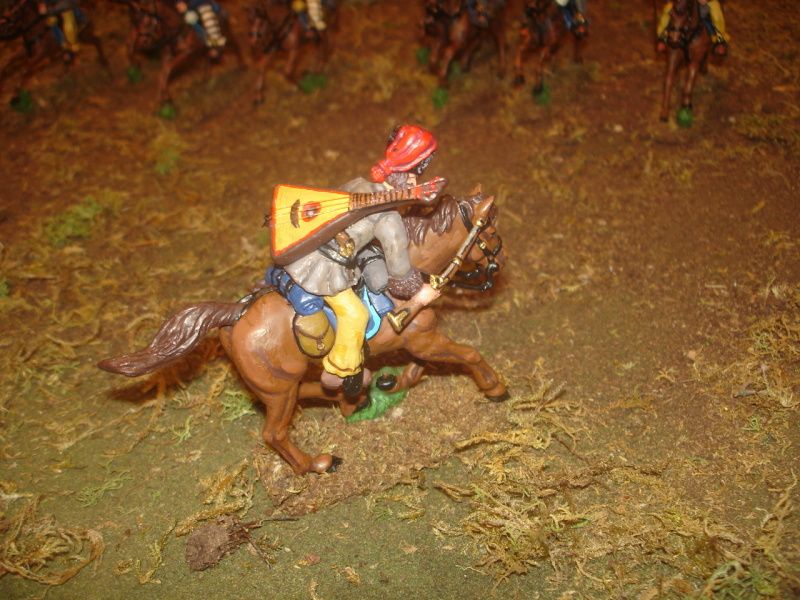
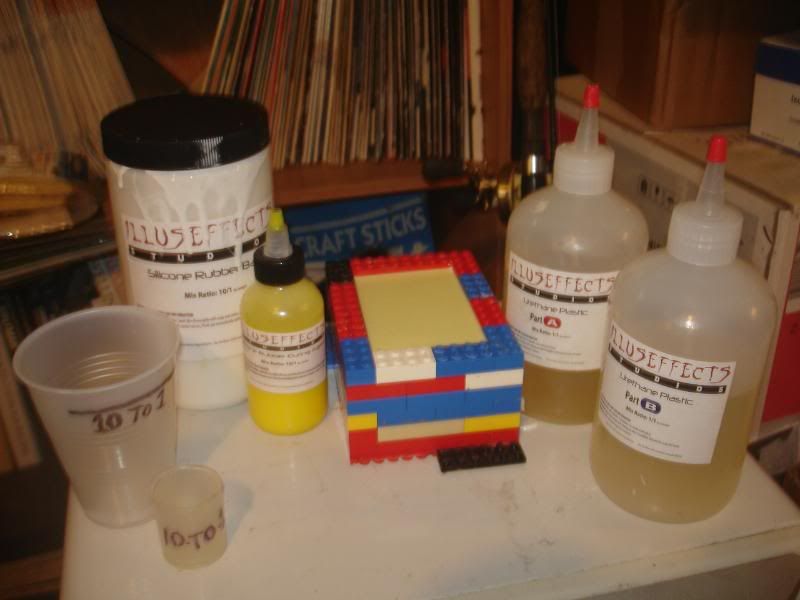
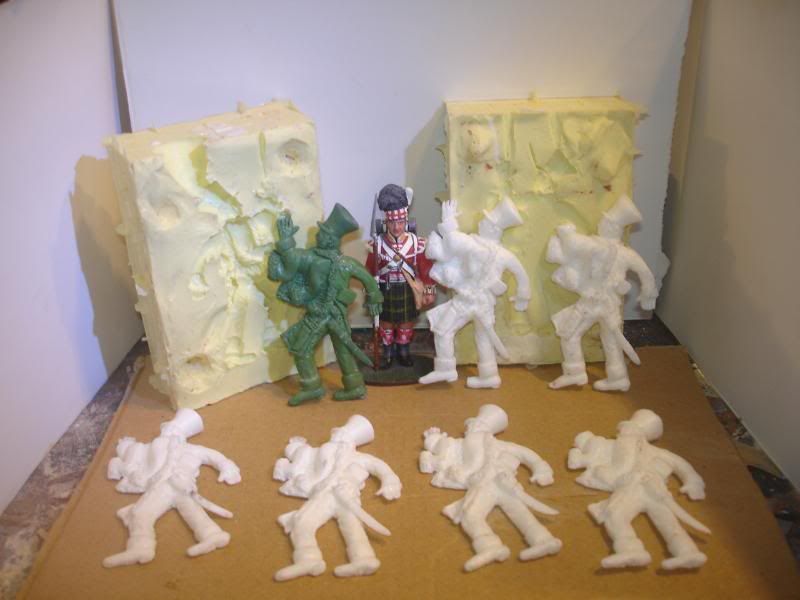
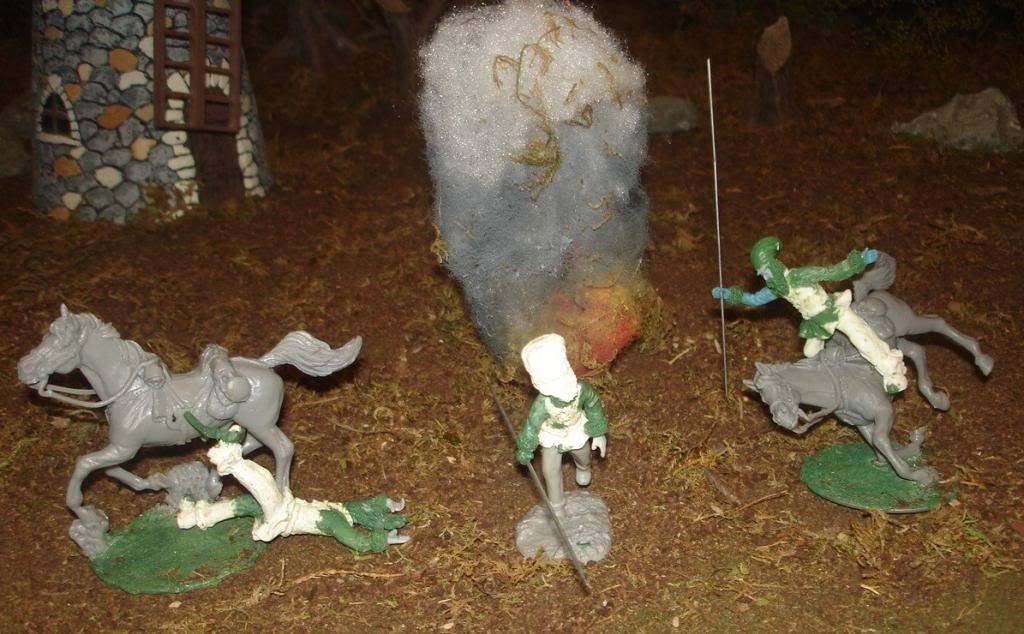
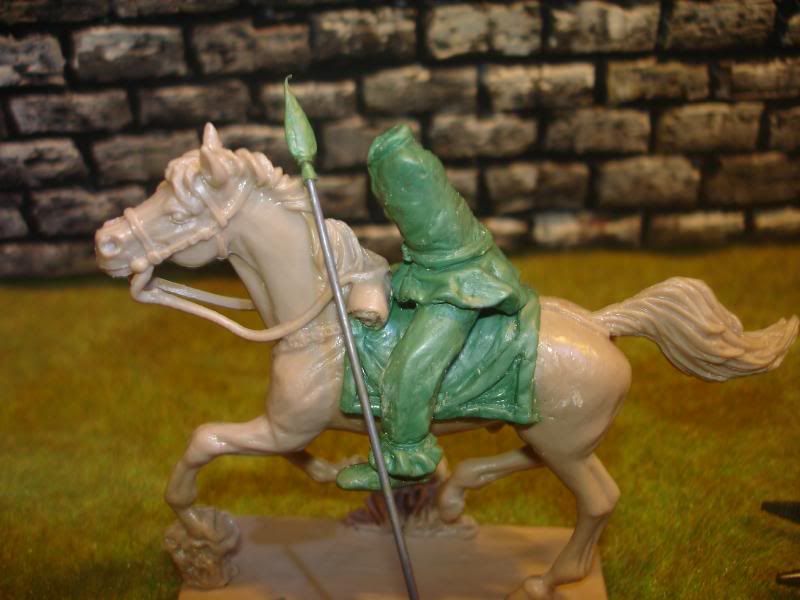
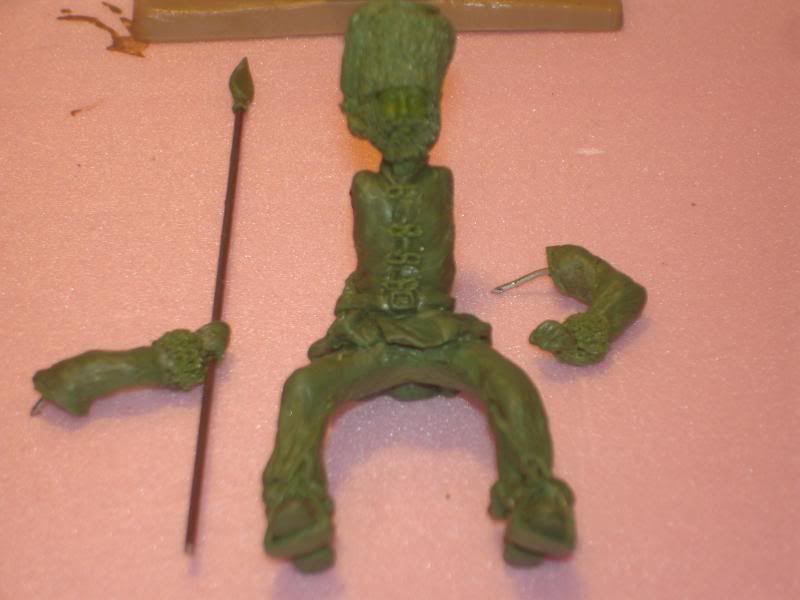
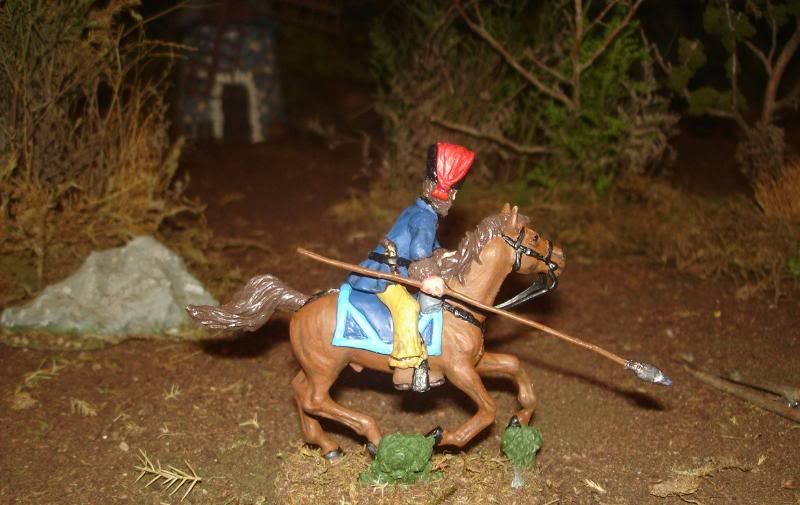
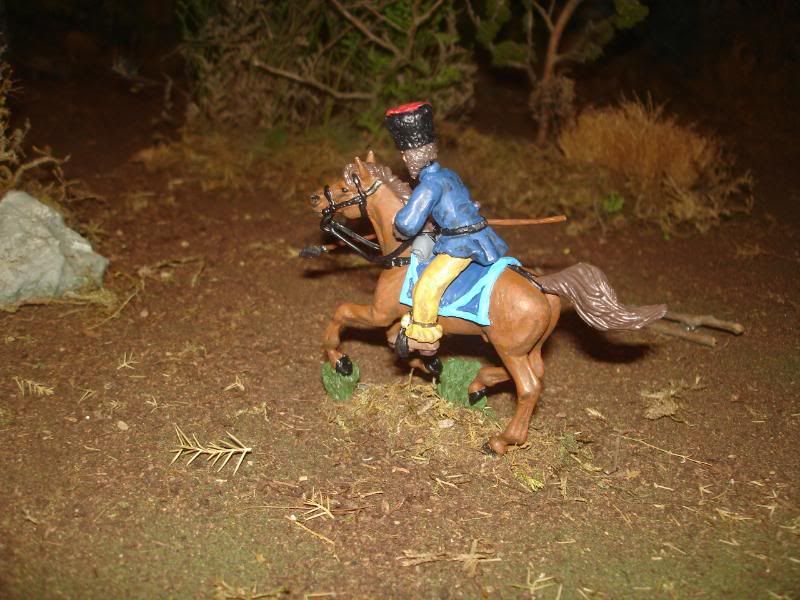
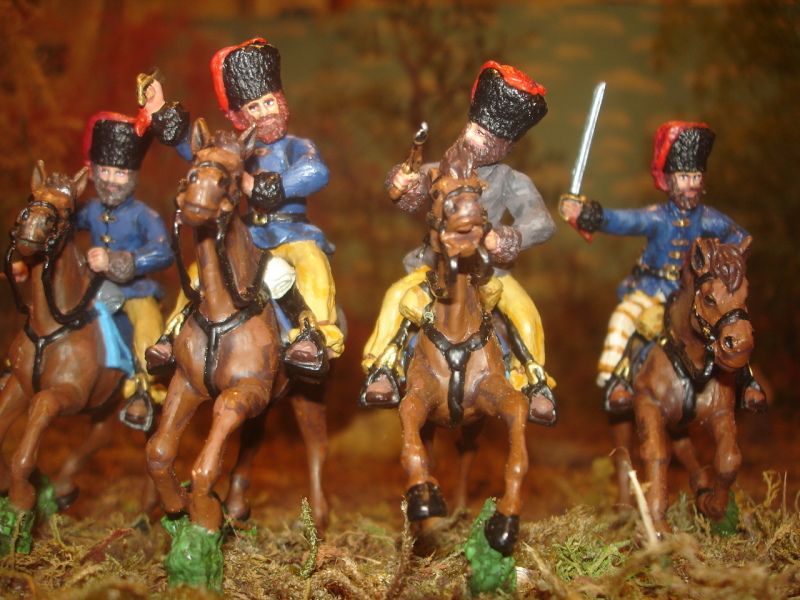
I finally got around to finishing up some of my castings of my scratch built Cossack. I cast these in resin and converted them into different poses with different weapons and even scratch built a Russian guitar(balakia????) on one figure.
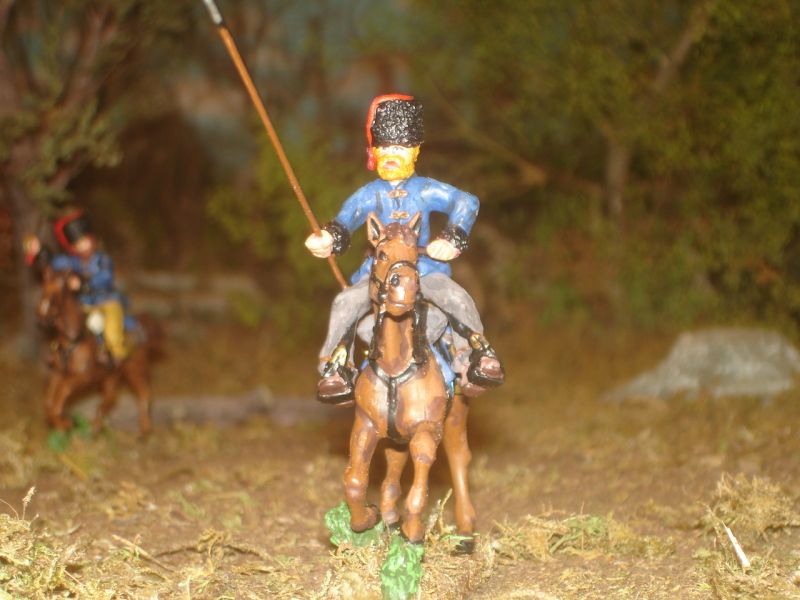
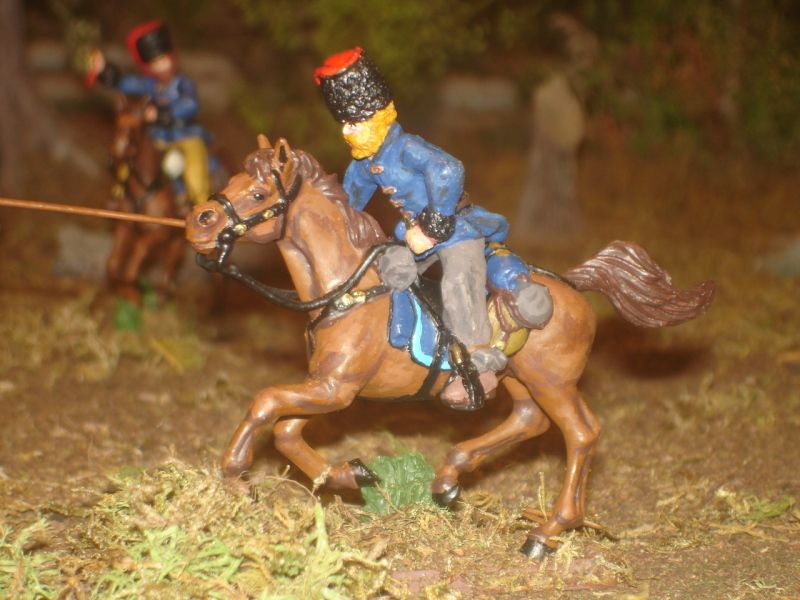
The swords and pistols were taken from plastic figures, the lances are just wire.
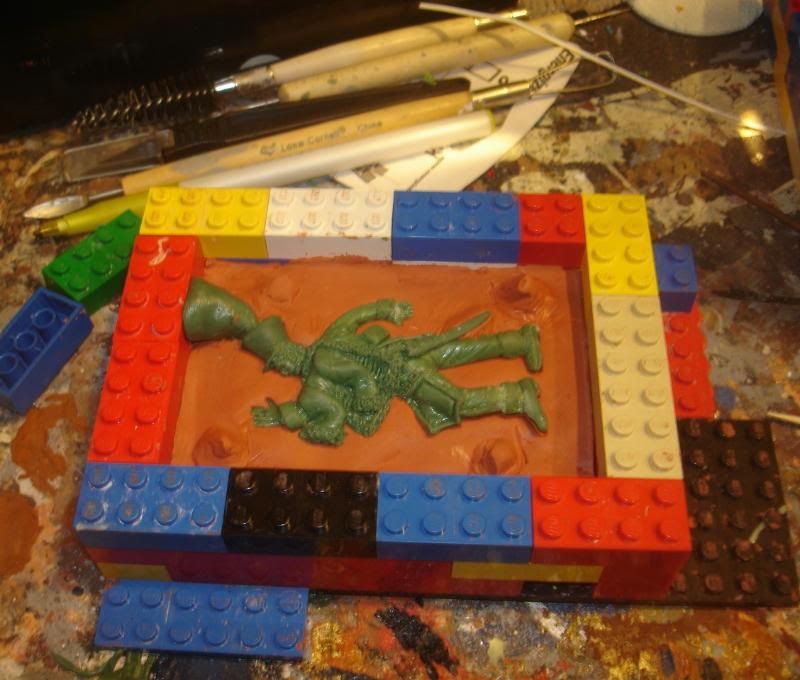
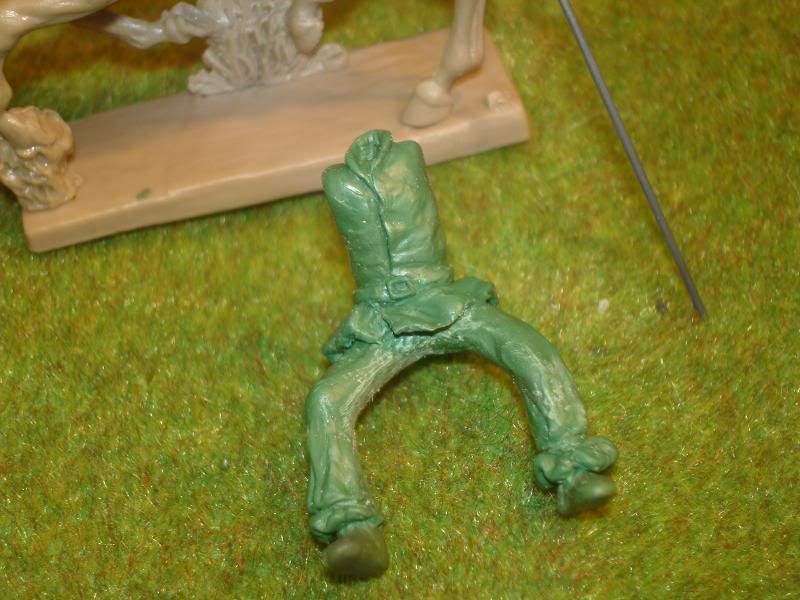
Here is my sculpt first in the ruff in stages. He was sculpted from 2 part green stuff.
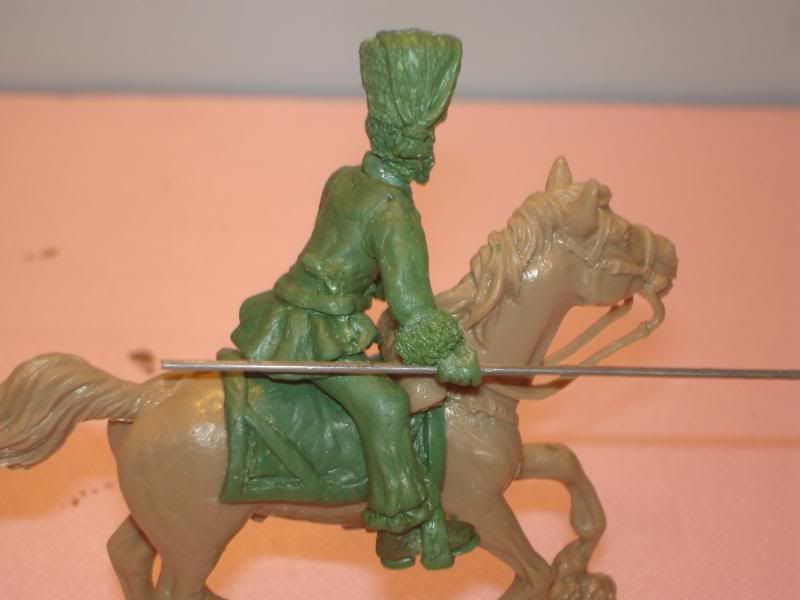
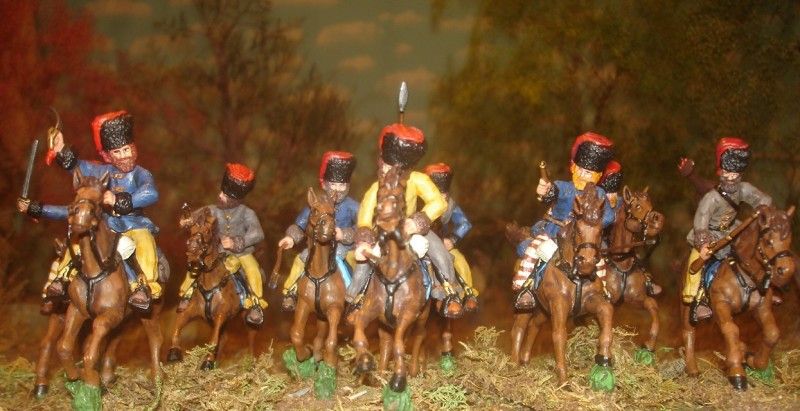
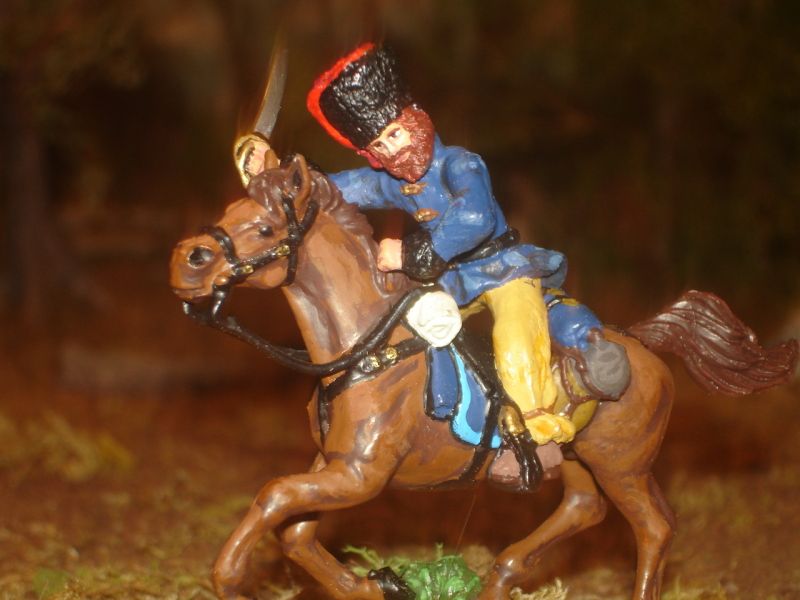
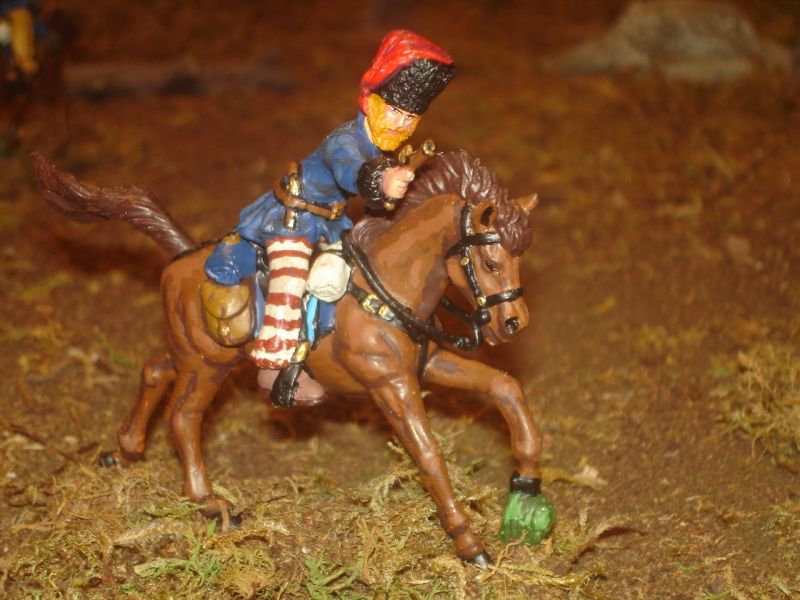
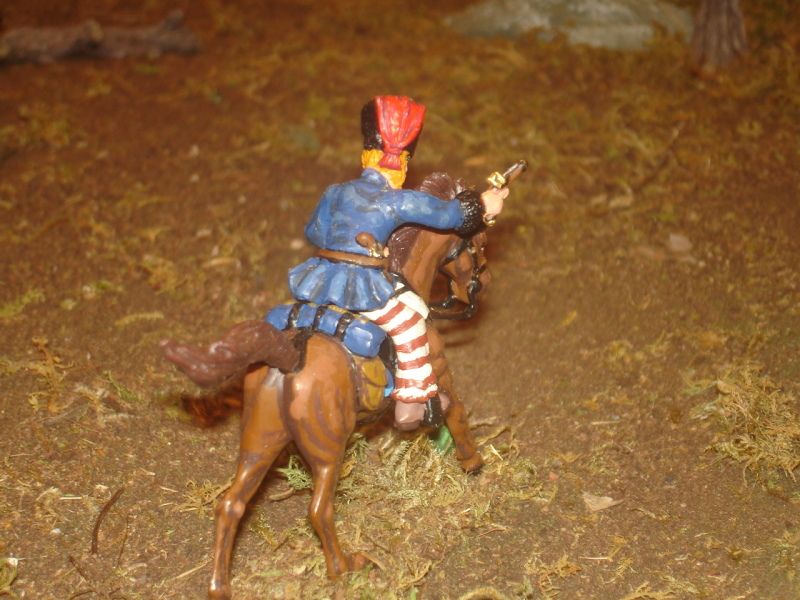
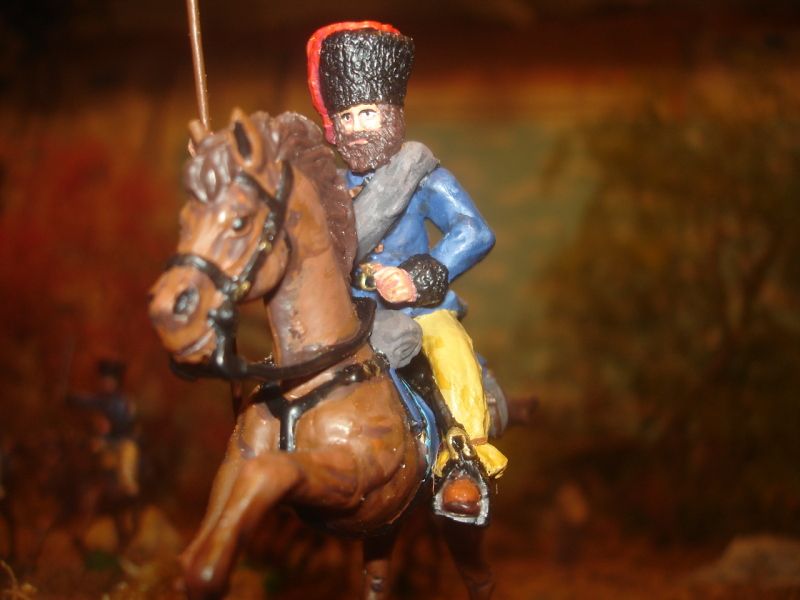
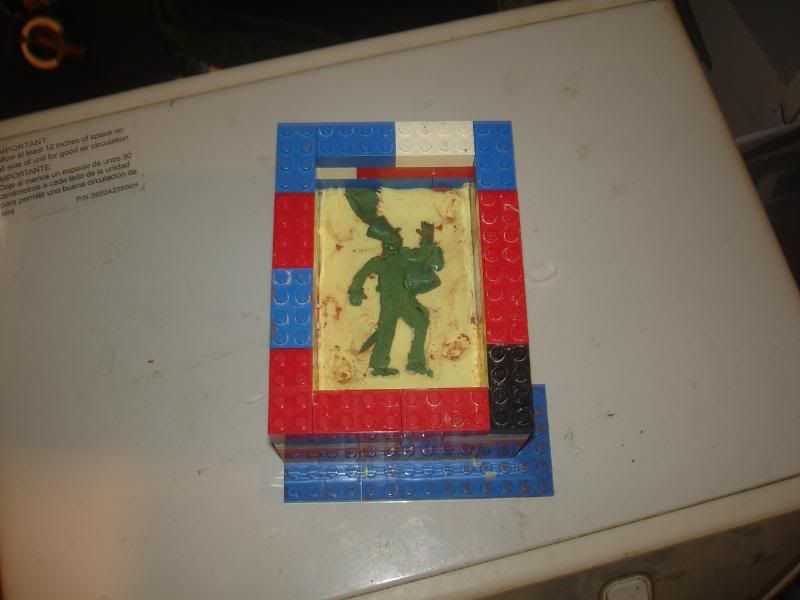
Here is the first finished casting I painted up from the mold.
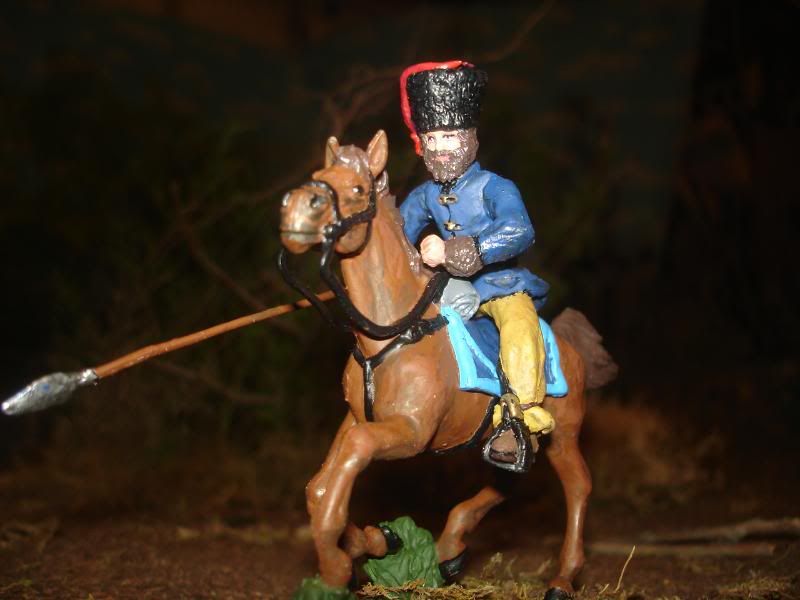
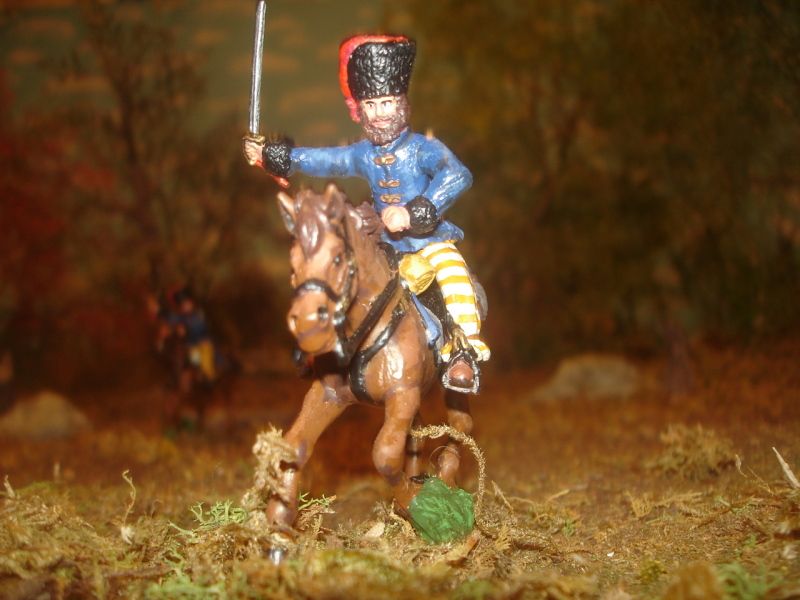
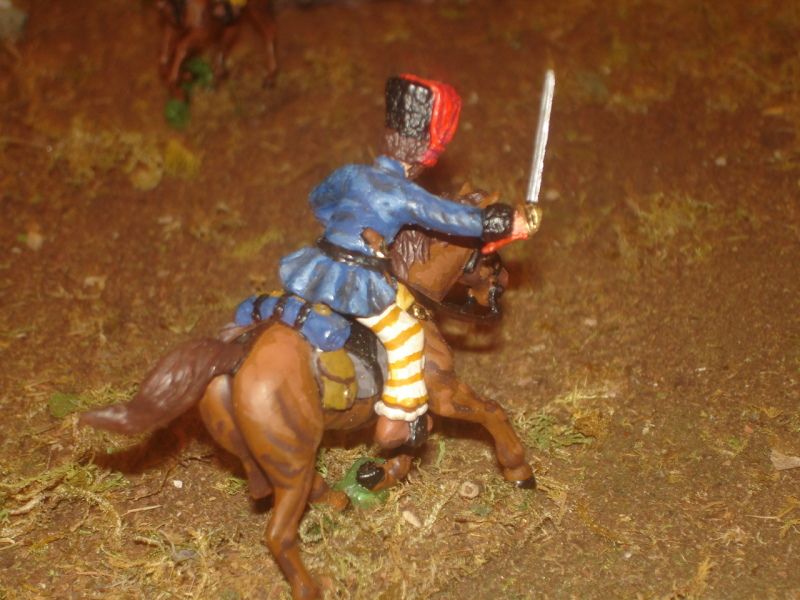
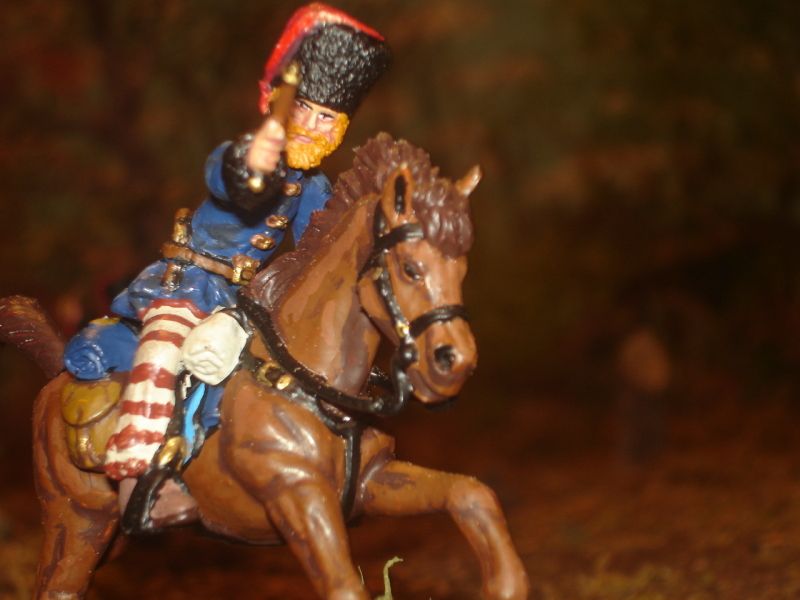
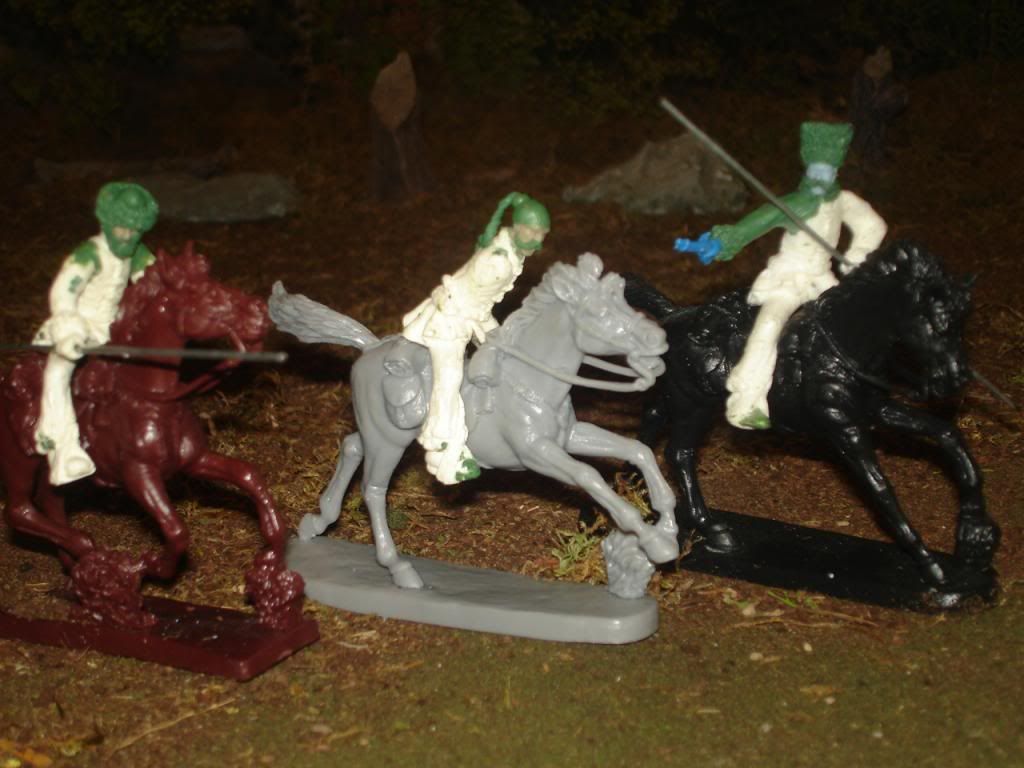
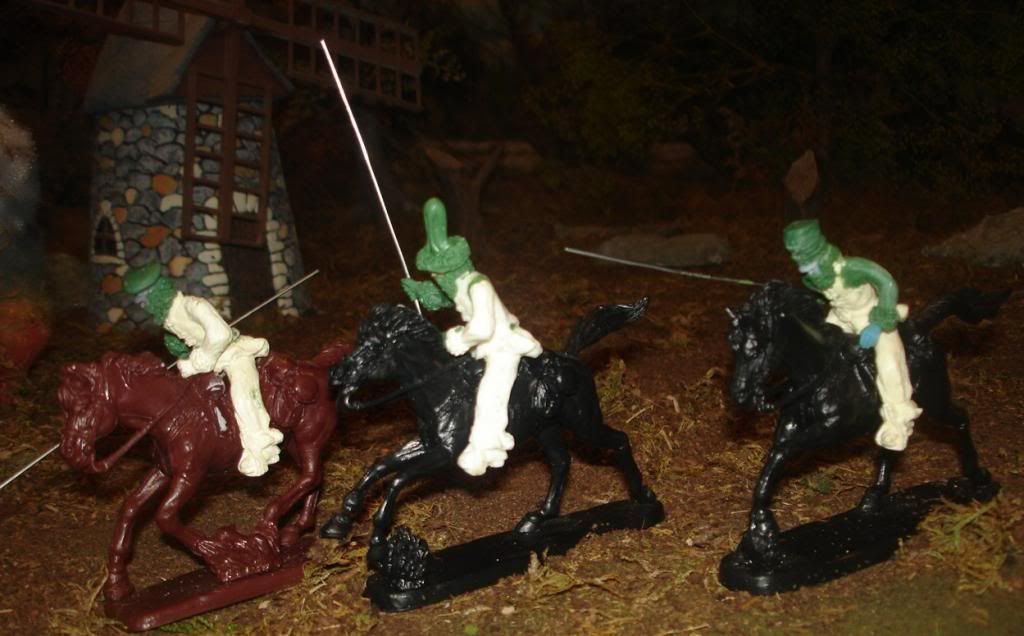
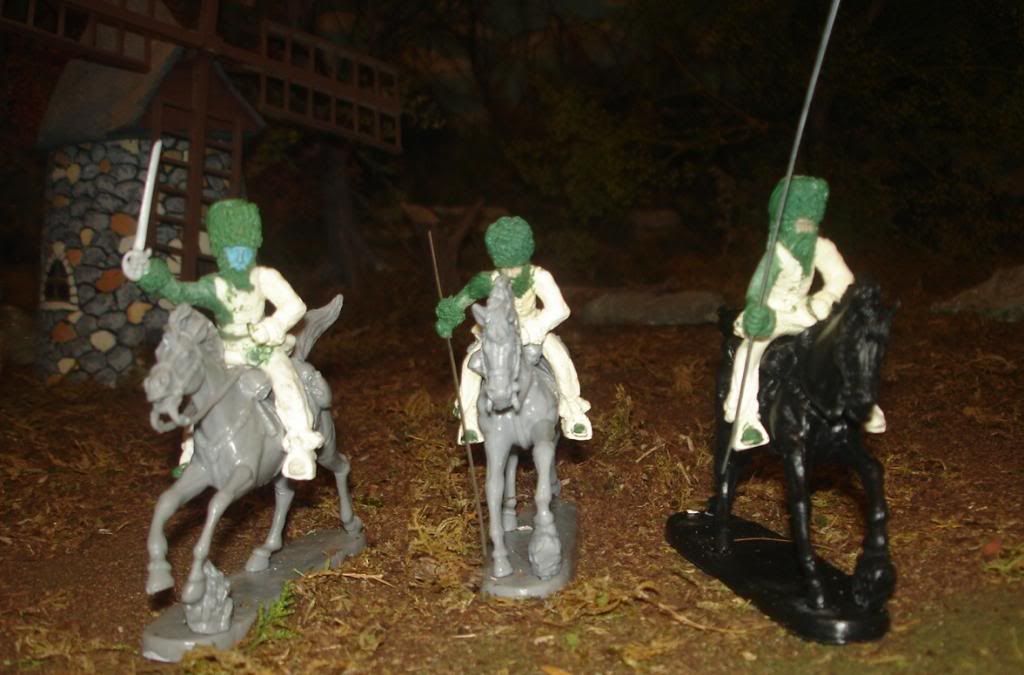
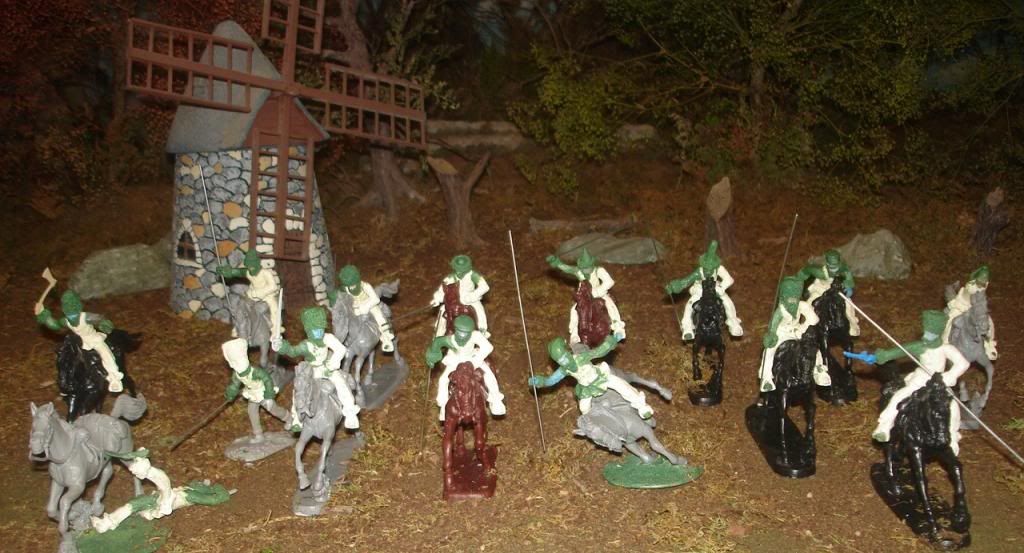
And here are the Conversions!!!


The swords and pistols were taken from plastic figures, the lances are just wire.
Here is my sculpt first in the ruff in stages. He was sculpted from 2 part green stuff.
Here is the first finished casting I painted up from the mold.
And here are the Conversions!!!