kilted vampire
Lieutenant Colonel
- Joined
- Mar 2, 2006
- Messages
- 7,900
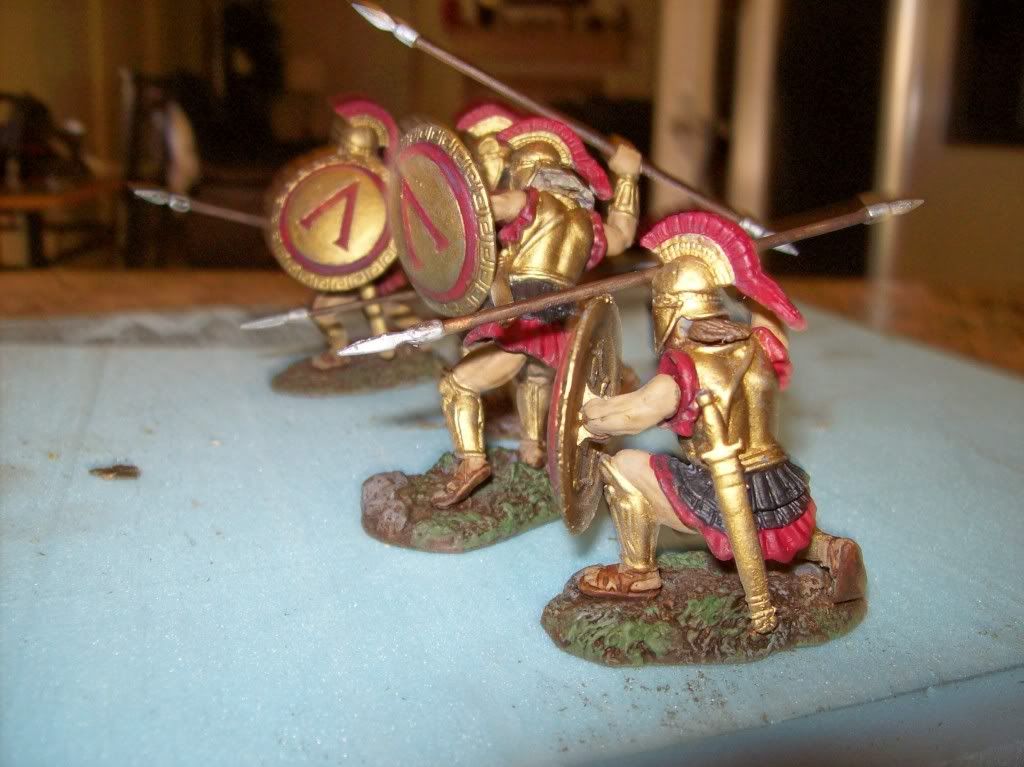
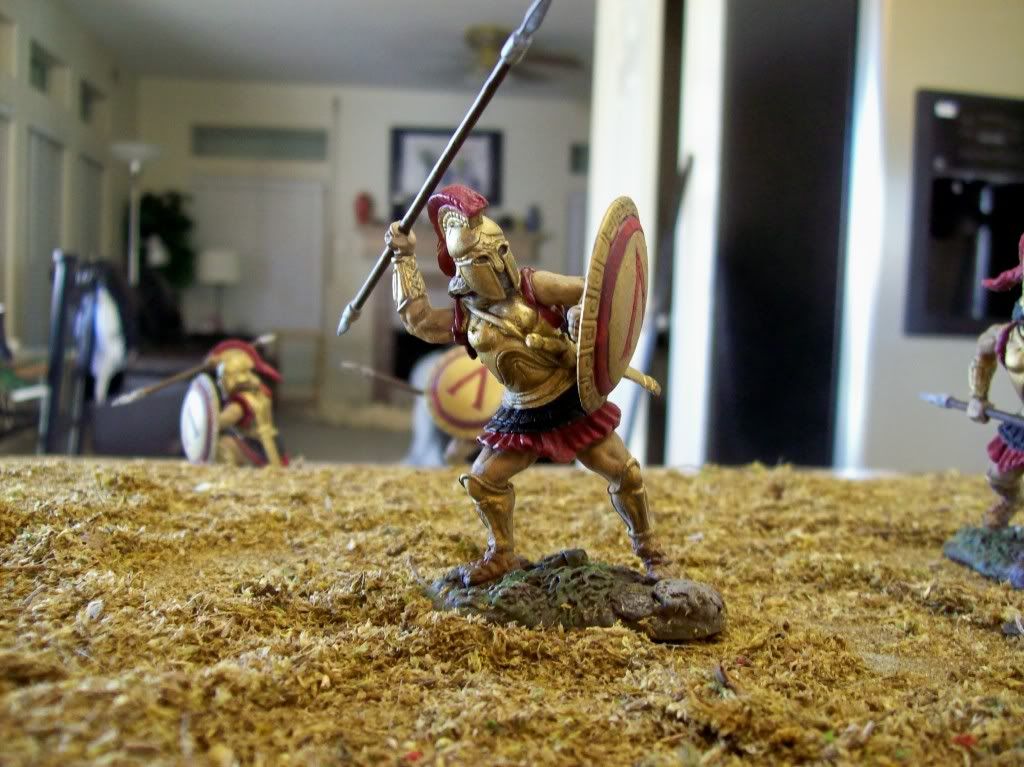
Flat red tunic try to experiment here. Do not try to cover in between the pleats fully. It will add as shadow.
Mahogany sand or flat brown, used for scab board.
Light brown used for skin base
mahogany sand to the light brown for shadow
sunnyskin thinned for highlight.
Light brown for spear shaft
Gunmetal for spear tips.
Shield and armour.
Flat red for lambda and border
Brass for base
Brassy brass for depth (has a reddish tint) Doing this from memory here. There is another brass I use for highlighting and gouges in the shields. I will get this straightened out.
smokey ink Wash entire figure after clear coat.
I have a lot of detail to do on these figures including the eyes and sandals and the bases. I am starting to like painting them.
I am going to clear coat these and when dry, I will wash the figures with smokey ink.
As I continue to paint I experiment with colours and technique. Sometimes I come up with my own ideas . I did some things different here. I went with light brown on the spears I usually use flat brown. I am also doing more black-lining. I just got a technical pen .025 I think it is. Also clear coating before the wash and then after blacklining clearcoat again. Blacklining helps seperate colors and gives a little depth to the area. I will try to show the differences.
There are a lot of processes to painting here that I do not often think about. I just do it and learn along the way. I look at the metal or prototype figures and paint.
These will be available for sale @ $17.50 each or the three for $45.00
")