There are a few things going on with this set , maybe I should go through some of the thought processes to show that it wasn't simply thrown together ?
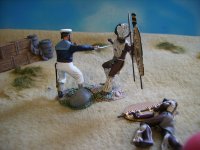
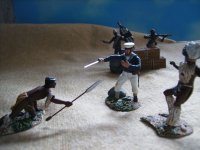
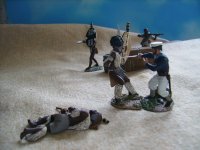
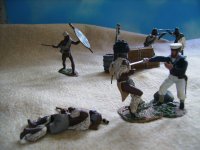
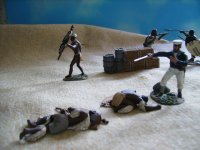
Ainsley was backed against a wagon when he met his demise ...stabbed by a Zulu in the back from under the wagon while he was fending off Zulus to his front .
The figure was designed with a shortened cutlass ( there was no gap between the bases ) but I guess as many people like to use figures for other scenarios and be creative with their settings , the Cutlass was made full length in production to allow for this , this is also why the two main figures are not on one single base but separate , it's to allow you to choose how you use the set .....it should be simple enough to cut the tip of the cutlass to close the gap .
If you simply want to save it , or are thinking of resale value being harmed by cutting the tip off the cutlass , then a 4 mm gap in the bases surely isn't the end of the world if the set is being used in a diorama or setting with other groundwork ?
However , I wouldn't dream of telling anyone what to do, or how to use the figures they buy, so it's completely up to you of course .
The Rock ...there are rocks around the battlefield and if used by a Wagon it simply becomes a relatively small piece of groundwork ,or can be used as a natural "chock" under a wheel of the wagon , if not used by the wagon it can by said to be part of the start of the mass of rocks at the foot of the hill itself ......where the supposed last survivor died on the hillside in a shallow cave in the rocks of the hill . Again it's to allow other versatile uses of the figures .
The arm .....this was designed to allow the figure to be used with more Zulus than the one in the set ...it's not odd, but simply posed to look like could also be under attack from another angle as well .
In short, I / we tried to give you options for the use of these figures while at the same time telling a specific story .
At that price , some versatility in use of the figures isn't a bad thing surely ?


")