Tips for casting. (2 Viewers)

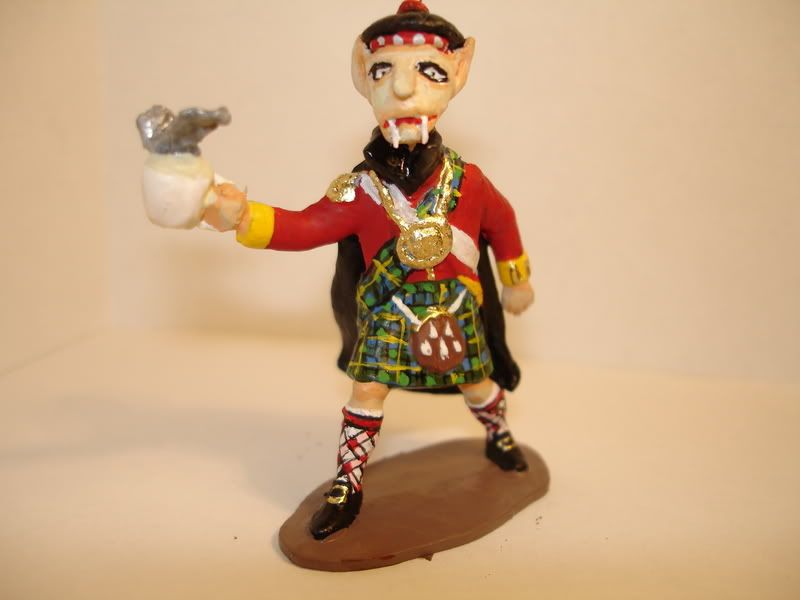
kilted vampire

Lieutenant Colonel
Joined
Mar 2, 2006
Messages
7,900
Tip one never ever try to use a coffee cup as an ingot mold. This has been covered before so no need to go over it again.:eek:

Tip two Make sure that you talc your molds before every pour. Use a brush to get the talc into small cracks and gaps. Talc really helps get metal into the mold.:)

Tip three: Make sure your metal is at the right temperature. This may take some experimenting before you get the hang of it. One thing to note is that the melting temp. is not the same as the pouring temp. If it is to cold your molds will not be able to fill properly. You will get incomplete castings.:(


KV.

Do you warm your moulds before use?

Jeff
 
Molds should be warm but not hot. When mold gets hot let it cool for awhile or mold damage will occur. I use popsicle wooden craft sticks to check metal for pouring. If stick is diped into the metal and a brown color metal is ready to pour. If stick turns black or burns metal is too hot. I tape my rubber molds along with sturdy wood plates on the sides. If mold does not cast ends of small parts like swords, you cut another V shape groove from sword tip to mold top for a air vent.
 
KV.

Do you warm your moulds before use?

Jeff


Jeff with the silicone molds I make sure I talc first and pour straight away. I have been getting good results with the silicone molds at room temp. They soon heat up. Then compression and heat distortion become an issue. I try to let the molds cool a bit before recasting. It is also a good idea to let the figure cool on the mold. For this reason I try to have a lot of different molds that I want to cast. Some day I would like to try a centrifugal casting machine.

Metal molds need to be warmmed up. People use the pot to warm them. I do not know anything else about metal molds other than I be lieve that candles are used to coat the inside of the mold with carbon. The carbon is supposed to act as a release agent.
 
I'm impressed with the wealth of knowledge some of you have regarding casting, I know who to come to in the future if I need some work done.


Bill
 
You are most welcome. We all try around here to help each other out

Casting tip#1, NEVER!!! pour hot molten lead into a coffee cup!!! It could explode!!!!(????????):eek::p
Just ask the VAMP!!!:D

You should switch to unleaded beverages anyway Vamp, I hear lead is bad for your health!:D

DSC02691.jpg
 
Tim I just love that kilted guy. I am thinking about changing my avatar could you shrink him down for me?
 
I just started casting with metal molds. They need to be blackened with a spray or candle flame soot. A pain but needs to be done. Also when working with metal molds it may be a good idea to let the sprue and part that has been cast to cool thoroughly . This will help remove larger parts from the mold. Anyone else using metal molds?
 
Tip for casting wagon wheels that will not come out is to wrap a piece of wire around the impression then clamp mold halves together.
 
KV:
Another option is to pick spokes that don't come out. You'll know which ones they are. Replace them with bits of paper clips (I like the bigger ones). They work great. Lay them in the mold, with a little bit protruding into the wheel and also the hub (this takes practice). Cast around them and, voila', wagon wheels! The other choice is to buy wheels from someone like London Bridge and just write off the casting of wheels entirely. I'm not above this. When Charley died, Pat H. said, "Well, he's in that spot where the wheels *always* come out."
 
I just started casting with metal molds. They need to be blackened with a spray or candle flame soot. A pain but needs to be done. Also when working with metal molds it may be a good idea to let the sprue and part that has been cast to cool thoroughly . This will help remove larger parts from the mold. Anyone else using metal molds?

Yes I have, they are harder to use than rubber molds. Your right, they must be well blackened to work right.
 
KV:
Another option is to pick spokes that don't come out. You'll know which ones they are. Replace them with bits of paper clips (I like the bigger ones). They work great. Lay them in the mold, with a little bit protruding into the wheel and also the hub (this takes practice). Cast around them and, voila', wagon wheels! The other choice is to buy wheels from someone like London Bridge and just write off the casting of wheels entirely. I'm not above this. When Charley died, Pat H. said, "Well, he's in that spot where the wheels *always* come out."

The thought did cross my mind for using some kind of wire for the spokes. They would not bend as much either. I may give it a try. Cause the other way is working great for bayonets and swords and all kinds of things. Just not working for the spokes.
 
Just curious, how many metal figures do you sually get out of a silicone mold before it goes bad? Would you get more uses out of the mold if you were poring plastic?
 
I've never actually burned out a rubber mold before. I have some 25 mg PA molds from like 1980 that are still functional. I used them a lot and abused them by pouring pure lead. It seems sometimes they are going bad (hard) but poured once, and they seem to spring back to life. I suppose if you're doing an entire regiment, it might give way but then again, remember, you've invested like 15 bucks in it. I mean, come on.
hey, KV...which molds did you get? you never totally specified. Also...put a bug in Rich's ear for a boater hat Zouave. i think that sometimes I'm like the lone voice in the wilderness and if he hears from more than one, there's hope. I had the idea in the middle of the night (I set the reminder on my phone since I didn't have a pen!!!) to use the Kepi head from the cavalry, after lopping off the fez head. I'm trying to spuce that guy up..

The list is as follows:

LA series 1010 ACW 2600 24th set
1020 2403 wounded zulu
1071 2402 zulu with jacket
1081
1070
 
Take a pic of the kneeling guy after you finished him. I want to see what he looks like after re-sculpting. Also, the standing guy can be difficult... The pin for the shoulder of the right arm is a struggle if you try to put it in the socket. If you hold the arm up to the figure, it works but that's assuming you're placing the pin in from the front, not the side. What I found works well is to trim the left arm about 2 mm with a no-sprue snip, right at the cuff. Then, drill the left arm socket as per the original. I also make a small notch on the inside of the arm. That facilitates moving the left hand into position for epoxying. If possible, you might want to consider pre-painting parts that are to be covered before working on the general figure...once the arm is in position, it's very difficult to access them (inside of rifle, upper chest).
 
Take a pic of the kneeling guy after you finished him. I want to see what he looks like after re-sculpting. Also, the standing guy can be difficult... The pin for the shoulder of the right arm is a struggle if you try to put it in the socket. If you hold the arm up to the figure, it works but that's assuming you're placing the pin in from the front, not the side. What I found works well is to trim the left arm about 2 mm with a no-sprue snip, right at the cuff. Then, drill the left arm socket as per the original. I also make a small notch on the inside of the arm. That facilitates moving the left hand into position for epoxying. If possible, you might want to consider pre-painting parts that are to be covered before working on the general figure...once the arm is in position, it's very difficult to access them (inside of rifle, upper chest).


Made a notch in the arm. then smoothed it down further. I am prepainting it. Something I almost never do. He is difficult to put together. The standing guy. I need to get one of those no sprue snips.
 
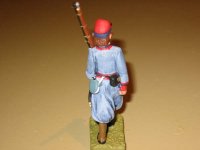
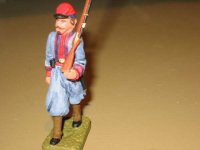
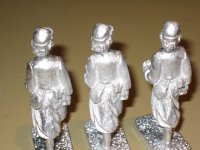
Have I got *the* converstion for you. It is so super simple but makes the absolute world of difference. I took the marching Zouave (LA) and lopped off the head with a snip. So far so good. I then took the headless torso and sanded the little bump (no pinch snips again). Using the mold part line that runs up the back of the guy to center, I drilled a fairly decent hole (1/8" easy) slightly forward of top of shoulder. Then took kepi head from ACW cavalry (peg head, not attached) and trimmed the peg down further). JB Welded into the neck hole and voila! A kepi head zouave. The epoxy oozed out slightly giving him a turtle neck wearing kind of thing but using an X-acto straight down, the epoxy trimmed to look like a collar. Even better, I turned the head slightly to the right so he's got that 'eyes right' thing going on. The first one took about 15 minutes to line up correctly. After that, I spit out 3 others in a matter of about 5 mins total each. I'm going to photo him tomorrow. Will you post for me??
 
Gregg asked me to post these,
 

Attachments

  • Gregg 1.jpg
    Gregg 1.jpg
    17.2 KB · Views: 104
  • Gregg 2.jpg
    Gregg 2.jpg
    18.7 KB · Views: 117
  • Gregg 3.jpg
    Gregg 3.jpg
    20.6 KB · Views: 108
  • Gregg 4.jpg
    Gregg 4.jpg
    35.5 KB · Views: 111

Users who are viewing this thread

Back
Top