WS98 - The Uncut Version (1 Viewer)

Wraith

Major
Joined
Aug 26, 2006
Messages
6,777
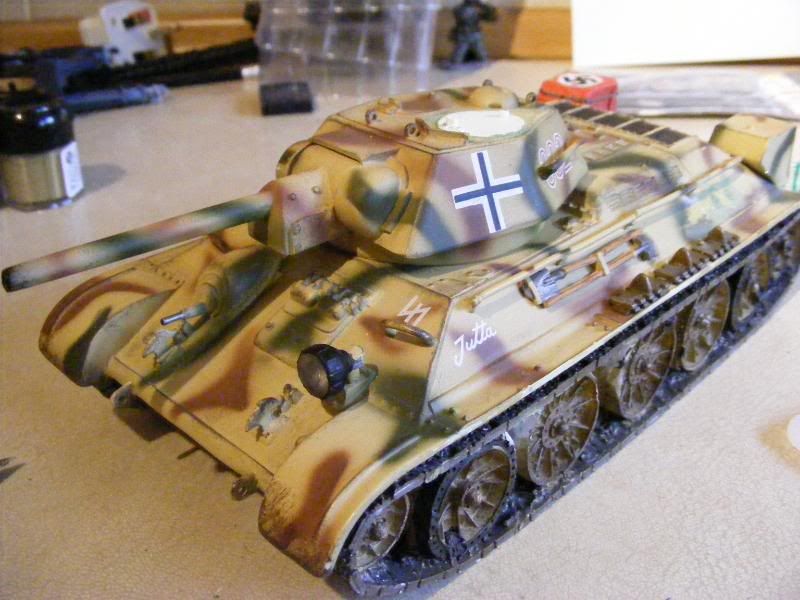
I got hold of the WS98 T-34 yesterday, bare tank (no figures). As mentioned on Alex's thread, I never cared much for the 'Germanized' look, but Alex's version looked slick (and incredibly well painted). So, what follows is a photo step by step of what I'm doing with it, (with due credit to my technical advisor - Alex :D)

Here's the Captured T-34 prior to any butchery:
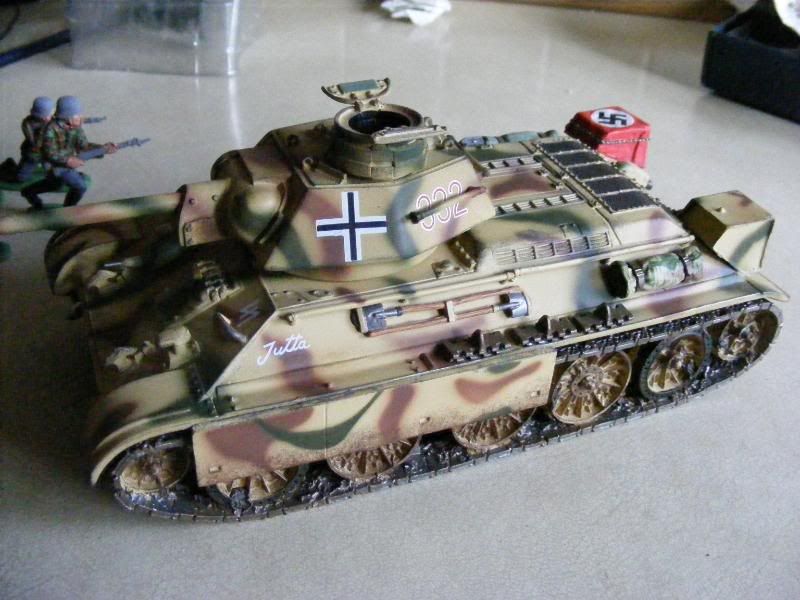
a1001.jpg


One of the main areas of attack is to sort out the cupola, and replace it with a more suitable hatch.
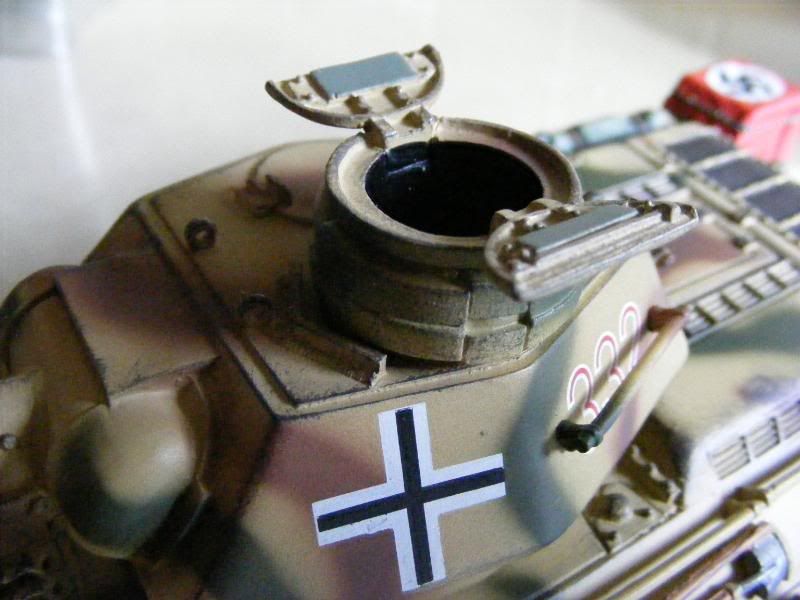
a1002.jpg


Another area to be addressed is the removal of the side skirts (I've not seen any Russian controlled T-34's with these on, and also, they're just plain ugly)
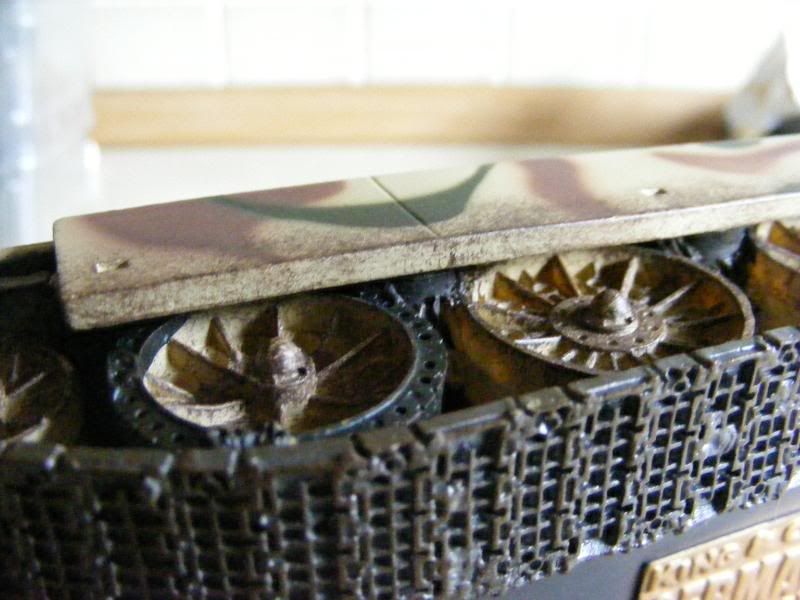
a1003.jpg


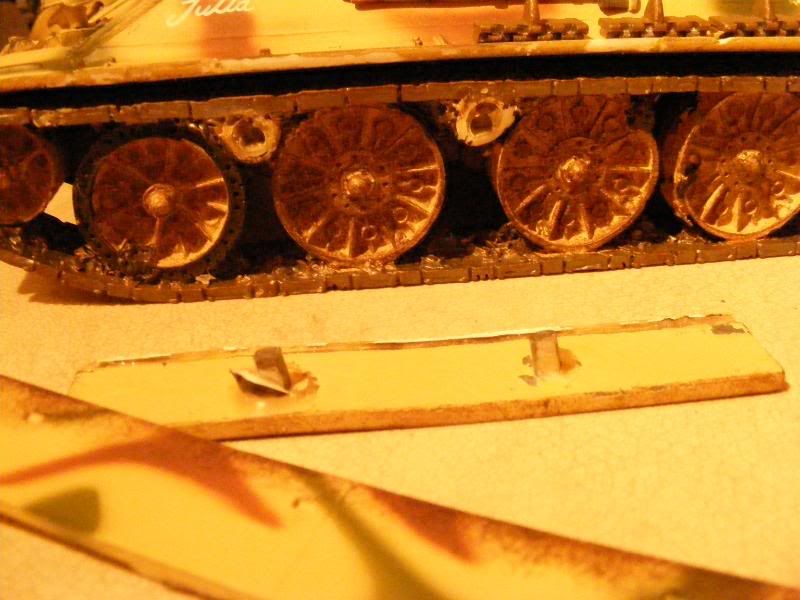
A closer look at what's holding them on. The skirts are metal with metal lugs, glued in to the main polystone mould:
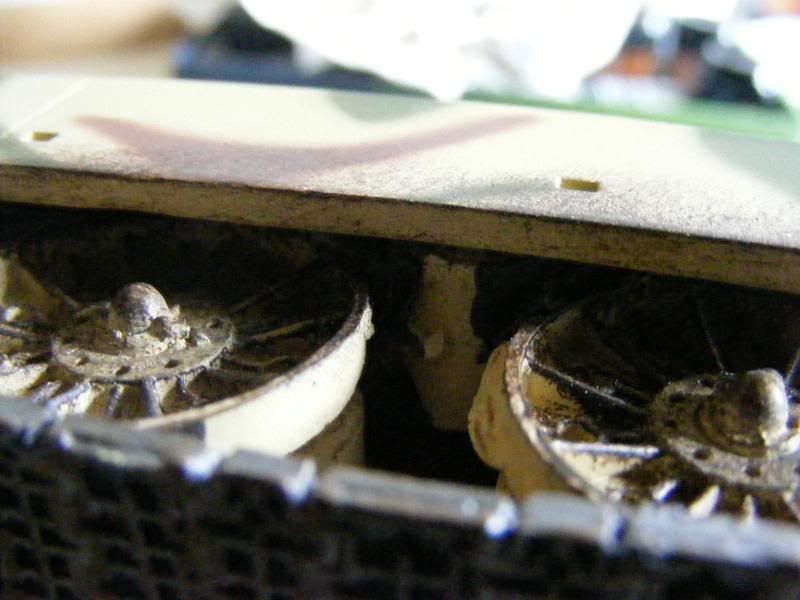
a1004.jpg


Simon
 
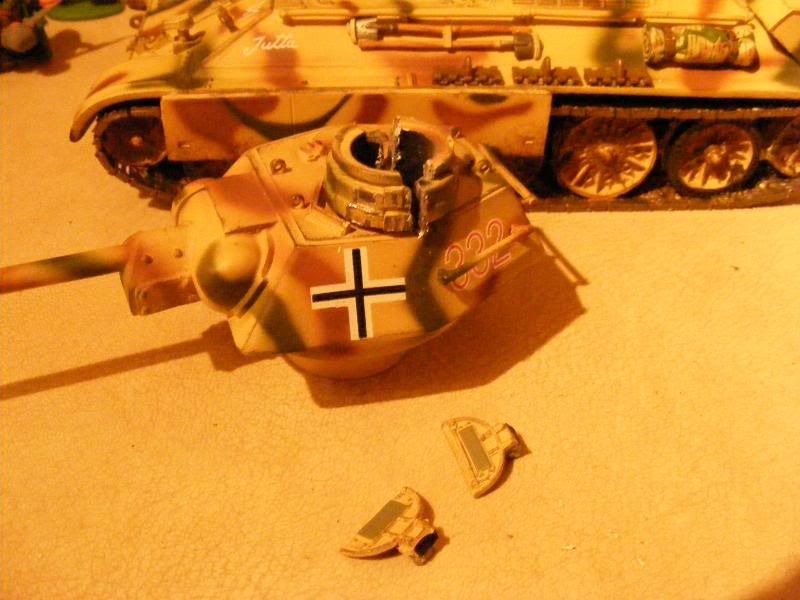
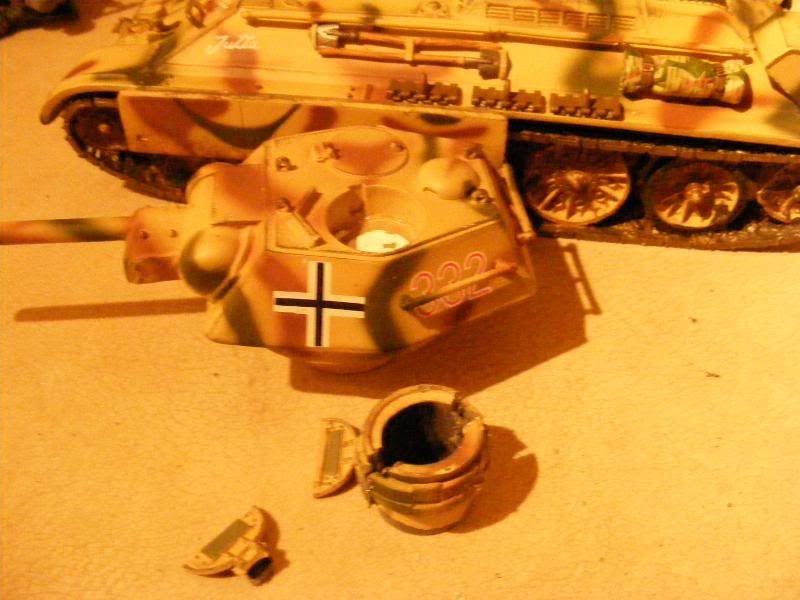
First step is to remove the cupola. Thanks Alex for the tip on this. I was looking to see if there was a less destructive way of removing this (with a pair of water pump pliers :eek:), but, no. I've done as you suggested. I used a cutting blade on a Dremel to cut down either side of the protruding cupola, after first gently twisting the turret hatches until they pulled off:

a1005.jpg


Once the cuts had been made, using the water pump pliers (I had to use them now that I'd got them out...), I gently squeezed the sides of the cupola together, which broke the glue seal, and eased it out.

a1006.jpg


As Alex has said, this leaves a nice big recess to fill in later.
 
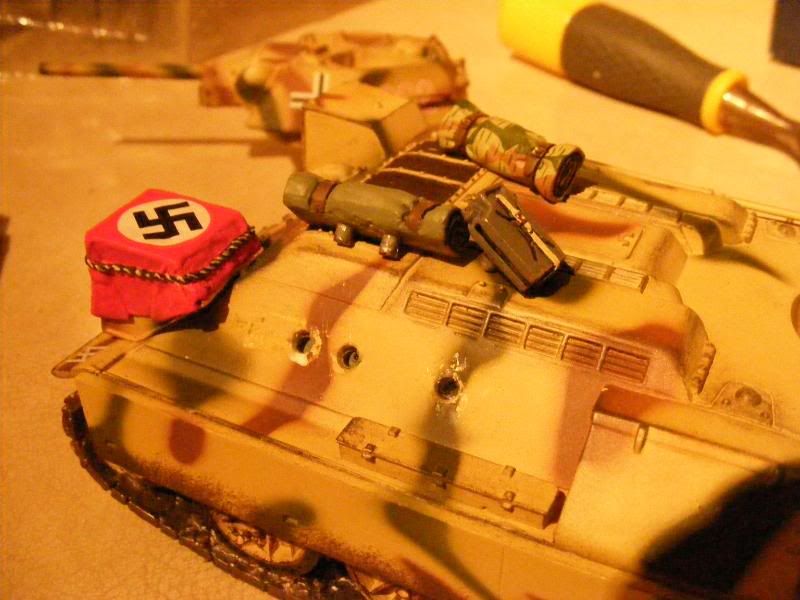
Next step is stripping some of the unwanted bits off the side of the tank. Starting with the jerry can and 2 bedrolls. Most of the T-34s I've seen photos of, appear to have been kept fairly uncluttered, so, off they came. Like the cupola, these are painted metal castings, which are glued on with lugs, in to the polystone body. I found that careful prising using a blade and a chisel (carefully!), got these off without too much drama.

a1007.jpg


Next to come off were the side skirts. Once again, metal + lugs in to polystone. More prising, gentle twisting etc got these off with 3 out of the 4 lugs with them. The last will come out when I attack the polystone.

a1008.jpg
 
Simon,

Interesting stuff! Whats the polystone like for cutting? looking forward to more.

Thanks

Jeff
 
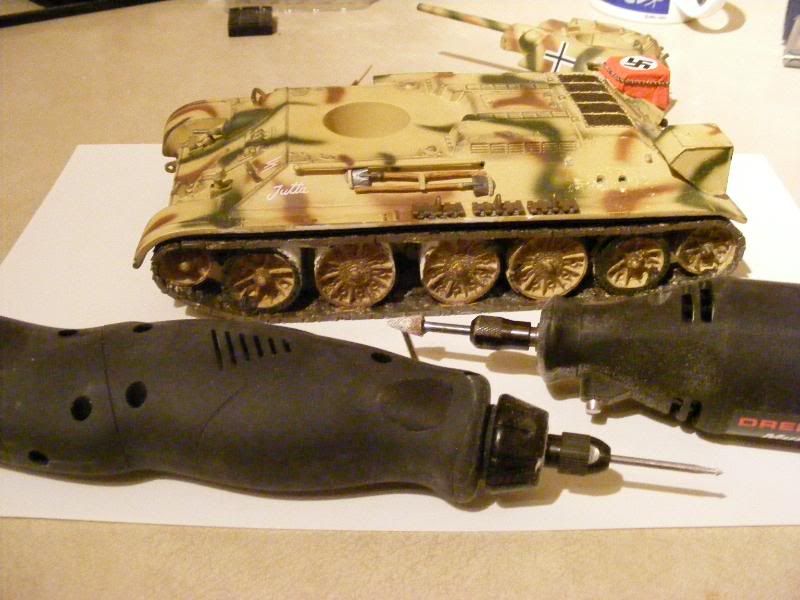
The polystone is pretty forgiving. Here's the results of grinding out the lug holes.

a1009.jpg


a1010.jpg


Four lots to do in total. I used a small grinding stone to remove most of the material and then a small burr and pointy arrow type thingy to get in to some of the nooks and crannies.

a1011.jpg
 
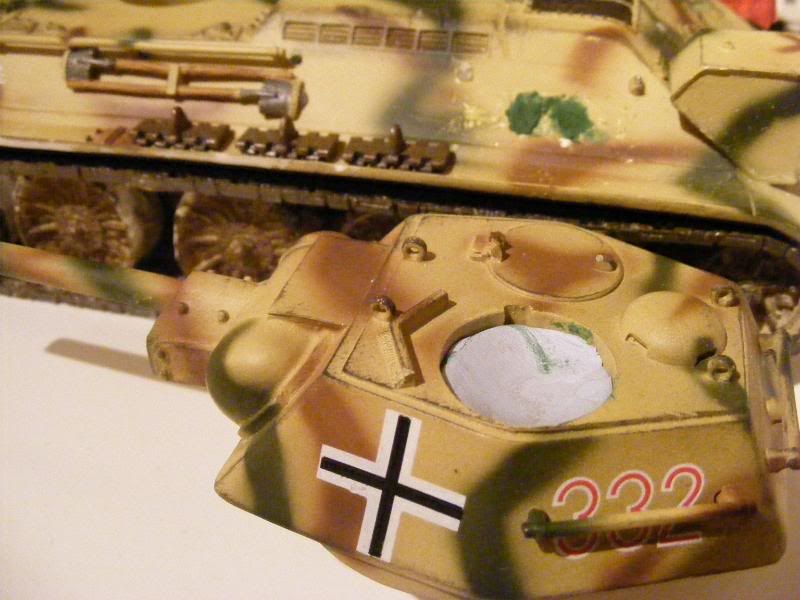
With the tracks all but sorted, next up is the turret. I filled the bulk of the recess up with blue tac. Also filled in the holes left from the bedrolls and jerry can with filler (Squadron Green).

a1012.jpg


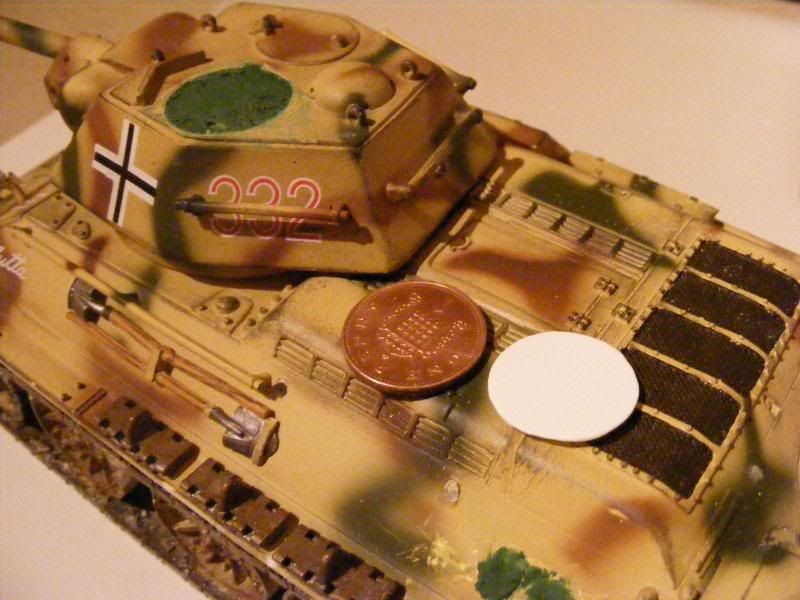
Then filled the remaining recess from the cupola up with filler, to give a hardened surface. I cut out the makings of a hatch from plasti-card. No idea what guage it was, but I had 3 different depth sheets, and it was the one closest to the other hatch. I used a special, limited edition disc as a template to cut around. They are sometimes referred to as 'pennies'. If anyone else is considering this project, I have a small number of these templates, which I am willing to let go for just £20 each (+ postage) :).
It's pretty much bang on size wise:

a1013.jpg
 
Simon, Fabelhaft! A man of your word! I have always liked this tank but welcome to the world of perfectly good K&C Bashing! The Few. The Crazy. The Reckless!:) Sehr gut mien friend!
 
Simon, Fabelhaft! A man of your word! I have always liked this tank but welcome to the world of perfectly good K&C Bashing! The Few. The Crazy. The Reckless!:) Sehr gut mien friend!

:D:D

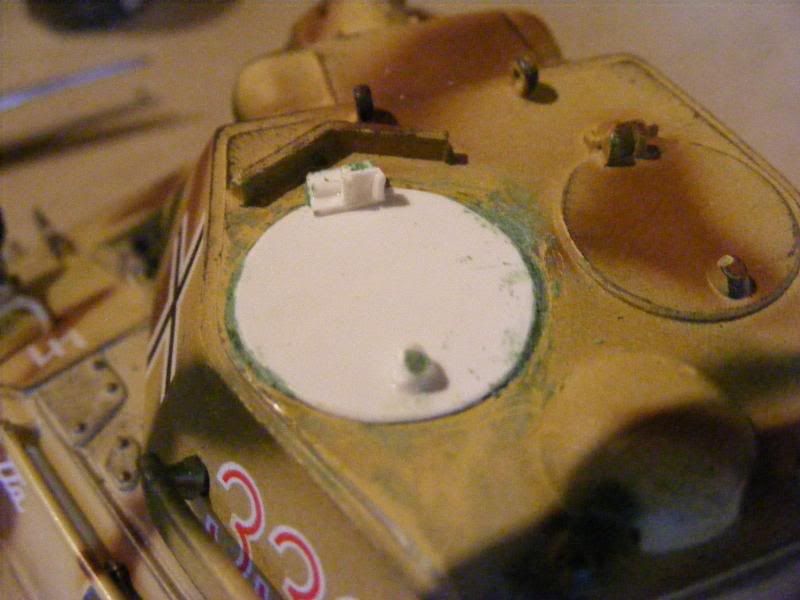
OK, the plasti card hatch was cemented in to place. I then cut out iddy biddy pits of plasti card from sheet and rods and glued 'em all up to form the hatch handle and hinge thingies, using the other hatch as a template. Fiddly, and I lost more bits of tiny plasti-card bits than I care to think about. Bit of filler to blend in the layers.

a1015.jpg
 
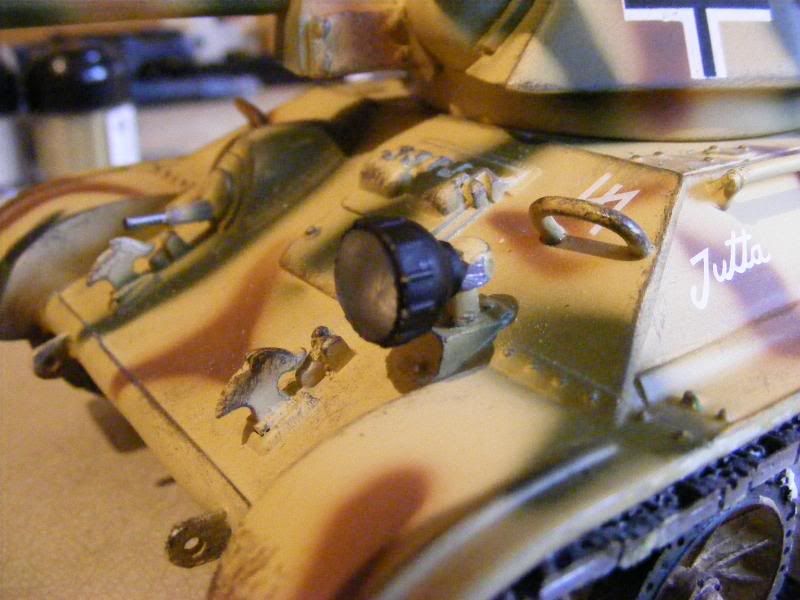
Next up is a replacement for the notek. I levered the notek off (metal on a lug, came off pretty easily), then using a cutting wheel in a dremel, cut off the front of the fitting and ground down the sides a little.
I then searched for a suitable lamp to replace it with. I had a rummage through a load of 1/35 kits I've got, thinking there would bound to be some type of lamp fitting, but, zilch.

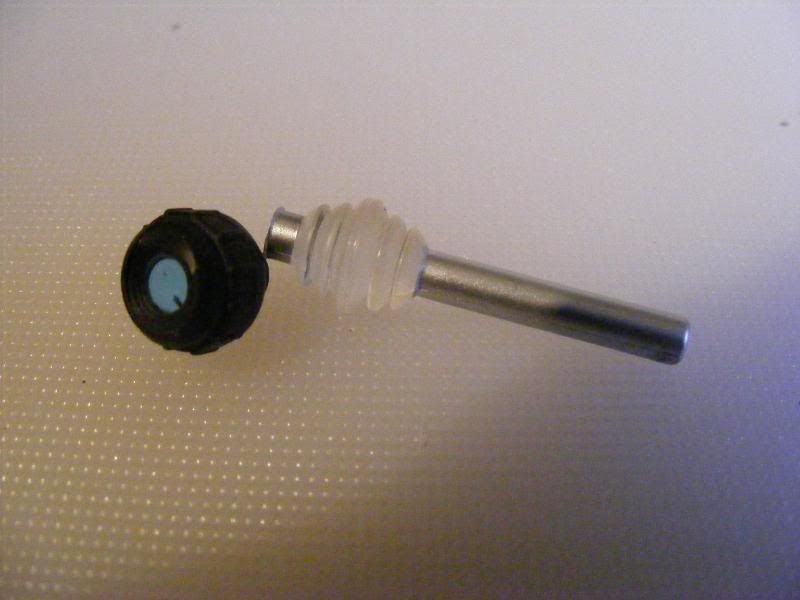
Soooo, I used this. Any guesses as to what it is?:D;)

a1014.jpg


I trimmed the front back to find that the clear plastic rod carries on through and expands at the front - an unexpected bonus. I hacked off the rod at the rear, then, using a very small drill bit in the dremel, drilled a hole in to the back of the new lamp and also in to the old metal fitting - super glued (CA) and pinned the 2 together, then restuck the fitting back on to the hull.

a1016.jpg


And that's pretty much it, ready for priming and painting.

a1017.jpg
 
Its coming along really good Simon. Do you sand off the markings and balken cruzes before priming.
 
Simon, It looks like it is coming along smashingly! Really lucky with the knob/light. Is that fairly scale?
 
Thanks Gents!
Alex, no I didn't sand off the markings first, but they covered fine with the primer and there's no texture difference between the areas.
KV, the lamp seems to be about the right scale, although there seem to have been many different lamp fittings applied, when looking at old photos. It actualy came from a Dalek eye stalk which had broken off one of my sons old toys (and which I got fed up with resticking back), so, one blind Dalek and one T-34 with some extra illumination later....
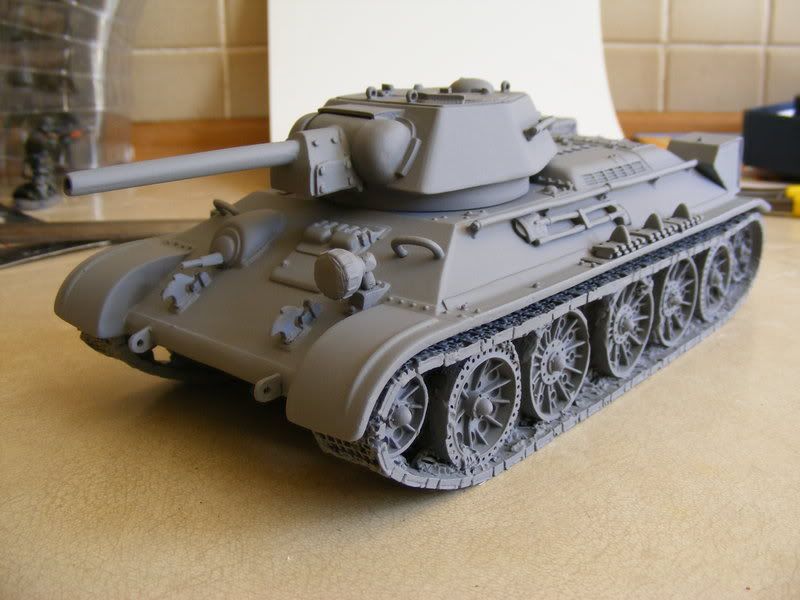
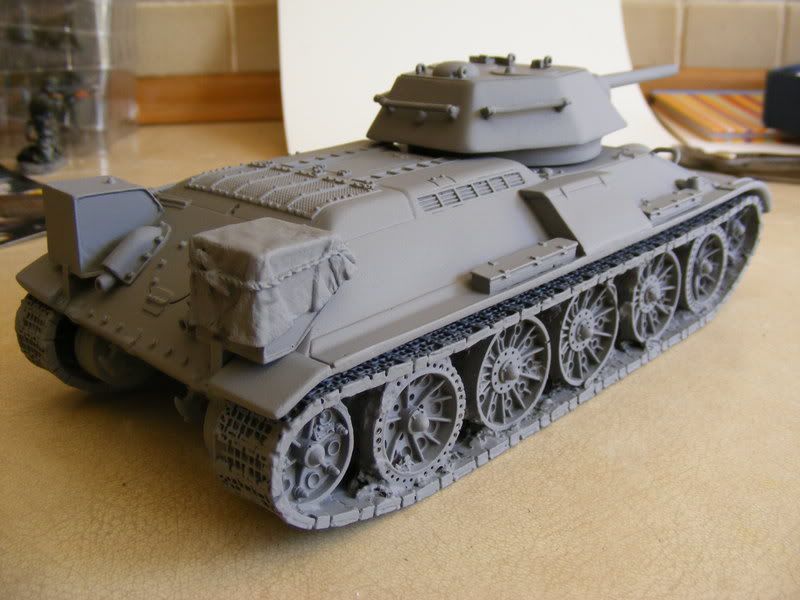
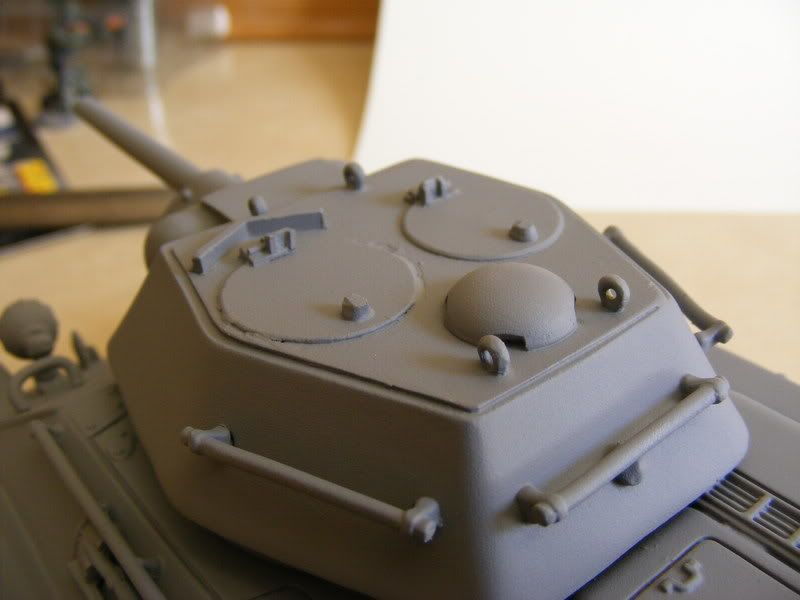
Finished priming the tank, after masking off the underside and lamp front:

T34001.jpg


T34002.jpg


T34003.jpg


I'm now waiting for some appropriate green paint to be delivered, along with some Archers markings. By sheer coincidence, I ordered the same set as Alex, but will use a different set of markings (there's 6 or 7 sets per sheet).
Will post more pics when I start to turn it Green!
 
Just noticed, I've tidied up a couple of areas since priming, such as cleaning out the holes in the wheels, slightly boring out the machine gun etc.
Better go and dust off the airbrush and compresser!:eek:
 
Simon, I just noticed the handles on the turret! They don't show real well until one primes the whole thing. What type of green are you going to use? This is turning out real well!. Might have to do one for the Berlin dio!

Have you seen Reds' WS101?
 
Very interesting to read, I do not own a polystone tank (or similar) myself. As a matter of interest, out of how many parts do such kits exist - not counting the added on bits and pieces???
rgds
Wolfgang
 
Simon, I just noticed the handles on the turret! They don't show real well until one primes the whole thing. What type of green are you going to use? This is turning out real well!. Might have to do one for the Berlin dio!

Have you seen Reds' WS101?

Yep, and very cool they look too.
I'm looking at using Vallejo Model Air Cam. green (no. 22) as a base coat. Seems to be pleasing to the eye, although I've managed to track down a few spare bottles of green that Jeff somehow managed to miss, so I'll have a look at those when they land before committing myself. ;)

Is that one a good match for the one Alex did?
 
Is that one a good match for the one Alex did?

Looking at the paint as is in the bottle, and as best I can make out the colour on Alex's, I'd say it was somewhere between Alex's darker green, and the lighter green on the K&C T34/85.
Once again, the colour doesn't seem to be that standard, so I guess it's go with what tickles your fancy (within reason).
 
Thanks Gents!
Alex, no I didn't sand off the markings first, but they covered fine with the primer and there's no texture difference between the areas.
KV, the lamp seems to be about the right scale, although there seem to have been many different lamp fittings applied, when looking at old photos. It actualy came from a Dalek eye stalk which had broken off one of my sons old toys (and which I got fed up with resticking back), so, one blind Dalek and one T-34 with some extra illumination later....
Finished priming the tank, after masking off the underside and lamp front:

T34001.jpg


T34002.jpg


T34003.jpg


I'm now waiting for some appropriate green paint to be delivered, along with some Archers markings. By sheer coincidence, I ordered the same set as Alex, but will use a different set of markings (there's 6 or 7 sets per sheet).
Will post more pics when I start to turn it Green!

Simon,

The primer really brings out the detail! A really nice job you have done so far and I am looking forward to the painting stage.

Jeff
 

Users who are viewing this thread

Back
Top