kilted vampire
Lieutenant Colonel
- Joined
- Mar 2, 2006
- Messages
- 7,900
Thanks Jeff. Lend us some green mate...
Ahh, the green paint backlash continues!


Thanks Jeff. Lend us some green mate...
Can't wait to see the paintjob . . . I am really impressed by you talented guys!!Very interesting to read, I do not own a polystone tank (or similar) myself. As a matter of interest, out of how many parts do such kits exist - not counting the added on bits and pieces???
rgds
Wolfgang
.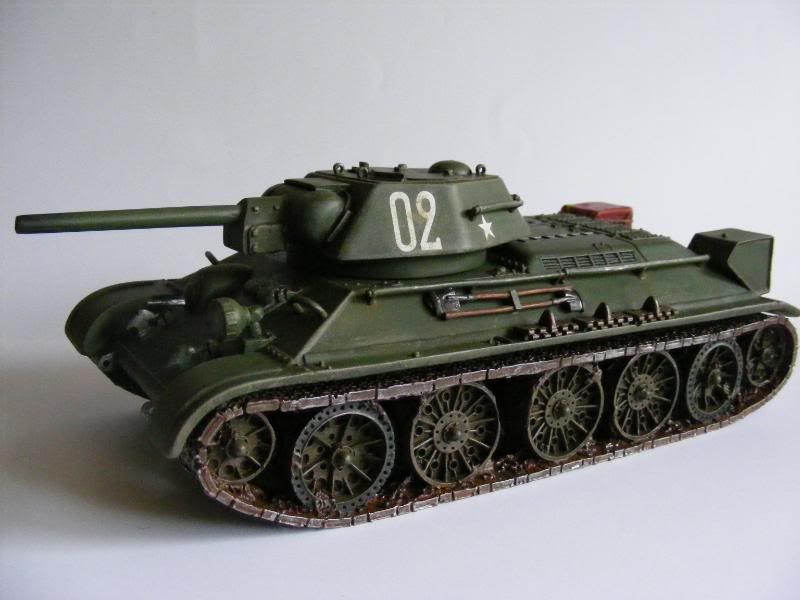
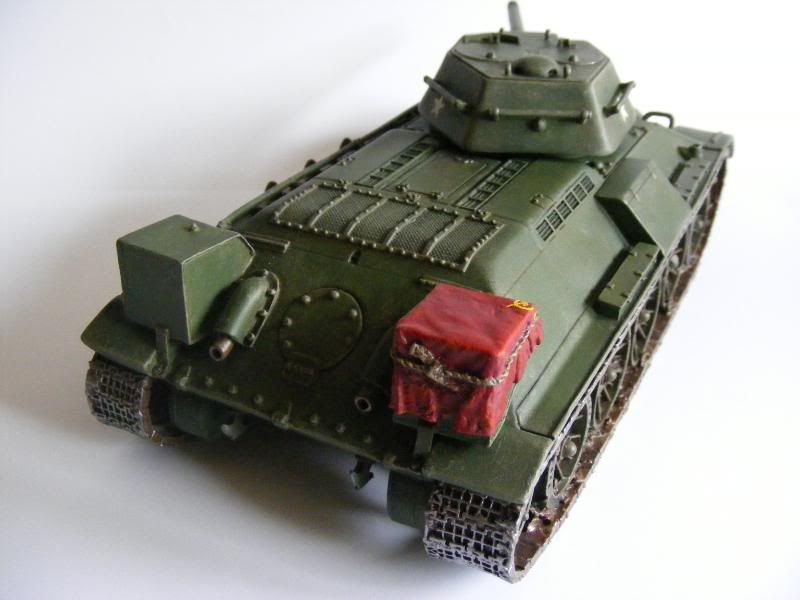
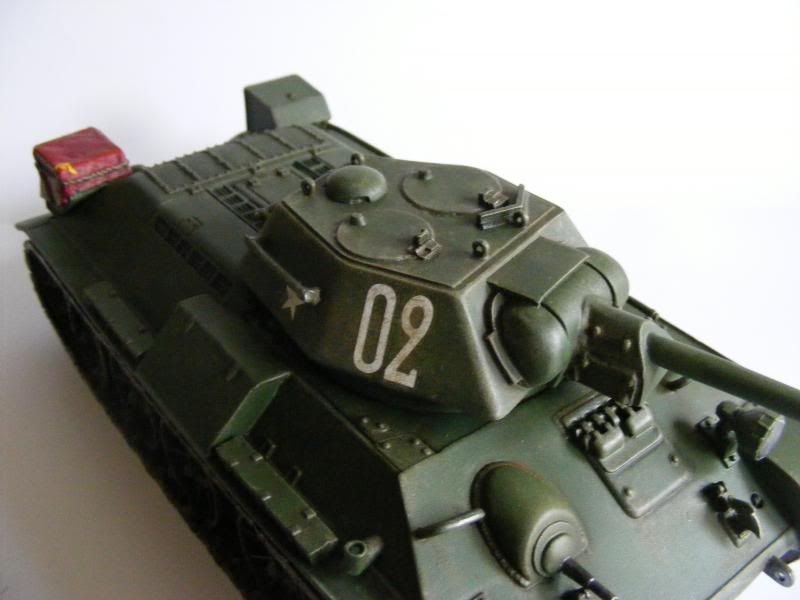
Finished the paint work and detailing, which consisted of priming, pre-shading, painting, pin washes, various dry brushing and detailing.
Sorry, couldn't get in to taking pics as I was going along, it would have involved tears, air brushes, paint and cameras, which I'm guessing don't mix that well together.
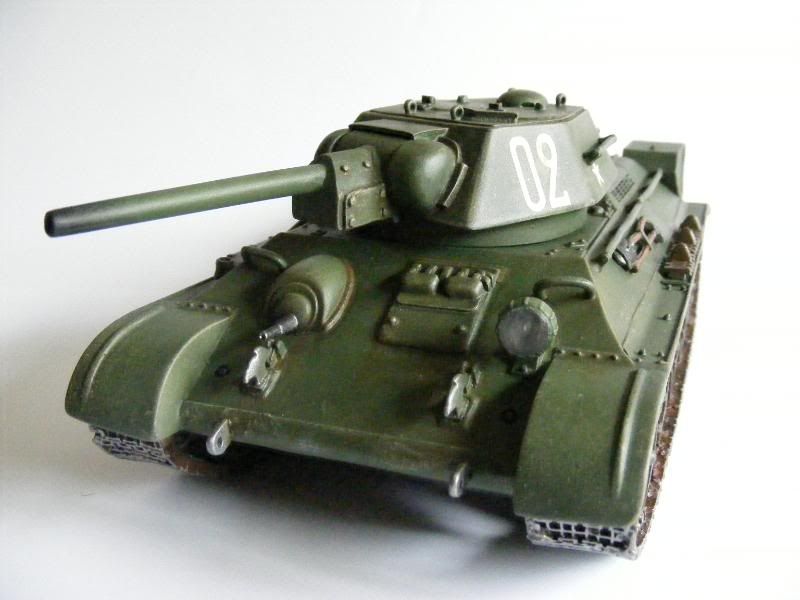
Wow , nicely finished
Wow , nicely finished
Me too!
The Dalek part went well also. Speaking of Daleks the Dr. Who of the David Tarrant persuasion ROCKS!
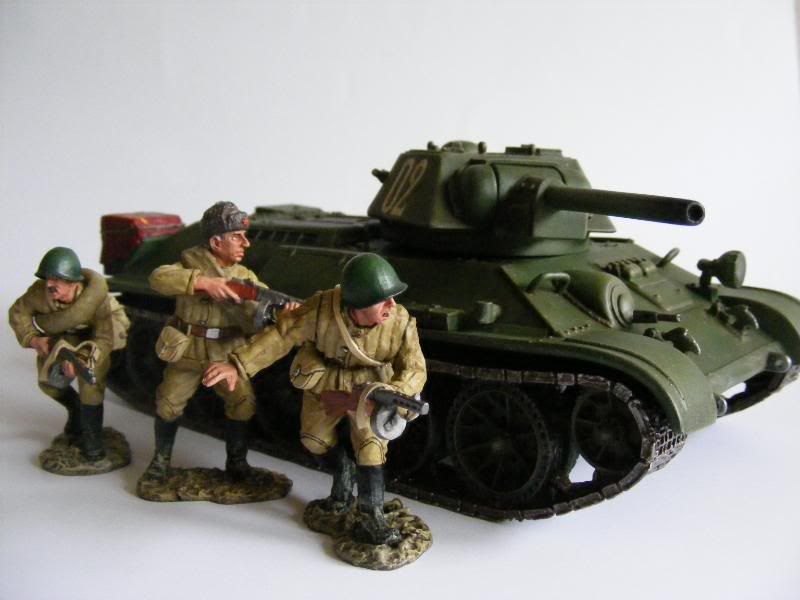
Wow and double wow! No apologies needed I was expecting you to paint a flag on there because it looks cool and gives it a little more color.
Wraith:
Thanks for the Great Step by Step Post! Who knew how all those items
were attached to the vehicles......besides you and Alex!
Your paint work and detail work is terrific!
I have two questions.......what are water pump plyers?
And what type of primer did you use?
pyeah right) I had to get