You are using an out of date browser. It may not display this or other websites correctly.
You should upgrade or use an alternative browser.
You should upgrade or use an alternative browser.
Yet another diorama project (1 Viewer)
- Thread starter blaster
- Start date
Louis Badolato
Lieutenant General
- Joined
- Apr 25, 2005
- Messages
- 18,421
Victor,
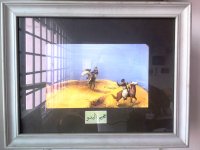
I have to tell you, in addition to myself, my son and even my wife are blown away by your 3-dimentional shadow box interpretations of oil paintings. I am beyond impressed. Converting a 2-D painting into mini-sclptures with a 3-D backdrop has got to be more difficult than you make it look! I wait for your posts every day, looking forward to seeing how you do it. Great stuff!:salute::
Louis
blaster
Major
- Joined
- Sep 10, 2008
- Messages
- 6,523
Hi Louis,
Thanks for your very nice and encouraging compliment. Puts a bit of pressure on me to delivery daily....hahaha.
Actually I don't make it look easy. I get lucky (remember Paris and Helen?)
Everytime I start off on one of these pieces, there's a chance
a.it gets abandoned (high probability due to my track record),
b. it falls short of expectations (high probability because it also gets abandoned) or
c. I complete it (30% prob?).
So far, I've been kind of lucky with these pieces but I'm bucking the probability trend.
Rgds Victor
blaster
Major
- Joined
- Sep 10, 2008
- Messages
- 6,523
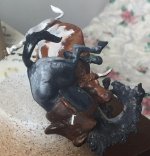
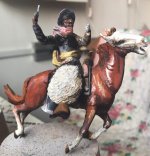
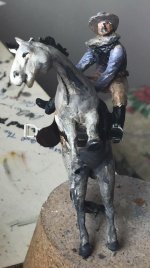
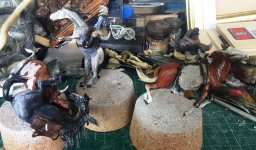
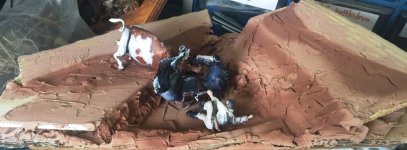
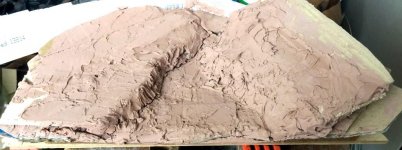
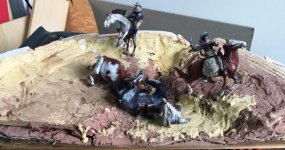
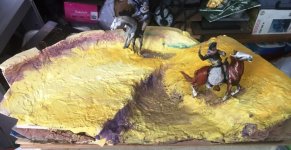
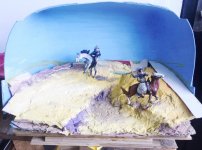
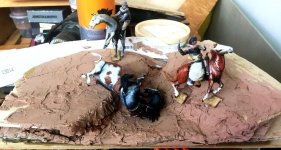
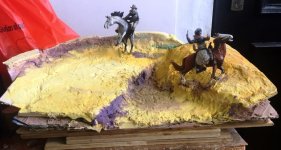
I've just glued the 2nd and 3rd cowboy figures/horse into position on the base with epoxy resin. This is because I have to putty over their base stands. I added the base stands so that these can give more support to the horse stances. The second horse has had a slight sheen added to its coat as per the painting.

Obee
Major
- Joined
- Aug 27, 2009
- Messages
- 6,172
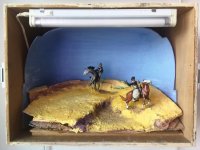
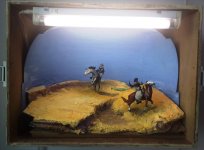
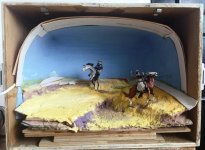
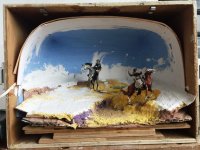
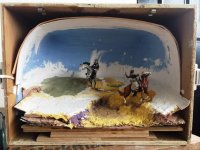
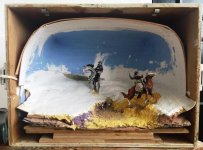
I am re-using a previous cavernous shadow box for this piece. I've test-fitted the base into the box against the painted backdrop, with and without lights.
It looks promising.
With the internal light looks good, but why such a big tube ?? Maybe find some smaller LEDs ???
John
Louis Badolato
Lieutenant General
- Joined
- Apr 25, 2005
- Messages
- 18,421
Victor,
It looks terrific in the shadow box! It's really coming out amazing!:salute::
It looks terrific in the shadow box! It's really coming out amazing!:salute::
blaster
Major
- Joined
- Sep 10, 2008
- Messages
- 6,523
Hi Louis and John,
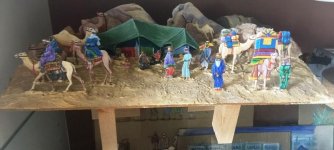
thanks for your nice comments. This box was scavenged from a Bedouin camp flats display which was my first lit shadowbox made about 10 years ago. Then I used an old-fashioned 8 inch fluorescent tube with its own ballast. The type that was used for cabinet lights. It is still in good working order and the light is very bright, which is the effect that I want.
I've taken out the flats display and will place it in a smaller box in the future.
I am reusing the separate sky backdrop for the cowboy display.
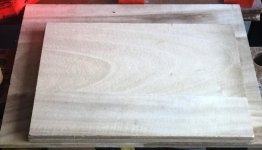
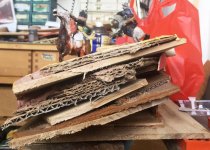
I have built up a stage to elevate the display. The display has been glued on top of the stage but angled foward to create a perspective effect. The side view shows the elevation at the back.
Rgds Victor


Users who are viewing this thread
Total: 2 (members: 0, guests: 2)


