A 12 year old enters the realm.... (1 Viewer)

Peter Reuss

2nd Lieutenant
Joined
Apr 22, 2005
Messages
3,775
We took our son to the Chicago show, and he proudly came home with a Prince August casting kit and a couple Dunkins molds. He's fired up to get casting and painting!

The first figure was cast with success! Now...to paint!

We picked up some acrylics yesterday, along with acrylic primer. He's got brushes...so now he wants help from his dad!

I may be a master at primer :rolleyes:, but have no experience in painting. Is there a good resource I can send him to so he can get some tips? Shannon has done some glossy painting in the past, but none of us have done matte (which is what ben wants to do).

Also, what would be a good source for metal? I know you can mail order modeling metal, but it seems that it must be available locally somewhere!

He has the bug! I want to help him have as much success as possible so he'll want to keep with it.
 
Painting with acrylics in my opinion is much easier and you get quicker results than painting with gloss. Once the primer has dried I say just paint away it's that easy.

I think his best bet would be to look at Jeff and The Barons albums and maybe read through their threads in the How to Section oh and don;t forgot to post some photos of his progress

Good Luck, I am sure you will enjoy it.
 
...Is there a good resource I can send him to so he can get some tips? ...

Are you kidding? Right here in the forum :D

As to metal, Dunken also sells casting metal. MicroMark carries their own alloy, and I think that Rich Dutkin (Dutkin's Collectibles) sells casting supplies. But when you order metal through catalogs, remember that you're paying shipping prices per ounce or even pound. I would look for local sources, including any place that sells supplies for print shops, because linotype metal is good for casting (it's what I use). Check with scrapyards in your area, too, they might have metal on hand, or might be able to direct you to sources.

I got all of mine at flea markets, by the way, exept for the tire weights that I also use to adjust the mix in my pot.

I got my casting pot at a sporting goods store, too, that sold black powder supplies. The same pot is used by black powder enthusiasts who cast their own musket balls.

Please tell Ben that we're all looking forward to seeing his work, and we invite him to share in the forum.

Prost!
Brad
 
That's great!

Coolminiornot.com has a ton of articles about painting ranging from beginner to advanced levels. Just click on 'Articles' on the front page. :)
 
That's great, Peter! The most important thing is to get started! Painting is a journey, not a destination. Enjoy the trip!!
 
Painting with acrylics in my opinion is much easier and you get quicker results than painting with gloss.
 
Check with scrapyards in your area, too, they might have metal on hand, or might be able to direct you to sources .
 
We learned a few interesting bits last night...

1) Not all tire weights are lead based! We found a quite a few that were iron and would never melt on the burner.
2) I assume you need a large amount of 'good' metal to overcome the 'scrudge' of the weights? The weights we had melted, but basically turned into a paste that we skimmed off the top of the good metal.
3) When there's only a small amount of metal in the pot, it's very hard to get the slag off the top!
4) We need to vent our molds better. We had a heck of a time getting the metal to fill all the way into the hands of the figures.
 
Iron weights? Interesting; I've never seen iron tire weights before.

You will get slag on top of the metal, with old scrap metal, which requires skimming. Tire weights, for example, can have paint, tar, and other impurities on the surface, and just oxidation, too. That stuff separates and can be skimmed. I use the steel clip from an old weight to skim; I hold it with a pair of pliers and drag it across the surface to skim the dross.

As to a mix, I estimate very roughly by weight, mixing linotype and lead, and work out percentages that way. I usually use 90% linotype, 10% lead, or so.

And of course, if you're using rubber molds, dust them with talc, which lubricates and helps release the casting, and with metal molds, hold them over a candle and soot the mold cavity, for the same purpose.

Prost!
Brad
 
I'll do the typing for my son (who at 12 years old isn't old enough for a forum account of his own - it's against forum rules and I doubt I could trick his mother :))

We're still working on casting! A few wrinkles to iron out.

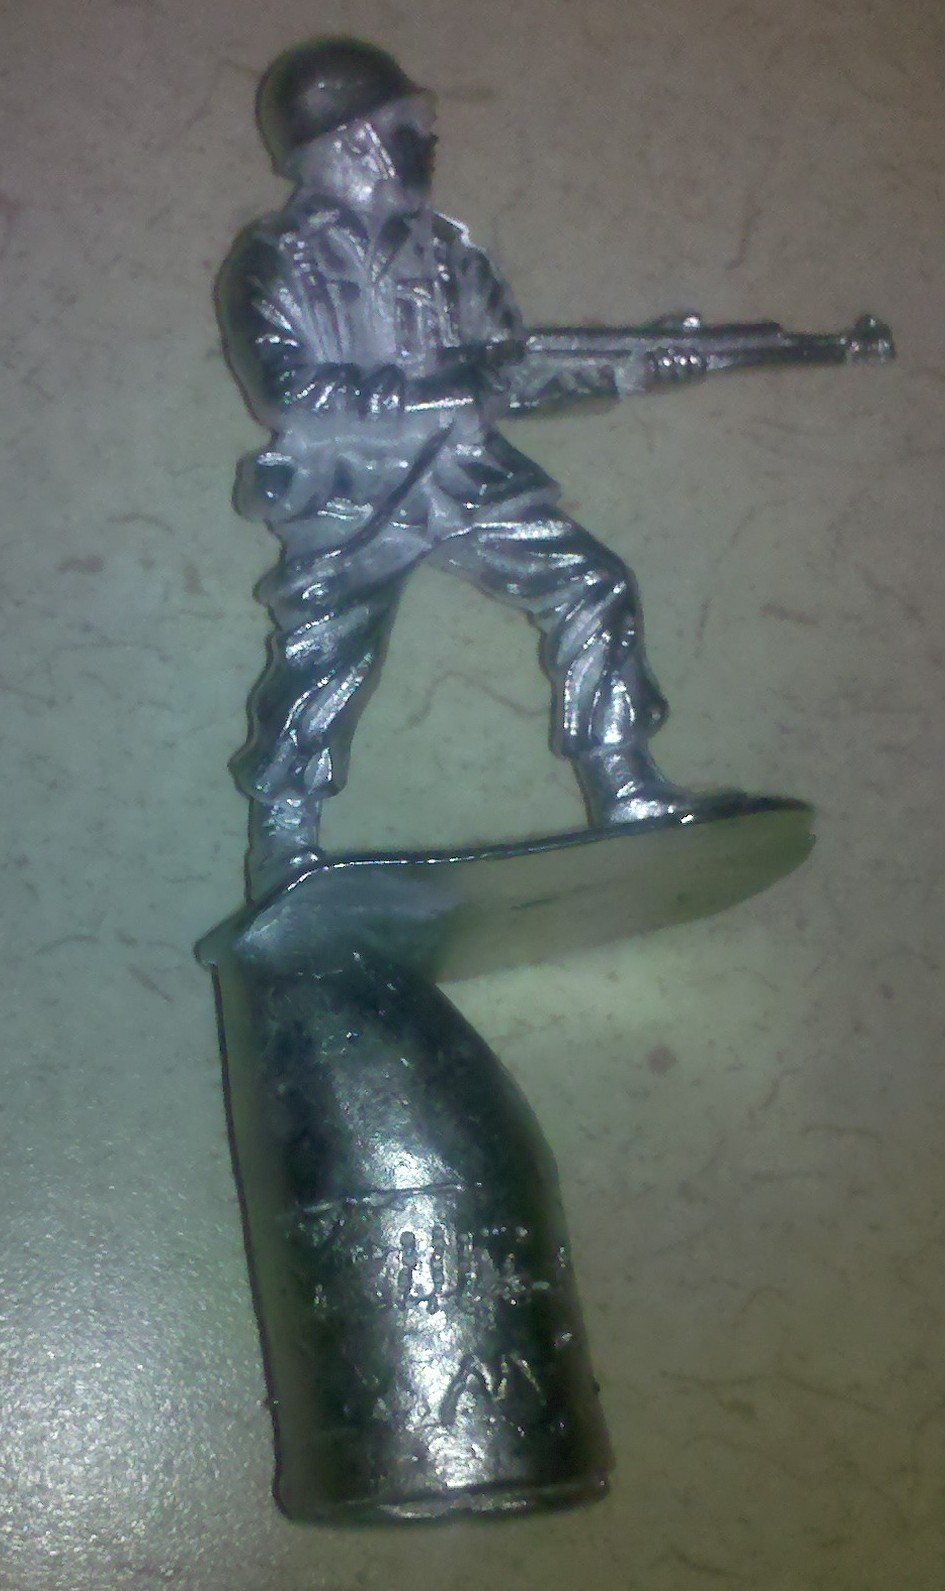
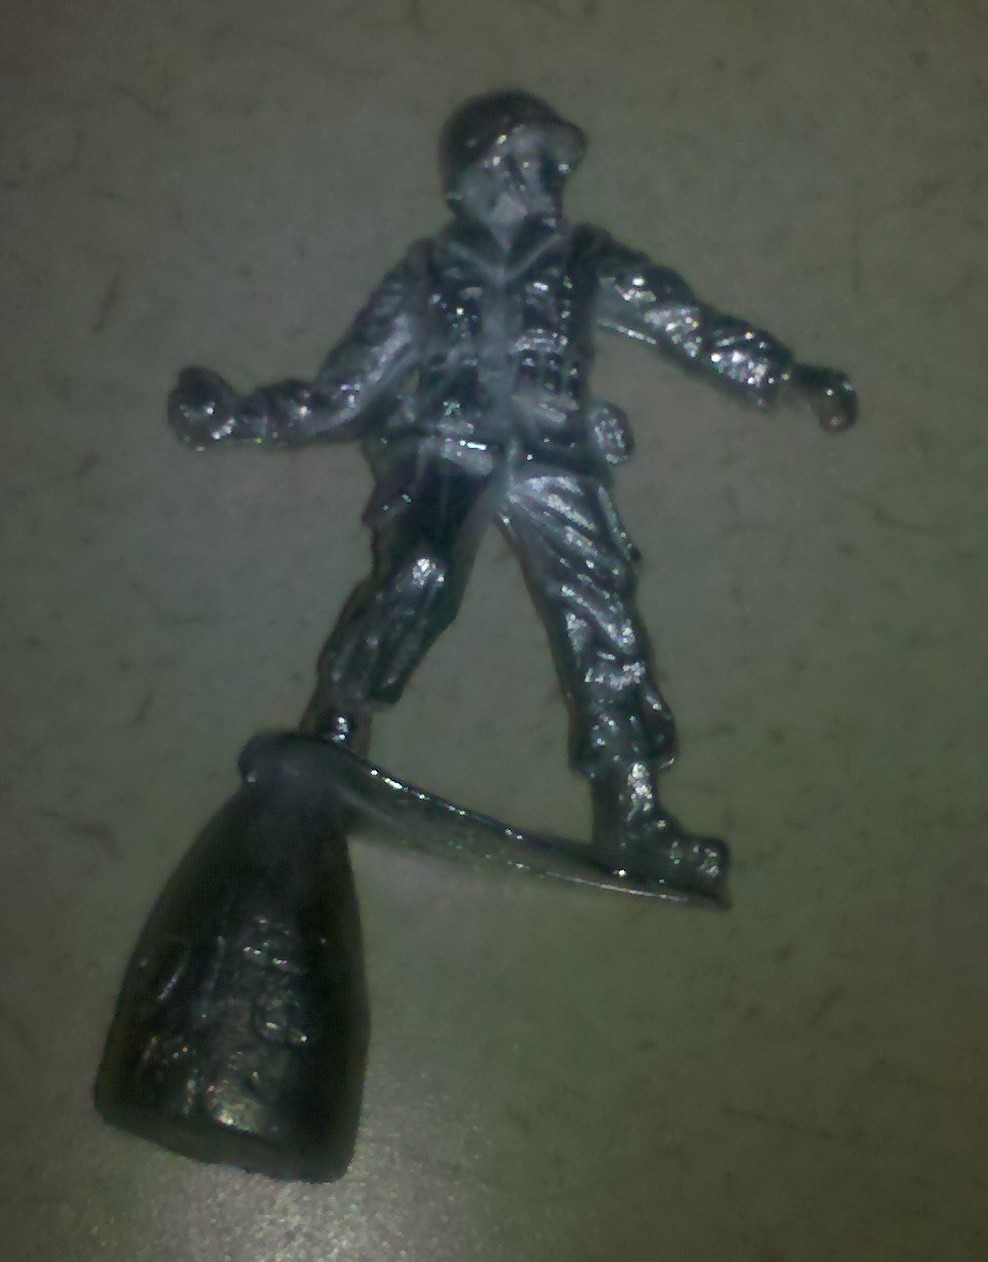
The first couple figures he cast came out great - we didn't even have to vent the molds. The only issue was that the bases seemed to have kind of a funky wave to them - I don't see the figures standing straight after we cut off the bottom chunk. Any idea what would have caused it?

bencast3.jpg


bencast4.jpg


These were used using Dunken's EZ Pour metal.

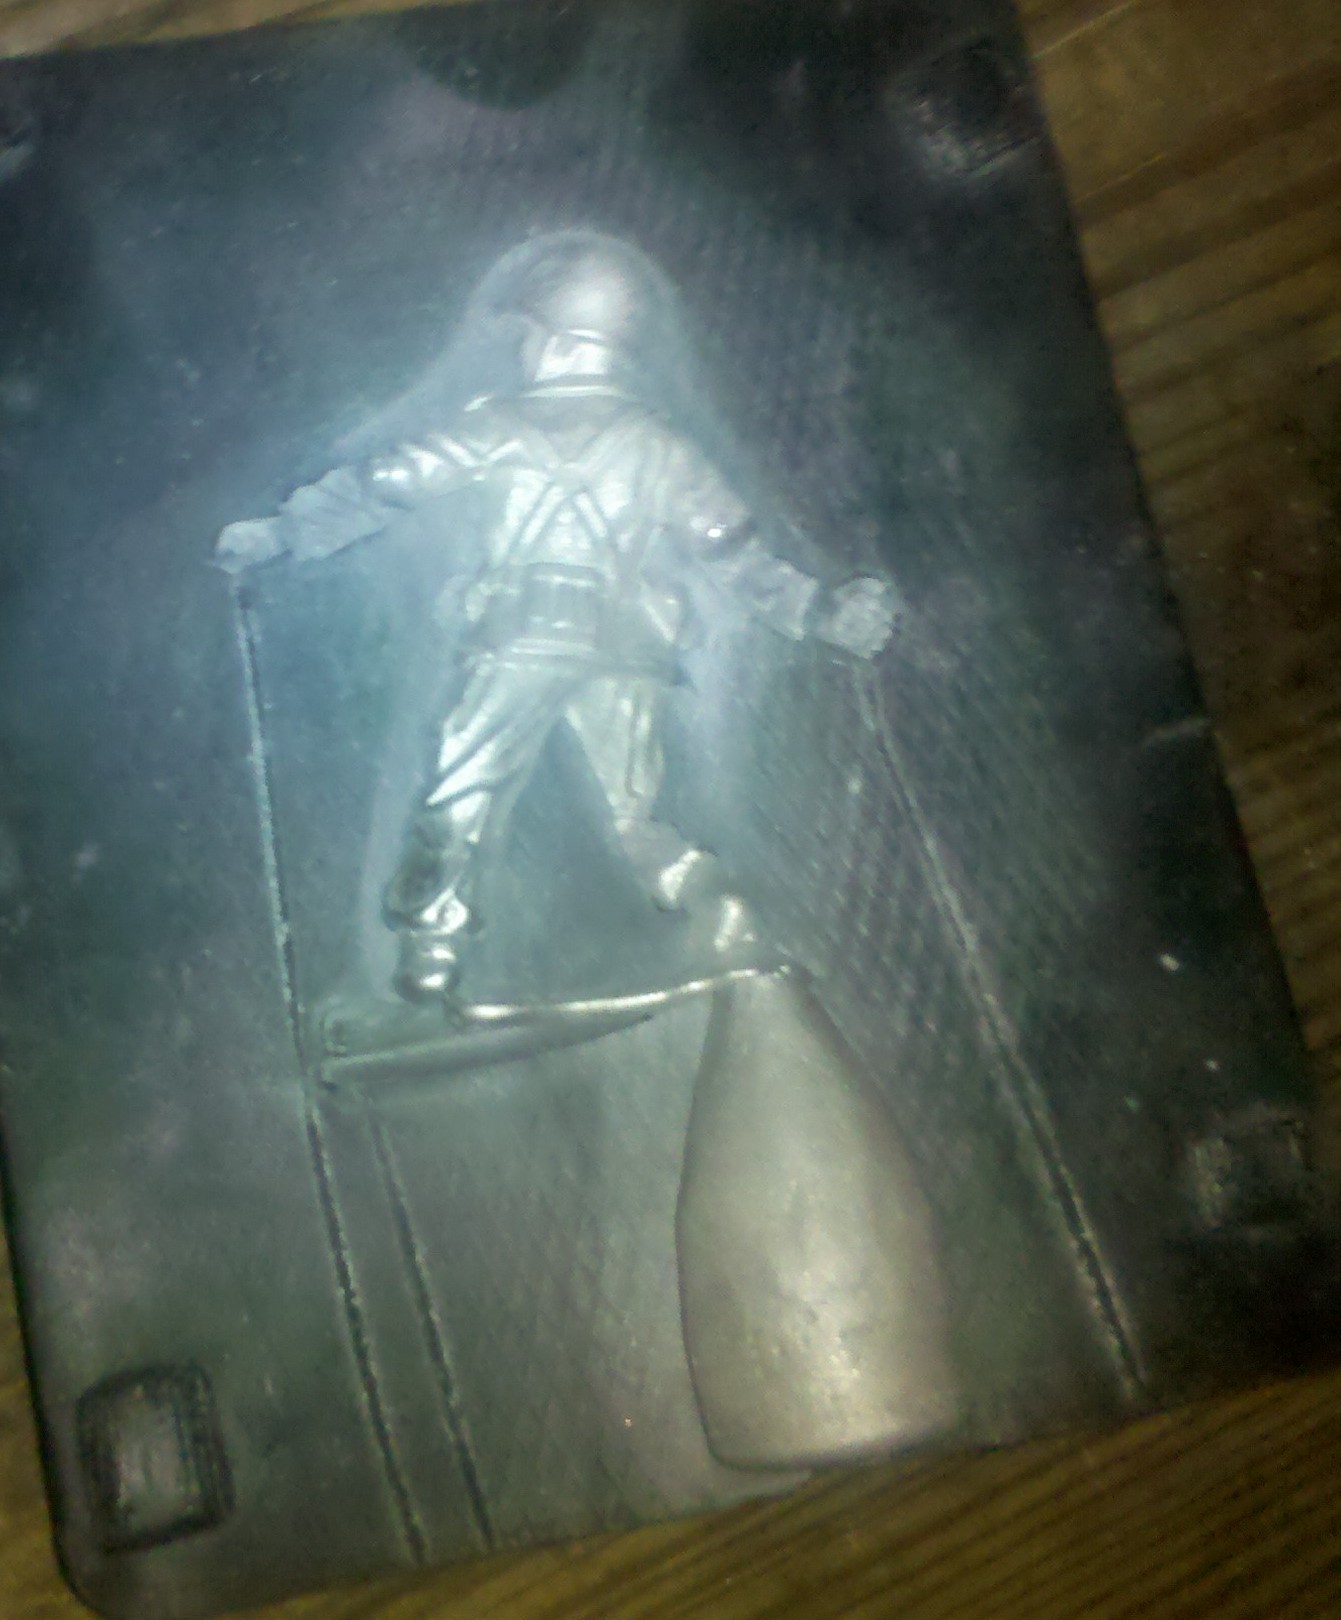
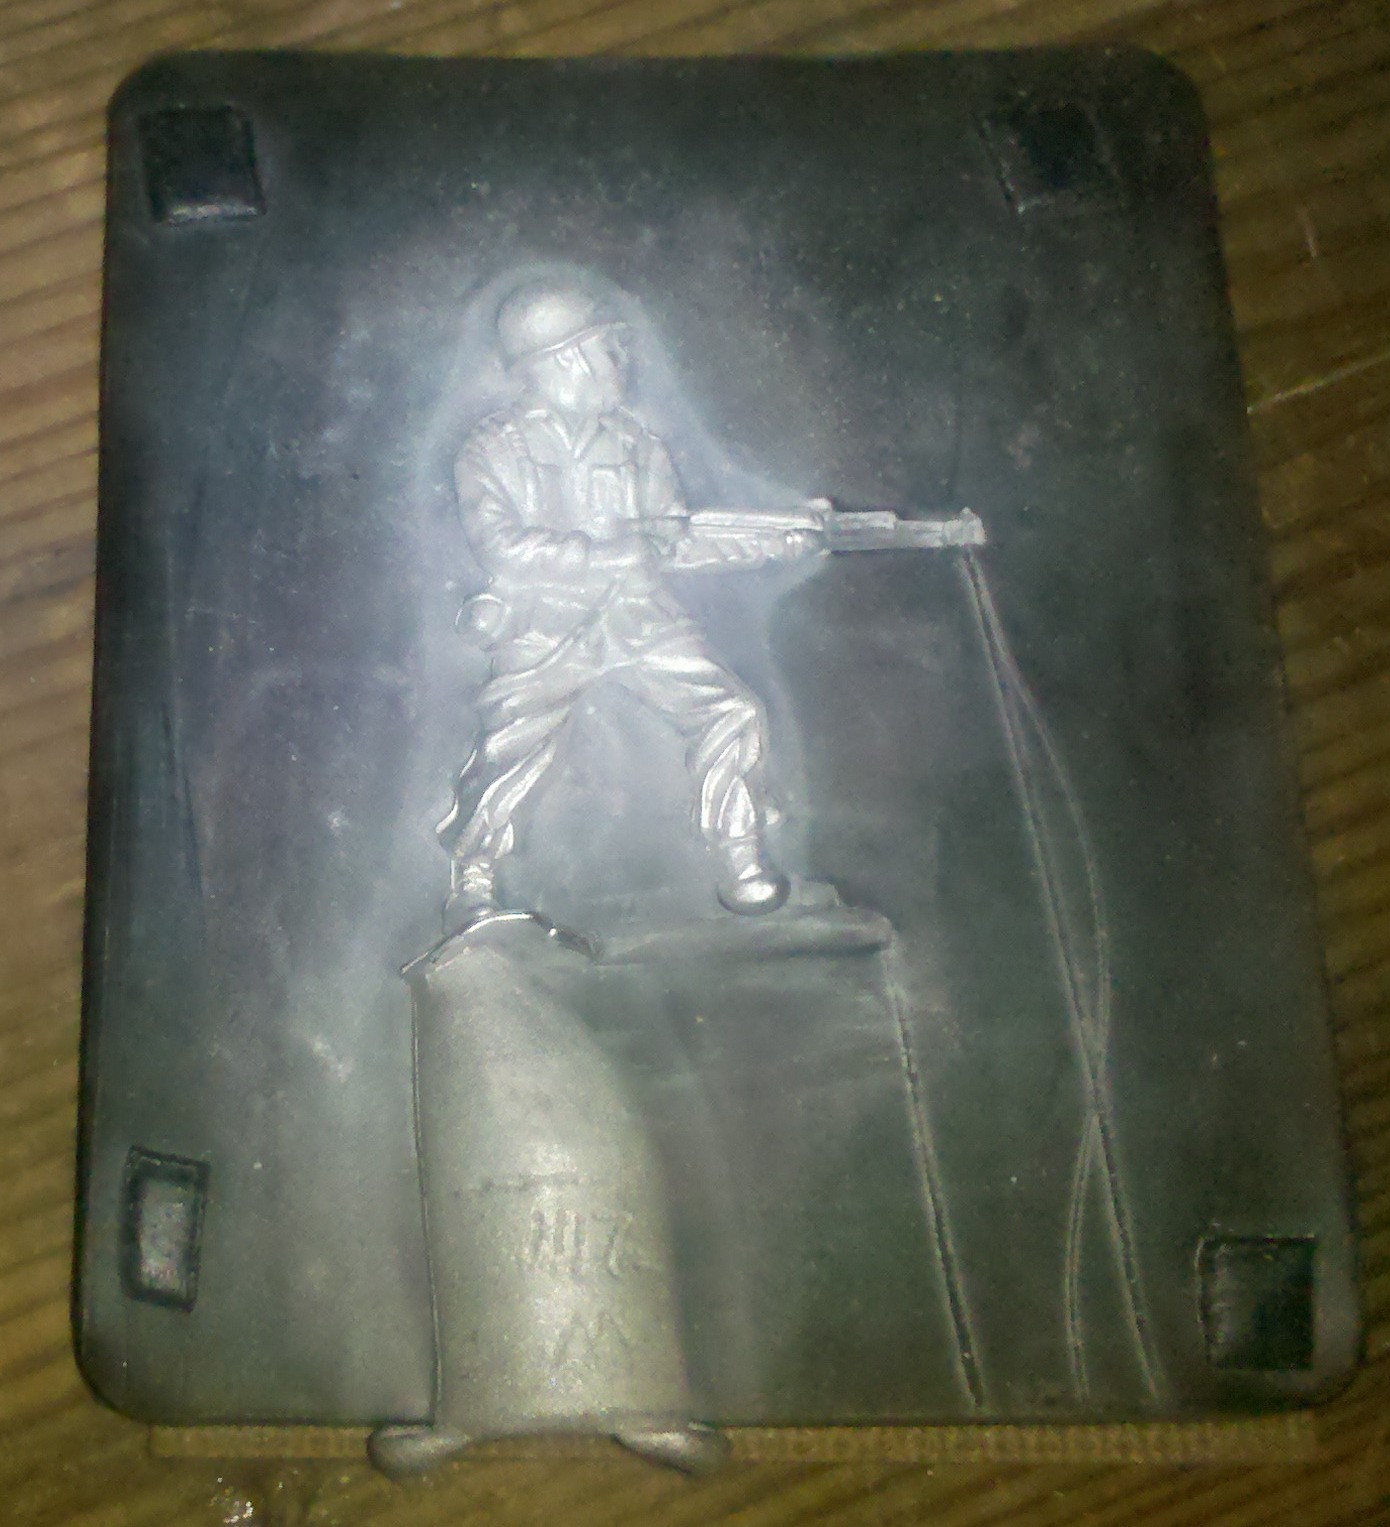
Now we're using Prince August Model Metal and we're not having good luck in filling the molds (even after doing some venting). Any ideas what is happening?

bencast1.jpg


bencast2.jpg
 
Not a bad effort, they look pretty good.

Regarding the distortion of the bases--they're pretty thin, and is it possible that the casting was still warm when you removed it from the mold? The bases could have warped, as you removed the casting, because the mold will invariably twist out of a flat plane in the process. However, once you remove the casting gate, try very gently to bend it back into flat, holding it on a flat surface. Also, you'll probably want to get a file and file the base smooth.

Regarding filling the whole mold--I use Prins August Seven Years War molds, and the 40mm 18th century half-round molds, and sometimes I get the same problem. It can depend on the shape of the casting; on how well the mold is vented, as you've noted; on the mixture of your metal and whether it stays hot long enough to fill all of the cavities. That's the drawback to drop- or gravity casting, and the advantage of a centrifugal caster, to use centripetal force to force the metal into all of the detail, by the way. I will also tap the mold gently on the benchtop, as the metal is still fluid but setting, to help get it into all of the cavities.

I find that the molds often have to warm up, before I can get consistent castings. Some casters will warm the molds in the oven ahead of time. I'll just pour a couple of castings that go right back into the pot, if necessary. But I watch that I don't let them get too hot, in one session. I'll work with a couple of molds in a session, and when one mold gets too hot, I'll rotate it out and use another one, and so on.

Also, if you're using a clamp, make sure that you're not using too much pressure to hold the halves together. The backing boards that PA includes with its molds help you to apply even pressure, as well as insulating them.

Those are some things that come to mind, off the top of my head. But still, those look pretty good!

Prost!
Brad
 
I was thinking pretty much everything Brad said, but the master caster has put it far more eloquently than I could.
I have found the same and chuck the firsy 2 or 3 back in the melting pot, as this warms it up. I have used silicone RTV molds and found that the next 8 or 9 come out good before the mold gets too hot and benefits from cooling down again.

I also found that tapping the mold while the metal is still molten, and angling the mold (in this case, towards the end of the flamethrower) is more successful than simply letting it drop in to th mold without agitation.

These results are pretty neat - load of detail on the castings - great job Ben!

Simon
 
You got some good tips. I usually tap the mold after pouring to settle the metal and I sometimes add vents to the outer parts of the casting mold. Another thing is I use a popsicle stick to test the hot metal. The stick should turn a golden brown when ready to pour. If the stick turns black or burns the metal is too hot. After a few castings I let the mold cool a little while. Also, on the stands I route out a groove in the middle of the base with a file or dremel tool. This makes the figures stand better. Sort of a concave middle on the base. J
 

Users who are viewing this thread

Back
Top