A bid of sculpting, casting and a little magic... (2 Viewers)

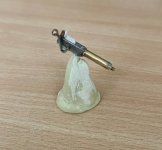
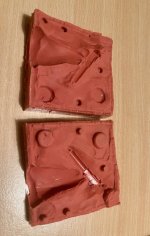
One single rubber band will be enough to secure the mould during the following casting process.
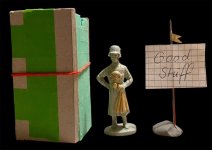
d8.jpg


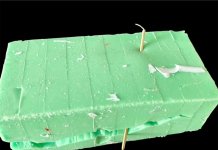
Casting resin can become very messy indeed. To retain domestic peace sit the finished mould, secured by its envelope and the rubber band(s) into a dissposible vessel of any sort. Remember it has got to fit into the pressure pot.
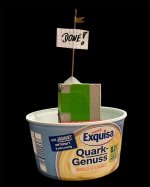

d9.jpg

Actual casting of the resin will follow soon.
 
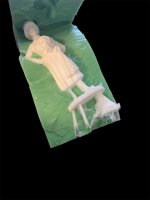
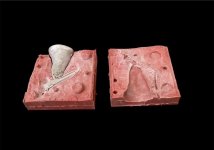
Finished to cast the figure.

s1a.jpg

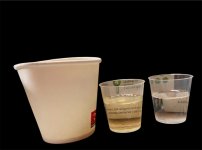
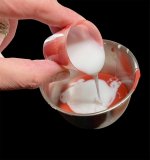
Use clear shot glasses to measure equal amounts of Part A and Part B. Poor both into a paper cup. Paper cups are best for this job as they can handle the heat generated by the kicking resin best. Furthermore you can form a simple pouring funnel by just squeezing the top half of the cup. Not well to see in this picture but it is there, does aid the pouring process very much - cheap, sturdy and available anywhere. Do not use anything made of plastic.


s2a.jpg

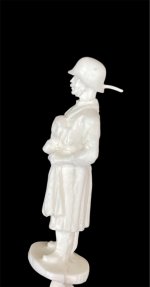
First cast came out of the mould pretty well. Planed to cast a few more, It was than that I realised that my resin was long over it´s shelf life. Resulting in a even faster kicking mixture one the to parts where mixed. This resulted in a bubble on the backside of the helmet. Not good but issues like that can be solved by creating extra vents.
 
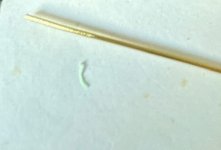
Use a brass pipe and sharpen the edges on one and. Than poke a hole into the rubber from the inside out.

s7a.jpg

Not a very sharp picture but you can sport the little rubber spagetti that the brass pipe created.

s6a.jpg
 
Much better now. See the effect of the additional vent in the resulting casting.
You need a pressure pot to achieve this result as gravity on its own is a much too weak force to do this job.


s8a.jpg
 
Much better now.

s3a.jpg

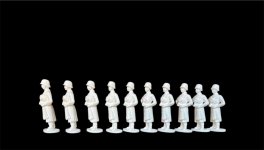
The laws of Optics are playing with this picture a little, but believe me they are all nice proportioned and equal to each other. None of them had to suffer.

s4a.jpg

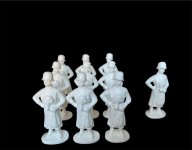
Still on the cat walk, ten all together. Better to have more Stabsärzte rather than only one Stabsarzt.

s5a.jpg
 
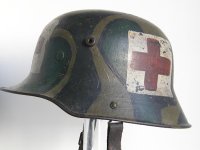
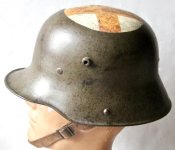
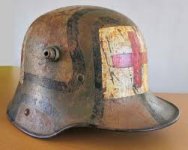
I found a few nice patterns of German WW1 M16/M17 steel helmets showing the medic´s red cross symbol - can´t load them up all.


helm3.jpg

helm4.jpg

helm5.jpeg

Found some nice Austrian helmet samples as well.
 
Now I am happy to clean them all up, prime and paint them.
I will try to give every figure a different paintsheme, hemet actually.

When finished I will post a photo of it. In case you are interested on how this figure struck my attention and how it came to be, have a look here:


Users who are viewing this thread

Back
Top