mestell
Colonel
- Joined
- Feb 12, 2008
- Messages
- 9,527
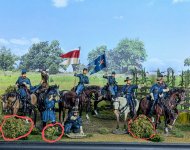
As many of you know, there are many retail and on-line sources for diorama foliage, grasses, trees, bushes, and shrubs. All of these sources have a wide variety of foliage products in assorted colors that can bring to life your toy soldier display. However, although excellently made, these resources can be spendy.
To help supplement my foliage I also make my own bushes and shrubs at a fraction of the cost of those commercially made and still maintaining the visual impact desired.
So, with that said, I thought I would attempt to post a tutorial on how I make my diorama bushes and shrubs.
Mike
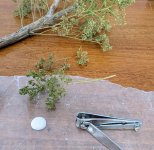
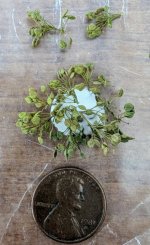
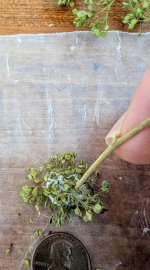
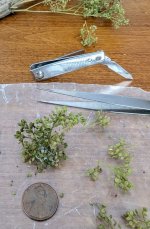
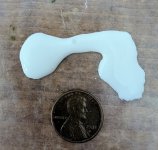
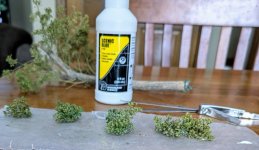
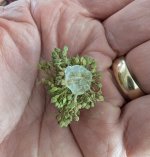
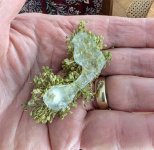
#1 - Materials/supplies needed: Tweezers, finger nail clipper or small scissors, wax paper, white glue that will dry to a clear matte finish, and a supply of preferred dried foliage.
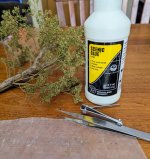
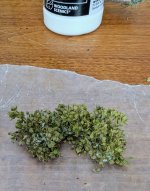
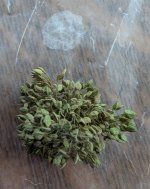
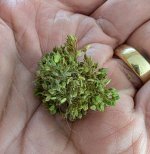
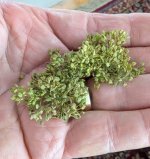
Here I am using the foliage from a discarded H&A tree that I no longer use. The tree was made years ago for me by Ken Osen. I am not quite sure what the foliage is but it's similar to dried Baby's Breath or Broom Bloom.
To help supplement my foliage I also make my own bushes and shrubs at a fraction of the cost of those commercially made and still maintaining the visual impact desired.
So, with that said, I thought I would attempt to post a tutorial on how I make my diorama bushes and shrubs.
Mike
#1 - Materials/supplies needed: Tweezers, finger nail clipper or small scissors, wax paper, white glue that will dry to a clear matte finish, and a supply of preferred dried foliage.

Here I am using the foliage from a discarded H&A tree that I no longer use. The tree was made years ago for me by Ken Osen. I am not quite sure what the foliage is but it's similar to dried Baby's Breath or Broom Bloom.


