Iraq House Build (1 Viewer)

Wraith

Major
Joined
Aug 26, 2006
Messages
6,777
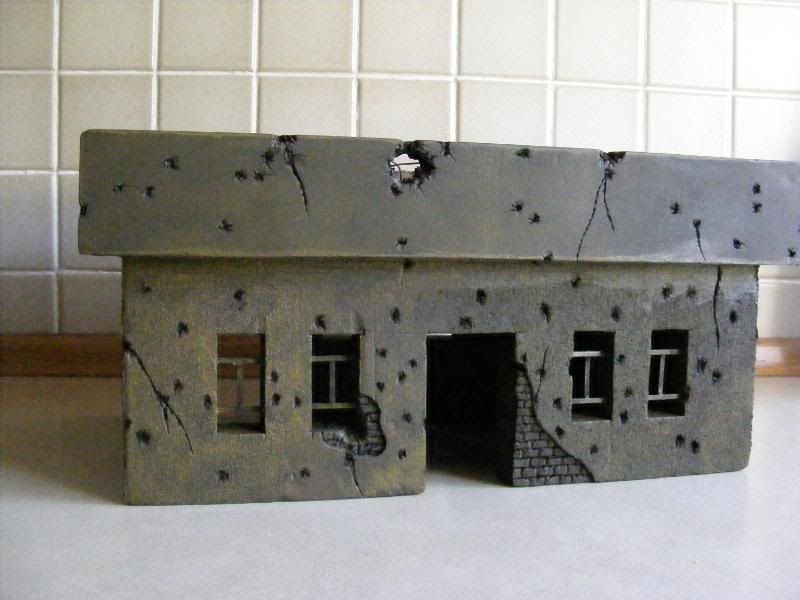
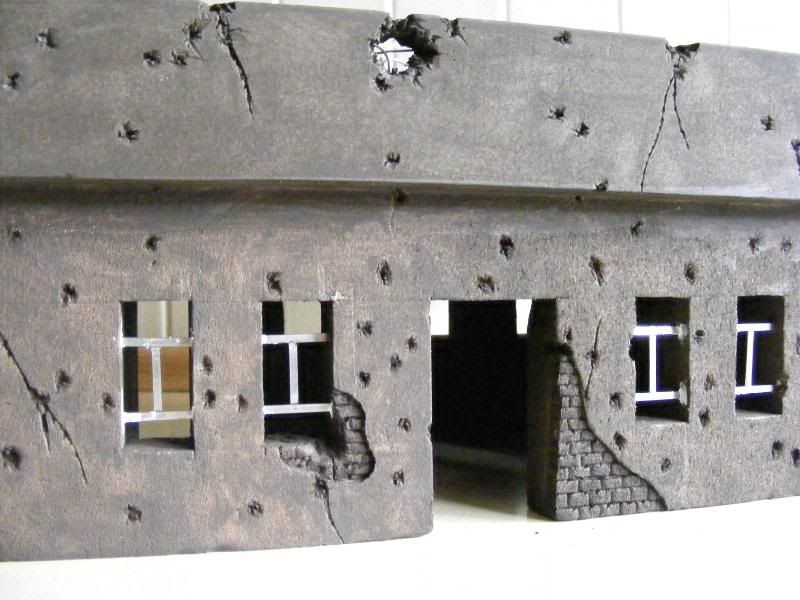
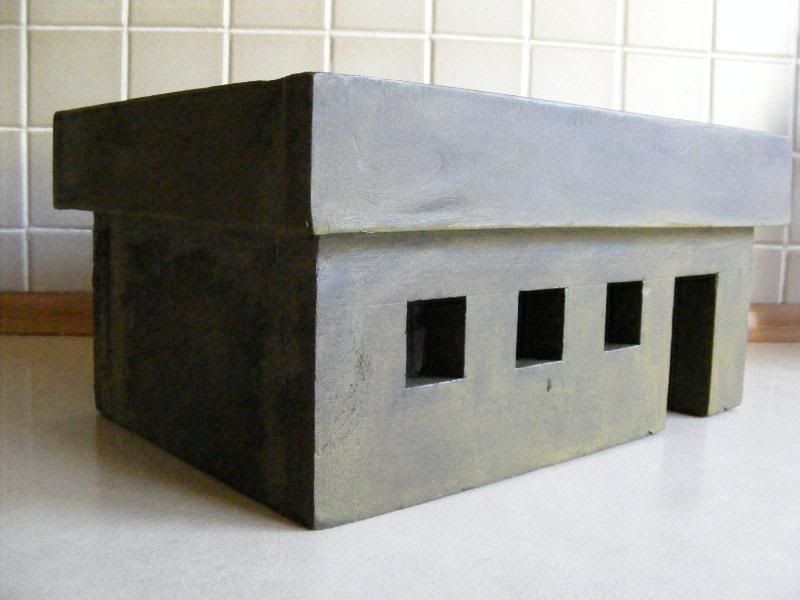
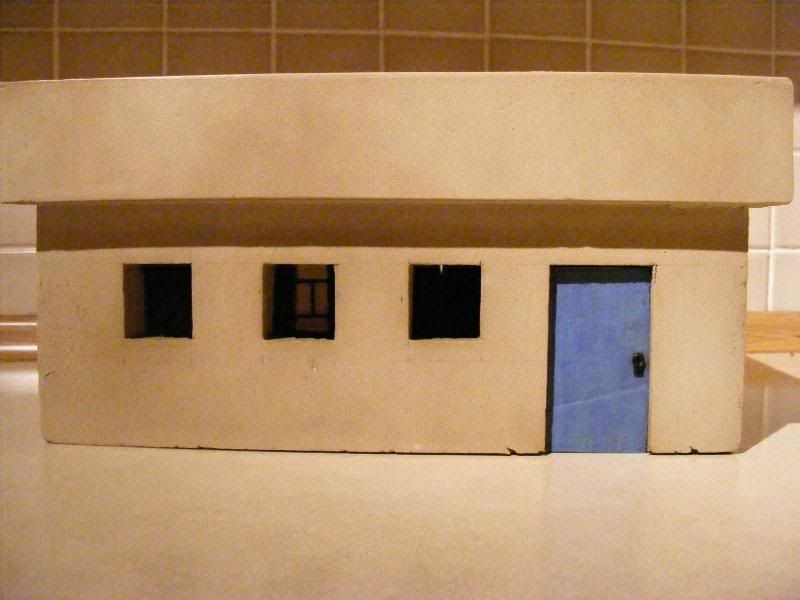
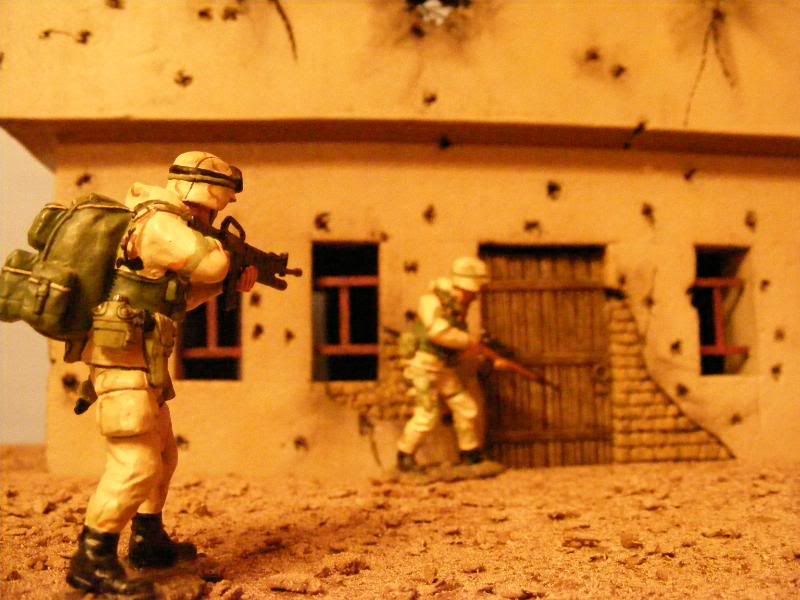
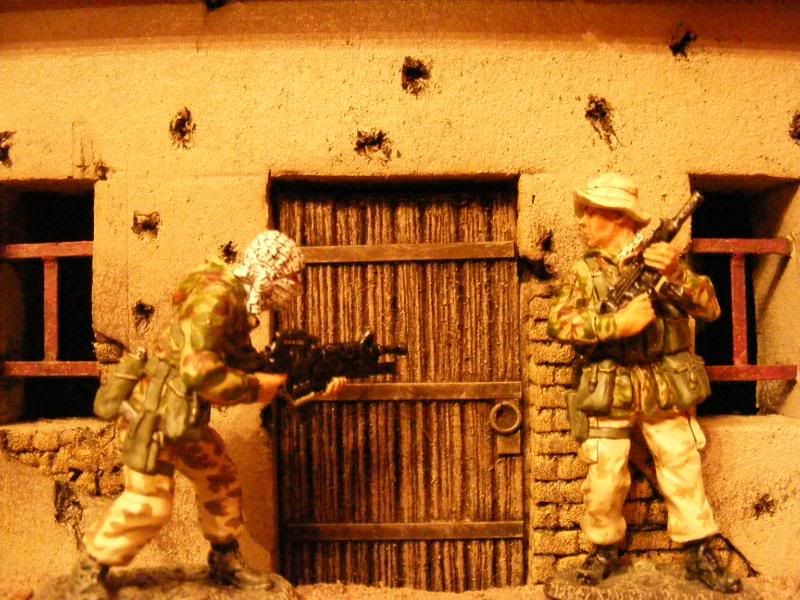
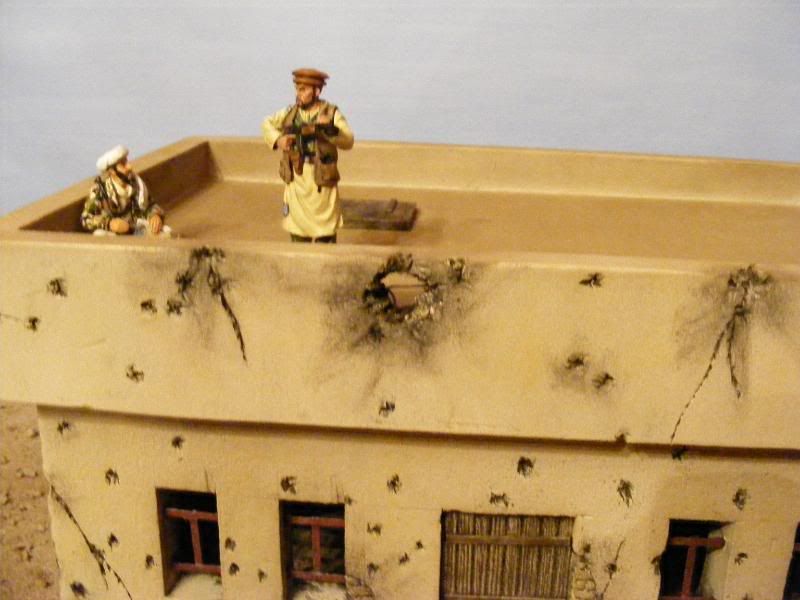
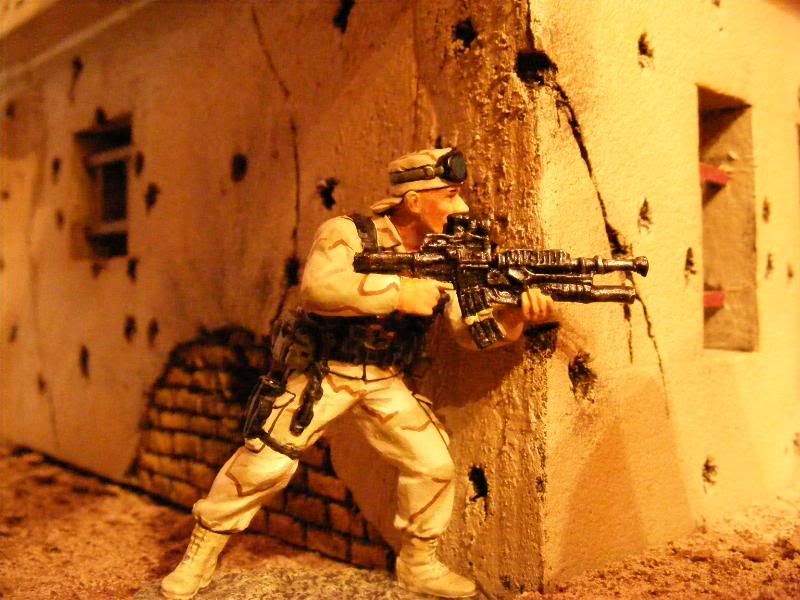
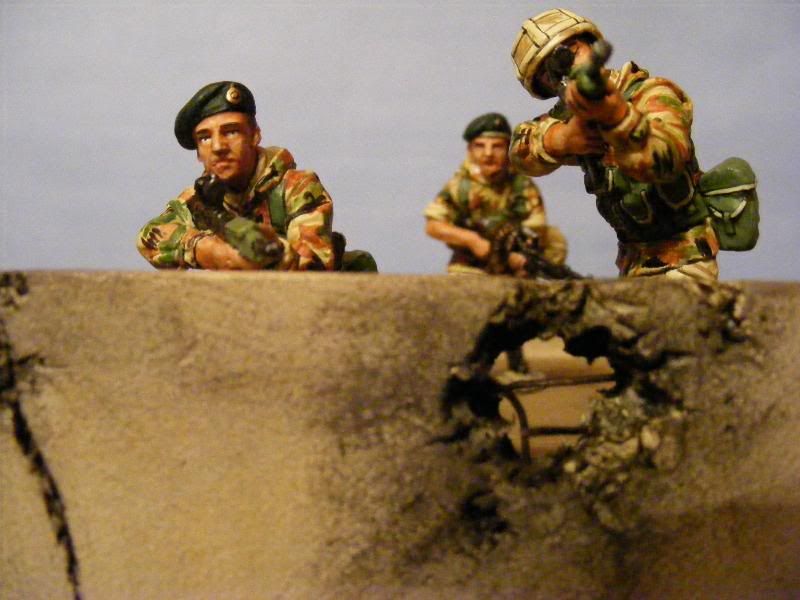
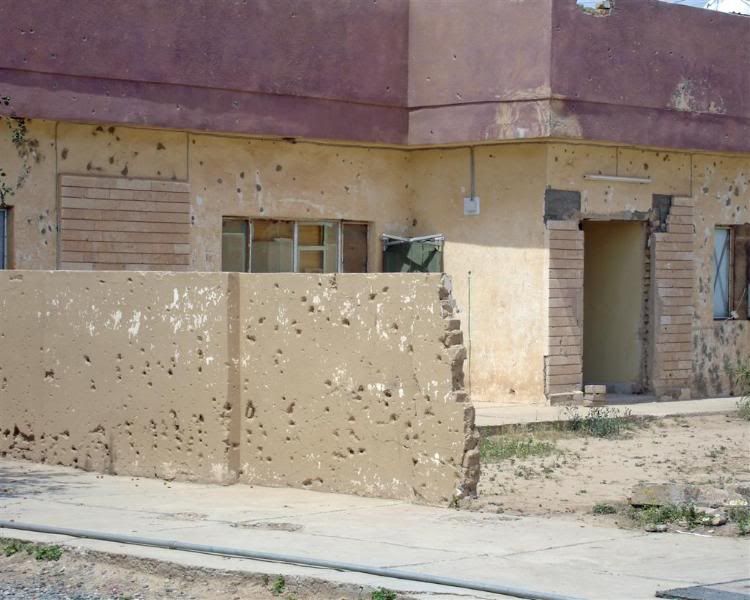
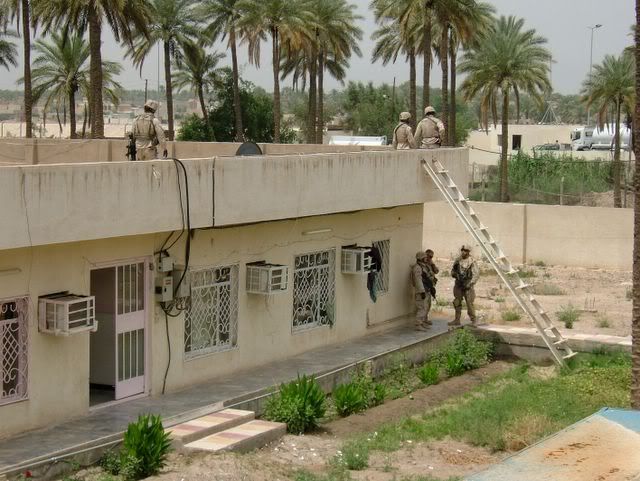
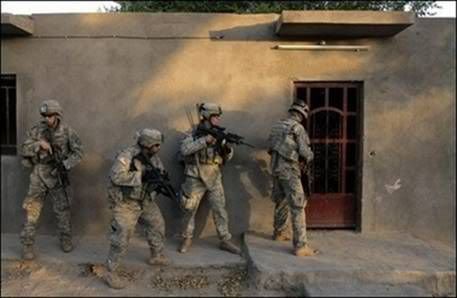
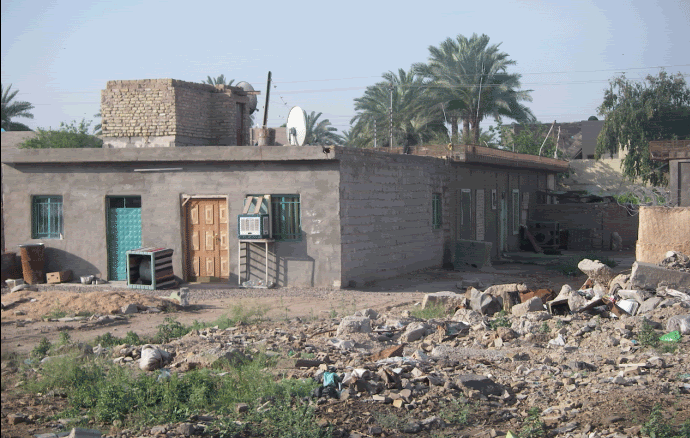
Decided I needed some buildings to play with my K&C SF series troops and Figarti Iraq war figures. I clicked away as I was making and painting, so for anyone interested.....

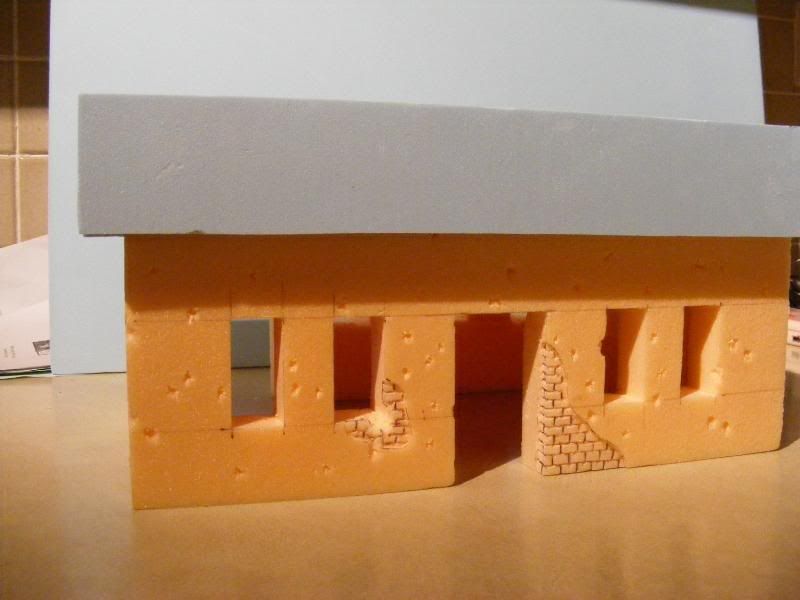
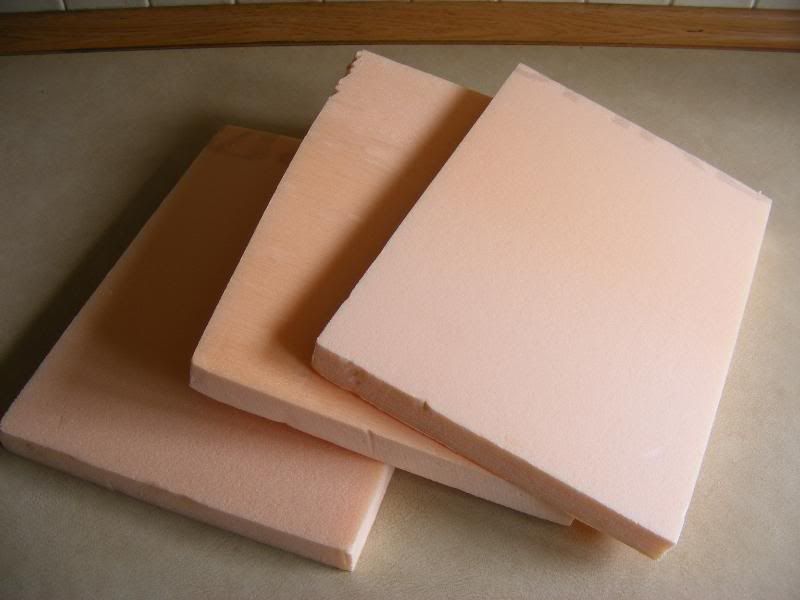
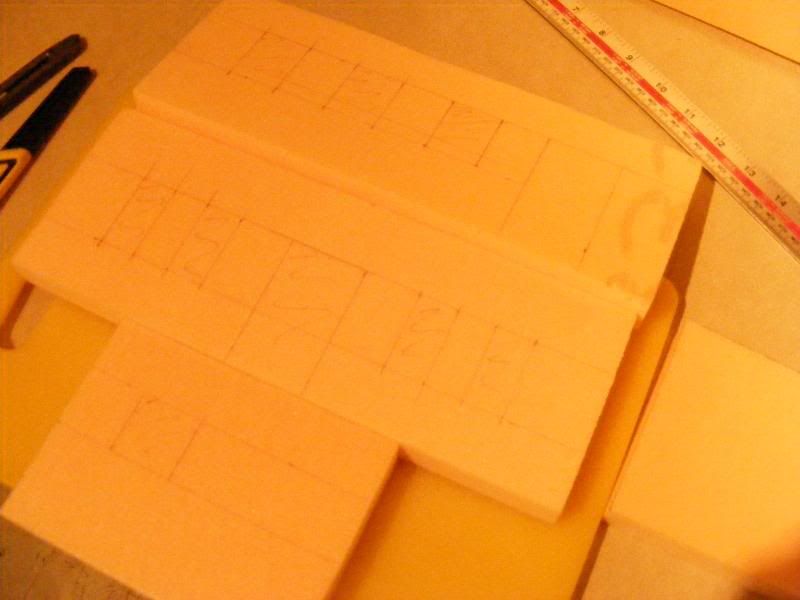
Material to be used is pink (+blue) foam, mainly 1" thick

Hum1001.jpg


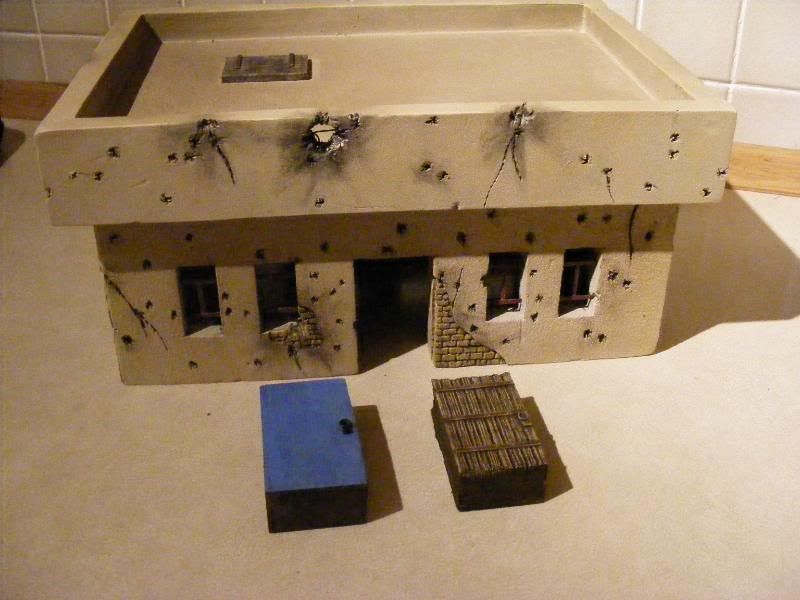
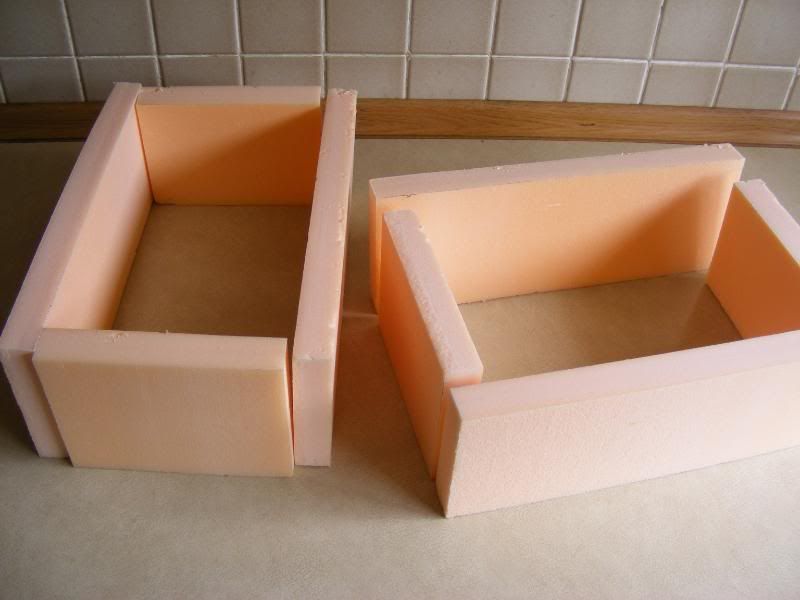
I'm planning on doing several of different designs, but have just the one completed at the moment. Foam cut to size for the 4 walls (x2),

Hum1002.jpg


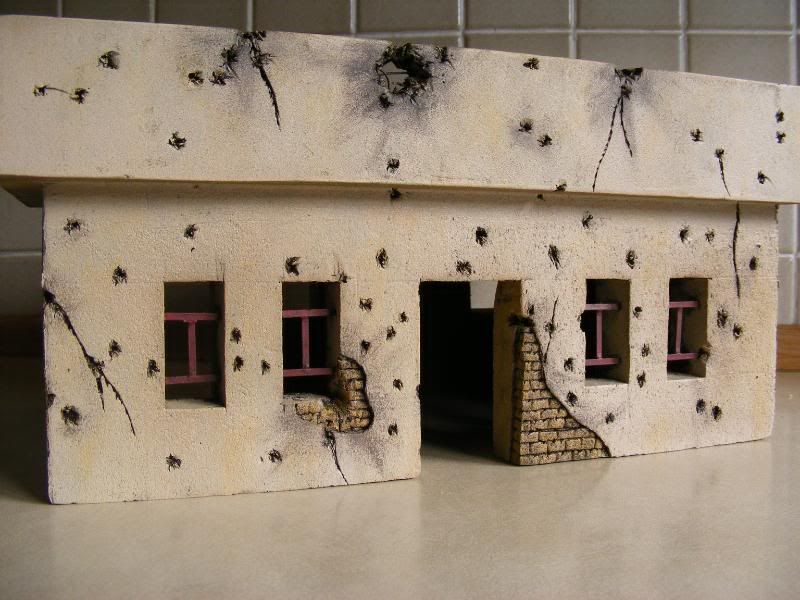
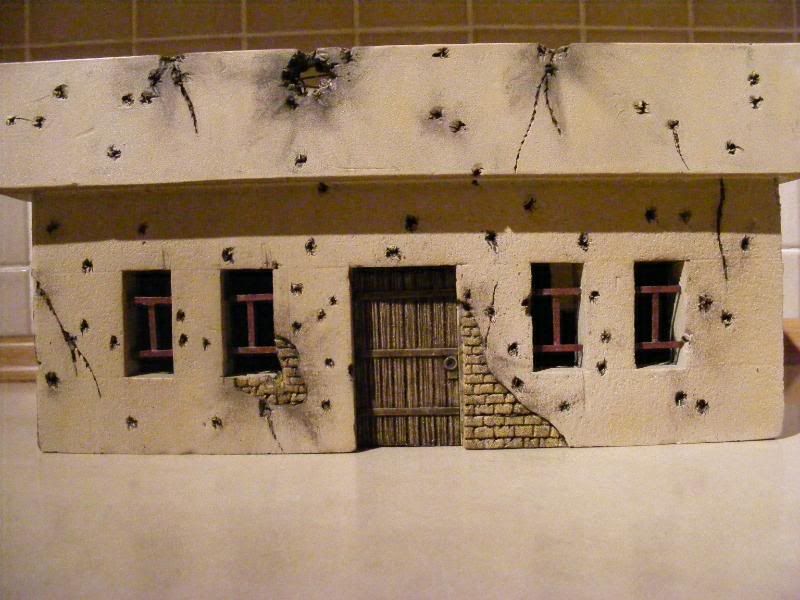
Marked out the windows and doors...

Hum1003.jpg


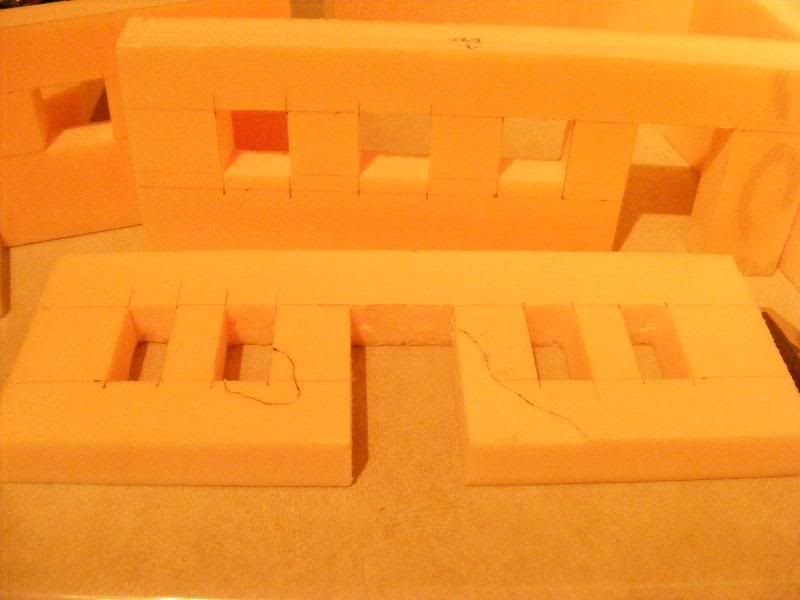
....and then sliced 'em out. I decided on doing door + windows for both main sides of the building, so I could alternate the 'look' if I wanted.

Hum1004.jpg
 
I did a shed load of googling to get some reference points for the style of buildings, a few examples are attached,

1104678935_9300c64588.jpg


3ID251.jpg


Battle20Damage20Iraq20Air20Force20O.jpg


building20secure.jpg


GI20SPECIAL205I17-8.jpg


Iraq4.gif


untitled.jpg
 
Now started adding battle damage to 2 sides of the building. I marked out and sliced a couple of mm from patches of the building to expose the 'brickwork' underneath. Using a ball point pen, I pressed in along the brickwork lines. Also, using a blade tip, I stuck the blade in various places and gouged around to represent bullet holes et. al.

Hum1005.jpg


I used a hot glue gun to then stick it all together. I'd like to say that due to my incredibly accurate marking out and cutting, that it fitted together so perfectly, that there were no join marks. But I'd by lying :rolleyes:.

Hum1006.jpg
 
I then began work on the roof. I used 15mm thick foam to provide the roof wall and stuck it on so that it concealed the previous roof joint, and allowed a suitable height for the figures to take cover behind.

desert001.jpg


desert002.jpg


I cut out a roof hatch from 2mm foam. I used a pen to press in to show the individual planks of timber, and a brass wire brush, applied fairly heavily, to get the wood grain pressed in to the foam. It shows up better oncw painted and drybrushed

desert003.jpg
 
In the interim, I 'damaged the upper roof sides. I used lengths of paper clip in the hole to show the rebar from the concrete structure, something I noticed when googling images of the buildings. I then gave it a base coat of thinned burnt umber

desert006.jpg


The metal window grills are made up from the sprung metal strips you find in car windscreen wipers. They were cut up, CA glued together, and carefully pushed and pulled in to place in the windows

desert004.jpg


Used the same metal strips for the hinges on the roof hatch

desert005.jpg


As mentioned previously, I wanted to keep the building so I could use it for different set ups, so I deliberately kept 2 sides clear of damage

desert007.jpg
 
I finished off the paint work with a not-so-dry-brush of dirty cream / sabd colour. I wafted over the whole building with a tan humbrol aersol, to get some variation in colour, and break up the single coat. The brick work was dry brushed over with more of a yellow based tan colour, as seen in some of the photos. Scorch marks were drybrushed around the more heavily damaged areas, and the window grills were painted a maroony red and then drybrushed.

desert012.jpg


desert013.jpg
 
As an afterthought, I figured I could use the cut outs from the doors as, well, doors. So I painted up both sides. For the damaged side of the building, I used the same process as the hatch to get a wooden door, using the metal strips as furniture and a bit of wire wrapped around the end of a paint brush for the door handle (not sure how realistic this is, but it was an afterthought, and it's close enough for me), and kept the second door plain.

desert016.jpg


desert014.jpg


desert015.jpg
 
All finished and ready for playing with :)

desert023.jpg


desert026.jpg


desert027.jpg


desert028.jpg


desert033.jpg


Just got the rest of Baghdad to finish now.....:eek:

Simon
 
Bloody hell Simon, that's just a little bit good !!! How long did it take you do all that lot?


Great stuff
 
Thanks Scott!

Didn't take that long for the main building, as the Iraqi construction industry rather conveniently seem to leave any complicated corners out of their building work. The pain in the butt was the window grills, cause they kept 'ungluing' themselves when I tried to wedge them in to the openings.

Still, it's not put me off, so building number 2 will be underway shortly, and I'm thinking of doing a large Iraqi flat complex facade, to use as a backdrop type building.

Simon
 
Very nicely done Simon. Your research of actual buildings is very impressive and the final product is just brilliant looking. I think that making backdrops and dioramas for our figures is one of the best rewarding things about this hobby of ours. Thanks for sharing.

Mike
 
Ken, Mike, John,

Thanks for your kind comments. It was an enjoyable project.


John,
Us Nottingham lads have now moved away from crayons (too dangerous) and on to paint, so there's no stopping us now. :D

Simon
 
Ken, Mike, John,

Thanks for your kind comments. It was an enjoyable project.


John,
Us Nottingham lads have now moved away from crayons (too dangerous) and on to paint, so there's no stopping us now. :D

Simon

Crayons! :eek:........I take it they weren't sharpened then? :p:D

Simon,

I have never attempted this kind of project and so I take my hat off to you for a really nice effort.

Btw here's wishing you and your family a happy new year.

Jeff
 
Wow, your work is very nice and impressive.

Well done, I look forward to seeing your other buildings,
Brian
 
Thanks guys,

Brian, other builds will be forthcoming, but as some already know, I have the attention span of a bored goldfish, and tend to flit from one project to the next. :eek: I'll try and get the second one underway soon.

Vick, the windows and doors were cut out with a craft knife, the type with the snap off blades, simply because you've got a good couple of inches of cutting surface. I use the 18mm thick blades for this, as they have less chance of snapping off whilst cutting. Better still, I don't hink I lost any bits of fingers whilst doing this one, so I must be improving my surgery skills :D

Jeff, Best wishes to you and yours also. They took the sharp crayons off us first, and then removed them completely when we started eating them. Nice texture. Green ones were the tastiest. :rolleyes:;)

Simon
 
Simon,
Nice work! I've been in, around, and on top of many buildings in Iraq that looked like this. Great research and good eye for detail!
Semper Fi!
Rick
 
Simon,
Nice work! I've been in, around, and on top of many buildings in Iraq that looked like this. Great research and good eye for detail!
Semper Fi!
Rick

Rick,

Many thanks. When I was looking for photos, I did consider dropping you a line, but thought that if you were out and about, taking pics or notes on building structures probably wasn't number one on the priority list! I'm glad the build wasn't too far wide of the mark, and glad that you're out of harm's way for a while.

Cheers
Simon
 

Users who are viewing this thread

Back
Top