- Joined
- Feb 2, 2011
- Messages
- 2,465
NEW RELEASES FOR SEPTEMBER 2021
THE AGE OF ARTHUR
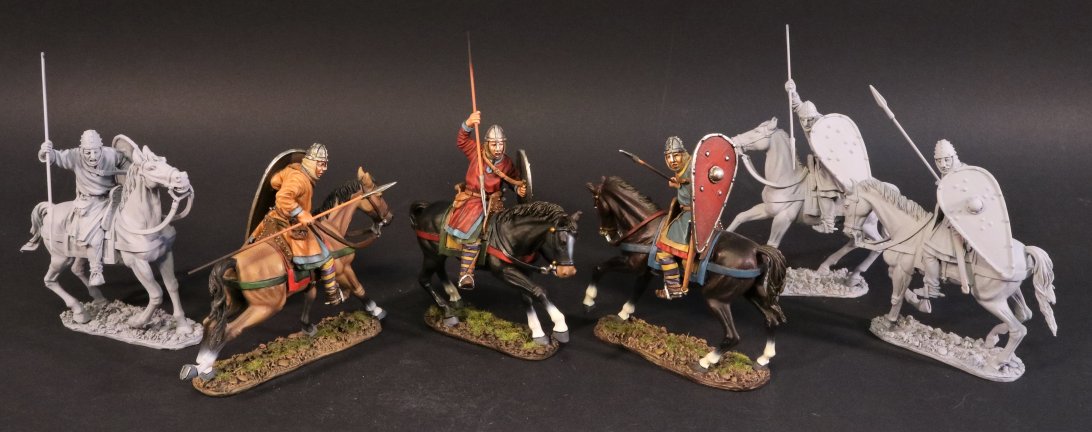
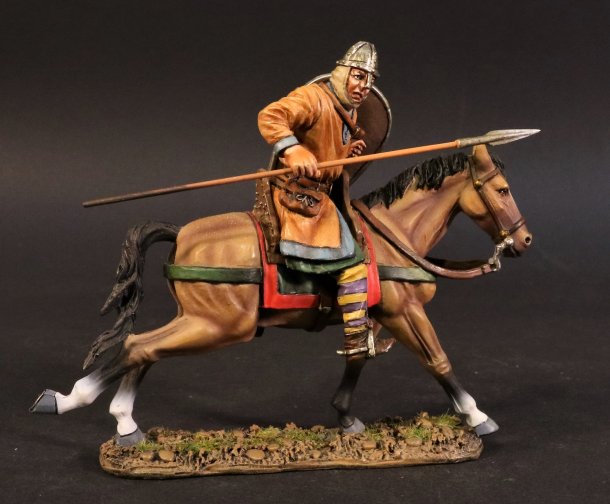
THE NORMAN ARMY

William Duke of Normandy (c. 1028-1087), usually known as William the Conqueror was the first Norman King of England, reigning from 1066 until his death in 1087.
In the 1050’s and early 1060’s, William became a contender for the throne of England held by the Childless Edward the Confessor, his first cousin removed.
There were other claimants. Including the powerful English earl Harold Godwinson, whom Edward had named as King on his deathbed, in January 1066.
William argued that Edward had previously promised the throne to him, and that Harold had sworn to support his claim.
Throughout the summer of 1066, William assembled an army and an invasion fleet in Normandy. This force included, in addition to troops from William’s own territories of Normandy and Maine, large numbers of mercenaries, allies and volunteers from Brittany, Northeast France and Flanders.
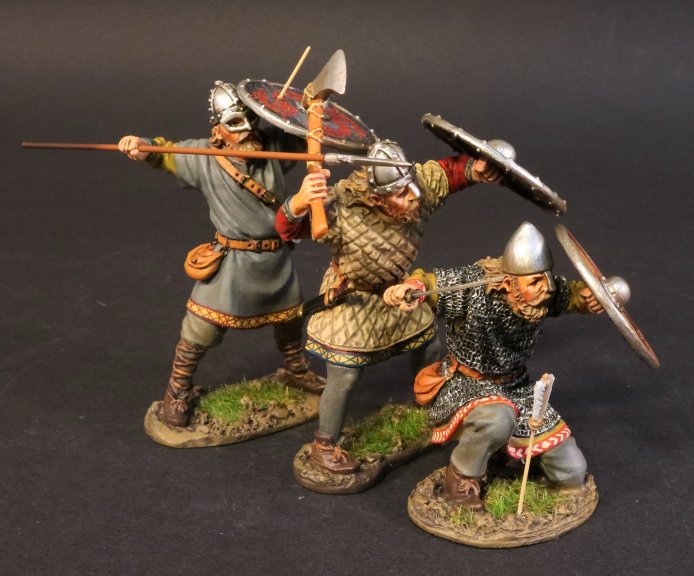
The Battle of Hastings took place on the 14[SUP]th[/SUP] October 1066. Although the numbers on each side were about equal, William had the advantage of having both cavalry, infantry and many archers.
Harold had only foot soldiers, and few archers. The English formed a shield wall along a ridge, and were initially so effective that the invading Norman army was repeatedly thrown back with heavy casualties.
Towards the end of the day some of William’s Breton troops panicked and fled, with some of the English troops pursuing the fleeing Bretons. These English troops who had broken ranks, were themselves attacked and destroyed by the Norman mounted knights.
Norman knights were armoured warriors that fought on horseback, with lance , sword and shield. These were the Norman “secret weapon” as nothing like them had been seen before in England. There were between 1,000-2,000 Norman knights in William’s army, and it was these troops which proved decisive to the invading army’s victory.
Two further Norman retreats were feigned, which once again drew the English into pursuit and expose them to repeated attacks by the Norman cavalry.
It appears that the decisive event was Harold’s death, of which there are differing versions which are told.
William of Jumieges claimed that Harold was killed by the Duke himself.
The Bayeux tapestry shows Harold’s death by an arrow to the eye.
We know that the English forces were deployed in a dense shieldwall formation at the top of a slope, (which newer sources suggests was Caldbec Hill), with their flanks protected by woods, and with marshy ground in front of them.
What is known about the Norman deployment, is that Duke William appears to have arranged his forces in 3 groups or “battles”. The left “battle” consisted mainly of Bretons, and was led by Alan The Red.
The Centre was held by the Normans, under direct command of the Duke, and the right was commanded by William Fitzosbern and Eustace II of Boulogne, and consisted of Frenchmen. and mercenaries from Picardy, Boulogne and Flanders.
The front lines of the invading force were made up of archers, with a secondary line of foot soldiers armed with spears and swords. The cavalry was held in reserve.
The Norman disposition of forces implies that the plan was to open the battle with archers, weakening the enemy with arrows, followed by infantry who would engage the shieldwall in close combat. The infantry would create openings in the English lines that would then be exploited by cavalry charges.
It is believed that the early barrage of arrows, probably had very little effect on the English shieldwall, due to the higher position of the English on the ridge.
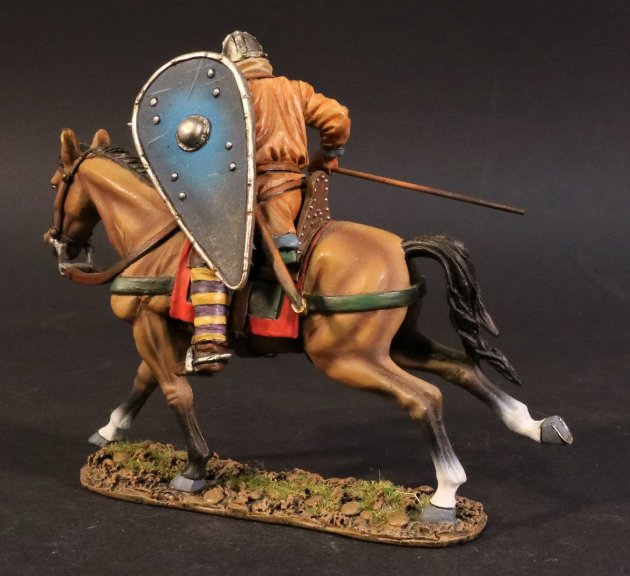
NM-52
THE AGE OF ARTHUR,
THE NORMAN ARMY,
BRETON CAVALRY.
(3 pcs)
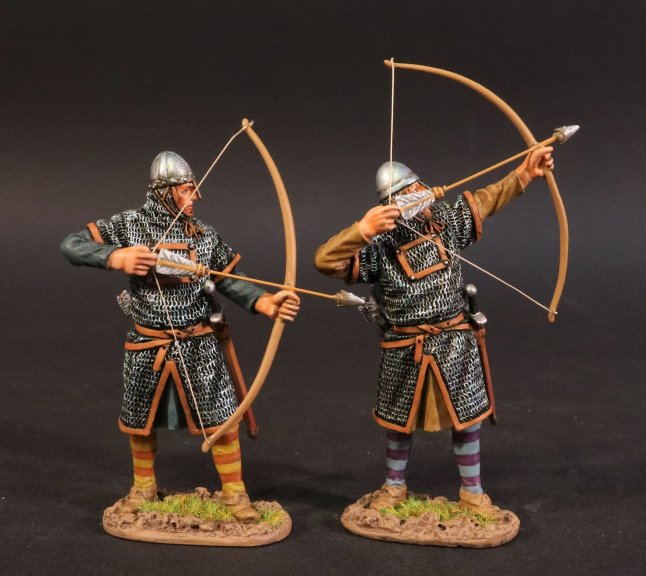
NM-3233A
THE AGE OF ARTHUR,
THE NORMAN ARMY,
NORMAN ARMOURED ARCHERS.
(2pcs)
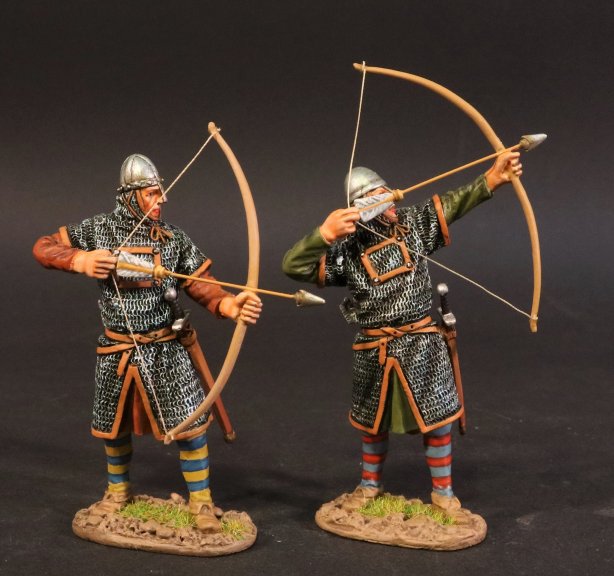
NM-3233B
THE AGE OF ARTHUR,
THE NORMAN ARMY,
NORMAN ARMOURED ARCHERS.
(2pcs)
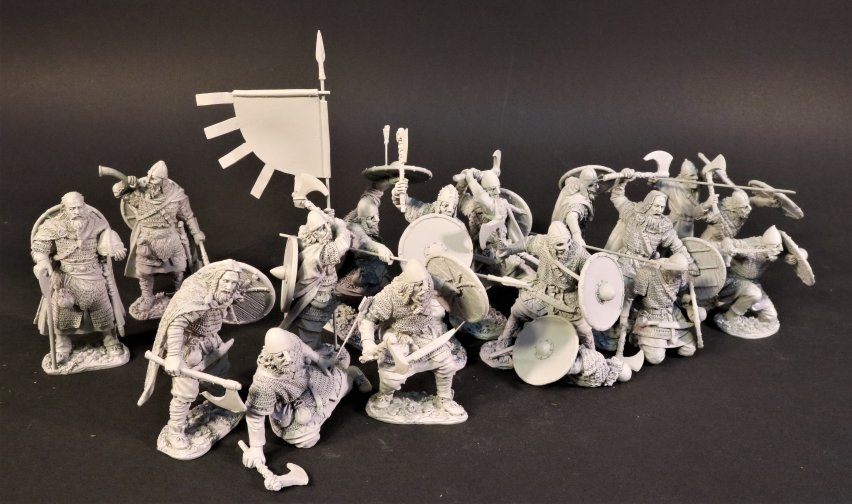
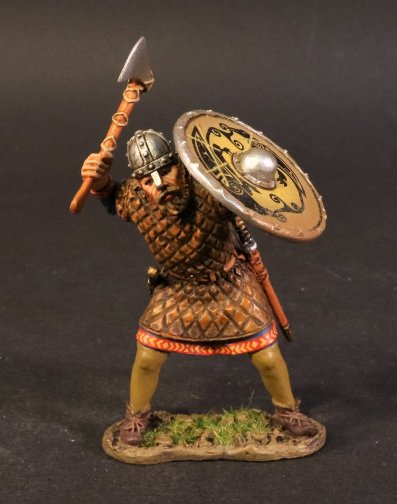
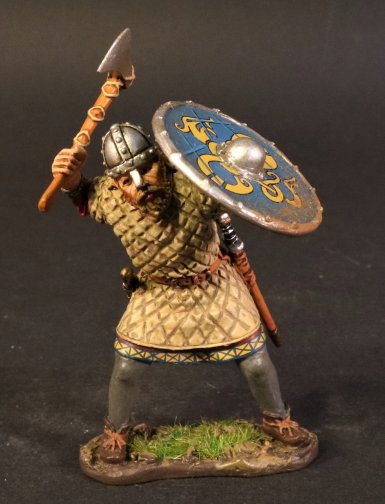
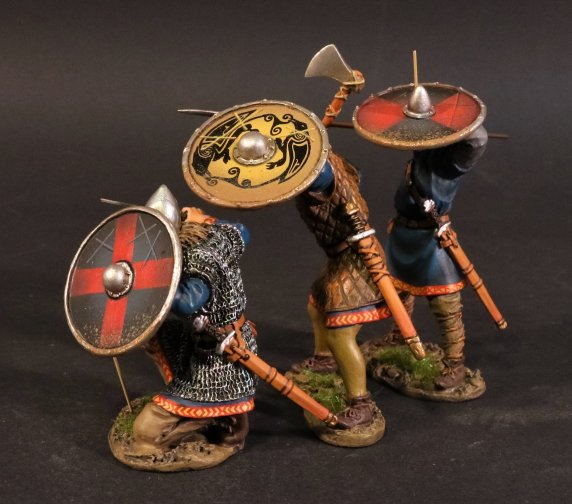
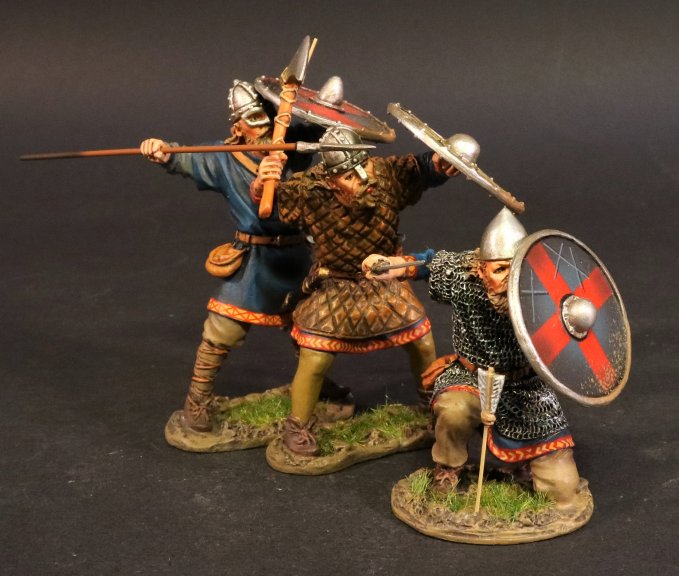
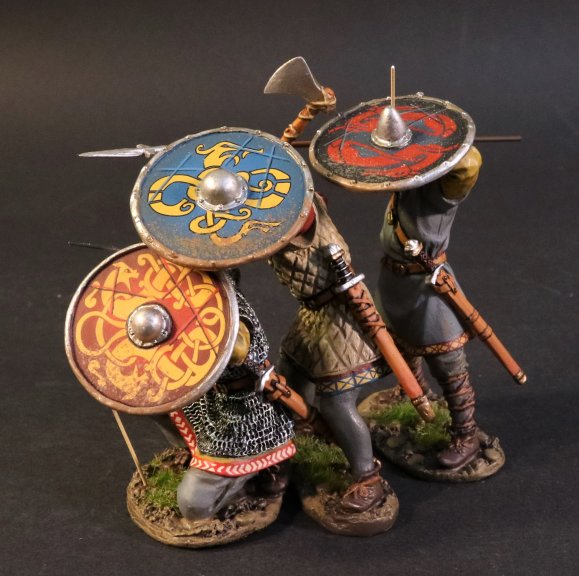
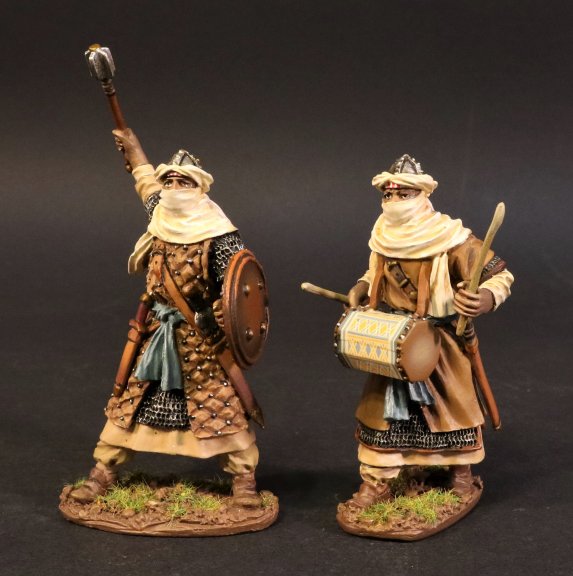
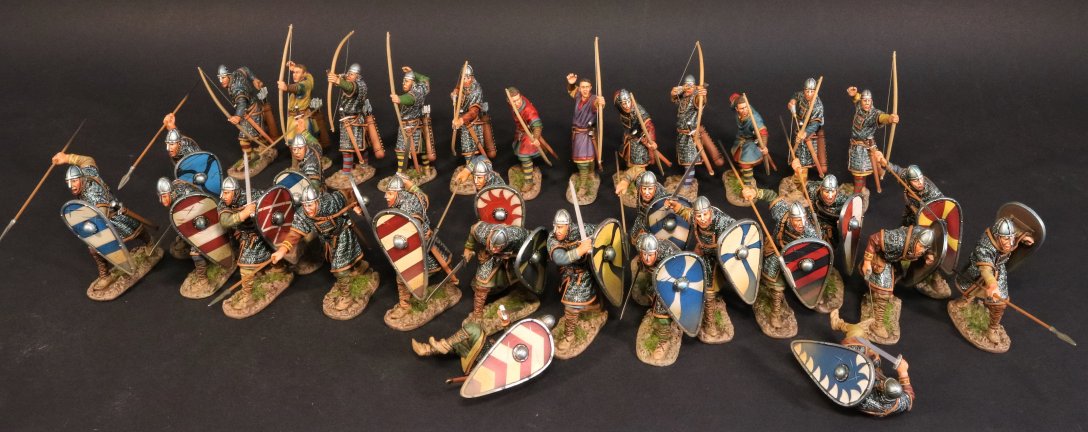
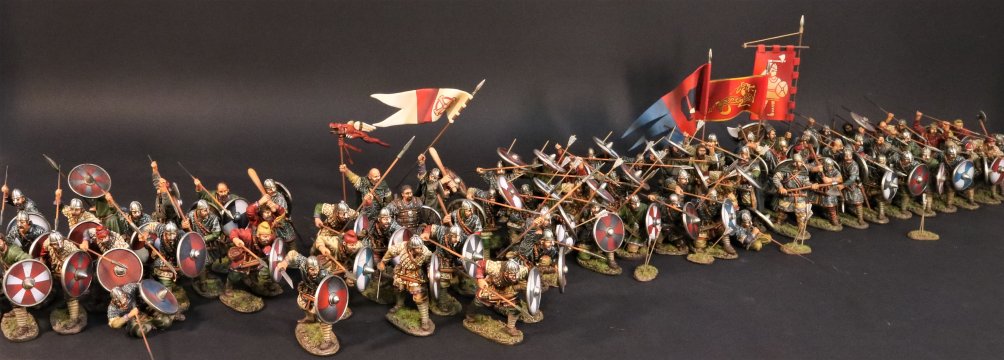
ANGLO SAXON/DANISH SHIELDWALL
The death of King Edward the Confessor of England in January 1066 had triggered a succession struggle in which a variety of contenders from across north-western Europe fought for the English throne. These claimants included the King of Norway, Harald Hardrada.
The Battle of Stamford Bridge took place at the village of Stamford Bridge, East Riding of Yorkshire, in England on 25 September 1066, between an English army under King Harold Godwinson and an invading Norwegian force led by King Harald Hardrada and the English king's brother Tostig Godwinson. After a bloody battle, both Hardrada and Tostig along with most of the Norwegians were killed. The battle has traditionally been presented as symbolising the end of the Viking Age,
Harold's victory over the invading Viking army was short-lived. Three days after the battle at Stamford Bridge, on 28 September, a second invasion army led by William, Duke of Normandy, landed in Pevensey Bay, Sussex, on the south coast of England. Harold had to immediately turn his troops around and force-march them southwards to intercept the Norman army. Less than three weeks after Stamford Bridge, on 14 October 1066, the English army was decisively defeated and King Harold II fell in action at the Battle of Hastings, beginning the Norman conquest of England
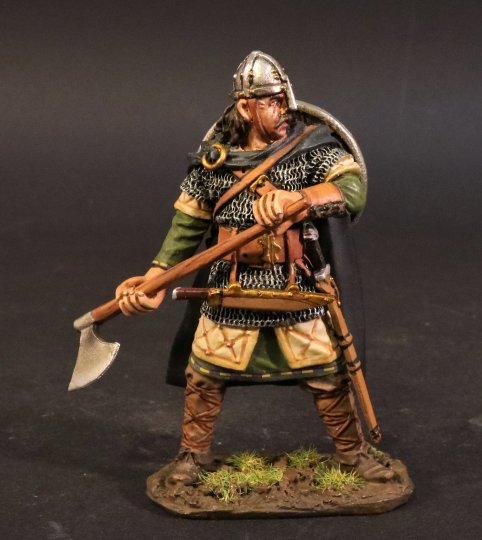
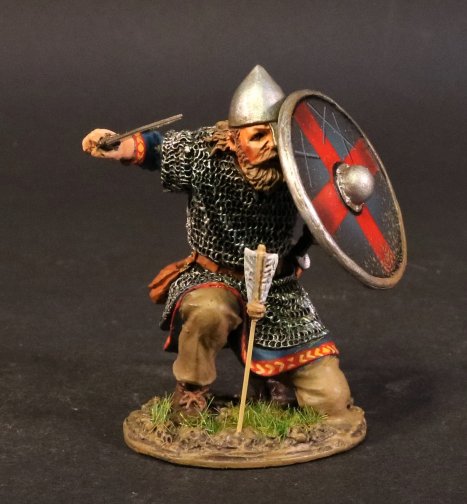
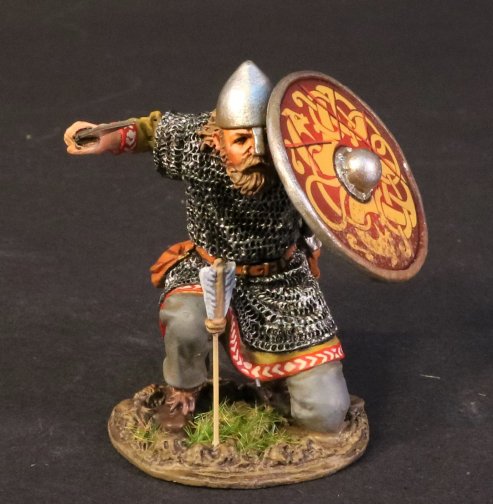
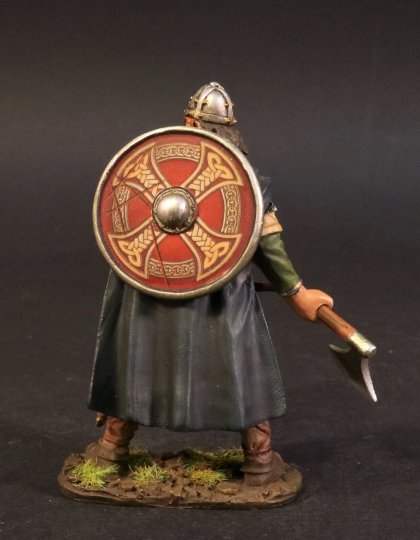
SX-11
THE AGE OF ARTHUR,
ANGLO SAXON/ DANES.
SAXON EARL.
(1 pc)
THE AGE OF ARTHUR
THE NORMAN ARMY
William Duke of Normandy (c. 1028-1087), usually known as William the Conqueror was the first Norman King of England, reigning from 1066 until his death in 1087.
In the 1050’s and early 1060’s, William became a contender for the throne of England held by the Childless Edward the Confessor, his first cousin removed.
There were other claimants. Including the powerful English earl Harold Godwinson, whom Edward had named as King on his deathbed, in January 1066.
William argued that Edward had previously promised the throne to him, and that Harold had sworn to support his claim.
Throughout the summer of 1066, William assembled an army and an invasion fleet in Normandy. This force included, in addition to troops from William’s own territories of Normandy and Maine, large numbers of mercenaries, allies and volunteers from Brittany, Northeast France and Flanders.
The Battle of Hastings took place on the 14[SUP]th[/SUP] October 1066. Although the numbers on each side were about equal, William had the advantage of having both cavalry, infantry and many archers.
Harold had only foot soldiers, and few archers. The English formed a shield wall along a ridge, and were initially so effective that the invading Norman army was repeatedly thrown back with heavy casualties.
Towards the end of the day some of William’s Breton troops panicked and fled, with some of the English troops pursuing the fleeing Bretons. These English troops who had broken ranks, were themselves attacked and destroyed by the Norman mounted knights.
Norman knights were armoured warriors that fought on horseback, with lance , sword and shield. These were the Norman “secret weapon” as nothing like them had been seen before in England. There were between 1,000-2,000 Norman knights in William’s army, and it was these troops which proved decisive to the invading army’s victory.
Two further Norman retreats were feigned, which once again drew the English into pursuit and expose them to repeated attacks by the Norman cavalry.
It appears that the decisive event was Harold’s death, of which there are differing versions which are told.
William of Jumieges claimed that Harold was killed by the Duke himself.
The Bayeux tapestry shows Harold’s death by an arrow to the eye.
We know that the English forces were deployed in a dense shieldwall formation at the top of a slope, (which newer sources suggests was Caldbec Hill), with their flanks protected by woods, and with marshy ground in front of them.
What is known about the Norman deployment, is that Duke William appears to have arranged his forces in 3 groups or “battles”. The left “battle” consisted mainly of Bretons, and was led by Alan The Red.
The Centre was held by the Normans, under direct command of the Duke, and the right was commanded by William Fitzosbern and Eustace II of Boulogne, and consisted of Frenchmen. and mercenaries from Picardy, Boulogne and Flanders.
The front lines of the invading force were made up of archers, with a secondary line of foot soldiers armed with spears and swords. The cavalry was held in reserve.
The Norman disposition of forces implies that the plan was to open the battle with archers, weakening the enemy with arrows, followed by infantry who would engage the shieldwall in close combat. The infantry would create openings in the English lines that would then be exploited by cavalry charges.
It is believed that the early barrage of arrows, probably had very little effect on the English shieldwall, due to the higher position of the English on the ridge.
NM-52
THE AGE OF ARTHUR,
THE NORMAN ARMY,
BRETON CAVALRY.
(3 pcs)
NM-3233A
THE AGE OF ARTHUR,
THE NORMAN ARMY,
NORMAN ARMOURED ARCHERS.
(2pcs)
NM-3233B
THE AGE OF ARTHUR,
THE NORMAN ARMY,
NORMAN ARMOURED ARCHERS.
(2pcs)
ANGLO SAXON/DANISH SHIELDWALL
The death of King Edward the Confessor of England in January 1066 had triggered a succession struggle in which a variety of contenders from across north-western Europe fought for the English throne. These claimants included the King of Norway, Harald Hardrada.
The Battle of Stamford Bridge took place at the village of Stamford Bridge, East Riding of Yorkshire, in England on 25 September 1066, between an English army under King Harold Godwinson and an invading Norwegian force led by King Harald Hardrada and the English king's brother Tostig Godwinson. After a bloody battle, both Hardrada and Tostig along with most of the Norwegians were killed. The battle has traditionally been presented as symbolising the end of the Viking Age,
Harold's victory over the invading Viking army was short-lived. Three days after the battle at Stamford Bridge, on 28 September, a second invasion army led by William, Duke of Normandy, landed in Pevensey Bay, Sussex, on the south coast of England. Harold had to immediately turn his troops around and force-march them southwards to intercept the Norman army. Less than three weeks after Stamford Bridge, on 14 October 1066, the English army was decisively defeated and King Harold II fell in action at the Battle of Hastings, beginning the Norman conquest of England
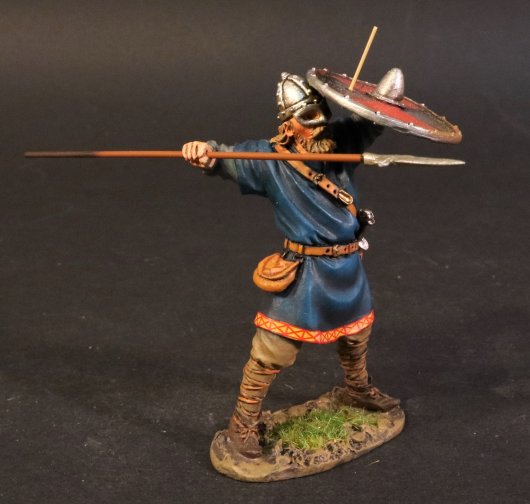
SX-11
THE AGE OF ARTHUR,
ANGLO SAXON/ DANES.
SAXON EARL.
(1 pc)