You are using an out of date browser. It may not display this or other websites correctly.
You should upgrade or use an alternative browser.
You should upgrade or use an alternative browser.
Paris and Helen (1 Viewer)
- Thread starter blaster
- Start date
blaster
Major
- Joined
- Sep 10, 2008
- Messages
- 6,601
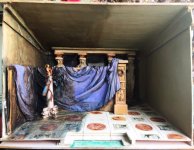
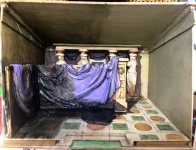
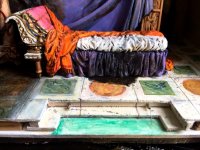
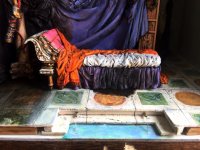
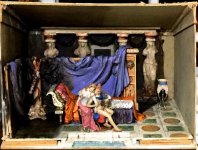
Back to the scene - Starting to add shadows to the background. I painted a dark shadow for the back doorway. A door frame was cut out, painted and will be glued to represent the back door.
I cut out another step leading to the pool. Another layer of cardboard pieces was added to form the pool. Green paint was used to represent the water.
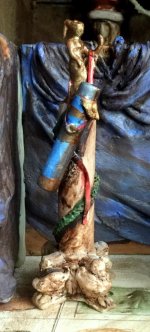
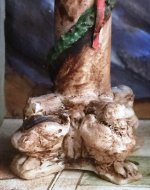
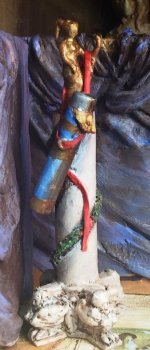
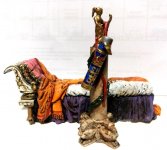
Notice that more detail has been added to the sculpture stand.
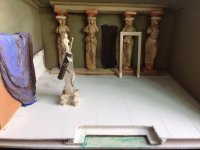
I cut out another step leading to the pool. Another layer of cardboard pieces was added to form the pool. Green paint was used to represent the water.
Notice that more detail has been added to the sculpture stand.

blaster
Major
- Joined
- Sep 10, 2008
- Messages
- 6,601
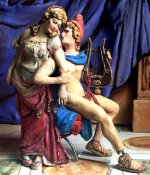
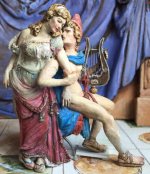
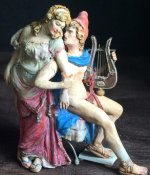
I spent a very pleasant weekend working on this piece. Started painting the sculpture stand. Finalising the sculpting on Helen. More detailed painting was added to the screen.
I scored lines on the steps leading to the pool and added gloss varnish to the water. The interior was repainted. Shadows were painted.
The flooring was marked out.
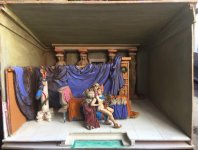
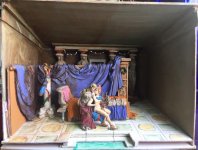
I scored lines on the steps leading to the pool and added gloss varnish to the water. The interior was repainted. Shadows were painted.
The flooring was marked out.


blaster
Major
- Joined
- Sep 10, 2008
- Messages
- 6,601
blaster
Major
- Joined
- Sep 10, 2008
- Messages
- 6,601
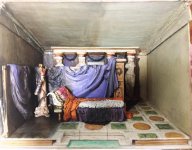
I spent the weekend refining the painting and various pieces as I go along. The partition has been glued in place. Minor corrections to the fitting have been made.
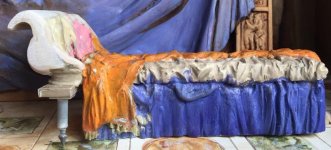
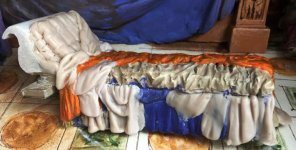
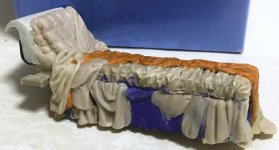
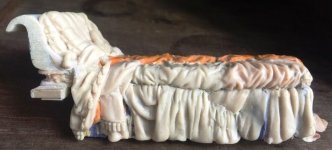
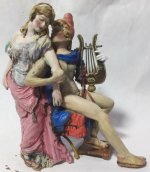
The bed has been painted in oils. The figures are being painted.
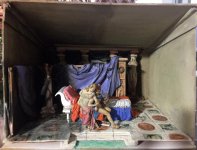
This picture taken under strong sunlight shows the intended brightness with a LED light. Hence I try to paint in the shadows to create an atmospheric effect.
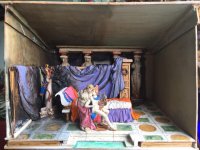
The bed has been painted in oils. The figures are being painted.
This picture taken under strong sunlight shows the intended brightness with a LED light. Hence I try to paint in the shadows to create an atmospheric effect.

blaster
Major
- Joined
- Sep 10, 2008
- Messages
- 6,601
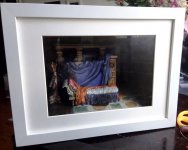
I added the proposed frame to the box and noted how dark the interior was. I will have add some lights to the interior.
The second pic shows the interior of the box backed by layers of cardboard to push the diorama scene against the frame. I had previously allowed for some space to place an internal driver for the lights but found that this was not necessary. There are LED transformers with built in drivers which are very simple to use. The LED lights are attached to the tops. I always aecure these lights with additional glue (UHU). The cable was also secured with glue to keep it from shifting.
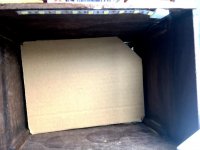
The second pic shows the interior of the box backed by layers of cardboard to push the diorama scene against the frame. I had previously allowed for some space to place an internal driver for the lights but found that this was not necessary. There are LED transformers with built in drivers which are very simple to use. The LED lights are attached to the tops. I always aecure these lights with additional glue (UHU). The cable was also secured with glue to keep it from shifting.


blaster
Major
- Joined
- Sep 10, 2008
- Messages
- 6,601
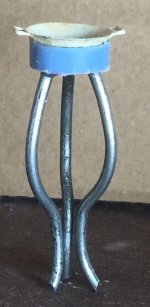
I've begun work on the final and probably the trickiest of the accessory. This is the brazier in the back of the scene to the right of the painting. After thinking about the problem for a while, I looked around and found a suitable Historex pan. I glued on a suitably diametered plastic pen cover cut down to the right height. Putty was liberally squashed into the underside and levelled by pressing against a flat surface. Three thick wire strands were cut to the right length and manipulated into the shape I wanted. These were then attached to the underside of the item above thru pre-drilled holes.

blaster
Major
- Joined
- Sep 10, 2008
- Messages
- 6,601
Users who are viewing this thread
Total: 2 (members: 0, guests: 2)


