blaster
Major
- Joined
- Sep 10, 2008
- Messages
- 6,757
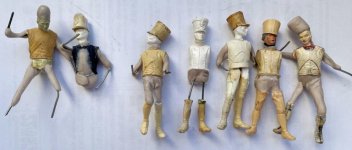
I was excavating thru my hoard and came across a lot of Airfix collectors kits and Historex kits.
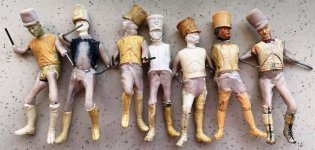
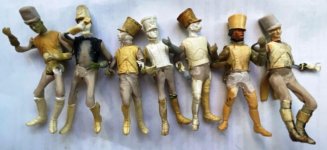
Then the imperial bee kept buzzing in my head. So I have assembled the most relevant kits.
Together with my various other hoards of spares and discarded figures, I should be able to cast enough actors (20-30) for this proposed project AH.

Then the imperial bee kept buzzing in my head. So I have assembled the most relevant kits.
Together with my various other hoards of spares and discarded figures, I should be able to cast enough actors (20-30) for this proposed project AH.
")