theBaron
Major
- Joined
- Mar 27, 2008
- Messages
- 10,338
Hi, all! I recently completed my first full effort to sculpt a figure, using proper techniques. I have some progress pics to share...
Now, at the outset, I have to admit that I have no pic of the very first step, which was the armature. I completed it and started covering it with putty, before I thought of taking a picture! I apologize for that; I'll have to describe it.
Since my subject was a goose, what I needed was an armature to frame the body and neck, and the wings. So, I made a simple shape, like a "b" or a "d" (or a "p" or a "q" ), that is, a piece of wire, bent back on itself at one end to make a bow, for about one-third of its length. At the point where the round part of the "b" meets the stem, I wrapped another piece around the "neck", to support the wings.
I used aluminum wire, which I have on hand for pinning and other uses. But it's a little too rigid for this use, and I have learned in the meantime that florist's wire is easier to work with (thanks to none other than Mr. John Jenkins for that tip!).
My sculpting medium was Sculpey, first time using it, and I like it and can recommend it (though I will try other putties, too, in the future, like Aves). Sculpey has to be baked to set it.
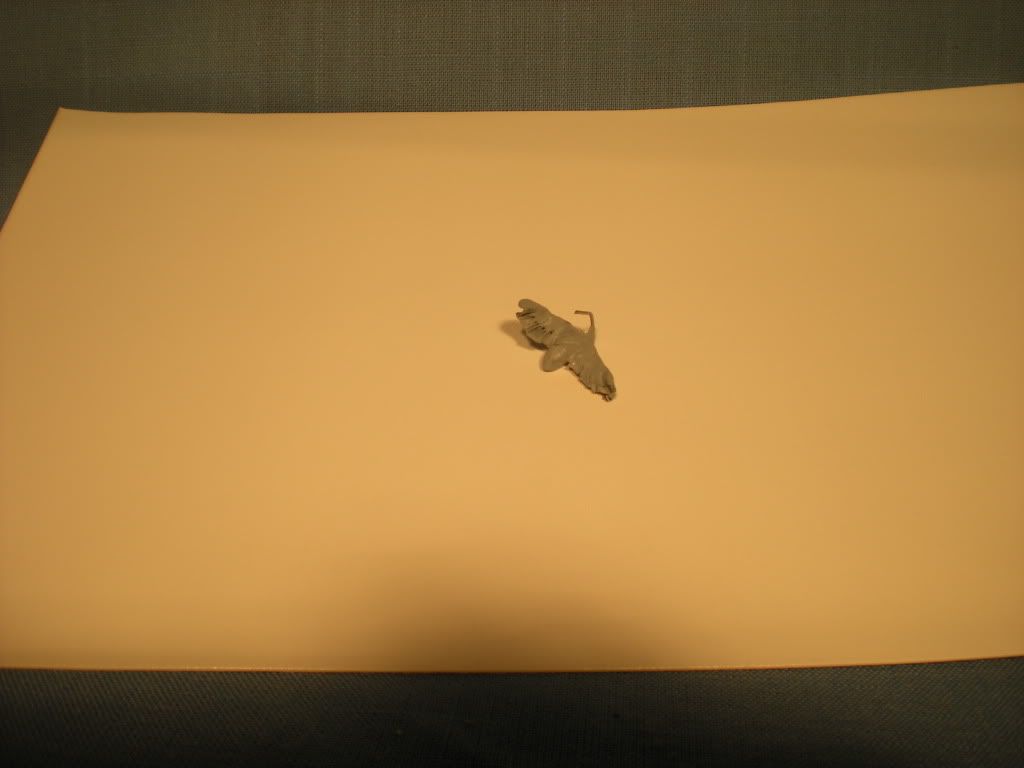
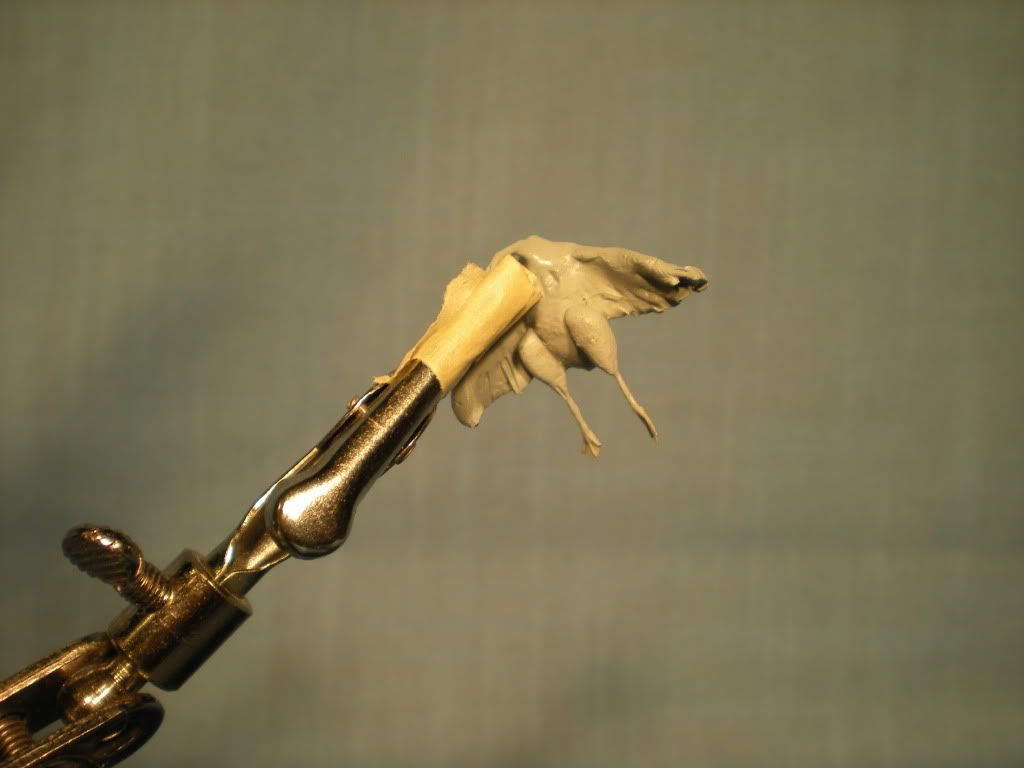
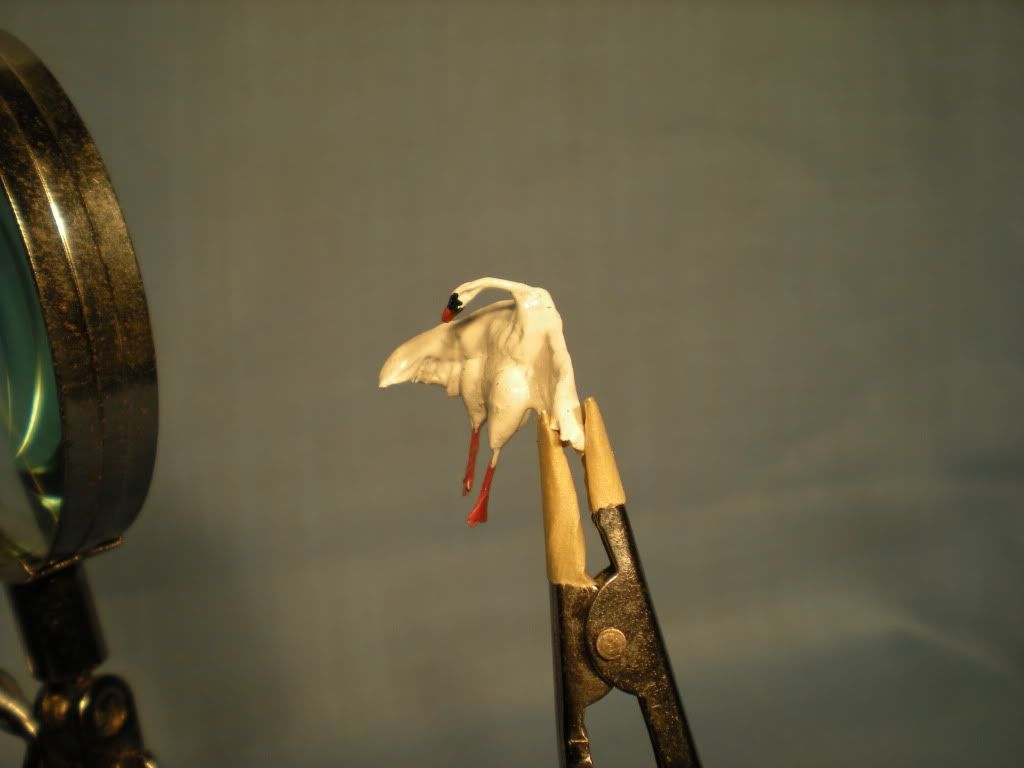
So, now we're at the point where I took a picture. Here is the armature, roughed out with Sculpey and baked to cure it:
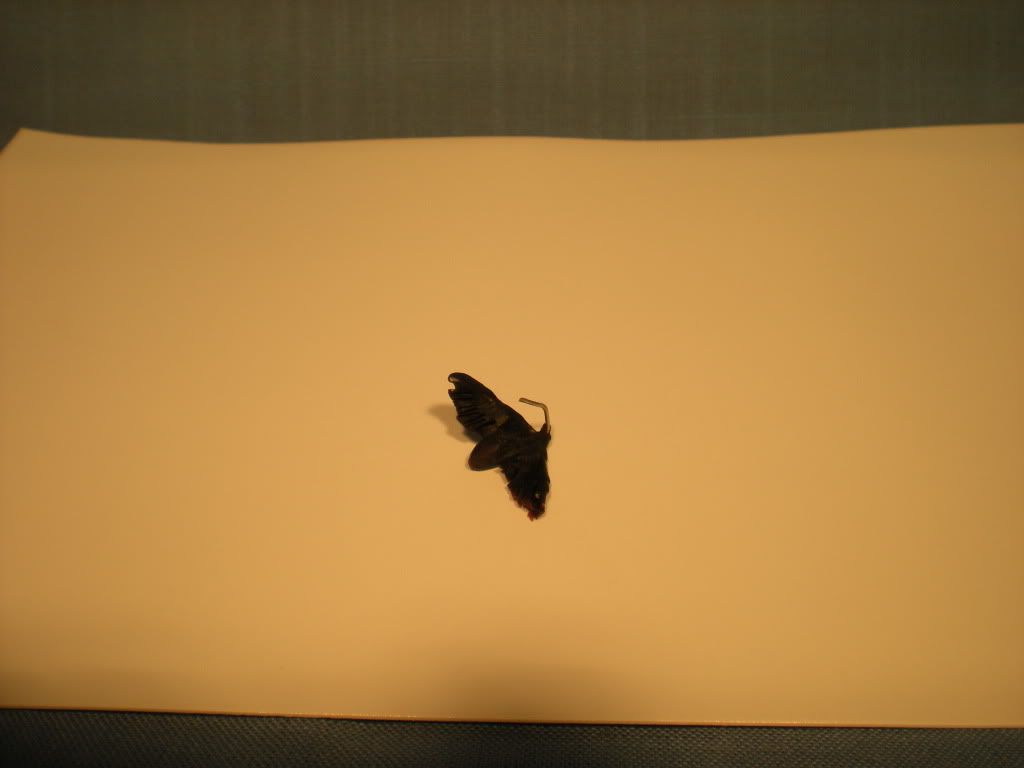
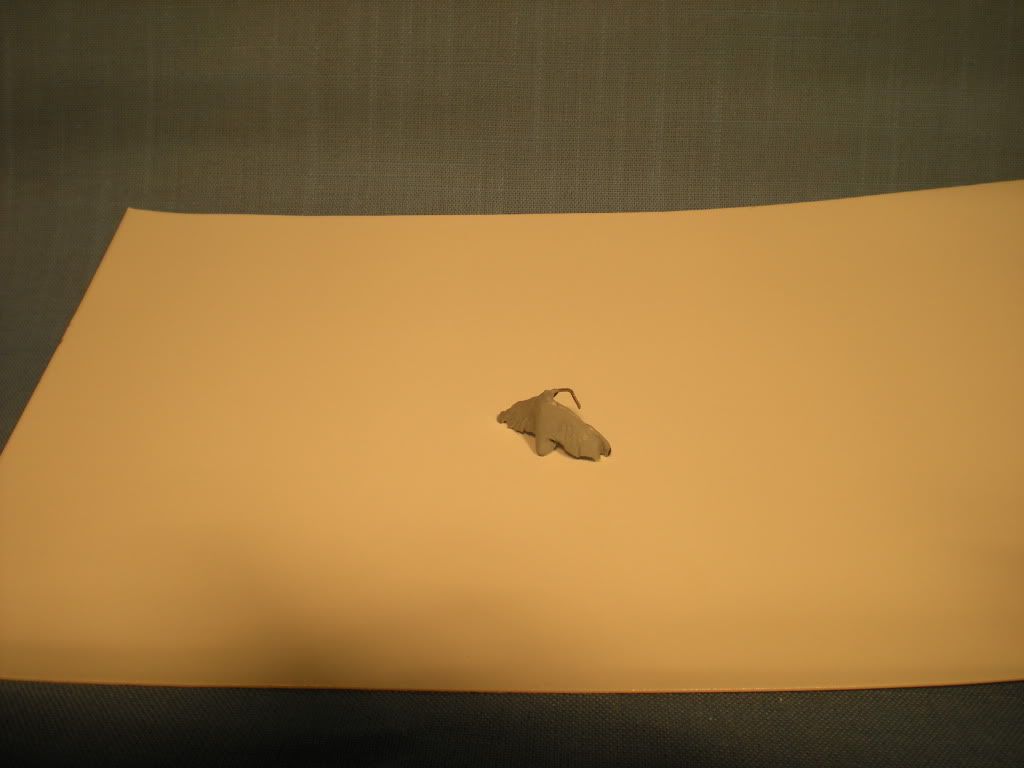
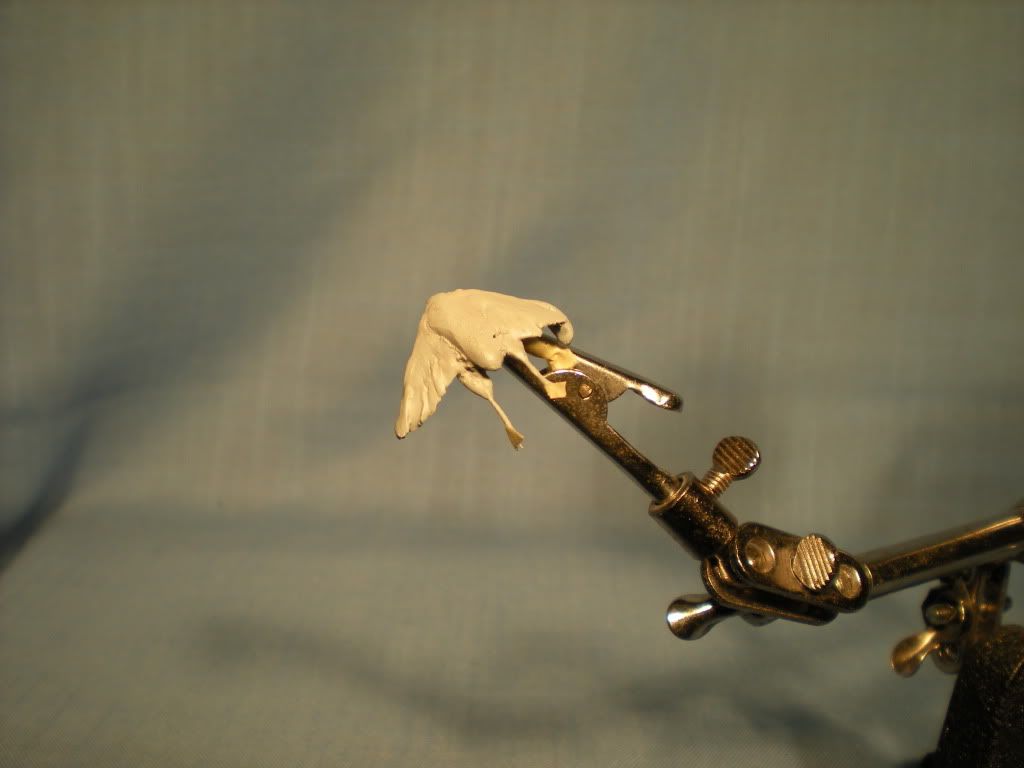
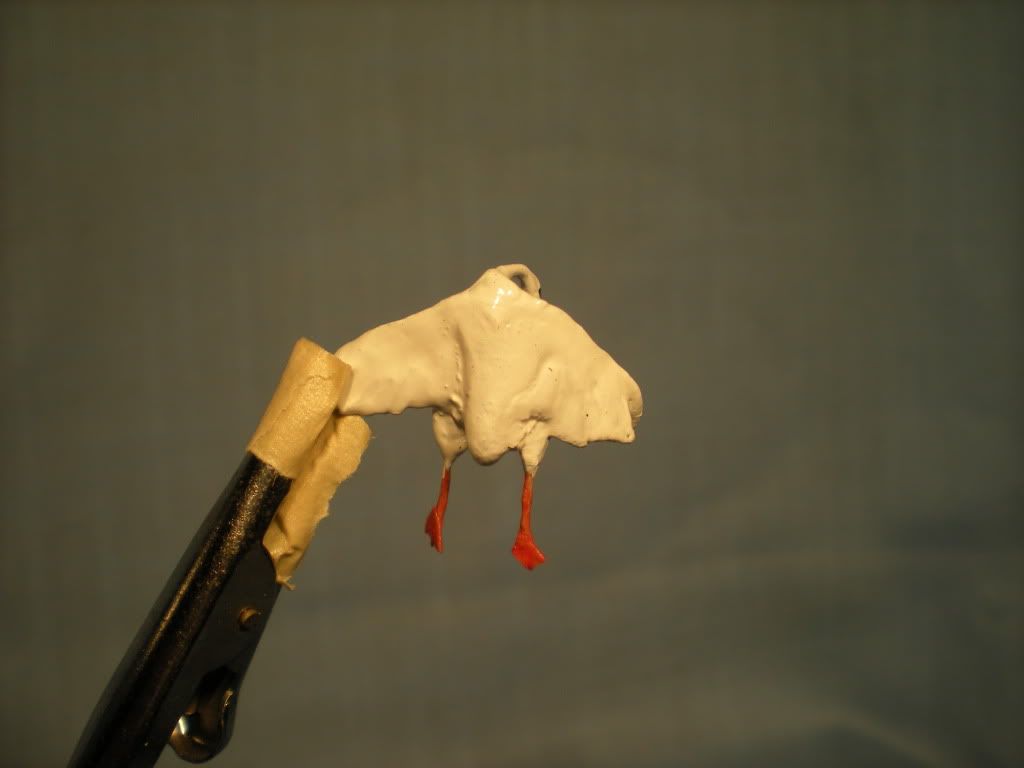
I think that the temperature was too high, and that's why the clay turned dark. If anyone else has used Sculpey, he might be able to help clarify. I followed the instructions as far as the temperature is concerned, but with subsequent pieces, I adjusted that down. My oven burns a little hot, too. Here is a picture of the piece from the back:
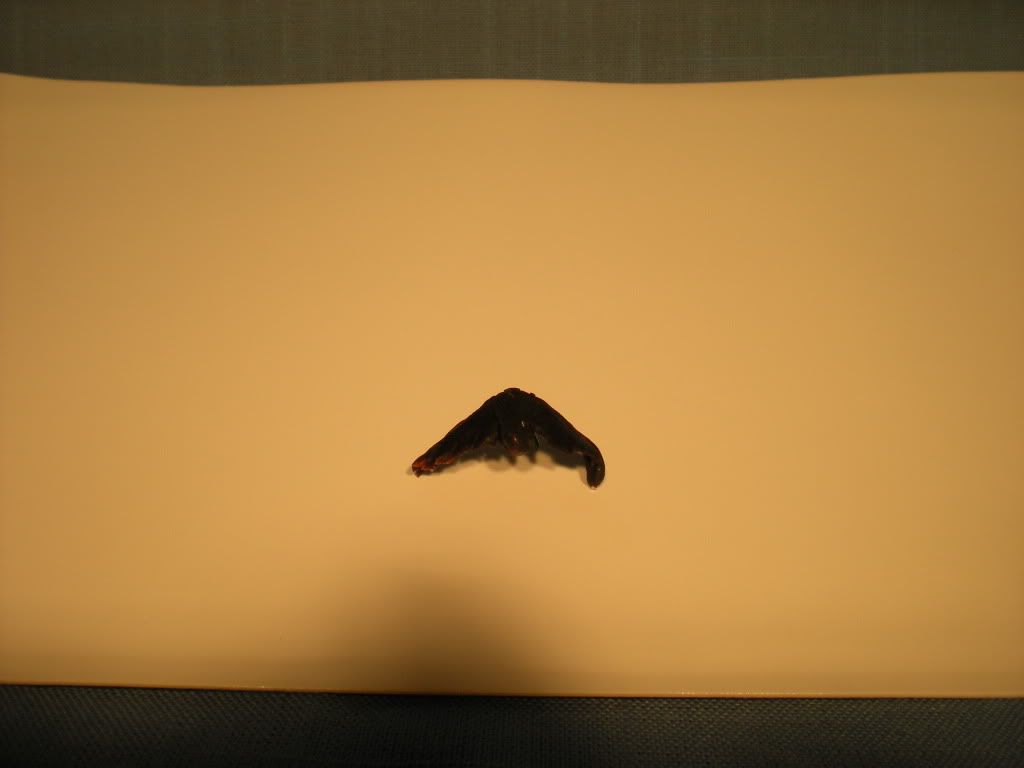
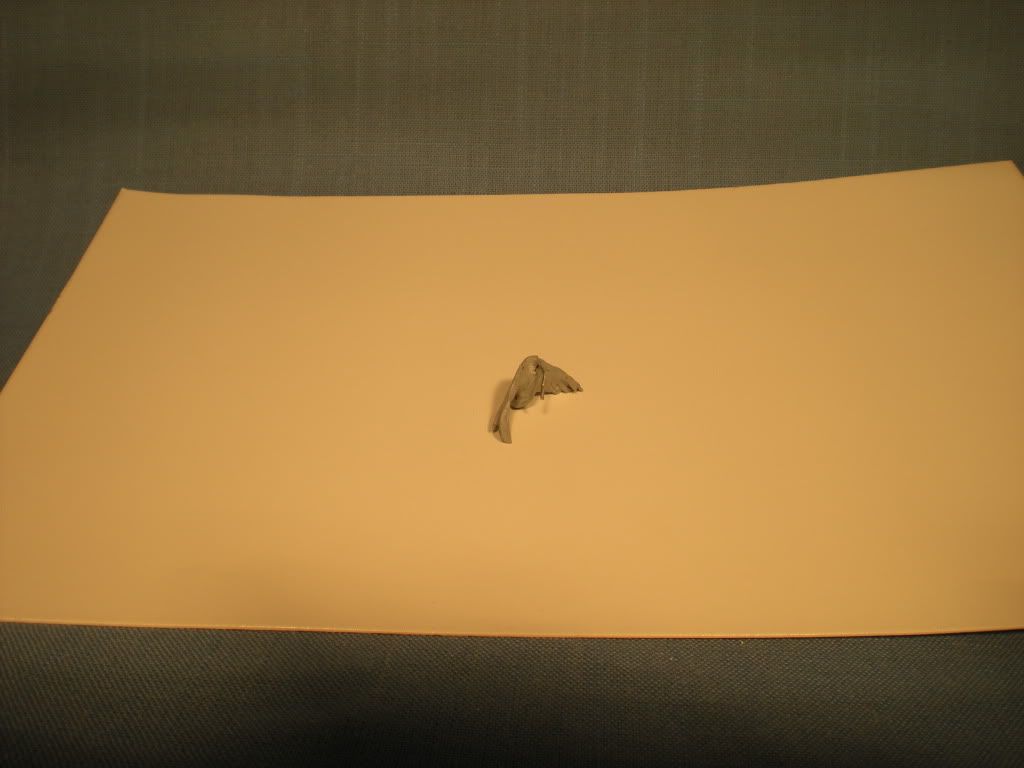
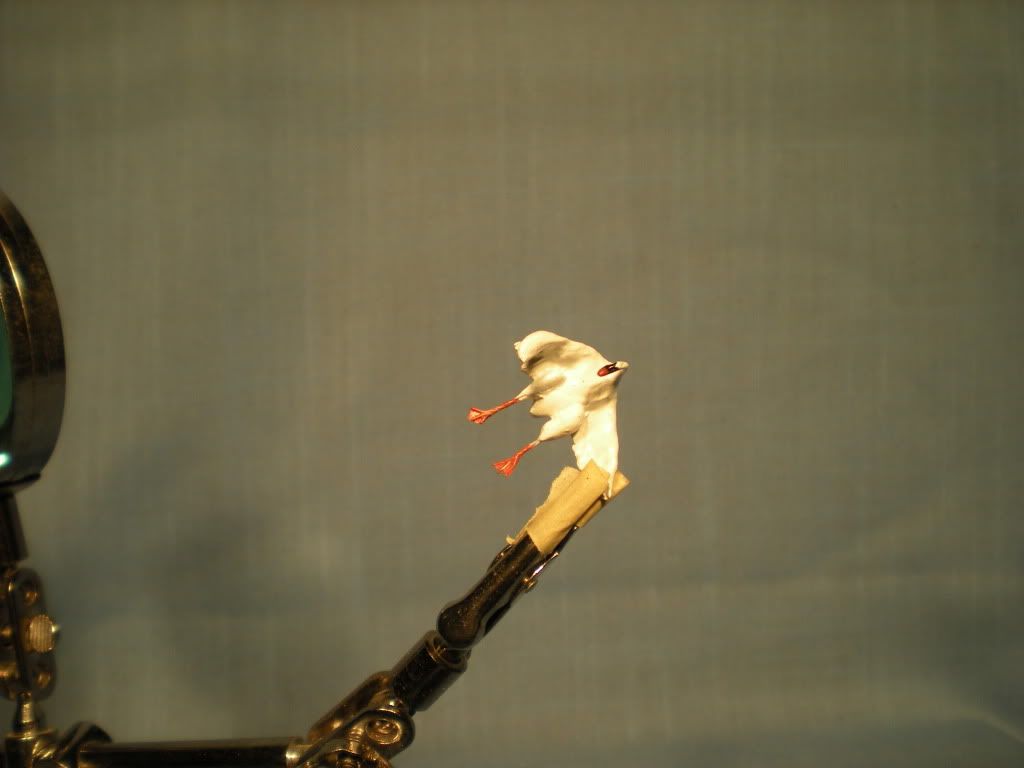
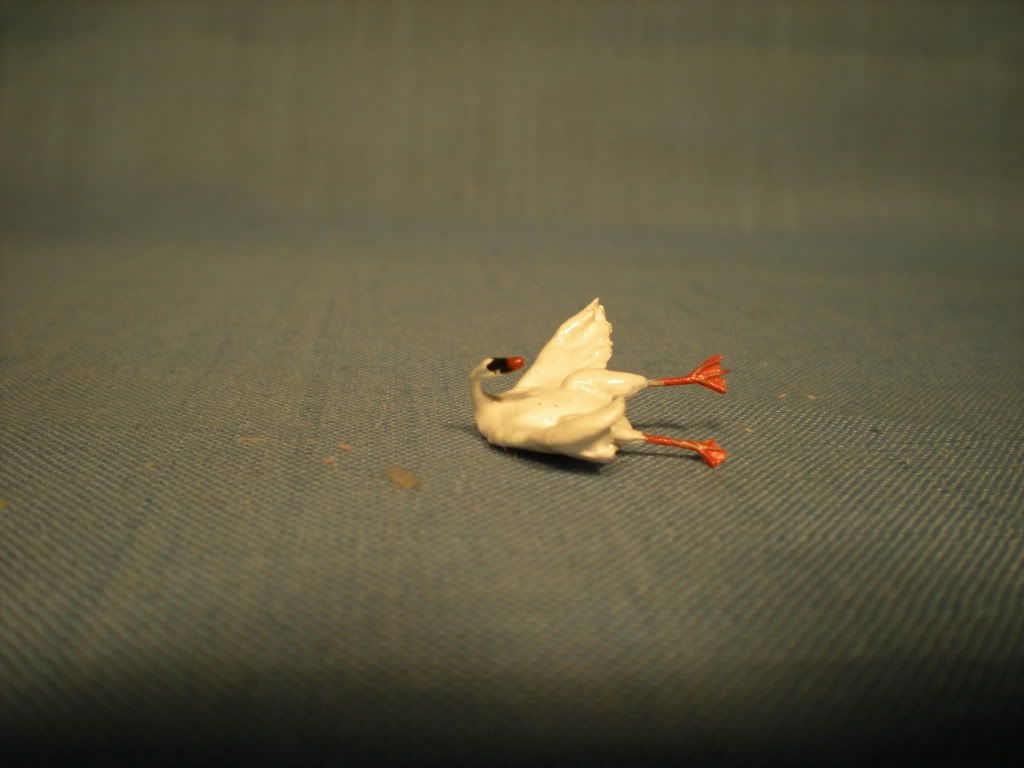
Once, while walking past the bench, I saw this out of the corner of my eye, and thought it was a bug! Here's another angle:
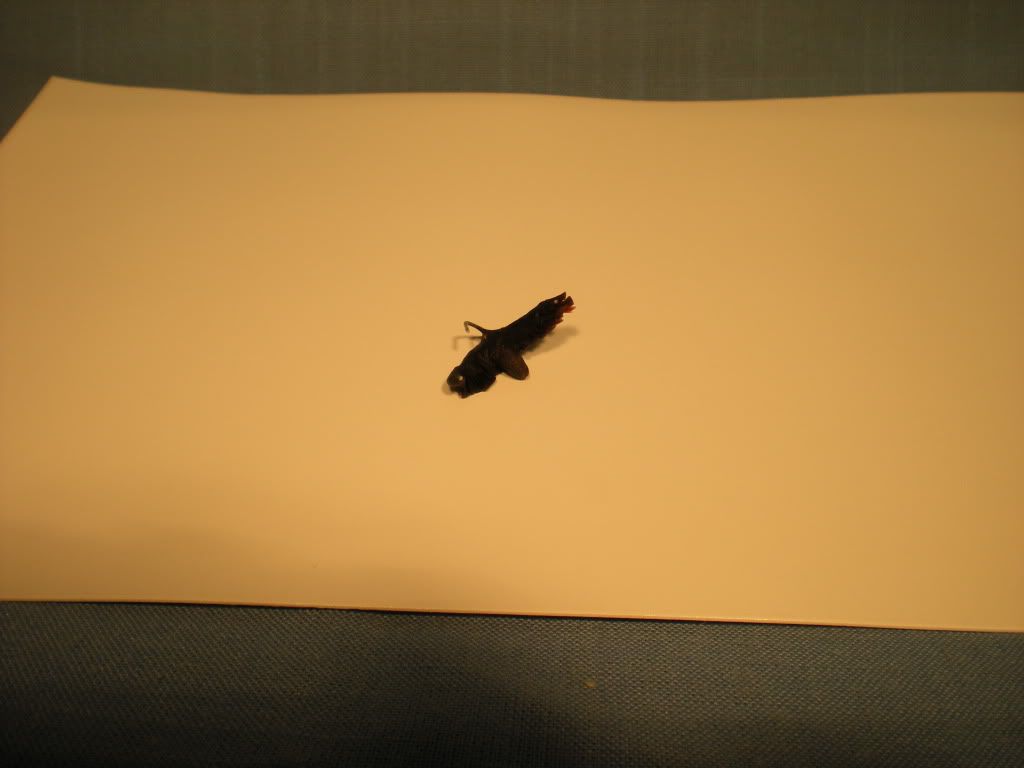
The armature provided shape for the body, and attachment points for the sheets of Sculpey that made up the feathers of the wing.
More pictures to follow...
Now, at the outset, I have to admit that I have no pic of the very first step, which was the armature. I completed it and started covering it with putty, before I thought of taking a picture! I apologize for that; I'll have to describe it.
Since my subject was a goose, what I needed was an armature to frame the body and neck, and the wings. So, I made a simple shape, like a "b" or a "d" (or a "p" or a "q"
I used aluminum wire, which I have on hand for pinning and other uses. But it's a little too rigid for this use, and I have learned in the meantime that florist's wire is easier to work with (thanks to none other than Mr. John Jenkins for that tip!).
My sculpting medium was Sculpey, first time using it, and I like it and can recommend it (though I will try other putties, too, in the future, like Aves). Sculpey has to be baked to set it.
So, now we're at the point where I took a picture. Here is the armature, roughed out with Sculpey and baked to cure it:

I think that the temperature was too high, and that's why the clay turned dark. If anyone else has used Sculpey, he might be able to help clarify. I followed the instructions as far as the temperature is concerned, but with subsequent pieces, I adjusted that down. My oven burns a little hot, too. Here is a picture of the piece from the back:

Once, while walking past the bench, I saw this out of the corner of my eye, and thought it was a bug!

The armature provided shape for the body, and attachment points for the sheets of Sculpey that made up the feathers of the wing.
More pictures to follow...


