Sculpting a goose in 54mm (1 Viewer)

theBaron

Major
Joined
Mar 27, 2008
Messages
10,356
Hi, all! I recently completed my first full effort to sculpt a figure, using proper techniques. I have some progress pics to share...

Now, at the outset, I have to admit that I have no pic of the very first step, which was the armature. I completed it and started covering it with putty, before I thought of taking a picture! I apologize for that; I'll have to describe it.

Since my subject was a goose, what I needed was an armature to frame the body and neck, and the wings. So, I made a simple shape, like a "b" or a "d" (or a "p" or a "q" :D ), that is, a piece of wire, bent back on itself at one end to make a bow, for about one-third of its length. At the point where the round part of the "b" meets the stem, I wrapped another piece around the "neck", to support the wings.

I used aluminum wire, which I have on hand for pinning and other uses. But it's a little too rigid for this use, and I have learned in the meantime that florist's wire is easier to work with (thanks to none other than Mr. John Jenkins for that tip!).

My sculpting medium was Sculpey, first time using it, and I like it and can recommend it (though I will try other putties, too, in the future, like Aves). Sculpey has to be baked to set it.

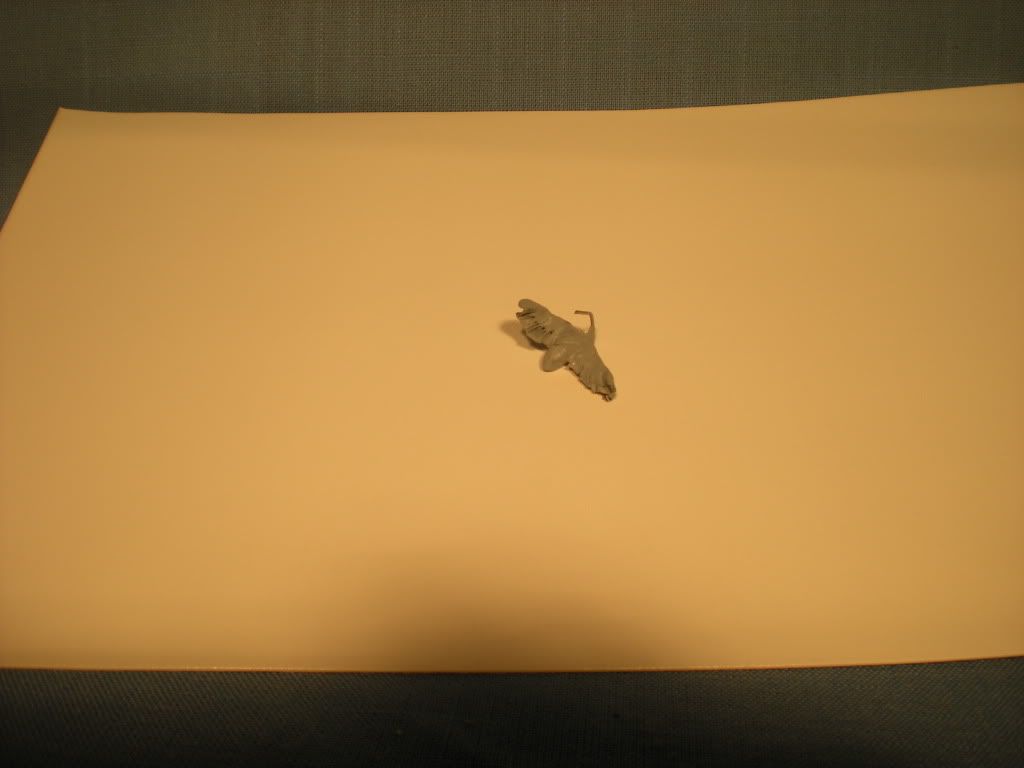
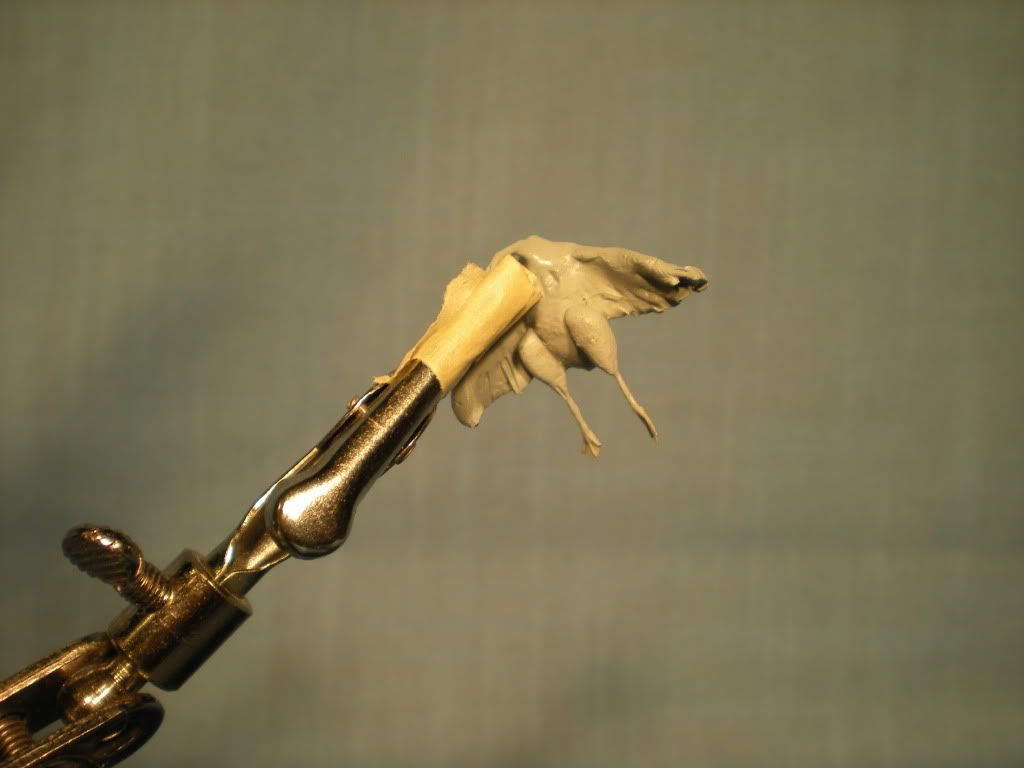
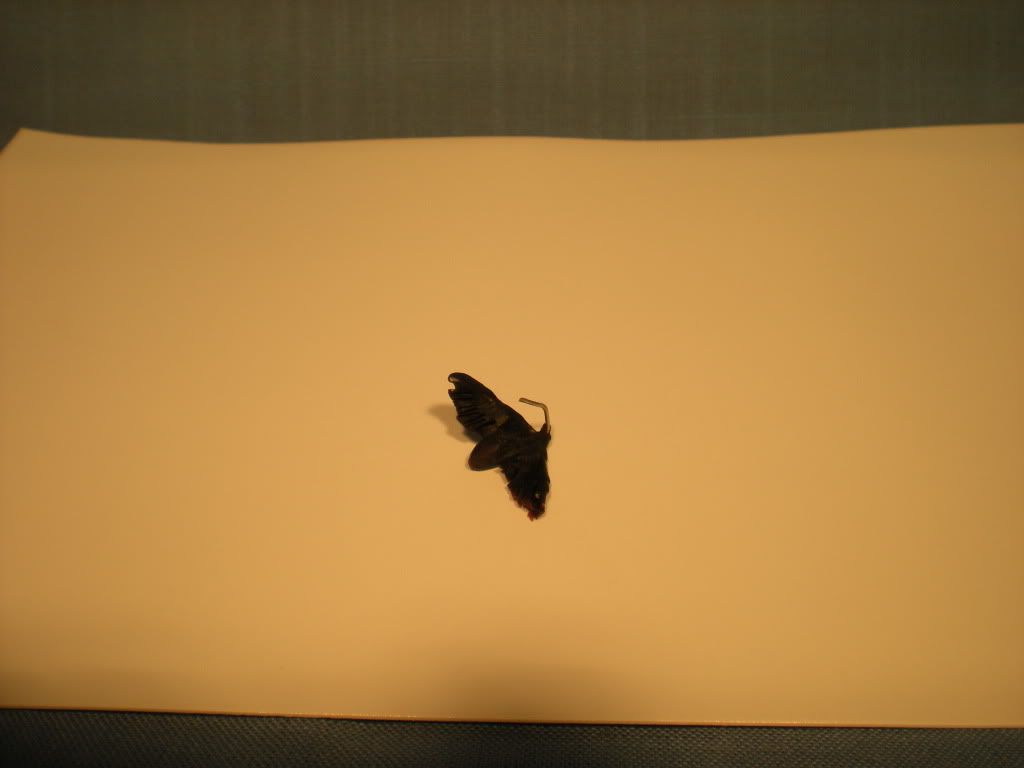
So, now we're at the point where I took a picture. Here is the armature, roughed out with Sculpey and baked to cure it:
3basicbodysculpted1.jpg


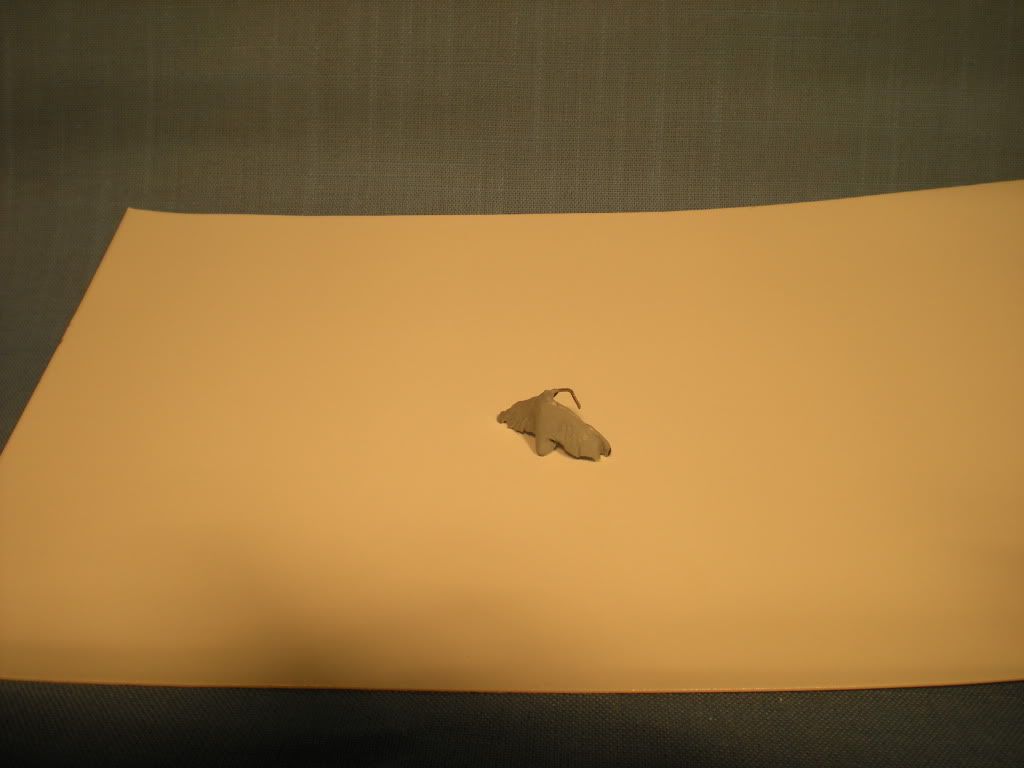
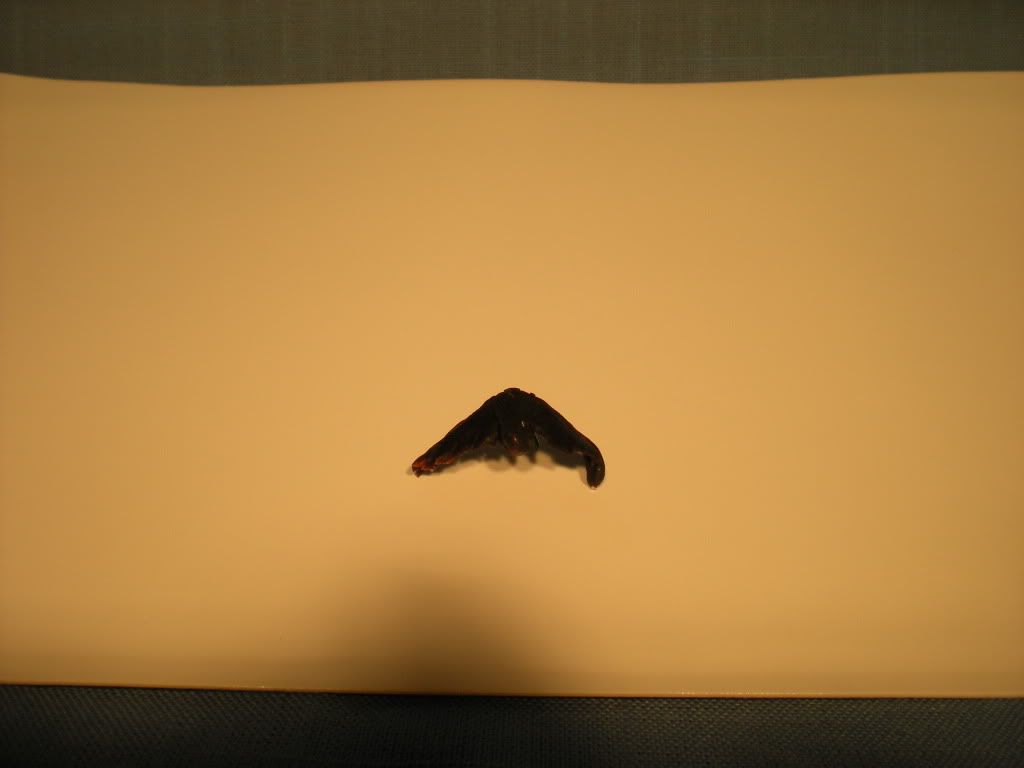
I think that the temperature was too high, and that's why the clay turned dark. If anyone else has used Sculpey, he might be able to help clarify. I followed the instructions as far as the temperature is concerned, but with subsequent pieces, I adjusted that down. My oven burns a little hot, too. Here is a picture of the piece from the back:
3basicbodysculpted2.jpg


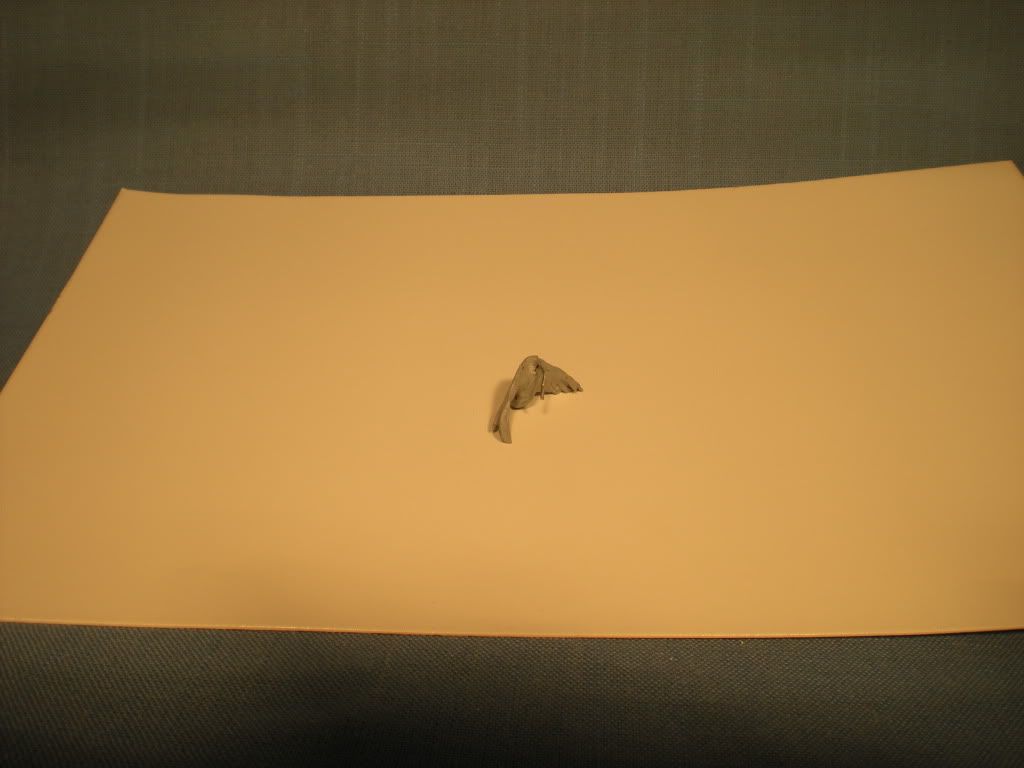
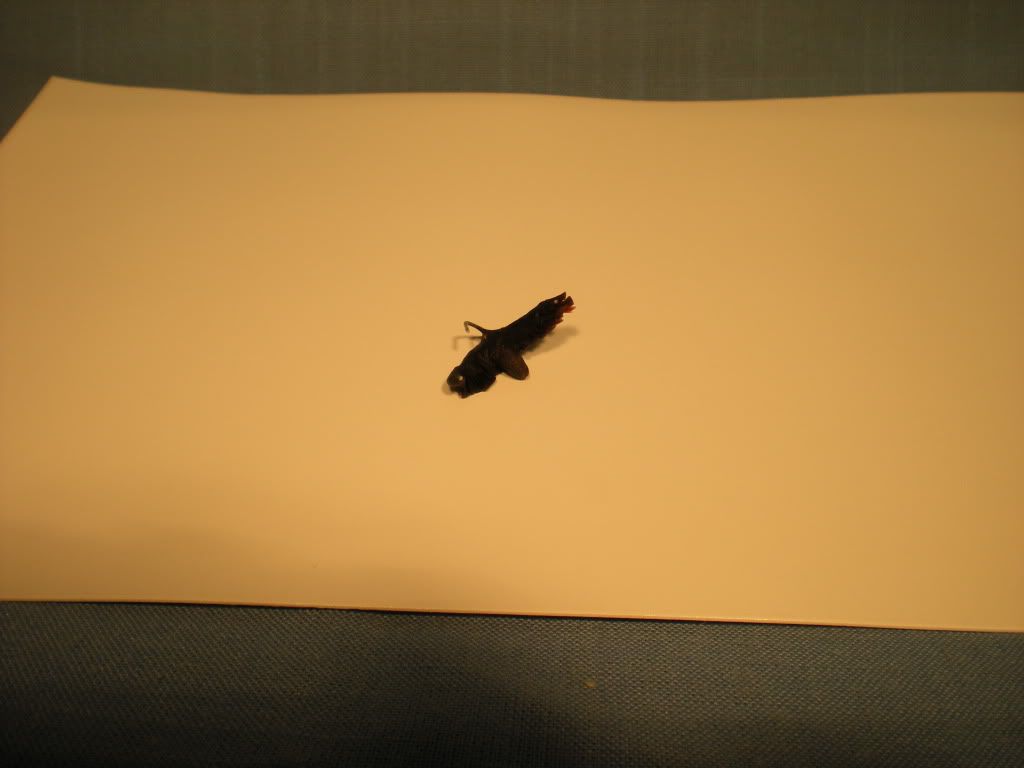
Once, while walking past the bench, I saw this out of the corner of my eye, and thought it was a bug! :eek: Here's another angle:
3basicbodysculpted3.jpg


The armature provided shape for the body, and attachment points for the sheets of Sculpey that made up the feathers of the wing.

More pictures to follow...
 
After I had the basic shape set, I used some files to add some surface detail, like some of the feathers, and then some fine sandpapers to remove things like fingerprints :rolleyes:, and just to clean it up. The exercise was to practice sculpting, but my goal is a piece in toy soldier style, so I wasn't too worried about reproducing every little feather.

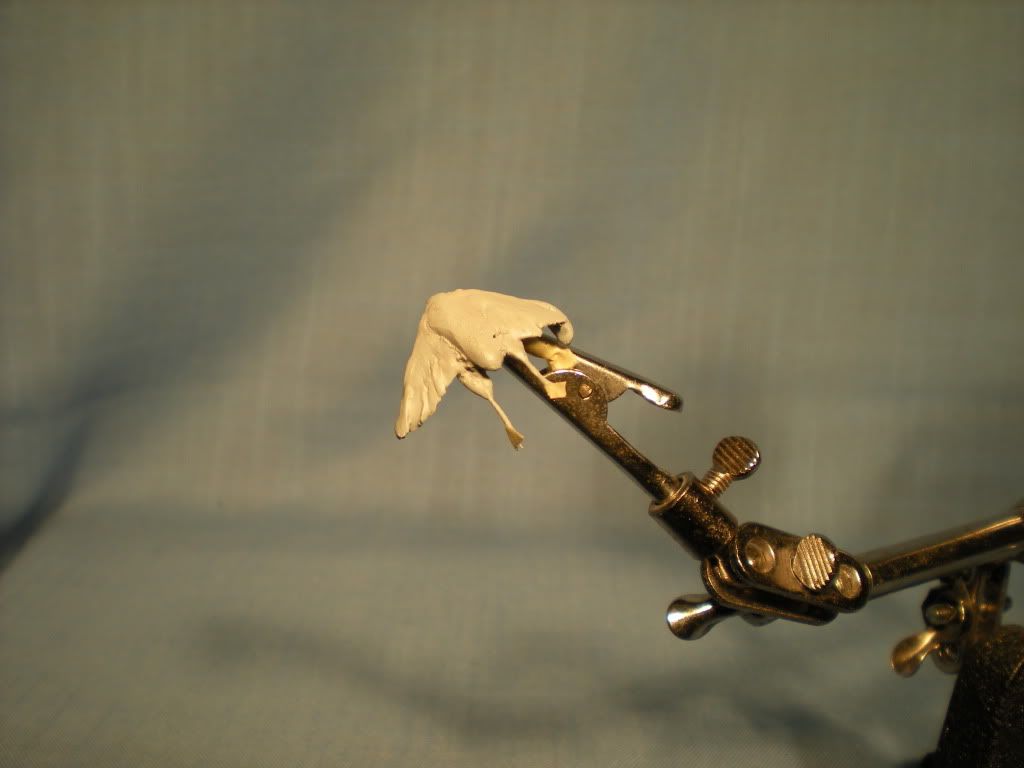
In the next step, I coated the surface with Gunze-Sangyo's Mr. Surfacer 1200:

4MrSurfacercoat3.jpg


Again, the idea was to get a uniform surface, and also, to act as a primer. I also built up the area around the goose's head with layers of Mr. Surfacer, to round it out a little bit more. Here is another shot:

4MrSurfacercoat1.jpg


and this:

4MrSurfacercoat2.jpg


Looks a little like a tiny Rodan, doesn't it?

More to come...
 
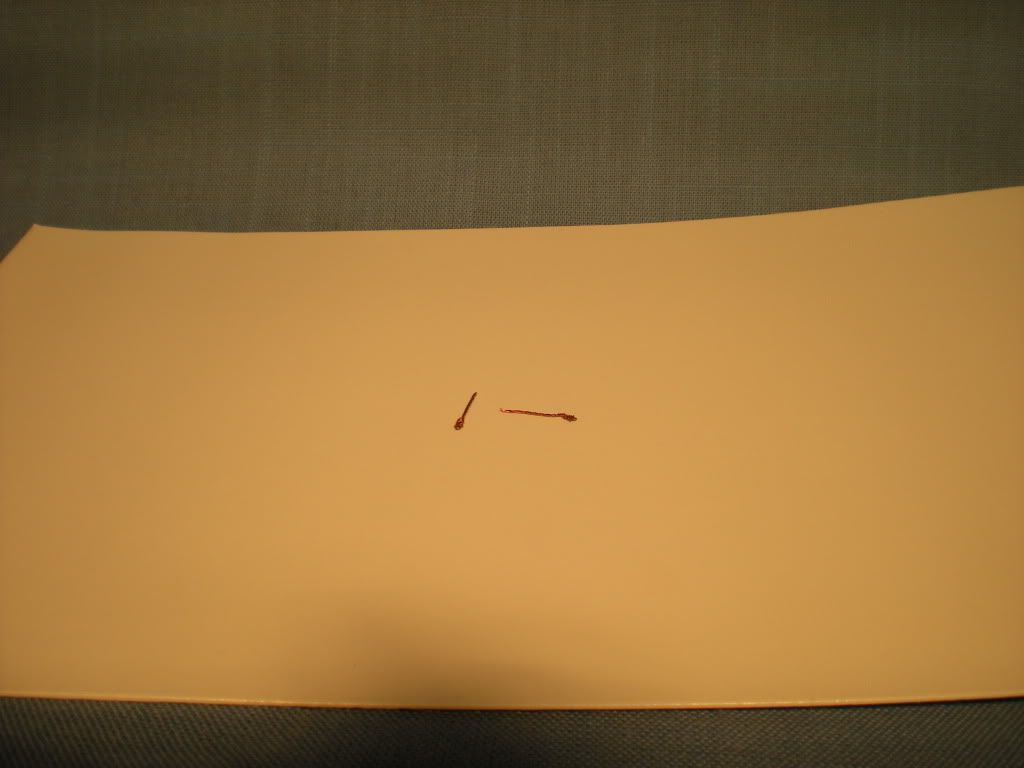
The next step was to make the drumsticks, which would then be attached with CA glue. For these, I made armatures of fine copper wire, scavenged from an old appliance cord. I used three pieces braided together for each leg:

5drumsticks1-armatures.jpg


This meant that I could fan the three ends out at the foot end of the leg.

Here they are with a ball of Sculpey applied to the thigh ends:

5drumsticks2-Sculpeyapplied.jpg


You can see I learned my lesson about the temperature.

Here you can see the legs attached to the body:

7drumsticks3-webbingapplied.jpg


and another angle:

7drumsticks2-webbingapplied1.jpg


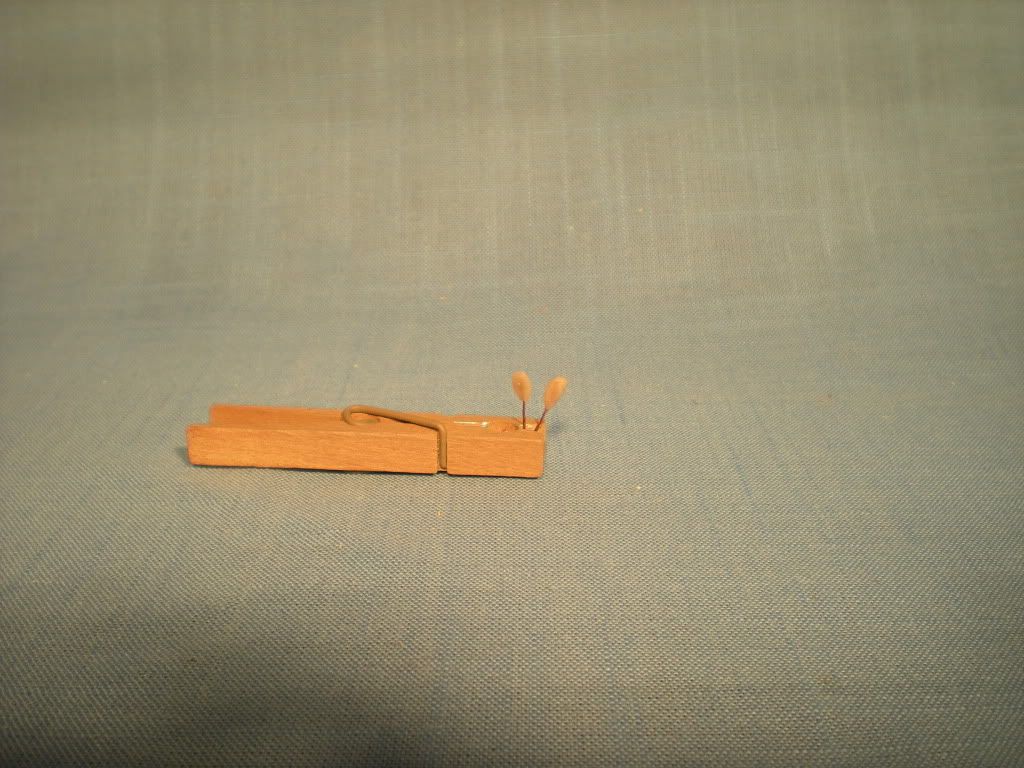
The little third hand stand is very handy (no pun intended!)

Next, the goose is cooked!
 
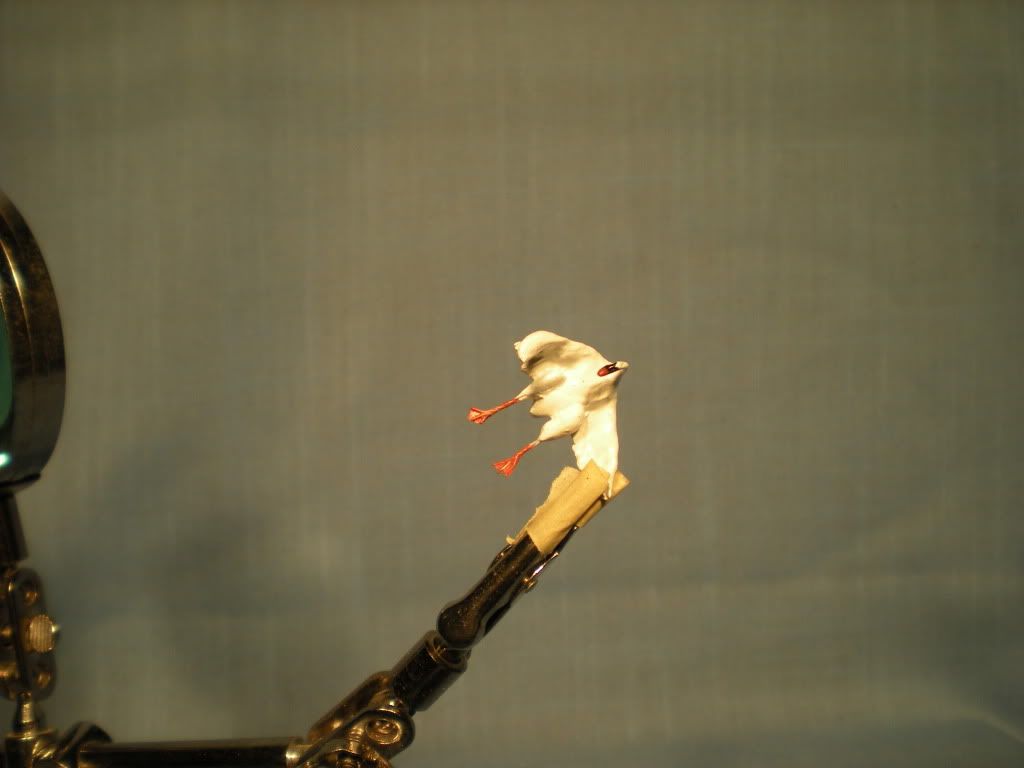
In these pics, we see the final details and colors added.

For the feet, I used masking tape for the webbing. I put a piece under each foot, trimmed the excess with a fine scissors, and then flowed a little CA glue over the legs and feet to seal them:

8-1Finishedgoose.jpg


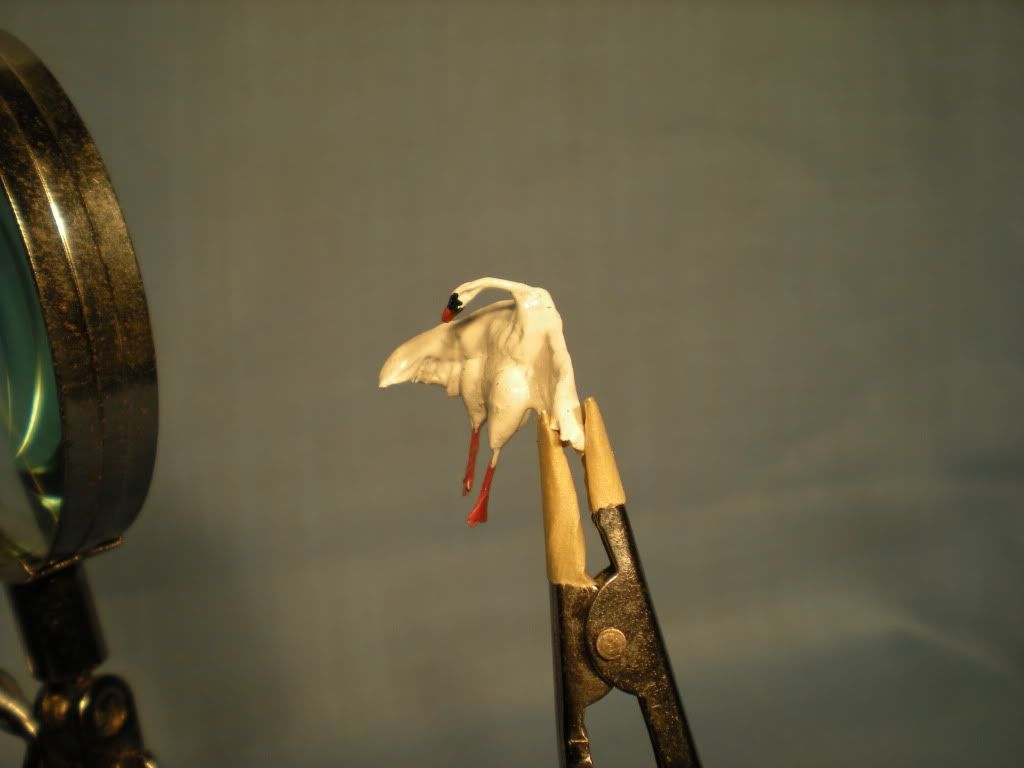
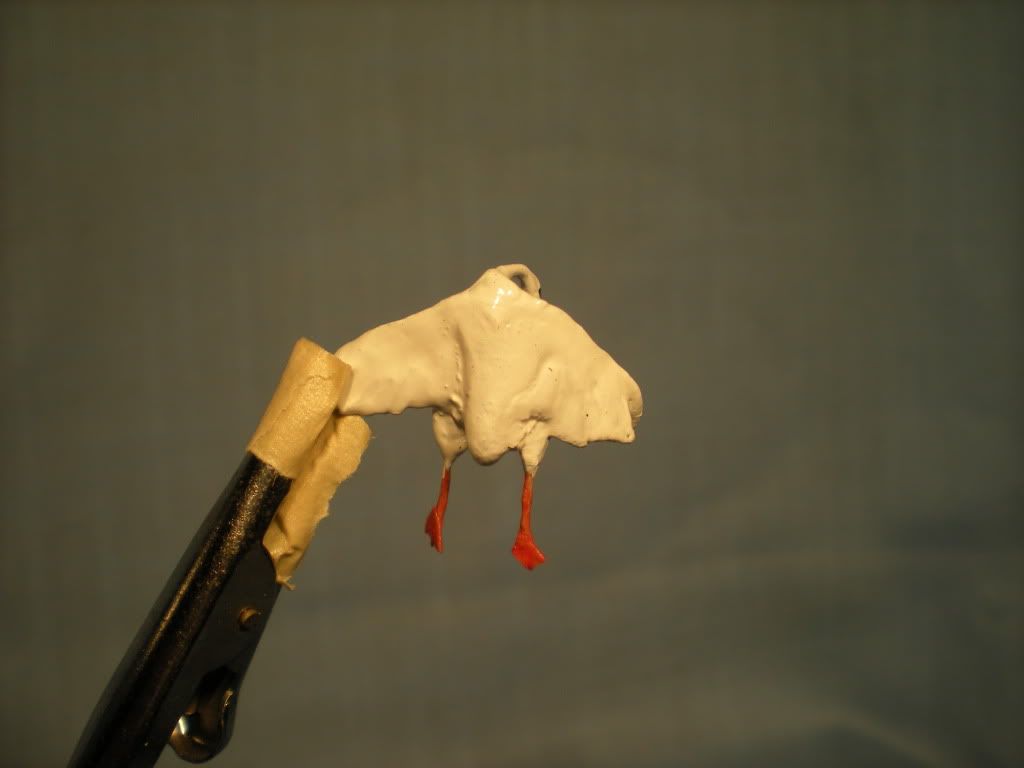
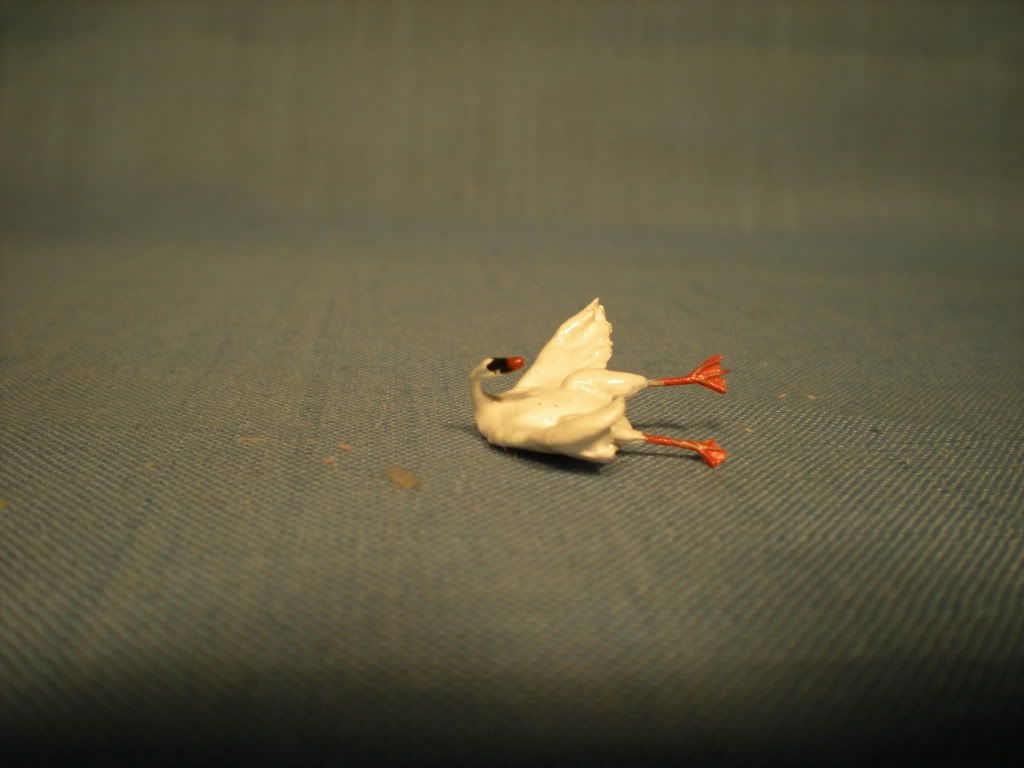
At this point, I had to do some research, because I realized that apart from having white feathers, I didn't know much more about how a domestic goose looks. Also, I wanted to make sure that I painted it as the right kind of domestic goose for Central Europe. As it turns out, we have the same domestic goose here, too (though there are other varieties, in other colors, elsewhere in the world). So, it's overall white, orange legs and feet, and some black at that snout with an orange beak.

8-2Finishedgoose.jpg


As I said earlier, this is in my toy soldier style, so the level of detail is sufficient for my tastes.

8-3Finishedgoose.jpg


You can see how I formed the armature with the curve for the neck...

8-4Finishedgoose.jpg


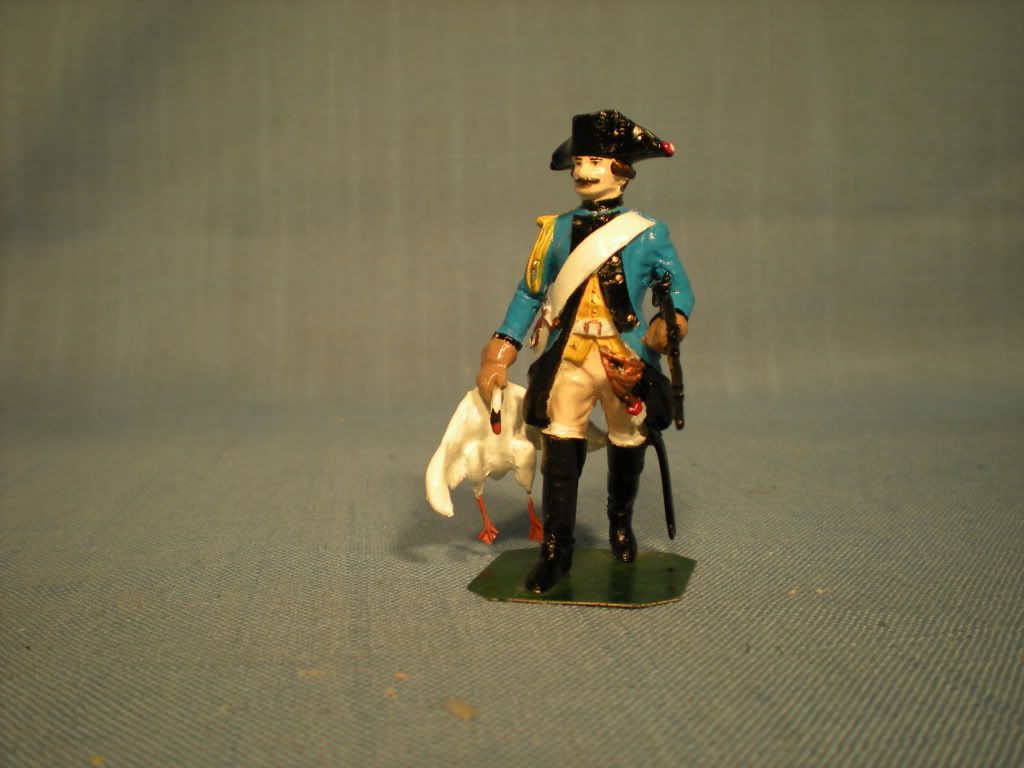
...because ultimately, it was to hang, limply, in the hand of a poultry thief:

9-1ZastrowDragoon1.jpg


It was fun to take the plunge, and I'm going to keep practicing. I want to sculpt a full figure in 54mm someday. And I'll try to take pictures at every step, too!

Thanks for looking, prosit!
Brad
 
:cool:Looks like your off to a good start!:cool:Have you thought about using 2 part putties like green ect instead of baking clay? Most sculptors use some kind of a 2 part mix and most use some form of the green type a+b yellow, blue, when mixed fully it turns green. I don,t know where you live but a good hobby shop will carry the stuff. Then there are always places online Hobby bunker and Michagon Toy Soldier who have a few different types to choose from. Milput is a bit more crude to work with but can get great detail with a bit of water added and is cheaper.
I,m just trying to save you from burning the Thanksgiving Goose!:p Did you put in any carrots and onions with the bird? Next time you need to sculpt in one of those little pop up buttons that let you know when the turkey is fully done.:p

Baron I,m just bustin your chops! I couldn,t resist.:D That came out great so far keep us posted of your progress.
 
This is wonderful SBS Brad. The goose turned out great !!! I also think it could do double duty as a swan another favourite dish of the day !!

Thanks again and looking forward to your next sculpting demonstration.
 
Great job, Brad! Very impressive first sculpt! It's time to take the plunge!!! You obviously have the patience and basic skills to create a figure. Have to done a major figure conversion yet?
 
Thanks, guys!

Tim, ha ha! :D Actually, the first medium I ever used was Miliput. Sculpey was the next experiment, it works pretty well. I once saw Jack Muldoon sculpt a 54mm head in Sculpey, while we were chatting at a show, and seeing how easily it works made me decide to try it. The next will be Aves Sculpt, which is a 2-part epoxy putty. I've seen that in action, and it looks like it relatively easy to work with, too.

Miliput also has a super-fine grade, I think it blends to a white color when mixed. A gentleman over at the HZ-Forum uses it, and I might try that, too. It's supposed to be very fine-grained, and to cure to a nice hardness for working.

Thanks for looking!

Prost!
Brad

Brad The finish product came out great I logged of before you posted the finish product!:cool:
Milput is not the greatest its kinda hard to work with you need to get your hands on some type of green stuff or Tamya type putty. Games workshop makes a nice green putty. Get your hands on some and give it a try and let me know what you think!
So whats the next project going to be??? Pt 2, this guy in a pan plucked with the carrots and onions???:p
Keep up the good work, nice job!!!!:cool:

Personally I always use Miliput, it's a good all rounder. I find that the other putties can be good for certain jobs though.

Martin
 
Personally I always use Miliput, it's a good all rounder. I find that the other putties can be good for certain jobs though.

Martin

I use both! I didn,t say millput wasn,t good, I just find it harder to work with and stays softer longer and is softer to start with. It can get great detail and worked with a bit of water I think can get even a finer detail then the green stuff but it is also a lot easier to ruin all the detail you just spent all the time putting in because it stays soft so long.:( With the green stuff it sets up faster and you can move quicker.
I guess its a matter of personal preference and skill(something I don,t have much of:D) The best thing to do is try what you find out there and see what works best for you and what your most comfortable working with??? It could be that the sculpty you started with works best for you??? I was just adding my 2 cents on what worked for me, hoping it would help you out, but from what I,ve seen most scratch builders I,ve seen use green stuff or some type of 2 part putty.
Whatever you use keep at it your off to a good start.
It would be really great if some guys who really knew how to do this stuff would post some how to threads for us possible beginners and hacks who just want to mess around could at least pick up a few tips and get an idea of how to get started.:cool:
 
Brad...that's a beauty...looks like it came from the factory...nice sculpting and painting
 
I use both! I didn,t say millput wasn,t good, I just find it harder to work with and stays softer longer and is softer to start with. It can get great detail and worked with a bit of water I think can get even a finer detail then the green stuff but it is also a lot easier to ruin all the detail you just spent all the time putting in because it stays soft so long.:( With the green stuff it sets up faster and you can move quicker.
I guess its a matter of personal preference and skill(something I don,t have much of:D) The best thing to do is try what you find out there and see what works best for you and what your most comfortable working with??? It could be that the sculpty you started with works best for you??? I was just adding my 2 cents on what worked for me, hoping it would help you out, but from what I,ve seen most scratch builders I,ve seen use green stuff or some type of 2 part putty.
Whatever you use keep at it your off to a good start.
It would be really great if some guys who really knew how to do this stuff would post some how to threads for us possible beginners and hacks who just want to mess around could at least pick up a few tips and get an idea of how to get started.:cool:

Try working in small areas at a time and use the heat of a desk lamp to dry the miliput faster, don't over do the heat though because any air or oil from your fingers that you've mixed in will expand and crack.

Martin
 
Thanks, guys!

Tim, ha ha! :D Actually, the first medium I ever used was Miliput. Sculpey was the next experiment, it works pretty well. I once saw Jack Muldoon sculpt a 54mm head in Sculpey, while we were chatting at a show, and seeing how easily it works made me decide to try it. The next will be Aves Sculpt, which is a 2-part epoxy putty. I've seen that in action, and it looks like it relatively easy to work with, too.

Miliput also has a super-fine grade, I think it blends to a white color when mixed. A gentleman over at the HZ-Forum uses it, and I might try that, too. It's supposed to be very fine-grained, and to cure to a nice hardness for working.

Thanks for looking!

Prost!
Brad

I find that the best thing about the white miliput is that you can mix in a tiny amount of coloured ink, this makes it easier to see when you're working on small details.

Martin
 
Hi Brad just read this thread thought it was great love how you cooked your goose:D The figure looks great.

Regards John
 
Thanks, everyone, for the comments and the discussion!

...It would be really great if some guys who really knew how to do this stuff would post some how to threads for us possible beginners and hacks who just want to mess around could at least pick up a few tips and get an idea of how to get started.:cool:

Tim raises a good point here, and I'd like to take the opportunity to encourage others to try it. Certainly the modelers among us-if you haven't tried sculpting, do try, you probably already have skills that carry over.

And having said that, I'll extend to the guys who don't model or paint an invitation to try that, too. I think you'll find it rewarding, or at the very least, educational. You'll have renewed appreciation for the work that goes into making the things we collect.

Prost!
Brad
 

Users who are viewing this thread

Back
Top