Hi, Rob, there are 2 general methods to show paint chipping or wear. One is to lay down the natural metal color first, then the top color, and then remove the top color to simulate wear. The other is to lay down the top color and then apply the metallic color to simulate wear.
If you choose to lay down the metallic paint first, then there are a couple of different ways to remove it. One is to chip carefully with the tip of a knife blade and reproduce chipping and scuffing. You can also use a nylon scrubbing pad (3M, for example) or even steel wool (which requires a delicate touch).
Another method is called the salt technique. After laying down the metal color, apply water with a brush to the areas to be worn, then use large-grain salt (sea salt or kosher salt is good), let the salt crystals dry in place, then paint the top color. When the top color has dried, go back and remove the salt crystals. This will leave a pattern that simulates flaking paint. It's a popular technique among builders of WWII Japanese aircraft models, because it can be used to simulate the large patches of paint that flaked off the IJA's aircraft.
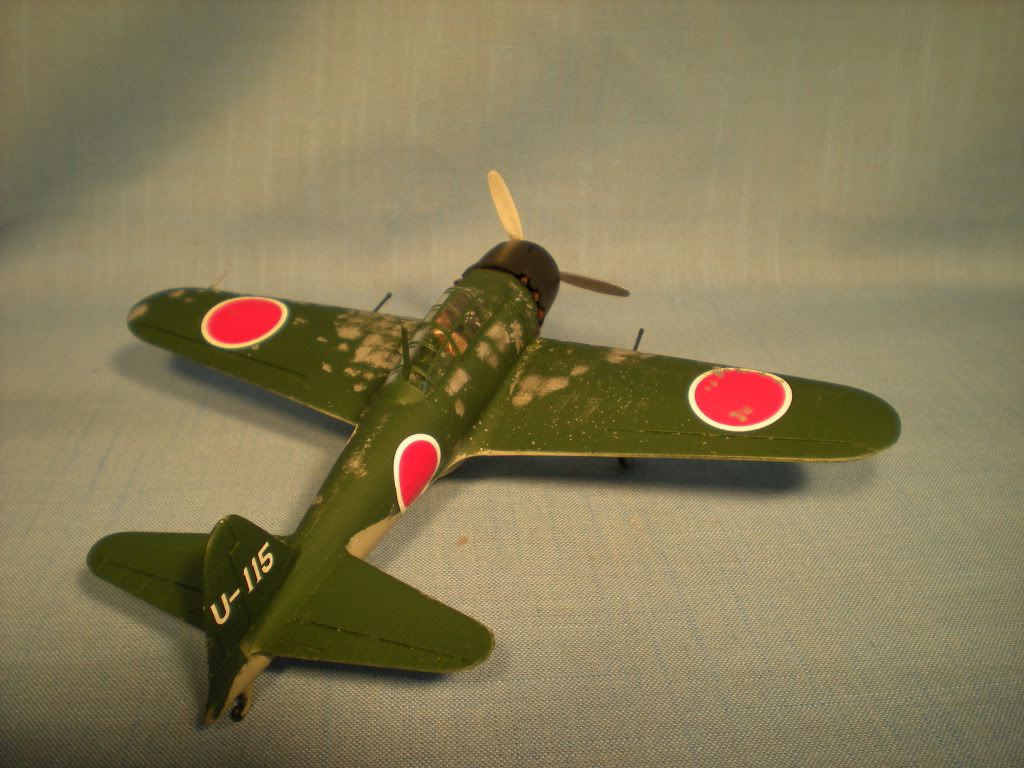
I've used it myself, but decided that it was too much effort for the result. Here are some shots of a Monogram Zero that I built and weathered:
If you look at the areas towards the trailing edge of the wings, you can see smaller flecks of silver, which were created using the salt technique. Unfortunately, I had only table salt on hand, and what I had to do, because the crystals were so small that they dissolved, was to add water drop by drop to a pile of salt and make a paste, which I applied in a second pass over the metal color, using a toothpick to position the paste where I wanted it. I still didn't get the result I wanted, so I wound up taking a Prismacolor silver ink pen and applyin the ink over the top color, and spreading it with a toothpick and a brush. Here is the result on the fuselage:

That brings me to the second method, applying the top color and then applying the metal color for wear. In this case, we use the drybrush technique to apply the metal color gradually to the surface, picking up the relief areas and building up color. Here is P-39Q in 1/48 by Eduard, on which I used drybrushing to reproduce the wear on the non-skid walkways along the wing roots:
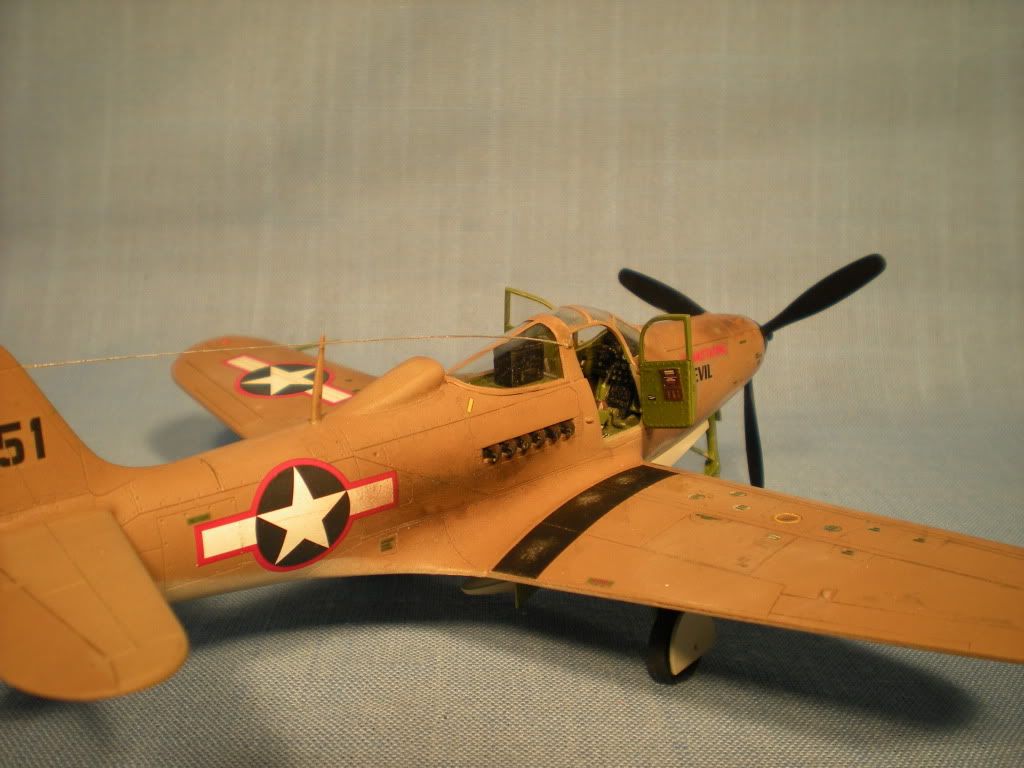
On the real aircraft, this walkway consisted of a piece of material almost like an asphalt shingle, coated with grid to give traction. But constant walking would wear through this, right down to the bare metal skin underneath. To drybrush, I use an old brush with a straight chisel tip. I dip the brush in the paint (I usually use Tamiya Flat Aluminum), then I drag the brush across a piece of paper towel, till I've removed most of the paint. Then I apply the paint to the model, using the same kind of dragging motion, just touching the surface. The point is to have the brush catch the higher areas of relief, like panel lines, rivet/fastener heads, or to apply very little paint in an area, like a panel, and gradually build it up till it looks like the higher point on the real thing, that would be likely to be stepped on/brushed up against or otherwise rubbed, removing the paint.
I hope that helps give you an idea of how to reproduce this look.
Prost!
Brad