Blaster Collection (2 Viewers)

The Sinking of The Titanic completed March 2013

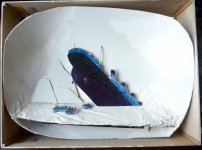
I decided to do a larger seascape featuring the Sinking of the Titanic. This would give me a broader canvas to paint the background. A suitable picture of the Titanic was selected, pasted on cardboard, and cut out. The scene was framed to test for composition.

At this stage, it was problematic to cut around the mast and rigging to remove the printed background. I solved the problem by removing the mast and rigging, and replacing these with metal tubing and thin wires glued into place.

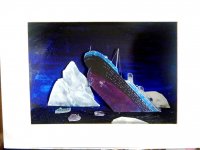
I painted the background and ice bergs. The pieces were arranged and framed before final painting. Dark background with white ice bergs create a dramatic composition
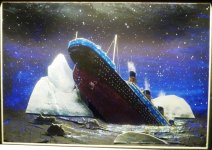
The Titanic sank on a moonless night in a sea of icebergs. All reflections were deemed to emanate from the lights on board the Titanic. I touched up some of the lights with yellow paint to create colour variety.

I painted the sky with some grey clouds to create a more varied background, and stars were tipped in with white paint. The wave ripples around the sinking ship were highlighted with yellow and white reflections from the Titanic lights. White was also used to create reflected light on some of the figures in the lifeboats. The Titanic funnels were also given red highlights and more white colour was brushed over the upper decks.

The scene, with the internal LED light switched on. Note the smoke coming out of the funnels, made from cotton wool teased out.
P1050056.JPGP1050059.JPGP1050065.JPGP1050077.JPGP1050078.JPG
 
Hello Matt,

Thank you for looking and your very kind comments.

There are three more shadowboxes which I will describe here as can be seen in the photo.

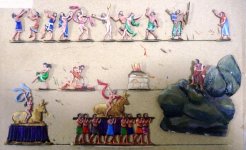
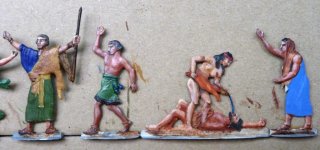
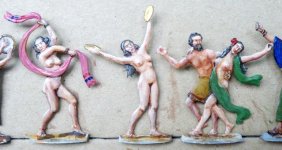
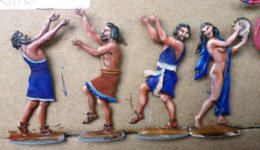
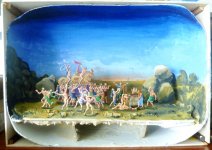
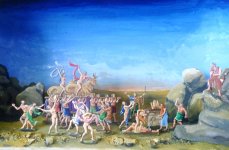
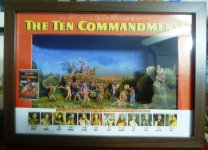
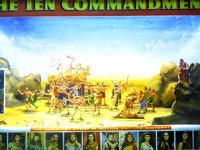
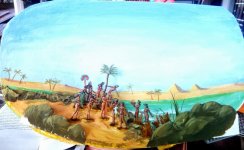
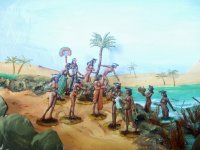
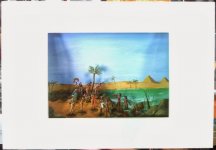
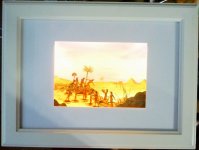
The Ten Commandments Display completed in Nov 2012

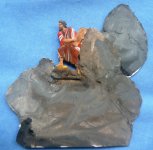
This was based on a Golden Calf Set which I obtained from Wilken Zinnfiguren. I looked at pictures of the old movie The Ten Commandments for inspiration. The figures were painted and the Moses piece was modified by gluing it to a piece of cardboard to represent rocks.

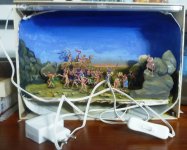
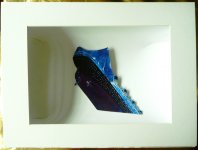
I will give a little more detail on the way I generally construct my shadowbox displays. I selected an Ikea frame from the Ribba Range. The frame has depth where the photos can be recessed from the glass front. For my purpose, this depth overlap creates mechanical strengthening for the box sides which have to be created for this diorama. The box sides were made from basswood cut to length and neatly inserted to fit into the frame. The back of the frame was attached to the box sides to create further mechanical strength.
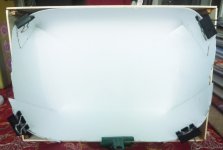
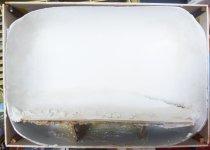
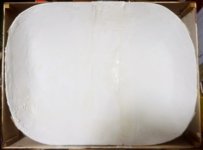
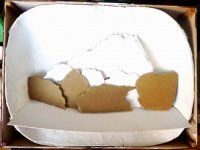
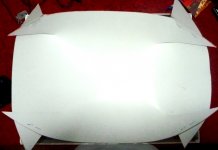
I cut a suitable size large piece of white card to make the background. I cut 4 slits at the corners and then curved the edges inwards, allowing a good degree of overlap. The whole was glued using white glue and held in place by clips. Finally a layer of gesso was applied over the whole surface to create a toothed undercoat for painting. Light sanding was applied to achieve a smooth layer. A slanted platform was created from another piece of cardboard. Broken pieces of putty were added to the front to create rubble and heighten the sense of false perspective.

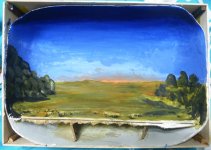
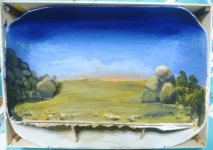
The scene was painted to create an evening look, with the last rays of the sun disappearing over the horizon. Rocks and rubble were painted on the sides and more rocky card cutouts were added.
A tryout stage placement was done with the figures. The figures were bent backwards to allow for vertical alignment when placed on the sloping base. The picture frame was added to frame the scene. and decorated in true cinematic fashion.

P1040090.JPGP1040041.JPGP1040040.JPGP1040039.JPGP1030699.JPG
 
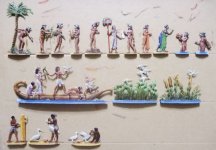
Baby Moses Scene completed in Dec 2013

A very delightful small set was obtained from Wilken Zinnfiguren. I tried to mix it with Braune figures but for my scene, I decided not to use the full set as I wanted to create a very tight grouping.
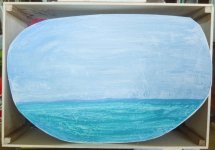
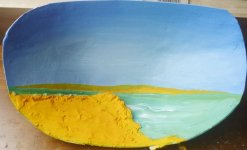
I made a shadow box from an ikea frame. A basic background of sky and river was painted and the foreground was built up and textured.
I created rocky cutouts to add interest to the scene. After final painting of the scene and adding a few bullrushes in the river, the figures were bent upright to conform to the sloping base gradient and fixed into place.

P1060841.JPGP1060843.JPGP1060847.JPGP1060849.JPGP1060850.JPG
 
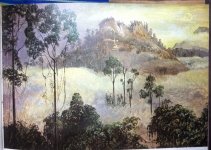
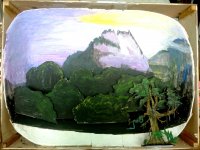
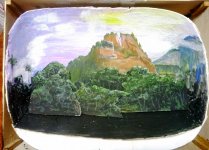
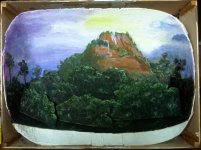
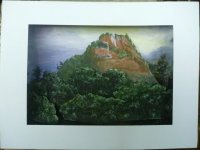
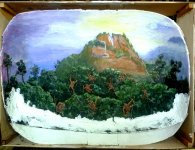
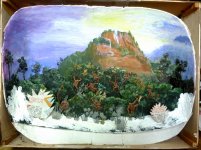
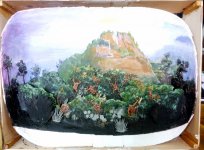
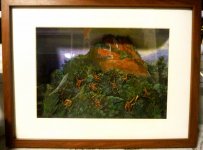
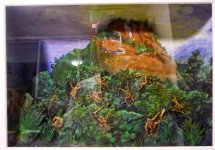
Marianne North Silver Mountain at Tegoro, Sarawak Display completed in Oct 2014

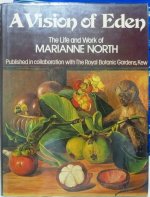
I had been reading this delightful book about Marianne North (A Vision of Eden) and it featured many of her great paintings now housed in the Kew Gardens. Marianne North (24 October 1830 – 30 August 1890) was a prolific English Victorian biologist and botanical artist, notable for her plant and landscape paintings. She travelled extensively and had also visited Borneo twice.

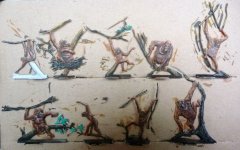
As Borneo is home to the Orang-utans, I decided on a jungle scene featuring one of her paintings as the backdrop and incorporating the orang-utan ape figures which I obtained from Berliner Zinnfiguren.
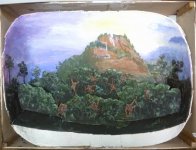
I made some cut outs to represent the mountain and foliage and started to paint the scene. The undercoats were done with Jo Sonja Acrylics and overpainted with oils. Meanwhile, the foreground pieces were carefully painted. The mountain was delineated as to its form and the foliage was given highlights. The mountain outline was pasted onto thick cardboard pieces and fixed to the background. Some of the foliage scenery pieces were also fixed in place. I checked the composition against the picture frame.

The apes were then placed against the diorama for composition. Once I was satisfied with their positions, I removed the bases and glued the apes to the diorama.
Some putty was added to smooth the transition of the background pieces to the foreground. This was painted in black with acrylics. Further cutouts, brass-etch foliage and twigs were also added to the background pieces to aid in visual transition.

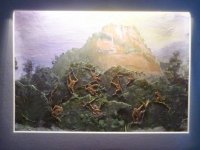
I fitted the usual LED light, not as bright as a fluorescent light, as this was supposed to be a moonlight scene.
As the lit-up scene was a little dark in the foreground, I painted in more foliage into the scene and further highlighted the apes. I added more foliage to the foreground, and darkened the areas around each ape to create more contrast.

The glass casing was carefully cleaned. The edges of the diorama were trimmed to fit neatly within the case. Previously, I had tried to wedge in cardboard strips along the entire box frame but this only served to distort the box, as it was made out of thin plywood. This time, when I fitted the frame over the box, I added stout cardboard strips only to the corners to wedge the box firmly against the inside of the frame. The box was very securely fixed to the frame, and there was no further need to add a layer of masking tape along the sides. The frame was fitted with hooks and wire and is now nicely displayed on my wall.

P1070119.JPGP1070120.JPGP1070126.JPGP1070150.JPGP1070238.JPG
 
Hello Ray,

Thanks for your kind comments and looking in. The shadow boxe dioramas give me the scope to explore very freely, almost painterly, larger ideas and still contain them within my allocated home space. Got to be careful here. It's coming up to the usual annual spring cleaning time and I don't wish to incur the wrath of my better half.

Rgds Victor
 
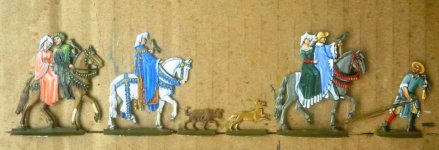
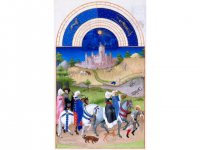
Just finished painting this small falconry hunting scene for a collector. It is based on a painting taken from the Tres Riches de Heures of Jean Duc de Berry book.
 

Attachments

  • P1120431.JPG
    P1120431.JPG
    76.3 KB · Views: 167
Just finished painting this small falconry hunting scene for a collector. It is based on a painting taken from the Tres Riches de Heures of Jean Duc de Berry book.

Now you knew I was going to love this!! very well done, you've got skills.
Ray
 
Just finished painting this small falconry hunting scene for a collector. It is based on a painting taken from the Tres Riches de Heures of Jean Duc de Berry book.

Great work on a wonderful rendition of Falconry !

Creates a sense of an enjoyable outing.

Thank you for posting.
 
Dear Ray and Matt,

Thank you for your kind comments. Yes, flats cast a magical spell on all, don't they?

I usually post my flats update on my blog
http://zinnfiguren-victorwong.blogspot.sg/
but lately, can't seem to do so due to some upgrades by Google? This seems to have affected a lot of bloggers. The collector is based in NZ and sending flats by post make a lot of sense.

The flats are marked WH (William Hafer) and are based on this scene.

Rgds Victor

tres.jpg
 
Victor,

I'm looking forward to reading the article because my copy should arrive this week !!

After seeing all you wonderful dioramas 'in person' when I was in Singapore last November, I can definitely say they are 'a joy to behold' :) :)

Thanks for your kind hospitality,

John
 
I got my issue yesterday, saw the neat pictures, but didn't read the article yet. Congrats, you're a talented guy.
 

Users who are viewing this thread

Back
Top