Mitch
Major General
- Joined
- May 1, 2010
- Messages
- 13,519
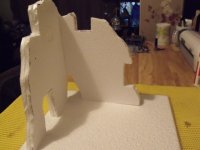
Here is the latest dio. I have returned back to using ceiling tiles rather than foam board. They are just the same in reality but, I used them a lot when I was a kid modelling and personally find them easier to use. I wanted a bomb shattered house really just a shell which, had a small section of the upper floors still hanging from the walls.
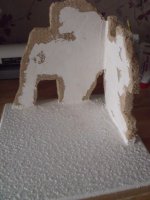
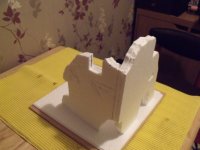
I first drew roughly the shapes I wanted for the walls on the tiles and then cut them out with a hot knife. I decided to double the tiles for thickness and strength (They also look more realistic when thicker) Having cut the shapes out I glued the pieces together and, tried them out for fit and placement on the base. Again, its just a cheap piece of baseboard and, I used a full ceiling tile as the base. These sections when in place were set with a glue called pinflair which, is really good and gives a strong bond.
I usually use foam board and score the brickwork into the tiles then paint but, the draw back with using these tiles is you cannot get a good effect as they fall apart. I had, recently, spent a bit of time looking in my local dolls house shop and came across some stencils for various brick designs. They were in 1/24th scale and they looked perfect for making brick work for this hobby. I bought quite a few and, some of the plaster called brick compound (a textured plaster in several colours sand, reb brick, conctrete and dark grey)
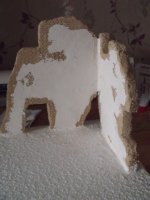
I must admit they worked very well and, saved a massive amount of time scoring in thousands of bricks. I was sceptical about how well they would work but, a little trial and error and they worked well. Having covered both inside and outside of the buildings I used the plaster to cover the shattered walls and window frames.I then used partial bits of the stencil to define these areas.
Once this was dry I used normal plaster and covered the brick work to replicate normal house plaster, with areas showing the brickwork where it would have been blown away by the explosions.
In the next section I begin building the floor and framework and began covering the groundwith rubble
Mitch


