Making a Horse and Rider, start to Finish (2 Viewers)

Excellent SBS! It's nice to see, especially since I can compare the process with experiments I have in progress.

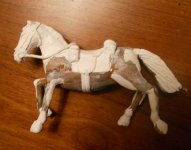
Regarding the saddle, it's always possible that an officer made a personal choice and procured something other than a piece out of the commissary. In the 18th Century, for example, some officers in the Prussian army used English saddles, following Frederick the Great's example, instead of the local models, because they were better adapted for the sort of flat-out, cross-country riding, a la a fox chase, than the Continental saddles, which were modeled more like a medieval knight's. Upshot is, it looks good!

Prost!
Brad
 
Hi Cap'n-K - Love the "kitchen table technology" approach. I have a tip for the horses reins - should your experiment not turn out as planned.

Try thin strips cut from medicine "blister packs". These are sometimes made from aluminium foil - with a piece of bendy plastic sandwiched in between two sheets of foil. Result is they are flexible - but hold a shape when you have bent them. They also stick well to anything with super-glue or epoxy resin, so can be cut to nearly any shape. If you cut thinly along an edge, you can get thin strips - as long as the blister pack itself. I have used them for webbing as well as reins or stirrup leathers.

Love the character you are creating too - best of luck with him....johnnybach
 
Awesome tip! This is a great opportunity for us aspiring amateurs to share our discoveries. I haven't done anything as of yet, and being two brandy's into my Sat. night, I probably won't{sm4} until tomorrow. I will look for old foil blister packs, I know we've got some here somewhere....

Now remember, when things look bad and it looks like you're not gonna make it, then you gotta get mean. I mean plumb, mad-dog mean. 'Cause if you lose your head and you give up then you neither live nor win. That's just the way it is. -The Outlaw Josey Wales
 
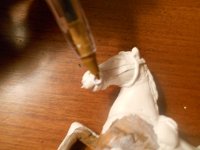
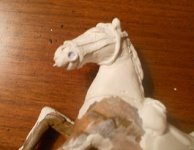
Okay, I've used superglue on Sculpey many times, but when I tried to use in on this white Milliput, nothing would stick, not the foil, and not even the nylon thread...so back to Plan B, add more Milliput. Now you see why I was dreading this part....
 

Attachments

  • DSCN4078.JPG
    DSCN4078.JPG
    97.1 KB · Views: 90
  • DSCN4079.JPG
    DSCN4079.JPG
    88.6 KB · Views: 86
Hi again Cap'n - Do give it a try. If something won't stick to the white milliput straight away, try holding the piece in place for about thirty seconds with the point of a pin - when it will usually set off enough. I usually leave it alone then for around ten minutes - just to make sure that it has set - when it is usually okay to carry on with whatever's next.

Note that I usually spend the ten minutes unsticking my fingers from my thumb anyway - so no problems using that time!!!^&grin johnnybach
 
Yes, I promise to give it another go when I get the time to work on it. And like you with the superglue, I spend more time disconnecting my fingers from each other than anything else.
 
Okay, I've done one rein, simply rolled out some Milliput, no wires, foil, or threads involved. I still have to do the other side and pray it doesn't crack. Actually molding this in a two piece mold is gonna' get complimacated ^&confuse ...I know the rein is thick as a rope, but let's pretend it is for better visualization of "the process". I can thin it out if I ever get it poured.
 

Attachments

  • DSCN4080.JPG
    DSCN4080.JPG
    93.9 KB · Views: 84
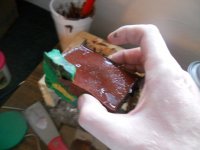
Okay, the sculpt is all done, the next step will be casting a mold of the horse and the rider. I didn't post a pic of the finished sculpt because you will see it all in the next steps. The first step will be building a quick mold box. I'll try to post some pics of this process over the weekend. I can tell you I'm going to need some Play-doh, some spray insulation, some cardboard, styrofoam cups, and two part silicon. It could get ugly. ^&confuse
 
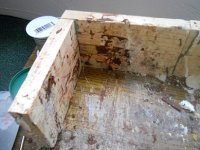
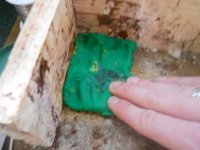
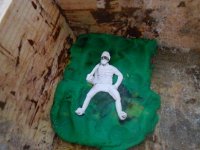
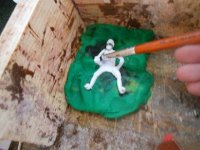
I'm going to do the rider first...I have a "mold board", where I have wood glued two boards at a 90 degree angle. I then put down some Play-doh that I will sink my piece into. You have to look at your figure and figure out where to build the Play-doh up to so your rubber will not completely encapsulate any part of the figure (usually this what you want anyway). Tricky spots on this one are around the saber and where the arms have space from the body...
 

Attachments

  • DSCN4081.JPG
    DSCN4081.JPG
    120.1 KB · Views: 78
  • DSCN4082.JPG
    DSCN4082.JPG
    100.4 KB · Views: 79
  • DSCN4084.JPG
    DSCN4084.JPG
    111.5 KB · Views: 81
  • DSCN4087.JPG
    DSCN4087.JPG
    110.8 KB · Views: 79
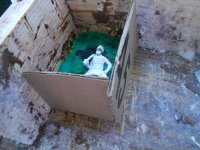
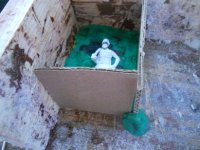
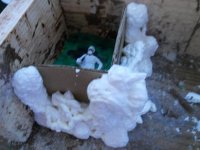
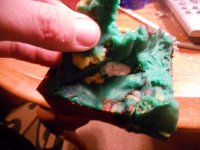
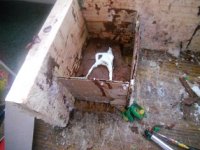
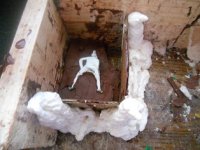
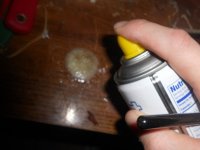
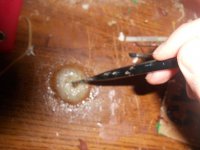
Once I have my clay or Play-doh built up to the right spots, I cut the Play-doh to make a nice rectangle. This is when I cut down two small pieces of cardboard to make the other two walls of my mold box. I secure them at the corner with just enough Play-doh to hold long enough while I spray my insulation. Make sure you get plenty where the cardboard comes together. This stuff is the absolute best way to prevent all your expensive silicon from running out of your mold box...but if you miss a spot, the rubber will quickly find it. As a side note, I get every last bit of my money out of these cans. The stuff hardens in the nozzle-tube, but if you buy some brass rod, it works perfectly to run it through to clean out the nozzle so it can be reused.
 

Attachments

  • DSCN4091.JPG
    DSCN4091.JPG
    110.3 KB · Views: 70
  • DSCN4092.JPG
    DSCN4092.JPG
    120.4 KB · Views: 73
  • DSCN4093.JPG
    DSCN4093.JPG
    116.7 KB · Views: 71
  • DSCN4094.JPG
    DSCN4094.JPG
    104.7 KB · Views: 70
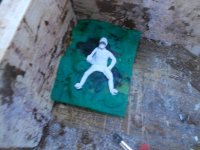
Okay, the spray-foam insulation has set. Also, note a couple things. To the left of the figure's head is a "lock" I've built up with more Play-doh. This will help the two halves of the mold lock together later, plus it saves that much silicon being poured into what is effectively dead-space I don't need. To the right of his head you can see a small circular depression I made with a pencil eraser. This is a "key" which also helps insure the molds are aligned right. It will create a protrusion from one side of the mold and the indentation on the other.
 

Attachments

  • DSCN4103.JPG
    DSCN4103.JPG
    96.6 KB · Views: 87
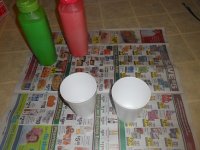
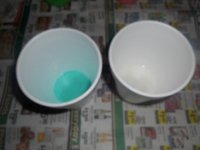
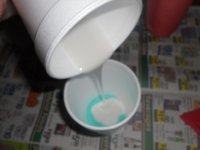
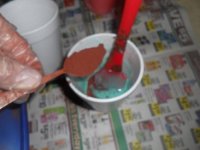
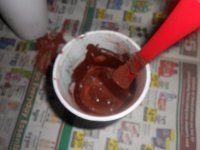
Time to mix it up...the silicon that is. I use a 50/50 by volume silicon. This one sets up in like 12 hours. So I eyeball an equal amount in two cups, Then mix them well. I also add some iron oxide powder to increase the heat tolerance, as some of the 50/50 mixes are only rated up to around 425 Fahrenheit, and lead doesn't melt until over 600, sometimes I might want to pour lead into these without fear of the metal burning its way through my precious mold {sm2}. I've read the ingredients on higher tolerance silicons, and they seem to use iron oxide, so I "roll my own". So far, it has worked very well. You can also just use sand to increase the heat tolerance, but sand remains grainy and doesn't really disperse like the powder.
 

Attachments

  • DSCN4109.JPG
    DSCN4109.JPG
    109.9 KB · Views: 80
  • DSCN4110.JPG
    DSCN4110.JPG
    84.3 KB · Views: 78
  • DSCN4111.JPG
    DSCN4111.JPG
    83.7 KB · Views: 79
  • DSCN4112.JPG
    DSCN4112.JPG
    90.7 KB · Views: 79
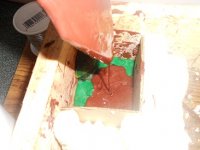
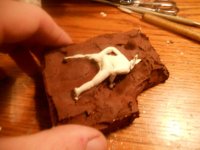
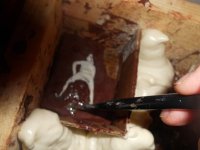
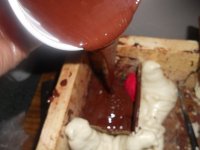
Once I have it all mixed well, time to pour over the figure, creating the first half of my two part mold. First I pour directly on the figure, you could even paint it over if you don't mind ruining a brush. Next, pour it all in. If you run shy and some of your figure is sticking out of the rubber, you can always add more. Silicon will bond to silicon, that is fo' sho'.
 

Attachments

  • DSCN4113.JPG
    DSCN4113.JPG
    92.2 KB · Views: 79
  • DSCN4114.JPG
    DSCN4114.JPG
    95.1 KB · Views: 82
  • DSCN4115.JPG
    DSCN4115.JPG
    94.5 KB · Views: 81
Absolutely fascinating to see how it's done - keep the pics coming please Cap'n, much appreciated.

Many thanks for the insights - it's lovely and messy too! johnnybach
 
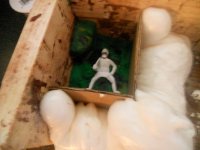
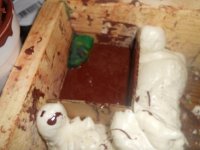
thanks for the encouragement. Since I could find no "how-to" manuals when I took this up in late 2009, I have probably reinvented the wheel here and there. In this sequence, I am using an old putty knife to free my mold from the mold box. Tossing away the cured foam and cardboard, I pry loose the mold, flip it over, then remove all the Play-doh. My mold is 1/2 done at this point...
 

Attachments

  • DSCN4123.JPG
    DSCN4123.JPG
    119.5 KB · Views: 67
  • DSCN4124.JPG
    DSCN4124.JPG
    101.5 KB · Views: 70
  • DSCN4126.JPG
    DSCN4126.JPG
    114.8 KB · Views: 70
  • DSCN4128.JPG
    DSCN4128.JPG
    106.7 KB · Views: 67
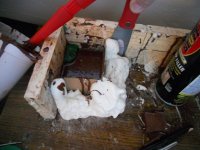
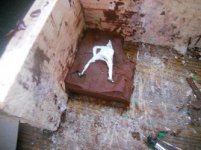
Now I am ready to make the second 1/2 of my two part mold. I flip it over, place back in the corner, and secure some more cardboard (or the same two pieces if they aren't too destroyed). More foam, then wait for that to set up.
 

Attachments

  • DSCN4130.JPG
    DSCN4130.JPG
    103 KB · Views: 69
  • DSCN4131.JPG
    DSCN4131.JPG
    100.4 KB · Views: 67
  • DSCN4132.JPG
    DSCN4132.JPG
    99.5 KB · Views: 71
Now I need to do a couple things...First, and don't ever forget this part, you must use something to keep the bottom half of your mold from bonding to the top half. Otherwise, you will have a solid block of silicon with your figure inside, and no way to get it out without really ruining your mold. After much experimentation, I have found the best way to make sure the two halves will come apart is first to spray a spot with non stick cooking spray, and then paint it on the mold, but NOT on your figure. I used to just spray the whole thing, but it caused little air bubbles and the back half of my mold never gave the detail of the first half. I then take the extra step of painting on vegetable oil on top of the non stick spray. Then I mix and pour silicon just like for the first half. Come back tomorrow night and we'll crack it open and see how it went. I promise nothing :wink2:
 

Attachments

  • DSCN4136.JPG
    DSCN4136.JPG
    91 KB · Views: 55
  • DSCN4137.JPG
    DSCN4137.JPG
    96 KB · Views: 55
  • DSCN4138.JPG
    DSCN4138.JPG
    94 KB · Views: 57
  • DSCN4140.JPG
    DSCN4140.JPG
    92.6 KB · Views: 54
You might think about "LEGO" for your mould box. It's re-usable and it can be built to any shape, therefore saving rubber (and cost) I've used the same "LEGO" for thirty years!
Bye the way if you ever do forget to use a release agent between the mould halves you can carefuly cut open the mould with a sharp scalpel. Then eith hold it closed with an elastic band or push a scewer through both parts. I use cut open one piece moulds for large figures (about 6 inches and up)

Martin
 
You can also use baby powder or any form of talc as a parting compound. Trooper
 

Users who are viewing this thread

Back
Top