Project AH (1 Viewer)

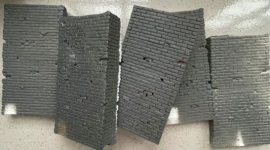
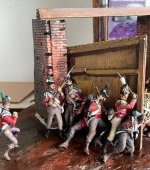
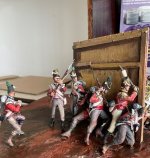
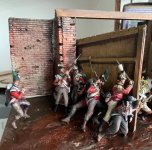
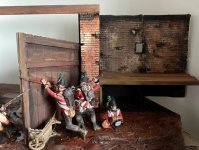
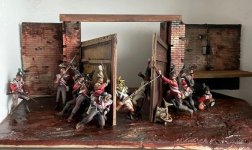
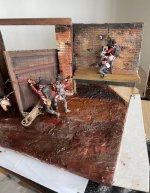
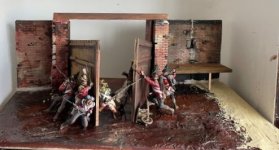
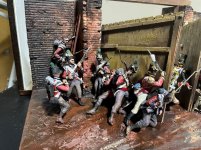
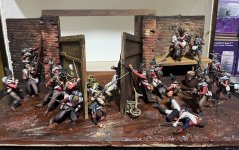
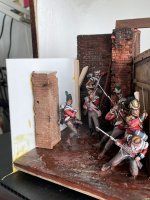
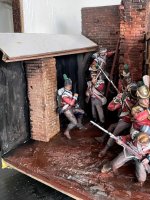
And now for the dreary part of the scene. The brickwork....

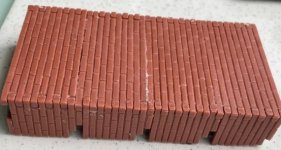
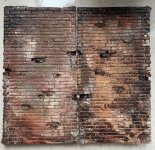
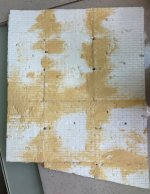
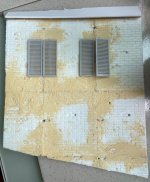
I had visualised a monotonous existence of laying the bricks individually by hand but came across old Tamiya castings of brickworks. I have always despised these pristine walls as being completely useless for urban battle scenes.

So caught between the horns of a Zulu impi, I was doodling with the Tamiya walls until an idea hit me. I will make part of a wall with these parts and modify the surface. This should given me a realistic looking brickwall.

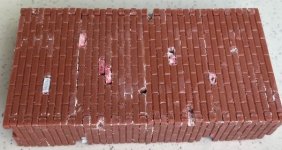
Looking at web pics of the height of the walls, I assembled sufficient parts to make up a wall section. Then with a drill, I gouged out some bricks and substituted in individual bricks to create some character in the surface.
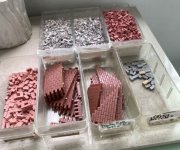
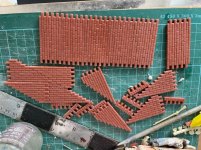
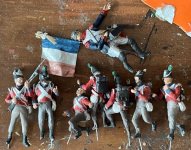
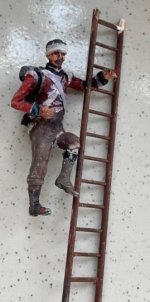
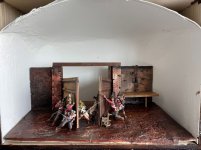
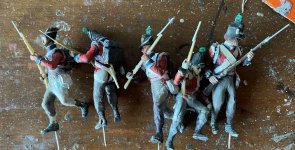
IMG_0990.jpgIMG_0995.jpgIMG_0997.jpgIMG_1002.jpg
 
I love this original, unique and super dynamic scene. {bravo}}{bravo}}{bravo}}
 
Hi Poppo,

Thanks for your kind comments. Actually, this scene has been done by many miniaturists using toy soldier figures in 1/32 and 28mm as well. What I am trying to do is to put it in a shadowbox with lighting and perspective to recreate the ptg as faithfully as possible.

Hence i use many different techniques to do this. This piece is the first time that I am trying to incorporate castings into a shadowbox.

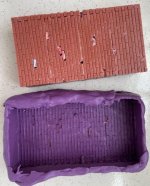
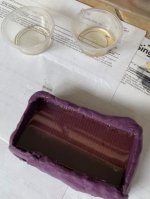
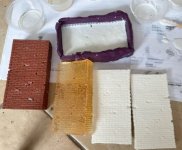
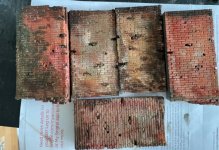
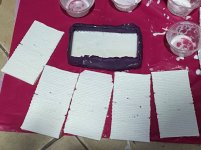
I made a silicone mould of the brickwork wall. Then I tried casting the parts with old clear resin and new white resin. Both worked. The clear resin takes overnight to cure [which is too long for me]. It probably is best for simulating water. The white resin takes about 15 min to cure. Hopefully the castings will make suitable brickwalls and save me time to lay individual bricks....

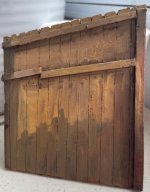
I also carefully cut the left gate to the correct dimensions and repainted it.

Rgds Victor

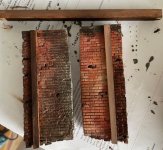
IMG_1003.jpgIMG_1004.jpgIMG_1005.jpgIMG_1006.jpg
 
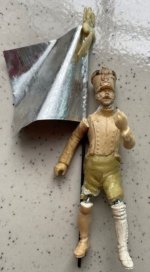
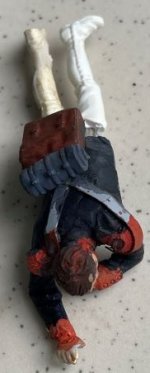
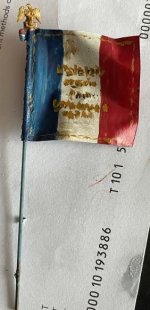
An Eagle and flag can be seen poking thru the open gates. So I knocked up a suitable fig and flag. I added legs to the dead soldier. Allowing for visual perspectives, the legs are shorter.

Mostly completed all the Br figures. Painted the flag as well.

I sprayed the brickwall castings to visualise them for further work.

IMG_1016.jpgIMG_1017.jpgIMG_1018.jpgIMG_1022.jpg
 
Hi Louis and all,

Happy New Year to all.

Thanks for your wonderful comment. Made my day..hahahha. I was busy beavering away over the New Year. Yep, no celebrations for me and avoided the crowds. Luckily I have a great hobby to keep me occupied.

This is where the diorama really starts to look very decent, I think. I added more Br figs. surprisingly, they look better in the scene than off it.

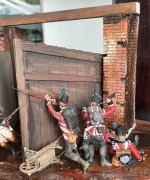
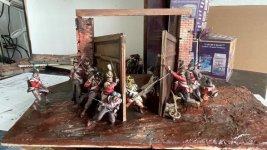
I painted the brick castings. Knocked up the gate walls. I had to trim about a cm off the length. Created some timber for the gate frames. Then I tested the placement of the gate walls.

I also speed painted the flag for later.

IMG_1024.jpgIMG_1026.jpgIMG_1028.jpgIMG_1025.jpg
 

Attachments

  • IMG_1027.jpg
    IMG_1027.jpg
    101 KB · Views: 69
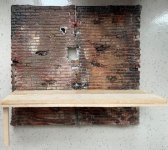
Then the gate walls were fixed in place with epoxy putty, adjusting the heights and alignment. The brick walls were then added, trying to get a little perspective into the scene. The longer brick wall was created by joining two castings together and then adding a fire step.

IMG_1033.jpgIMG_1029.jpgIMG_1030.jpgIMG_1031.jpgIMG_1032.jpg
 
Historex parts were selected and painted. The fire step was painted. The long wall was trimmed to fit into the box.

All the walls were then fixed into the scene. Notice the beam lying across the gate walls. I am planning to raise the height of the left gate wall to create s slant to the beam. This should heighten the sense of visual perspective.

IMG_1034.jpgIMG_1035.jpgIMG_1036.jpg
 
Victor,
First, Happy New Year! and secondly - this is turning out to be one of your best! Just excellent. {bravo}}{bravo}}{bravo}}

Jeff :salute::
 
Hi Jeff,

thanks for your generous comment and emoticons. I hope that the end result is what you think it is. I do have a lot of stalled best projects on this forum...hahahha.

After removing the unattached figures, I added more groundwork to the right side. Then I added epoxy putty to all the brick walls joints to cover any gaps. More bricks were added to the top of the left gate wall to raise the beam. The walls are now very securely attached in the scene.

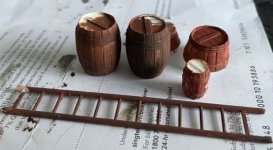
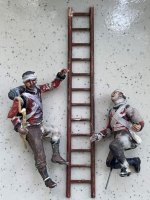
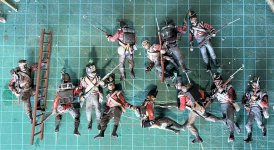
The Historex ladder was a perfect fit for this scene. I am now repositioning the Br fig to fit the ladder.

Rgds Victor

a.jpga3.jpga2.jpg
 
Painted the groundwork and all the puttied areas.

I fitted the scene into the box.

That pristine backdrop is just begging to be painted as an overcast sky....;};};}

BTW, the reason why I am able to suddenly post a larger format pics was becos I had to switch over to a new photo software a couple of months back and re-learn how to resize and limit my pics to fit into this forum. Looks good now. Enjoy!

a4.jpg
 
Victor,

Looking fantastic! :salute:: I can't wait to see the painted backdrop!

Louis
 
Victor,
Impressive work! When finished it will look spectacular, I'm sure.:salute::

Mark
 
Hi Louis and Mark,

Thanks for you very gracious comments. This piece looks under control [for now].
For reasons I can't quite comprehend, the iffy conversions and painting seem to go together so far. I'm not complaining as this method of working seems to speed up my work.

BTW, the codename for this was AH, which stands for Airfix-Historex. Now you all can sleep easy. hahahaa.

For the secondary and smaller figures, I gave them smaller muskets adapted from WWII rifles, 1/32 and 1/35 with added stretched sprues for bayonets.

I saved my last Airfix Brown Bess for the figure on the ladder. I have modified his pose to fit the ladder rungs. The other kneeling figure pose was also altered.

Rgds Victor
 

Attachments

  • a8.jpg
    a8.jpg
    358 KB · Views: 111
  • a7.jpg
    a7.jpg
    216.8 KB · Views: 116
Hi Louis and Mark,

Thanks for you very gracious comments. This piece looks under control [for now].
For reasons I can't quite comprehend, the iffy conversions and painting seem to go together so far. I'm not complaining as this method of working seems to speed up my work.

BTW, the codename for this was AH, which stands for Airfix-Historex. Now you all can sleep easy. hahahaa.

For the secondary and smaller figures, I gave them smaller muskets adapted from WWII rifles, 1/32 and 1/35 with added stretched sprues for bayonets.

I saved my last Airfix Brown Bess for the figure on the ladder. I have modified his pose to fit the ladder rungs. The other kneeling figure pose was also altered.

Rgds Victor

Victor, I've been over thinking and assumed it was Attack Hougoumont! ^&grin

It is coming together very nicely.

Jeff
 
Hello Jeff,

Sleepless nights? Hilarious hahahhaa.

Actually, since I've never won any medals in any competitions before, last year, I sneakily submitted my Charles Russell diorama into a local Airfix competition, claiming that some Airfix parts were used in the diorama, esp the colt gun taken from the Airfix 8th Army. The organizers allowed it. In a field of 2 entries under Figures, I was awarded 1st place. The other entry was some hastily painted OO/HO figures.
The medal was a hastily printed certificate on gold plastic paper by the printing shop next door.

So maybe, I'll try again this year with project AH. Hahahaha.

Rgds Victor

a3.jpg
 
Following a marathon sculpting painting session, I completed ALL the Br figures within a few hours.

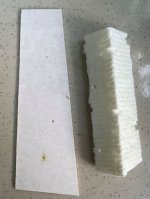
I also made another brick casting for the side wings of this scene. The cardboard shape is for the roof structure.
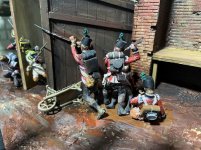
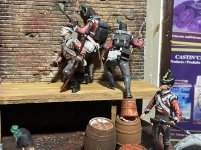
a.jpga2.jpg
 
Hi All,

quite a lot of update pics.

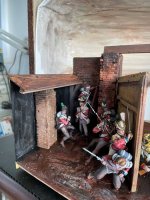
I carefully attached all the loose Br figures to the scene. Starting from the left side, the fig was attached to the ladder attached vertically to the wall. Other figures in front were then attached. Some positions were altered slightly.

From what I gather, the north gate wall section was destroyed and only recently was restored.

The left side wing was masked by a cardboard, a part casting and some basswood beams. This represents a stable and was taken from another painting by Keith Rocco.

IMG_1048.jpgIMG_1049.jpgIMG_1050.jpgIMG_1051.jpgIMG_1068.jpg
 
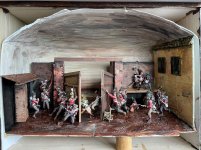
The left wing was painted and a a roof was added.

A start was made to paint the backdrop.

For the right wing, more brickwall castings were made. These were assembled to form a large brick wall. A couple of windows and a roof were added.


IMG_1070.jpgIMG_1071.jpgIMG_1072.jpgIMG_1073.jpgIMG_1074.jpg
 
The wall was attached and both wings were painted. The base was raised and fitted into the scene. A test-fit for the frame size was made.

IMG_1076.jpgIMG_1078.jpgIMG_1077.jpg
 

Users who are viewing this thread

Back
Top