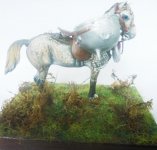
Queen's Own Oxfordshire Hussars Yeomanry (1 Viewer)

Hi All,

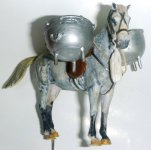
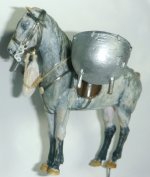
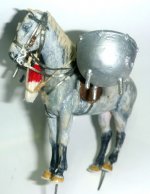
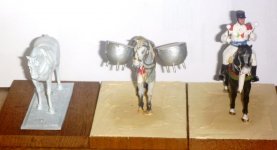
I was re-reading parts of this thread and noted that the last picture definitely shows separate bridle and bit. So I will model what I see.

Now to locate the figure after the last round of spring cleaning. How come the figures are still mysteriously dislocated even after spring cleaning? This spring cleaning is a myth created by the spouses, guys. Don't believe it! There are elves around who secrete your figures here and there....:)

Rgds Victor

If I remember rightly, this is the fat bloke on a horse. You will probably find the horse at the local Vet - being treated for a bad back - whilst chubby will be in the Naafi - eating doughnuts.

Good luck with finishing this piece - one day.:D jb
 
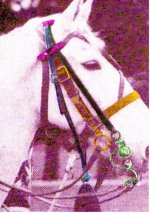
Victor, the bridoon bit (small ring snaffle) is connected the cheek piece by a short chain. The curb bit (with the boss) is attached to it's own bridlehead.

Martin
 
Bridoon = yellow. Curb bit =green. Throat plum= blue. Brow band tab and Poll piece = pink
 

Attachments

  • img004.jpg
    img004.jpg
    223.1 KB · Views: 95
Altogether now.

Them straps Them straps - Them head straps
.............................................
Now the Bridoon is just - a - yellow bit
Attached to the cheek piece by a - Short chain
And the curb chain is snaffled to the - short boss
Whilst the bridlehead is just - another bit
And the pink Piece is just a poll part,

Now hear the word of the Lord.

With apologies...............:D jb:salute::
 
Hello Martin

Thanks for the coloured lithograph. Made it really clear for me!

And JB couldn't have made it any clearer for me. Straight from the horse's mouth! Thanks for that too. Don't you have some bands to assemble and paint yourself?.....:)

Fat guy will have to sit around until I actually put on the headstall and mount him (strange sentence - can be interpreted differently....;))

Rgds
Victor

Kept things down this year - house move to do. Haven't unpacked my remaining castings yet. Have some more on order for later on though. jb
 
Hello JB,

In that case, I'll be leaving you behind the numbers race in my proverbial resin dust.....:)

Rgds V
 
Finally starting to move to the final phase of this long-overdued piece.

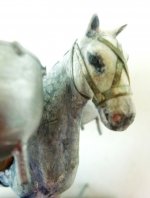
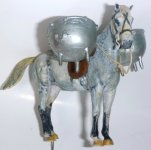
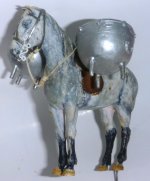
I removed all the straps and replaced them with thinner straps. I added Historex curved bits and bridle bits and also added a throat strap for the throat plume. The plume itself was made from a sprue covered with melted plastic and worked on with a pyrogravure (great toy!). A ball attachment was made from a French shako plume and glued to the plume.

A thin rope was measured and tied to the horse's neck and superglued in place. One end of it was carefully positioned to meet the bridle and then glued into place. The plume was glued to the strap and to this rope for structural stability. All very fiddly work.

More putty was used to thicken the horse's mane. I will be adding the reins and then I can get on with the final painting.

P1100950.JPGP1100952.JPGP1100964.JPGP1100966.JPG
 
Chains, badges were added. Then all the reins were fitted.

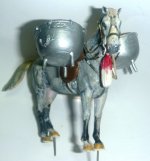
I accidentally broke one of the legs (X&^%&^%) and had to repair it with melted plastic and a wire insert, hence I decided to epoxy glue all the 3 kettledrummers to their respective bases now for stability. Notice how similar the proportions of the Andrea horse are to the Historex horse.

Will start to finally paint this piece now.


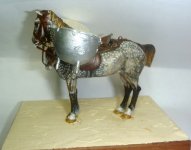
P1100968.JPGP1100969.JPGP1100972.JPG
 
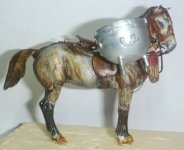
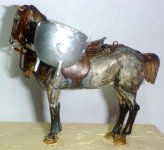
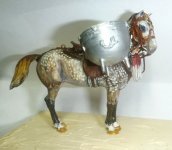
Now that the horse is properly mounted (ouch), painting it is a pleasure.
Following an undercoat of burnt umber and Payne's grey, off white spots were added to the buttocks, neck and flanks. The saddle and straps were painted with burnt sienna highlighted with yellow ochre.
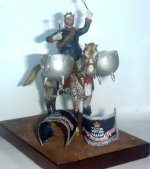
I've also lightly painted the figure uniform and drum banners in blue/black separately.

P1100975.JPGP1100979.JPGP1100980.JPGP1100982.JPG
 
I spent a very pleasant few days working on 5 mounted figures.

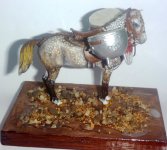
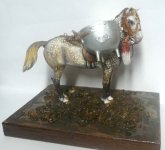
On this piece, I am repainting the banners now, getting all the elements in the right positions. The cypher and letters have just been completed. Some gravel has been sprinkled onto the groundwork.

P1100987.JPGP1100990.JPG
 
I gave the groundwork a wash in burnt umber. Grass will be sprinkled on this later.

P1110009.JPG
 
Victor,

its great to see the completed figure featured in the latest edition of Toy Soldier Collector this month.

Well Done,

John
 
Hi John,

That is very welcome news indeed! I haven't rcv my copy yet. You Aussies are very well-informed. Issue soixante neuf too...:)

As all of you are probably aware, I was having a ball with this long-running thread, enjoying the banter, camaraderie etc. Alan's passing took out some of that fun for this thread for me as it was largely due to his initial inputs that I attempted to do the figure. I thought that the best way to honour his memory was to commit the piece to print. I was greatly honoured that TSC agreed to feature the article. To help the magazine, I took it upon myself not to post further on this thread.

THANKS TO ALL YOU HERPETOLOGISTS (SOUNDS LIKE A BAD CONDITION) AND THE FORUM FOR MAKING THIS A FUN THREAD!

Rgds,

Victor
 
I haven't received my copy yet, either, but now I'm looking forward eagerly to seeing it. Congratulations, Vic!

Prost!
Brad
 
I saw it. Good one Victor. Did you see that I bought the Airfix book, based on your post? On another note, you watch a lot of movies. I'm lucky if I watch 3-movies (in its entirety) a year. I buy DVDs, but for some reason, never watch them once I acquire them.
 

Users who are viewing this thread

Back
Top