fmethorst
Command Sergeant Major
- Joined
- Feb 18, 2008
- Messages
- 2,500
Hi all,
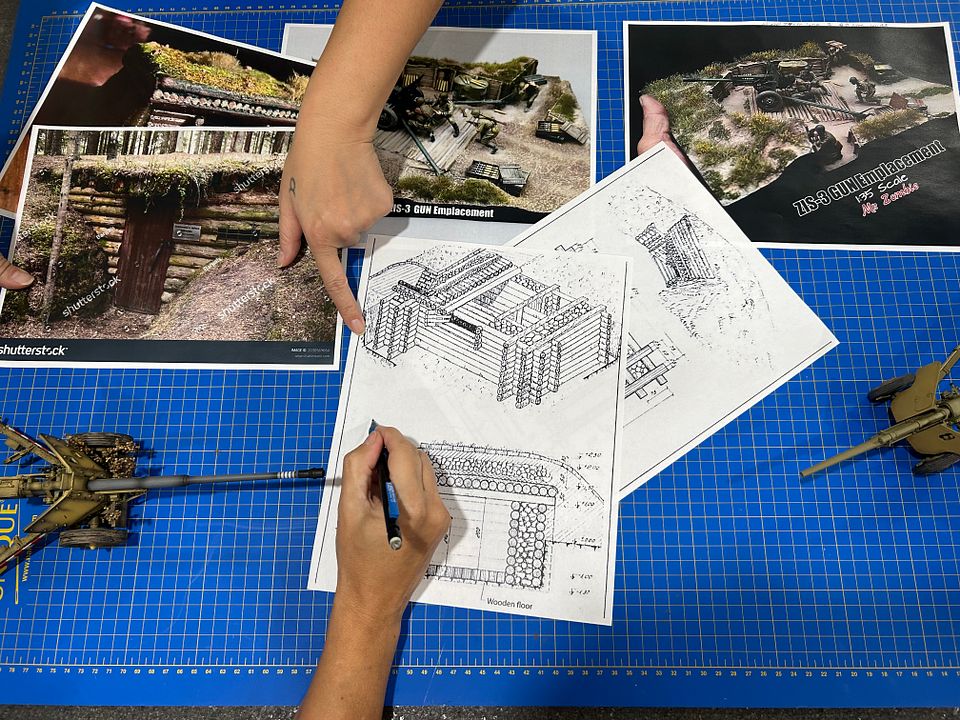
This winter's project is a Bunker / Gun Emplacement scene.
Last years Creek diorama: https://forum.treefrogtreasures.com/showthread.php?78224-Creek-crossing-Autumn-scene
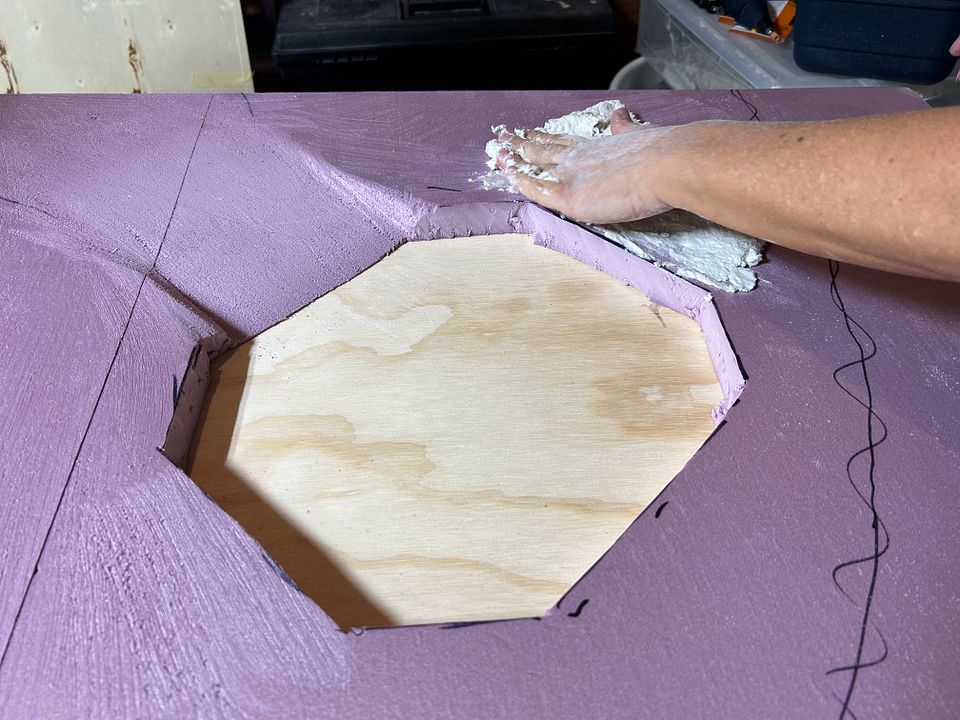
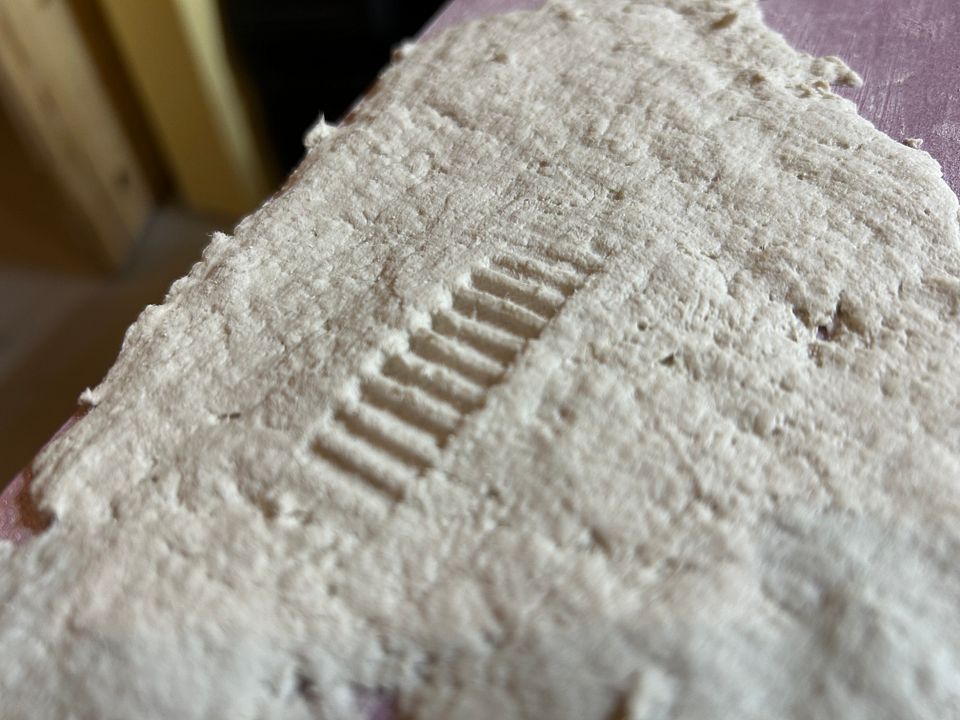
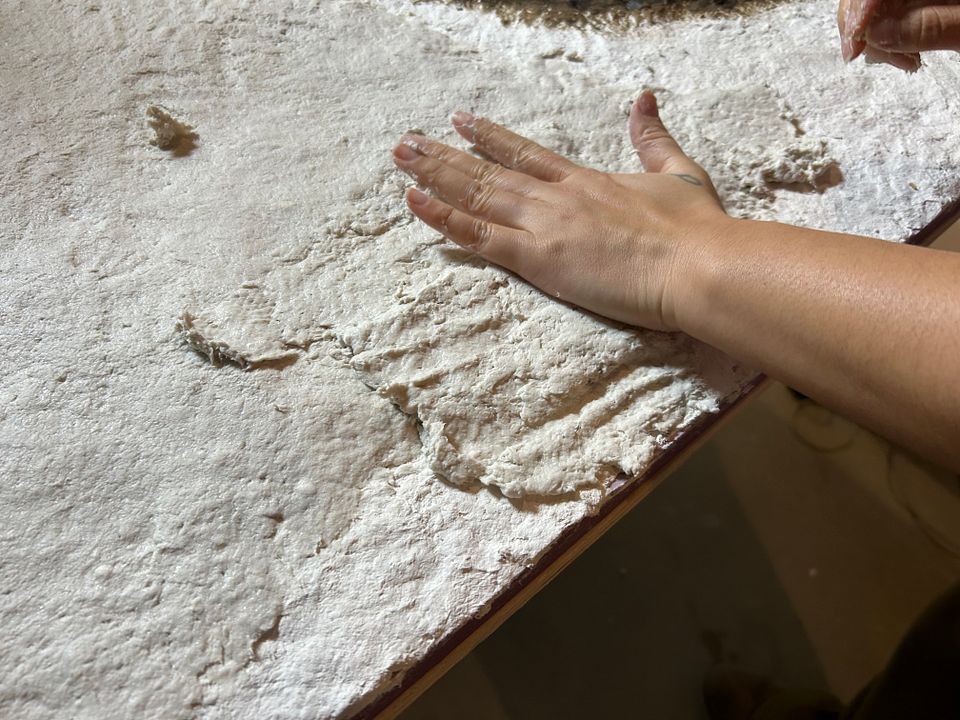
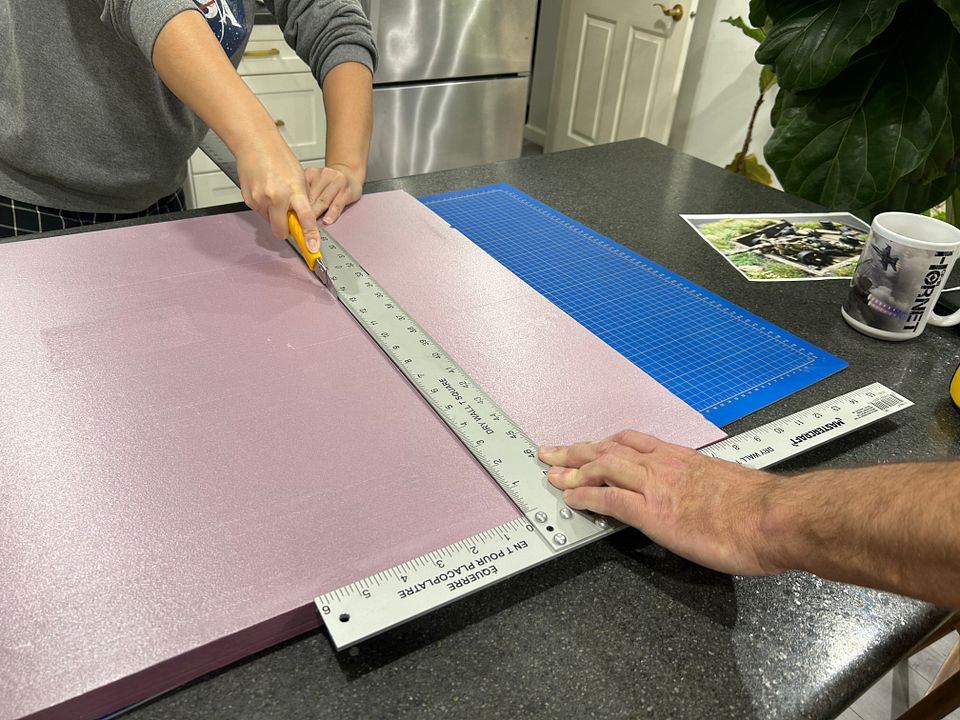
To start we used a 40" x 48" piece of 3/4" plywood. While this base is thick and heavy it provides sufficient stiffness to avoid warping by the Celluclay. Since we don't have to ship this anywhere it doesn't need to be modular or light.
There are three elements to this scene:
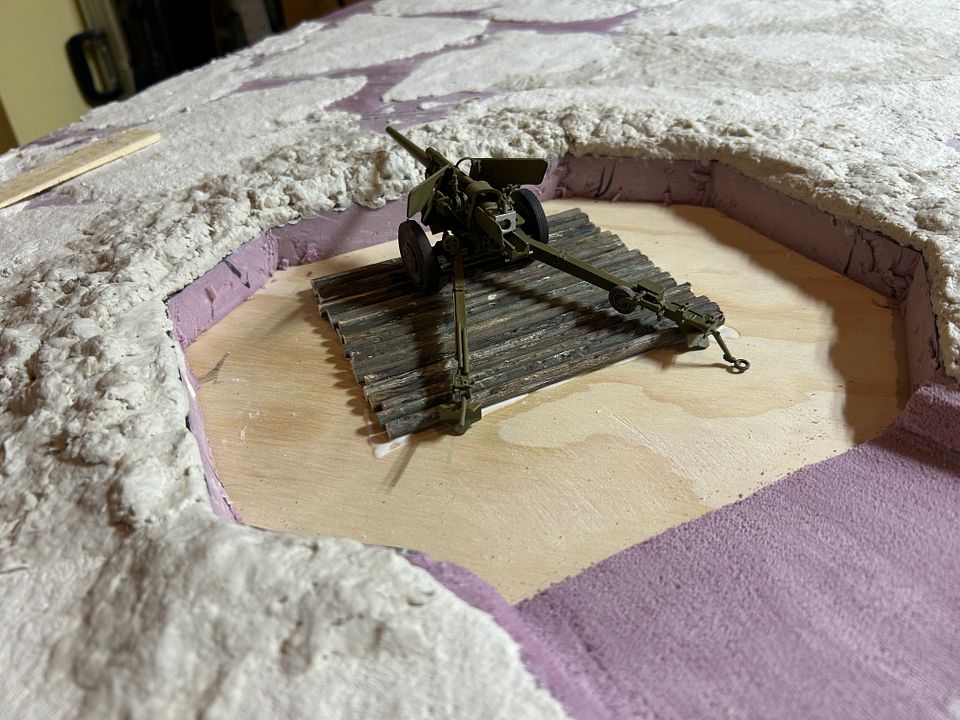
The creek was the difficult element in last years dio. This years will likely be the bunker.
This winter's project is a Bunker / Gun Emplacement scene.
Last years Creek diorama: https://forum.treefrogtreasures.com/showthread.php?78224-Creek-crossing-Autumn-scene
To start we used a 40" x 48" piece of 3/4" plywood. While this base is thick and heavy it provides sufficient stiffness to avoid warping by the Celluclay. Since we don't have to ship this anywhere it doesn't need to be modular or light.
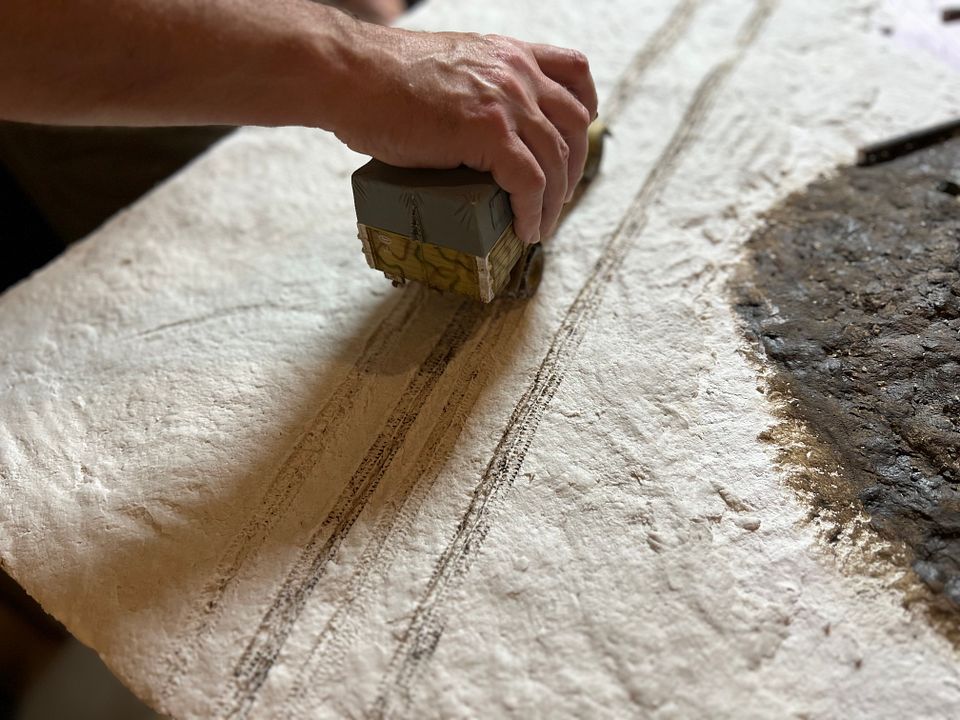
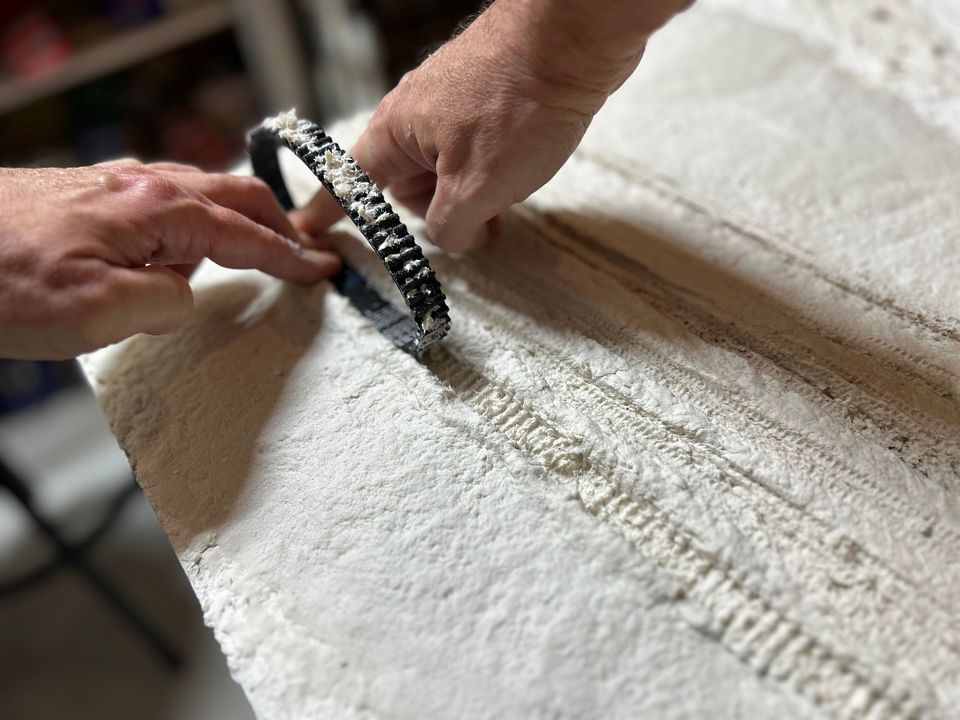
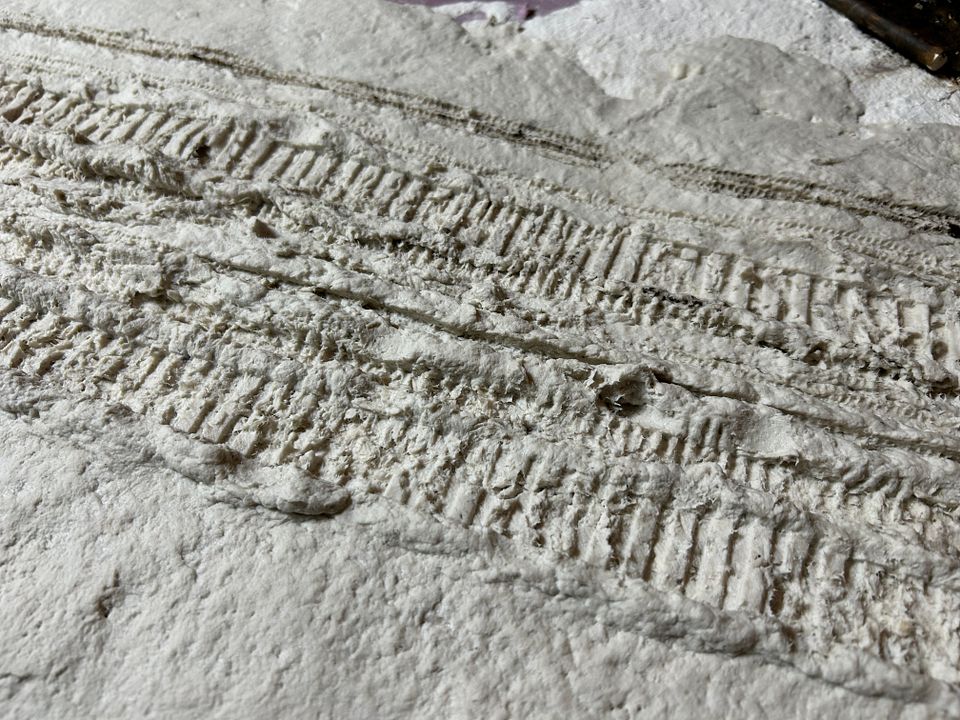
There are three elements to this scene:
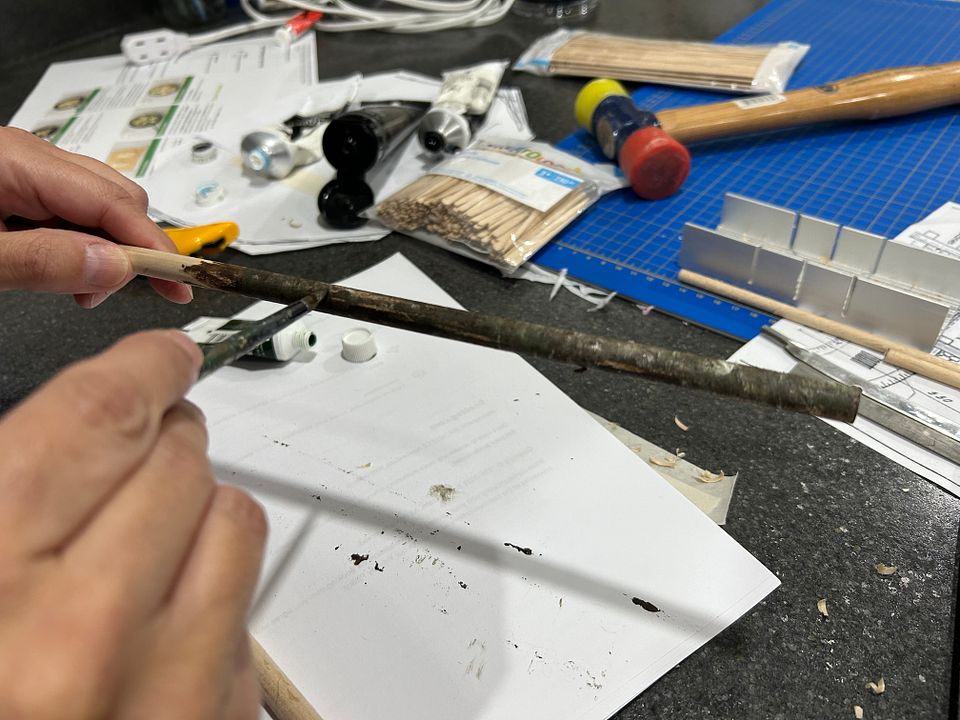
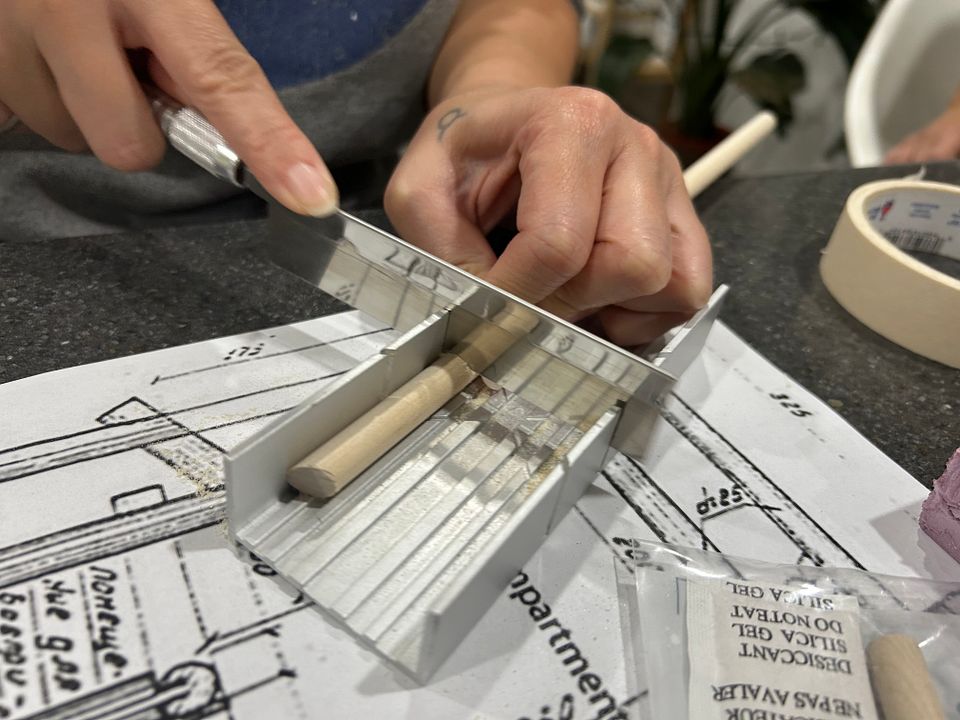
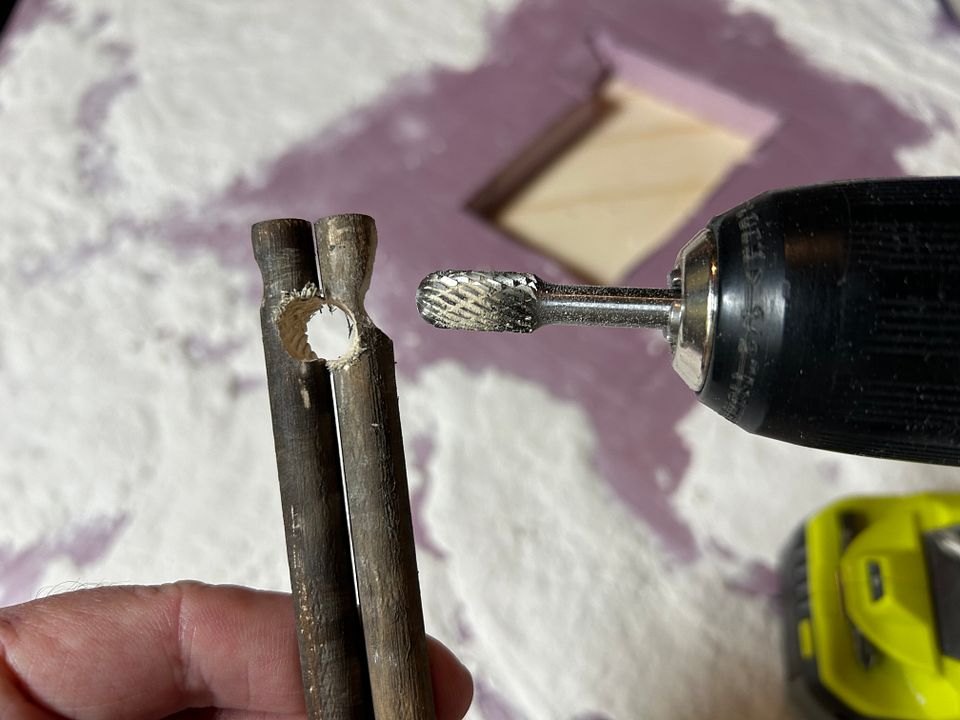
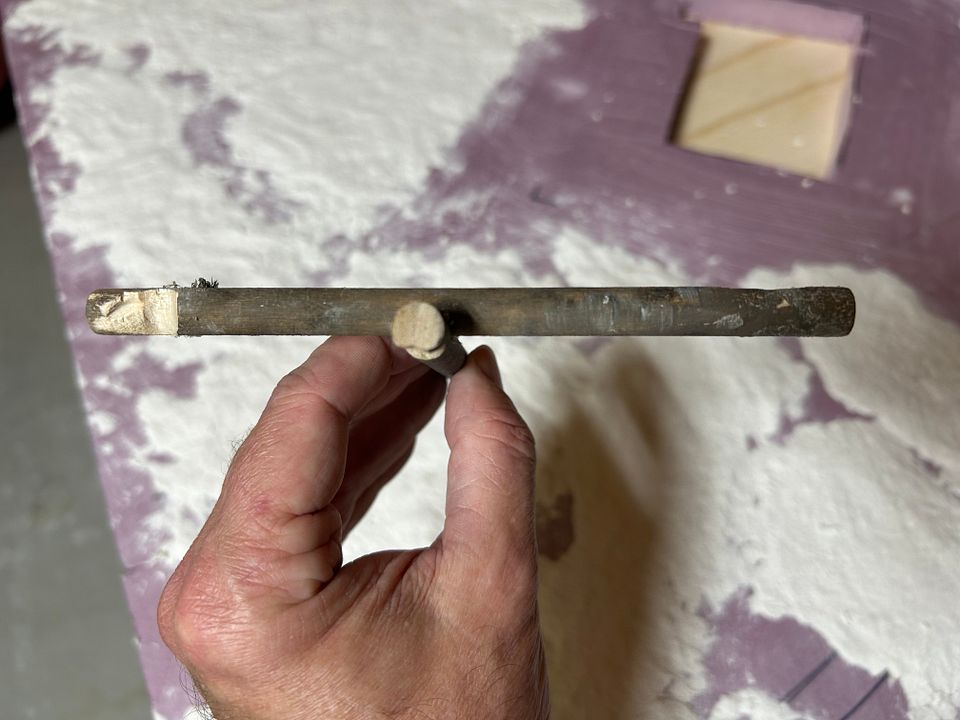
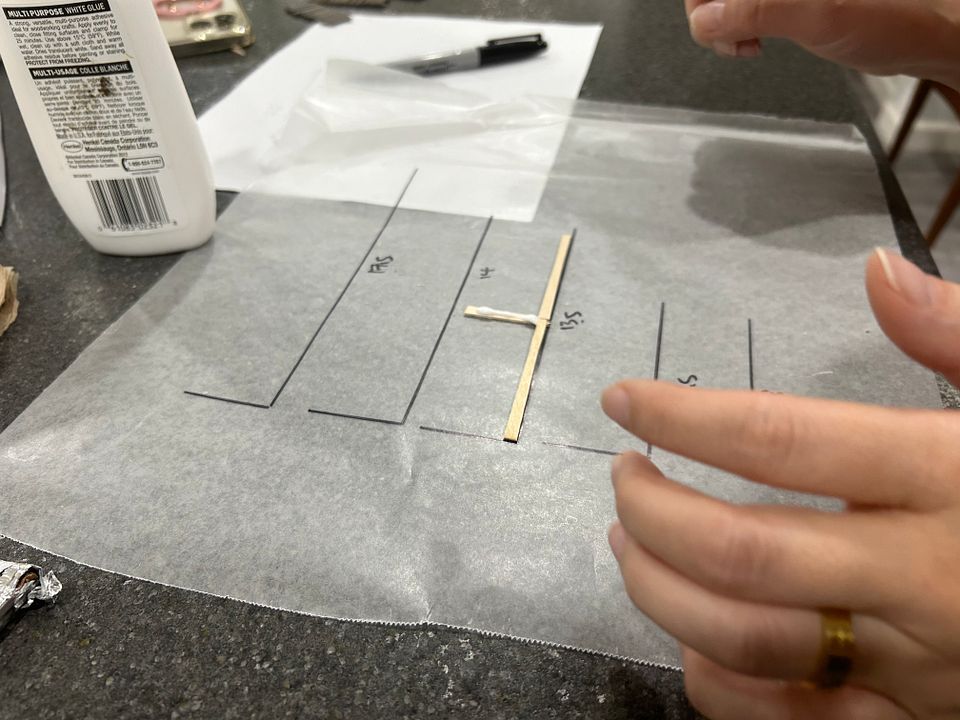
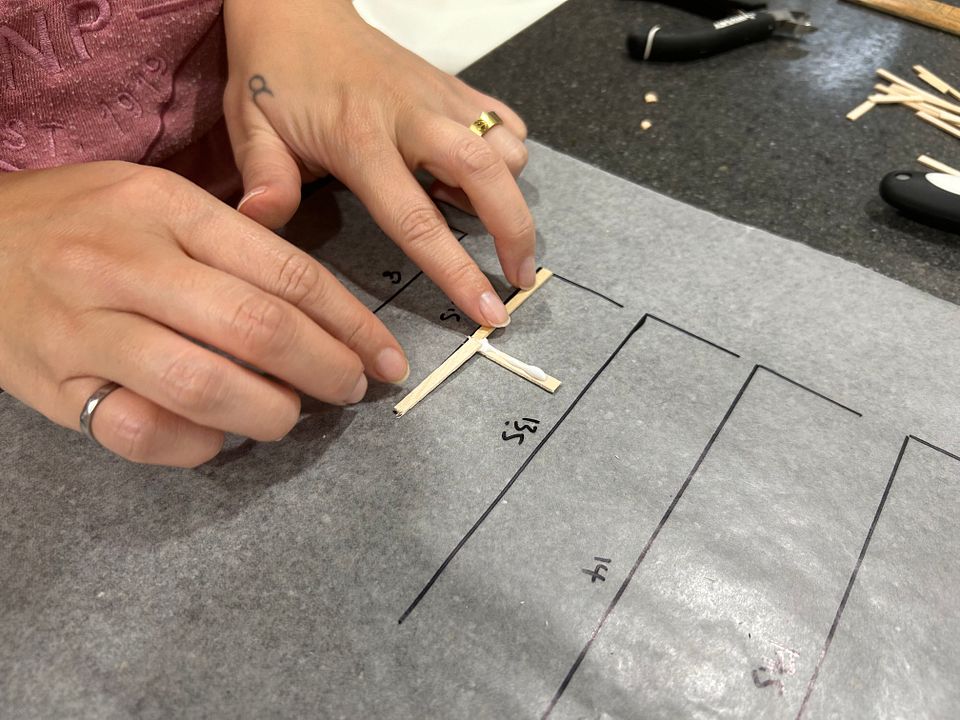
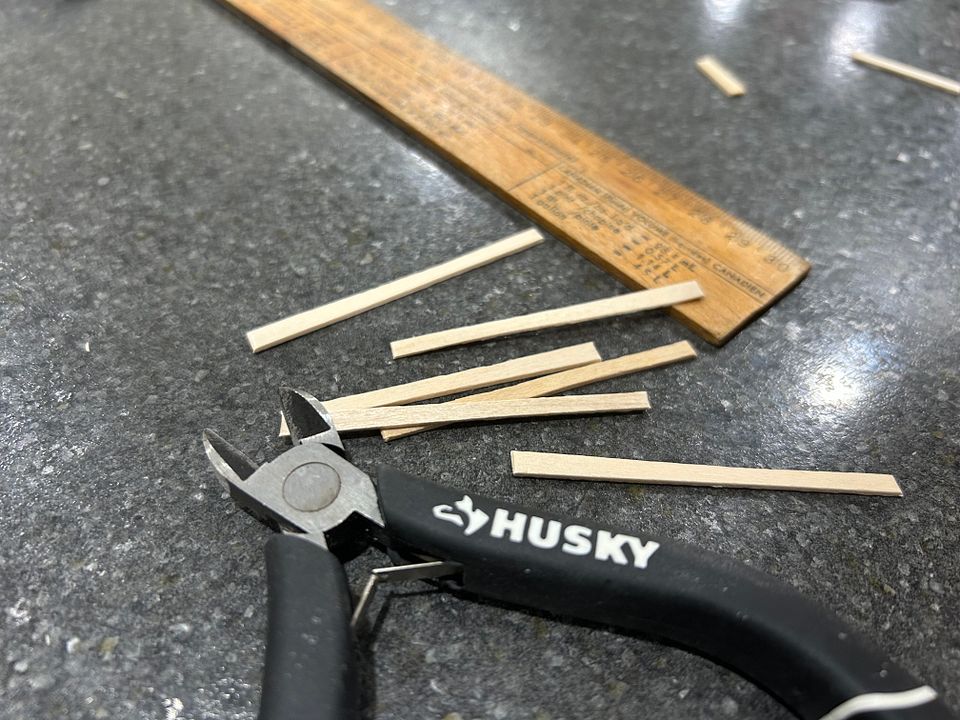
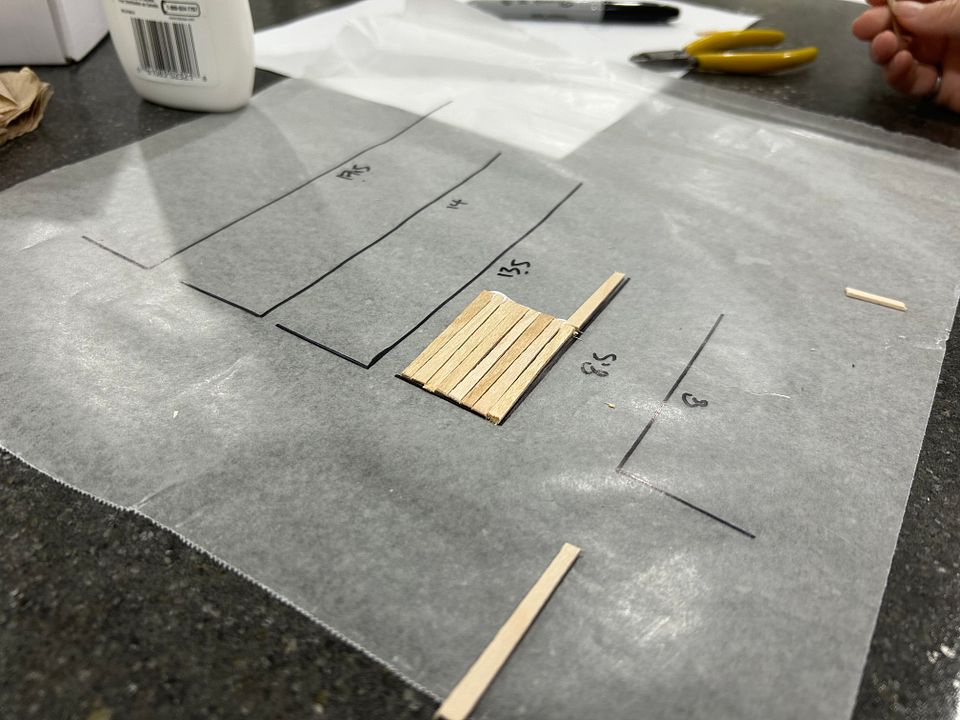
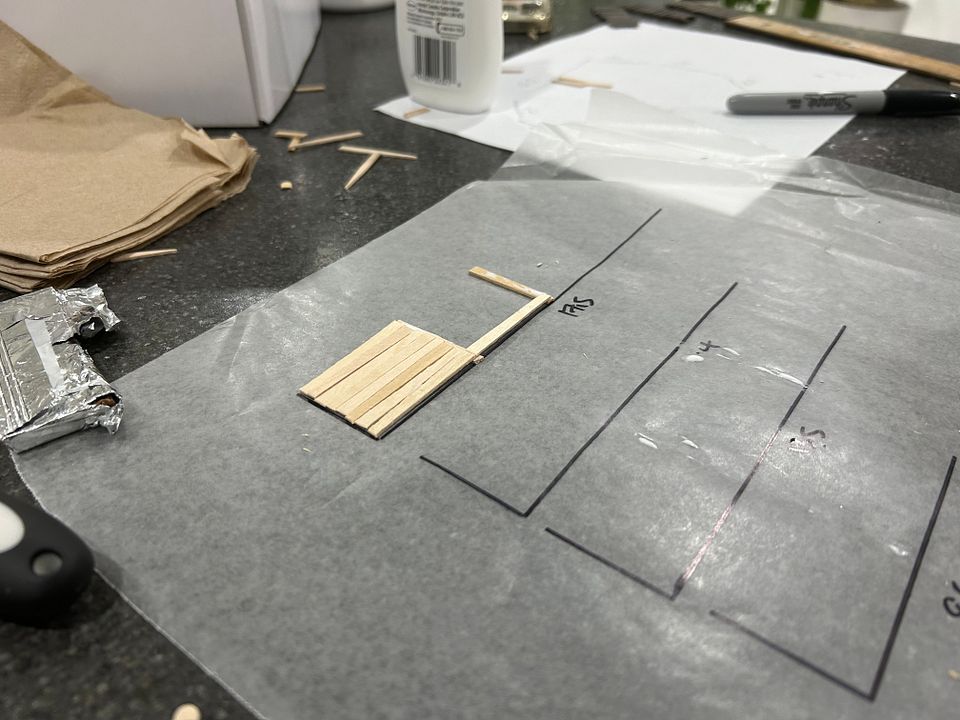
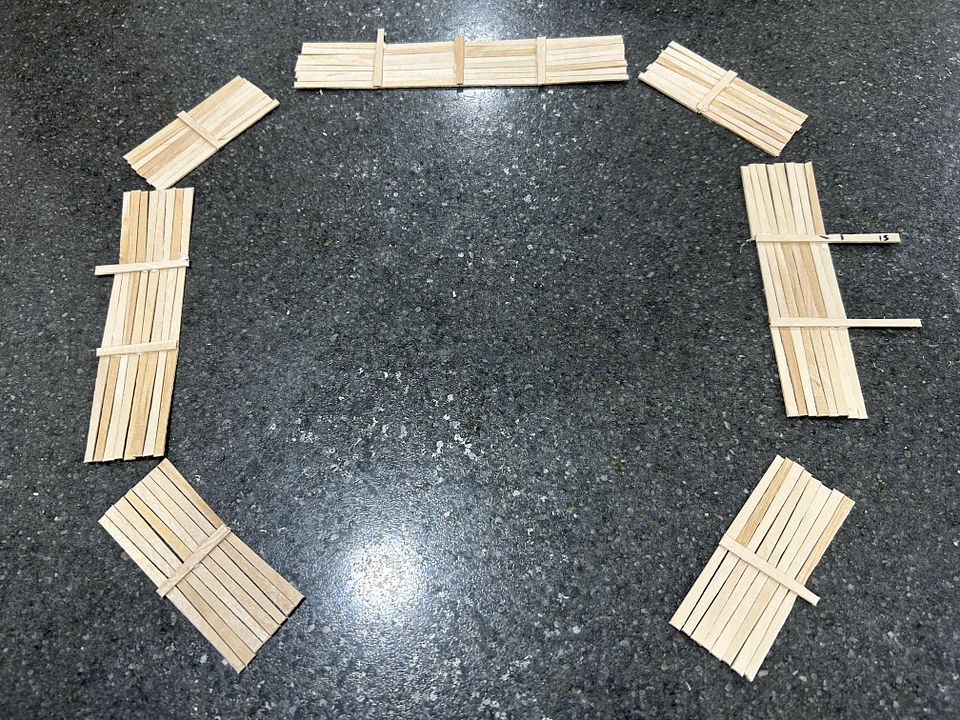
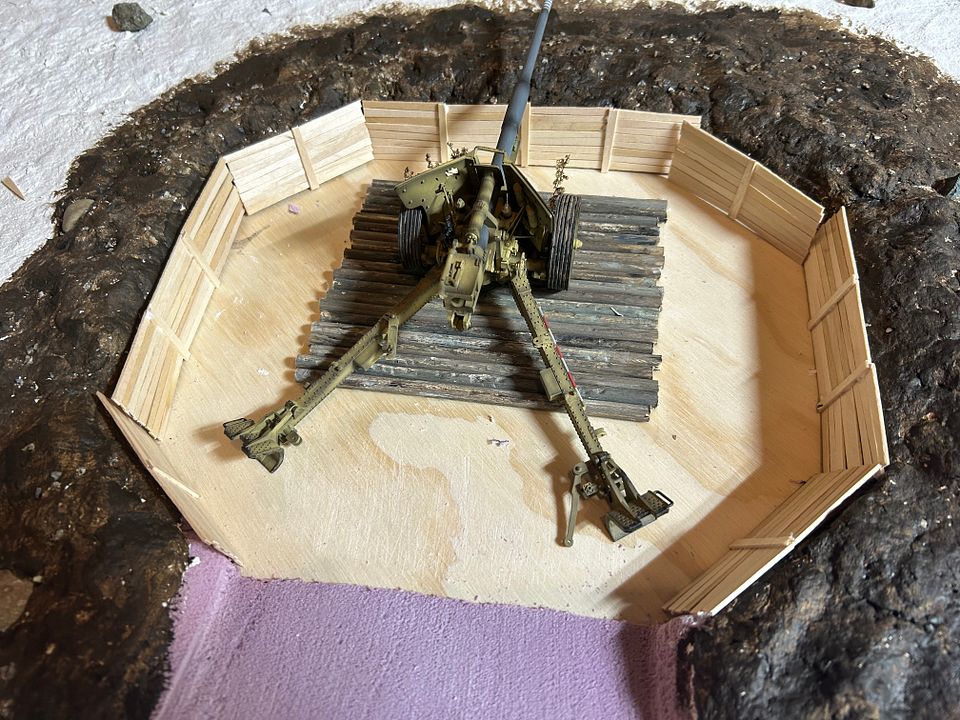
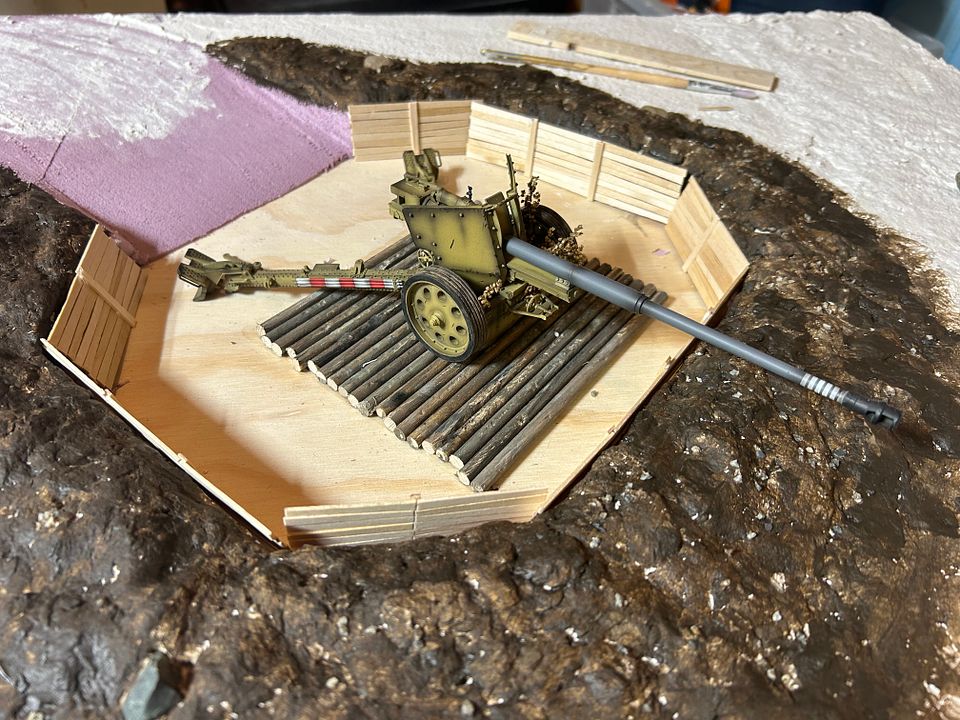
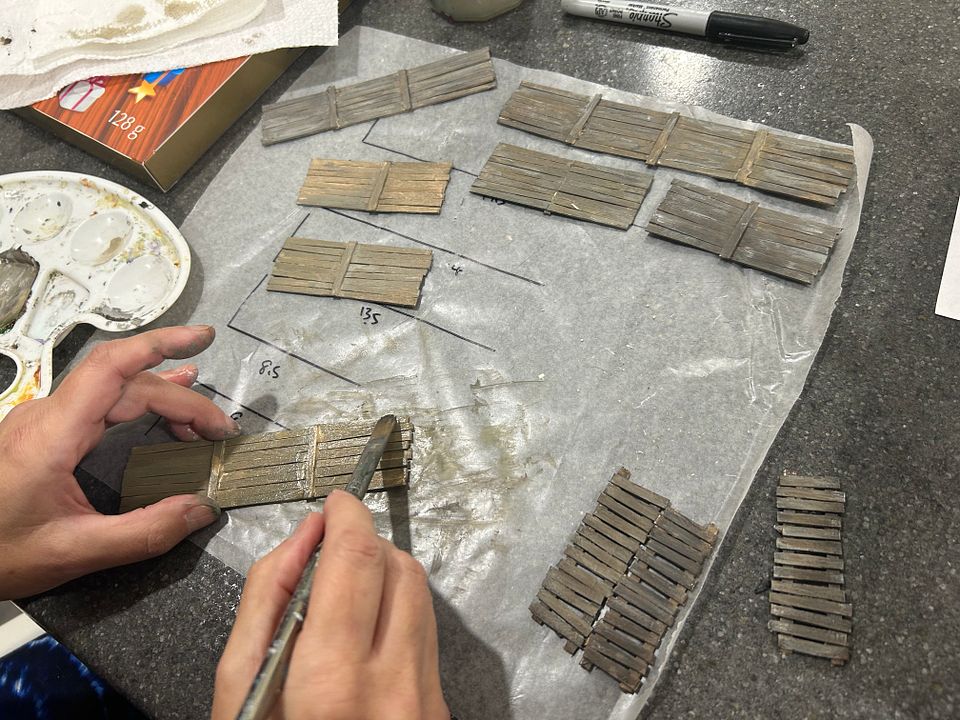
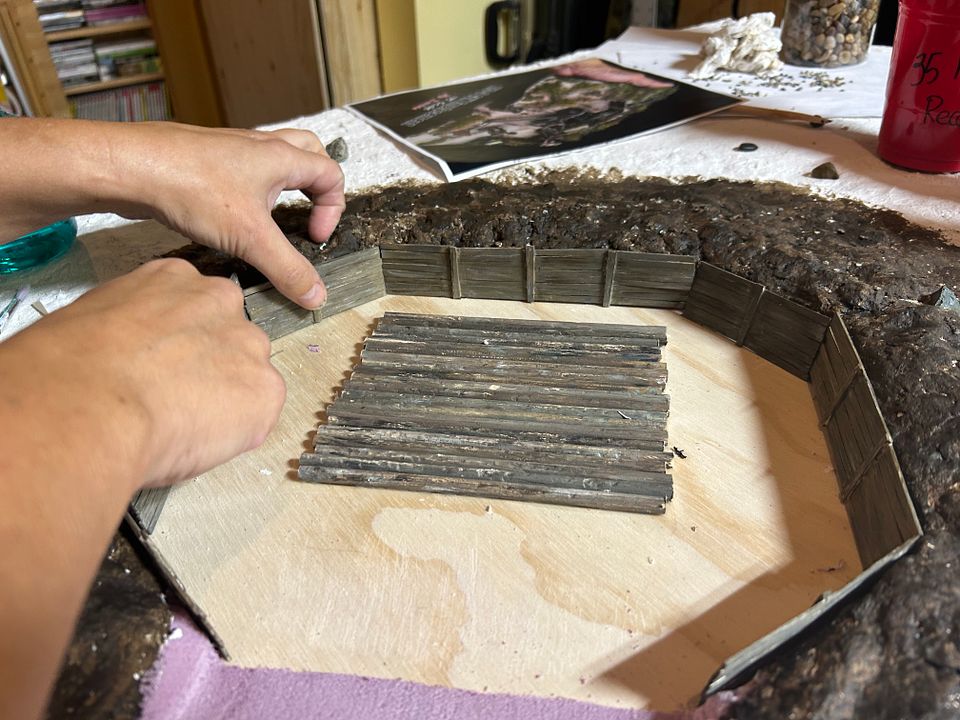
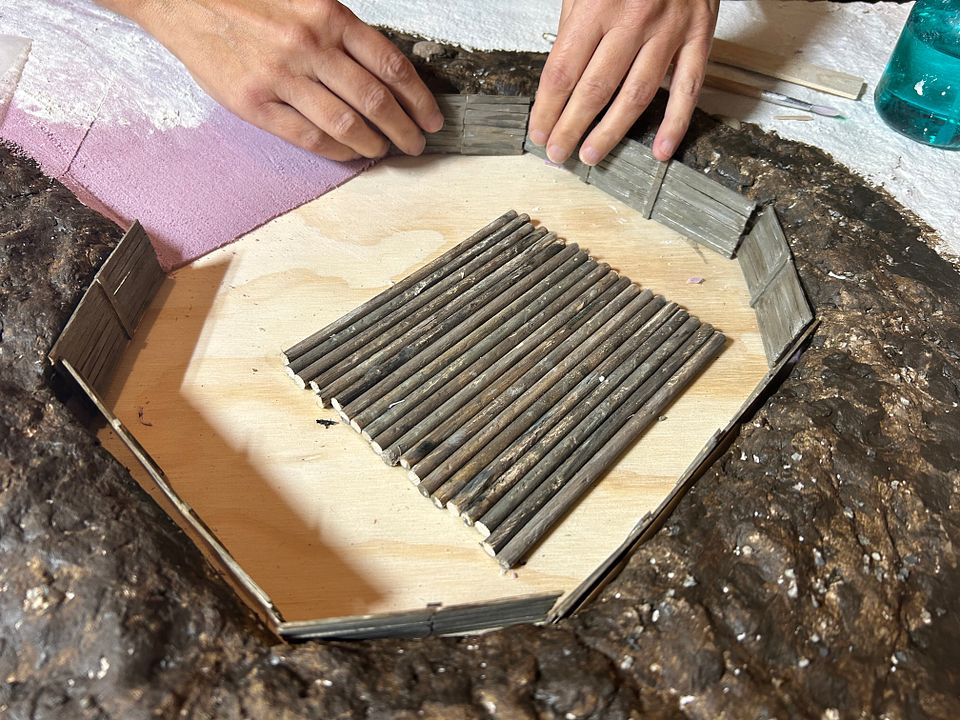
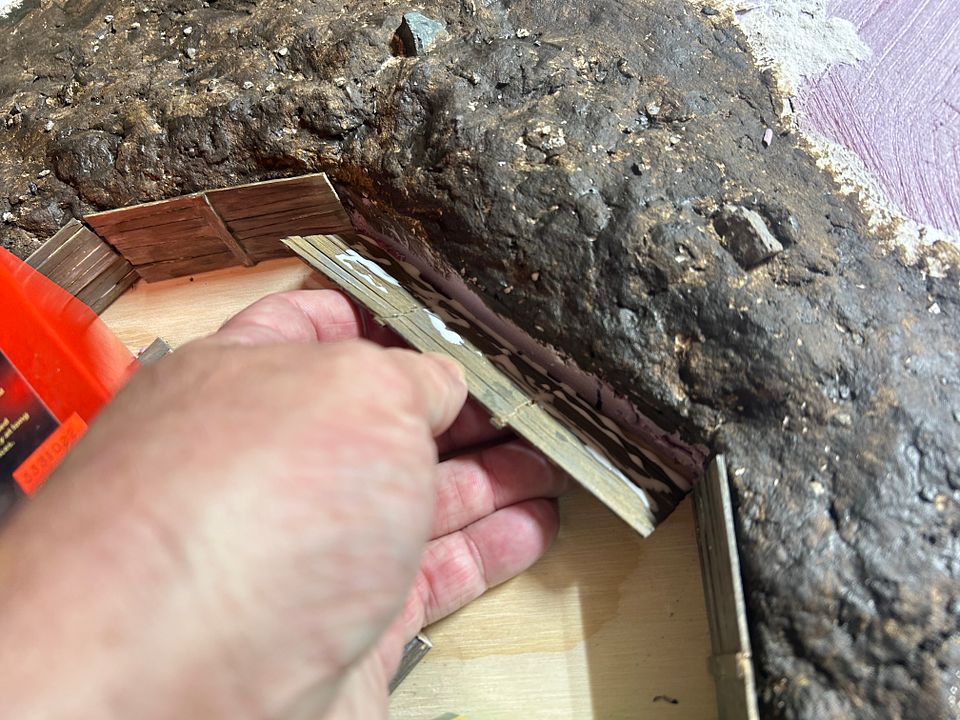
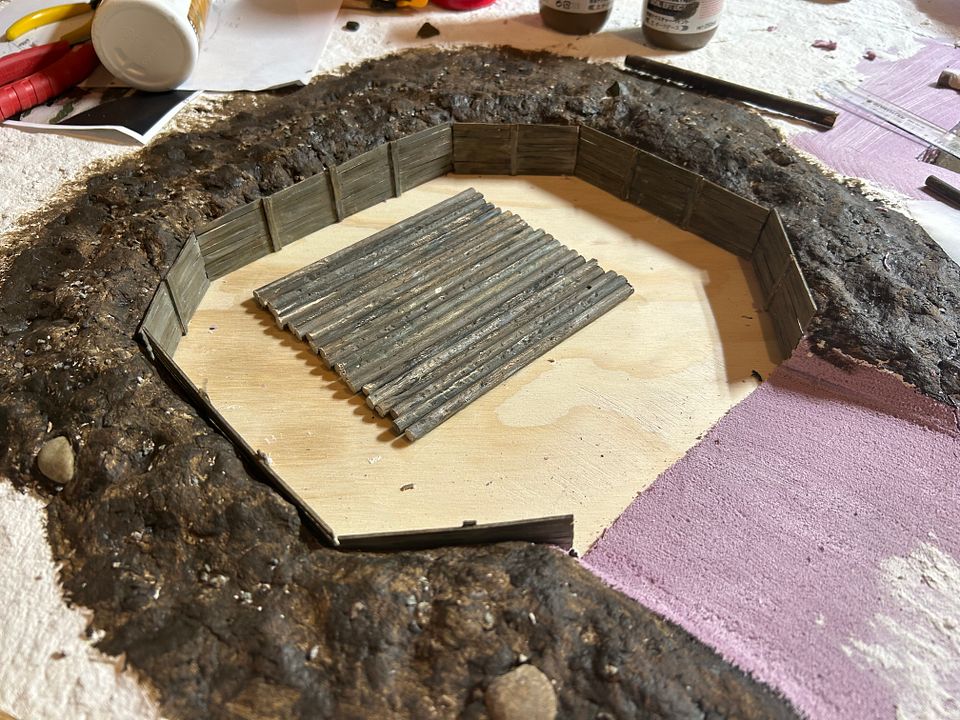
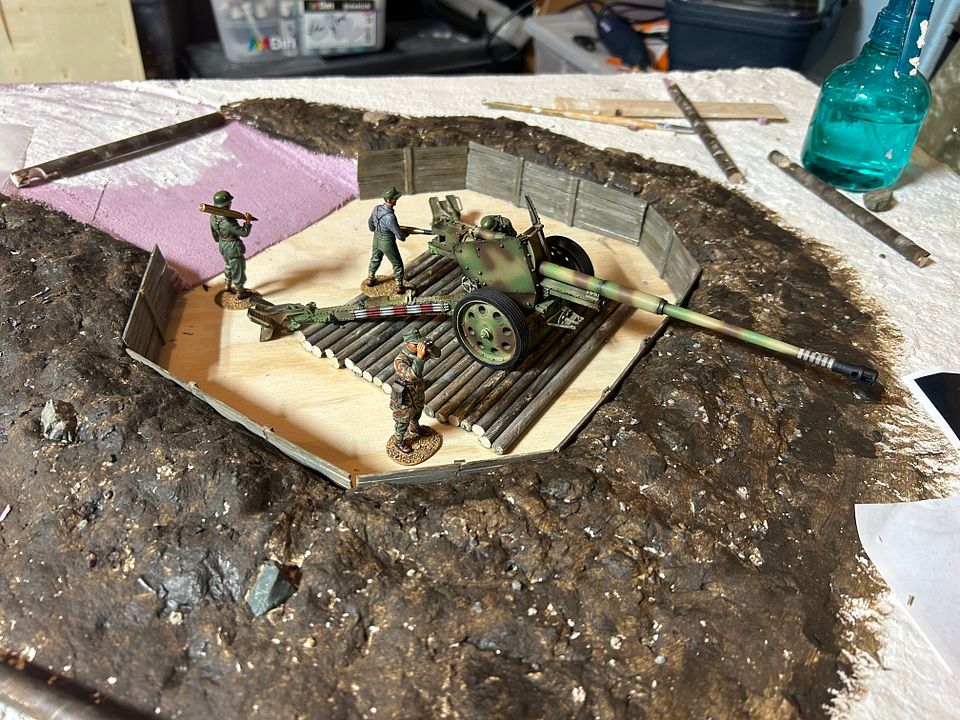
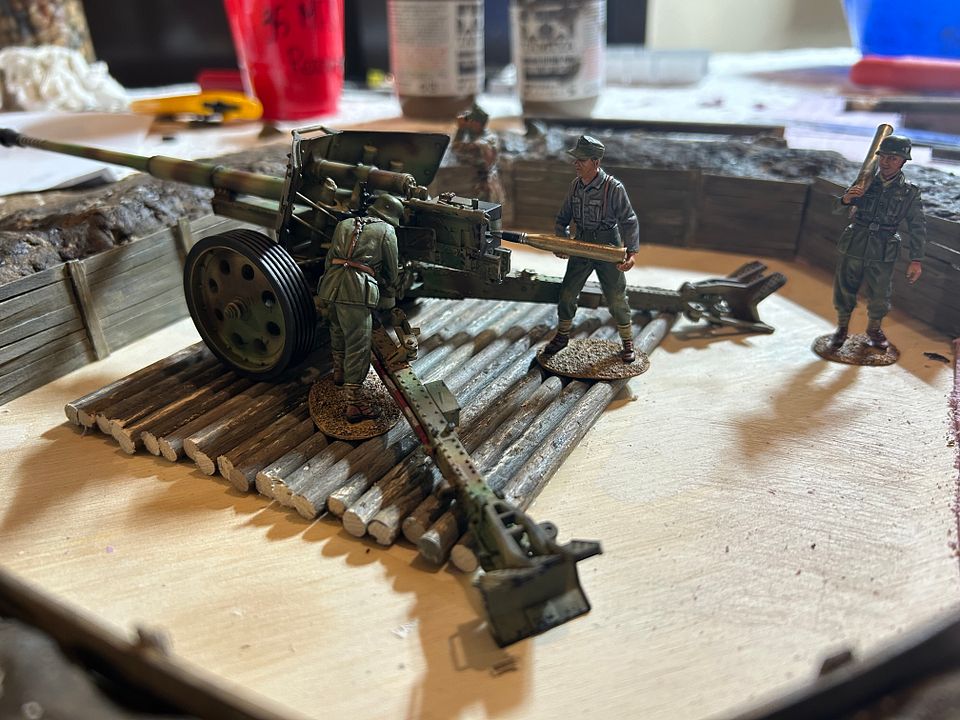
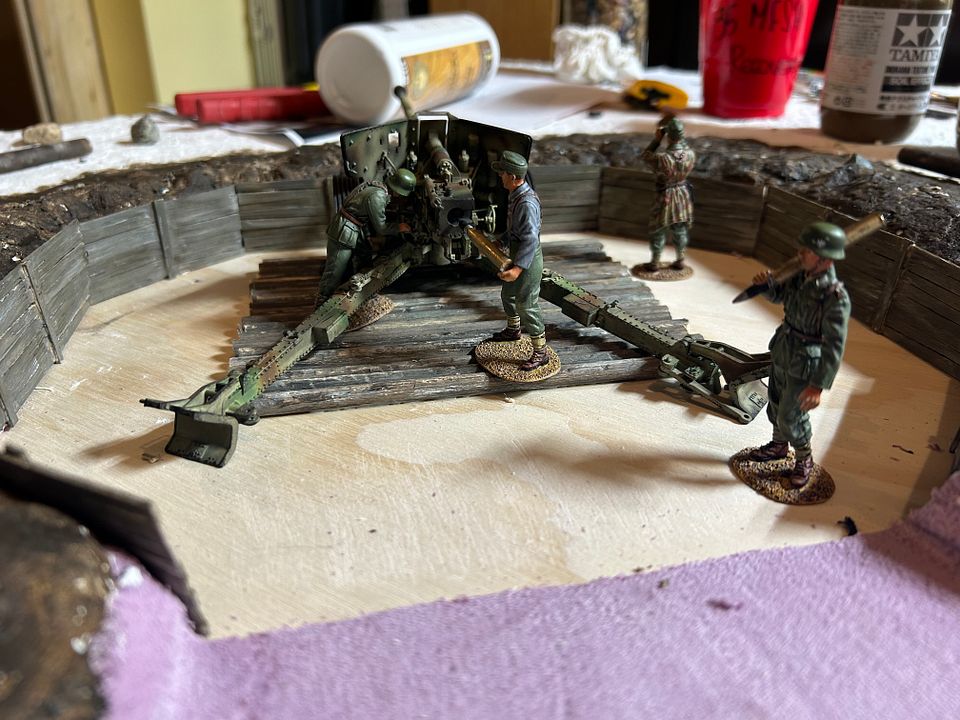
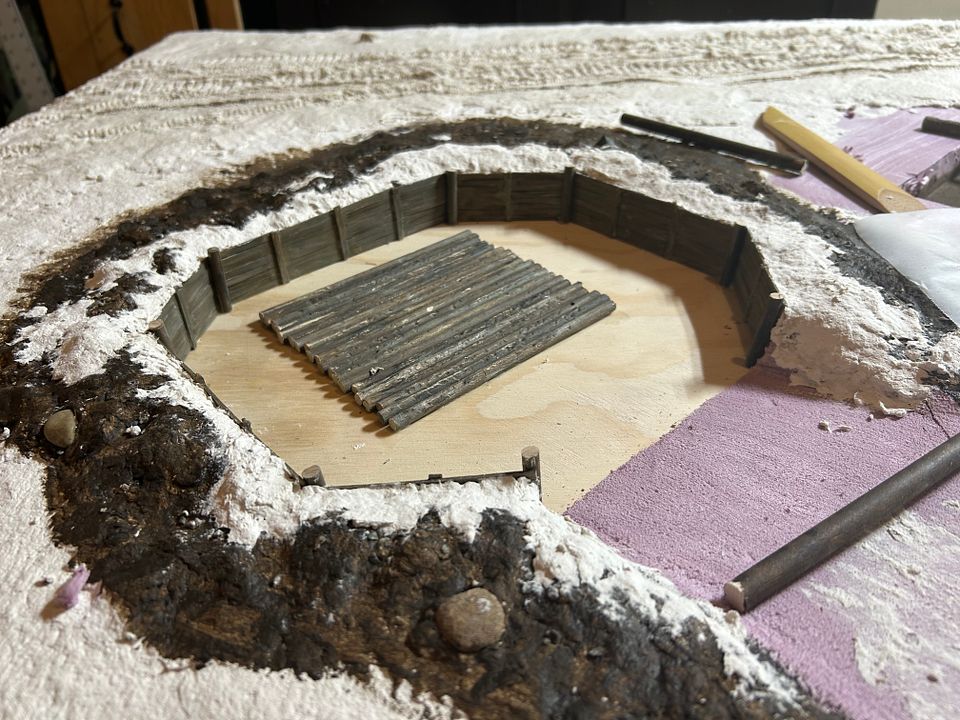
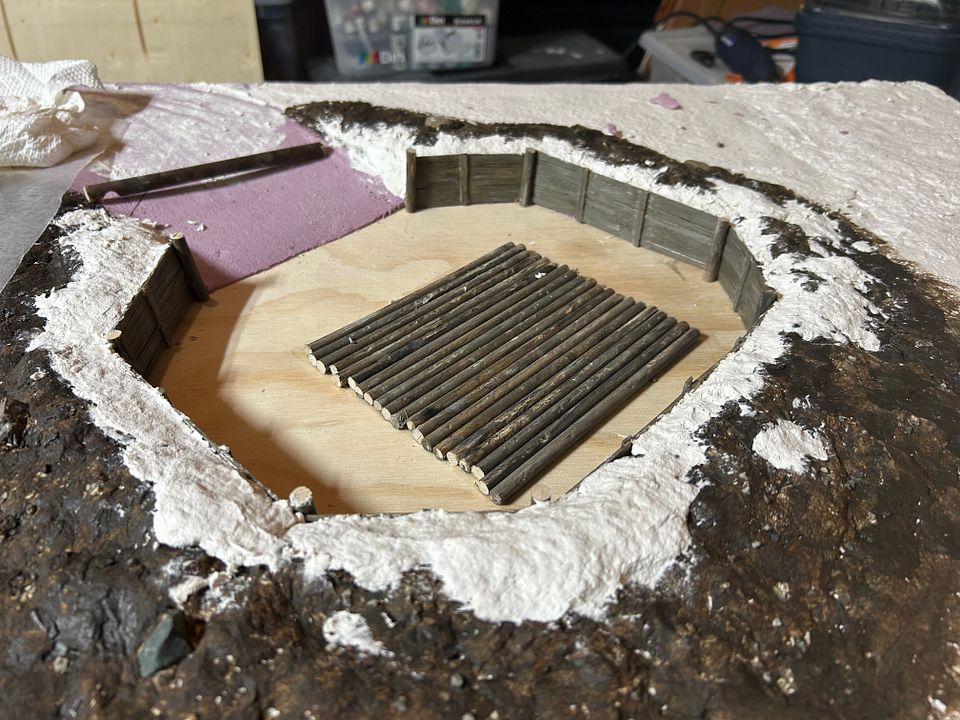
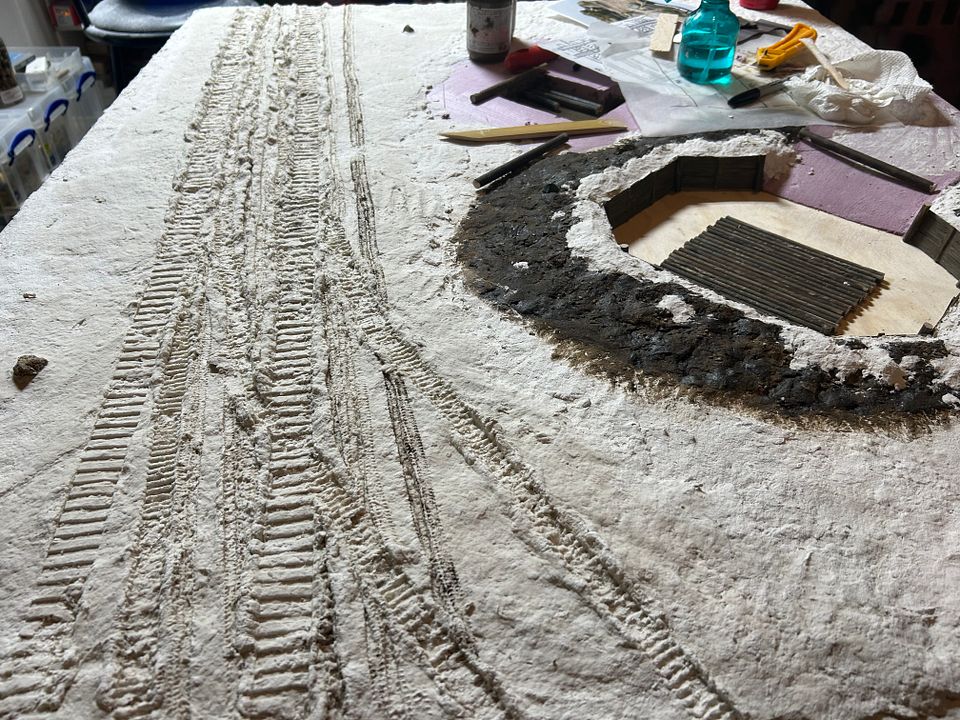
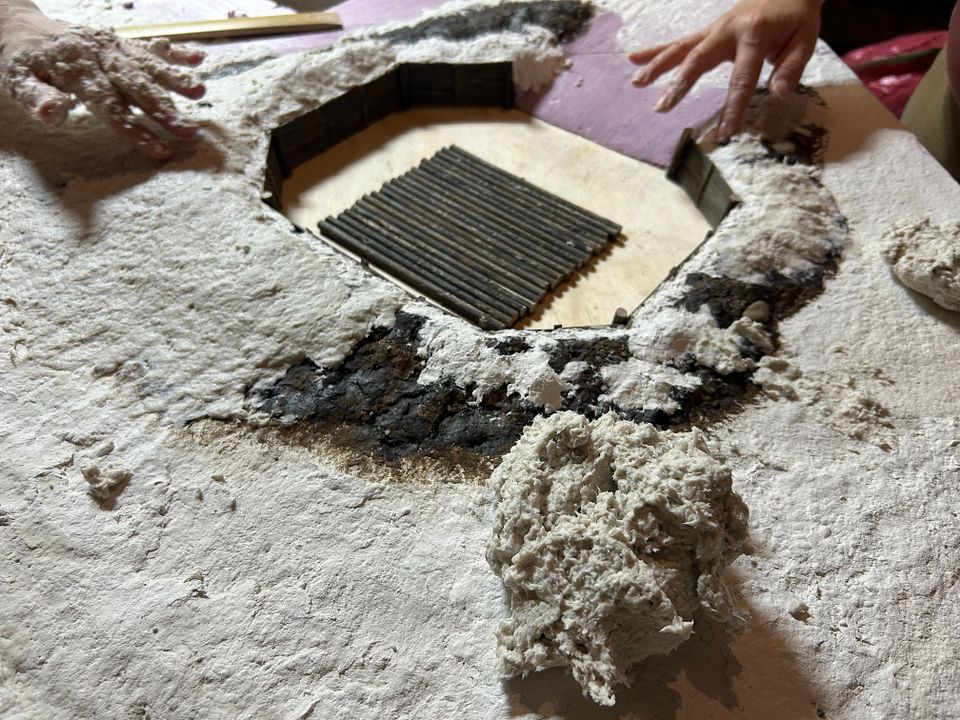
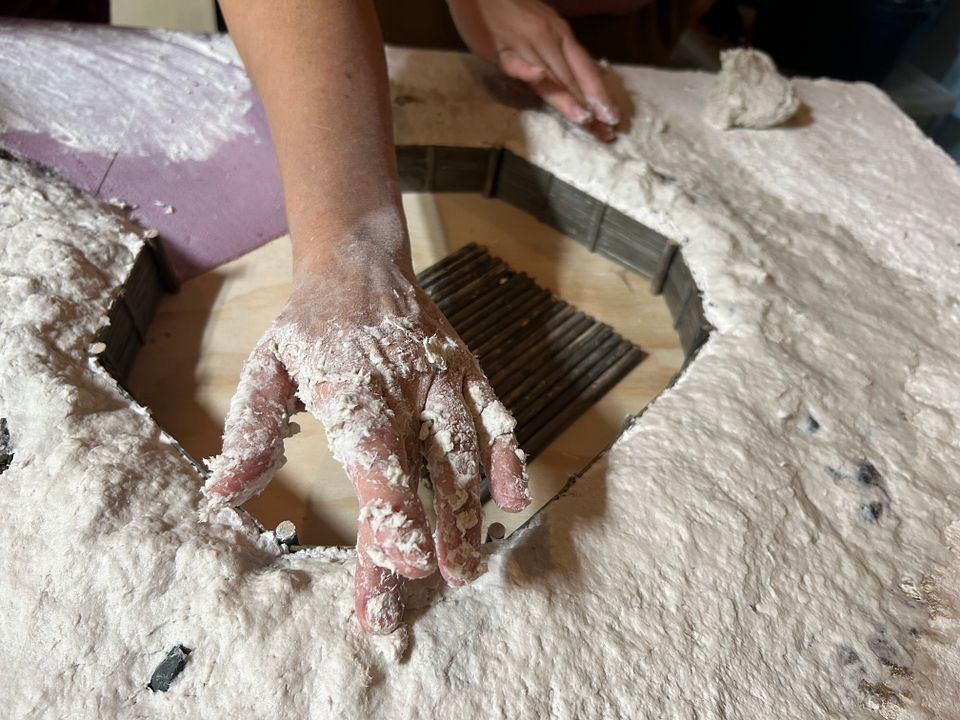
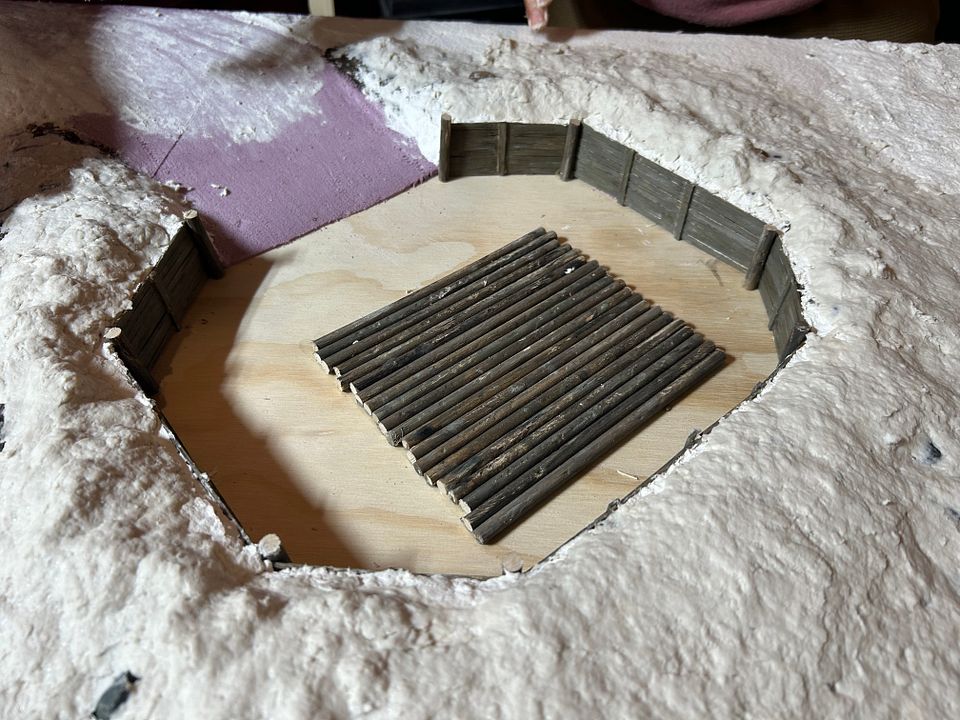
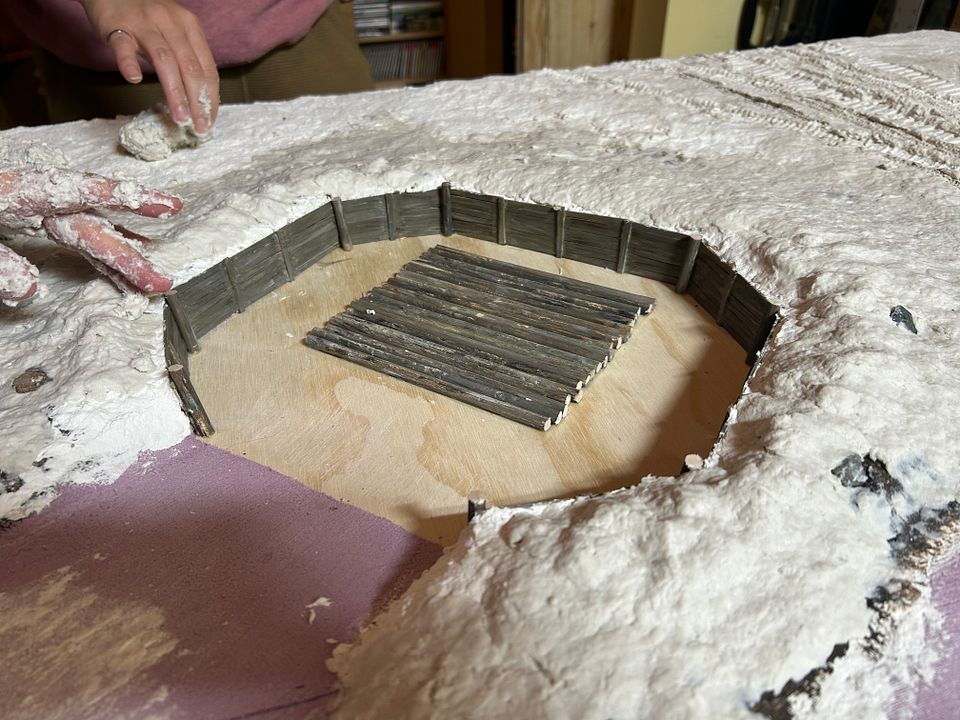
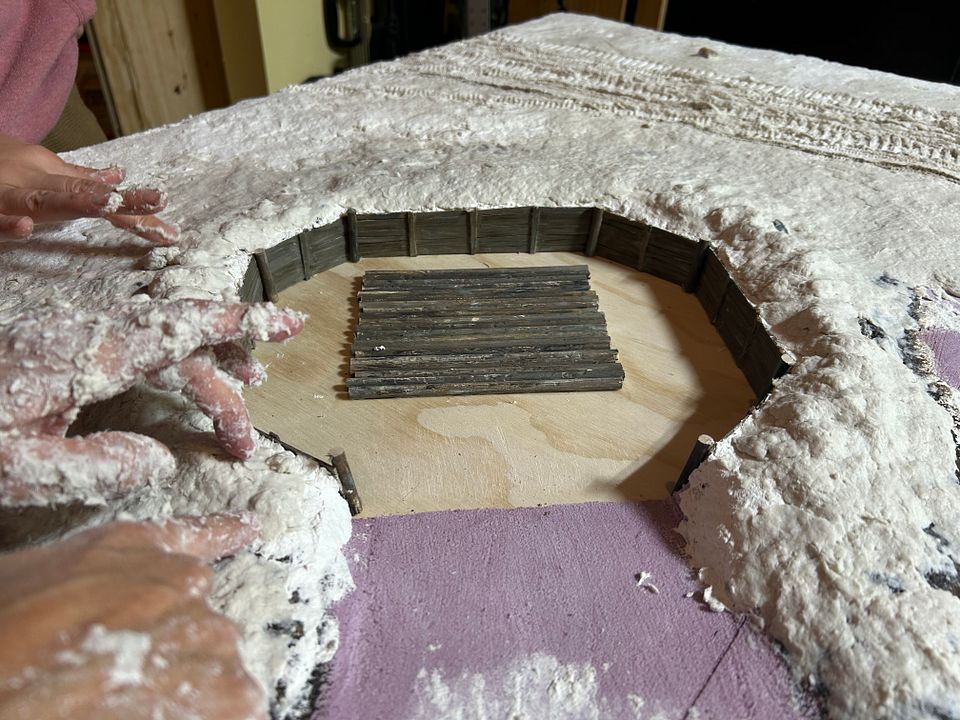
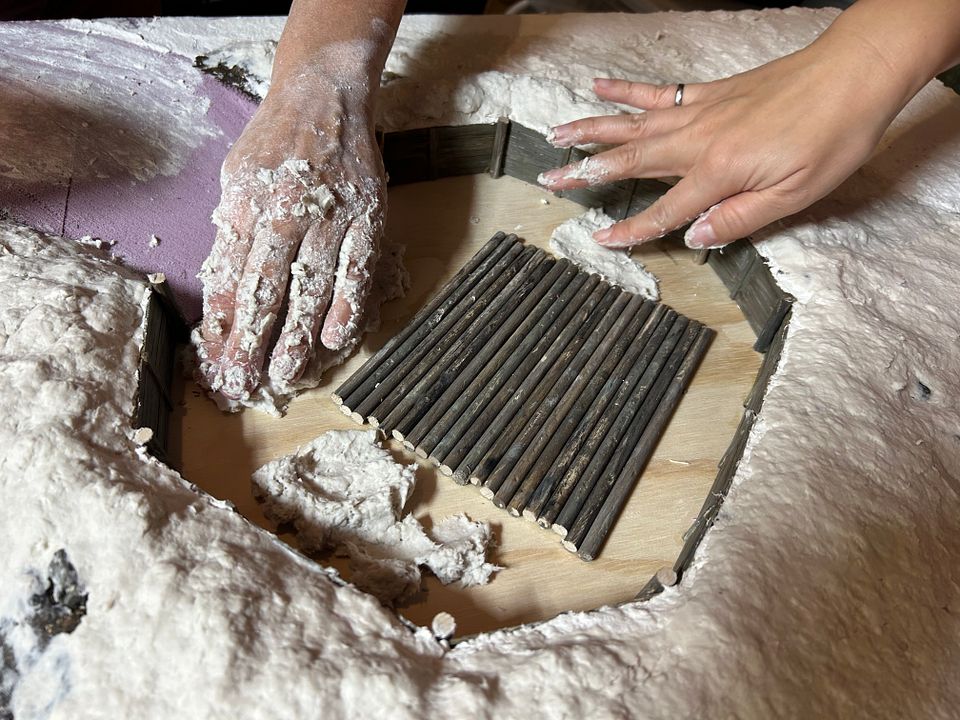
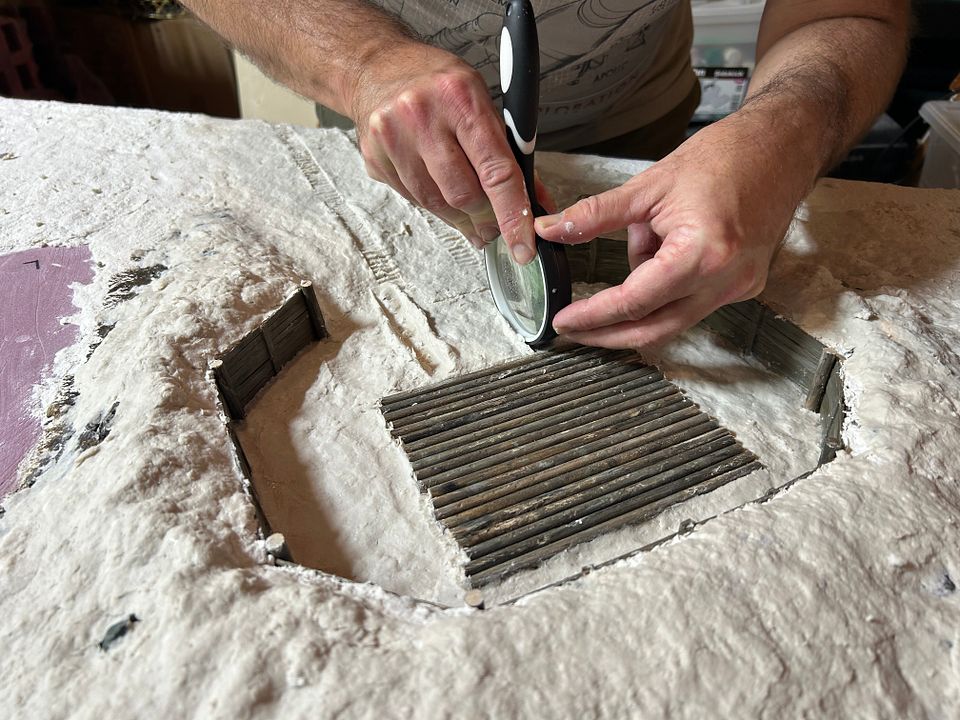
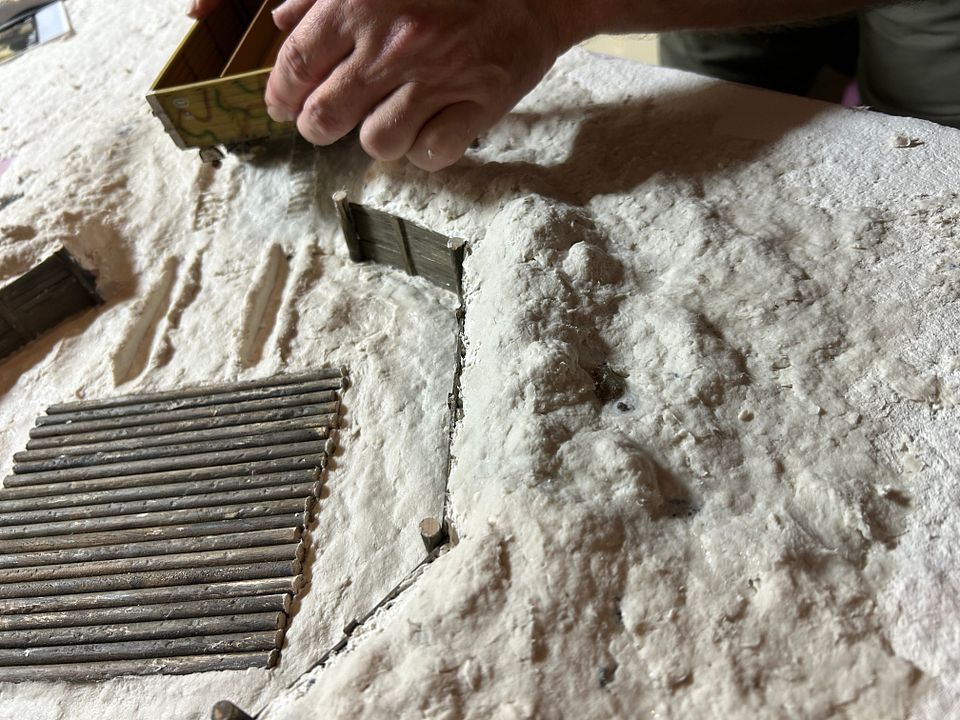
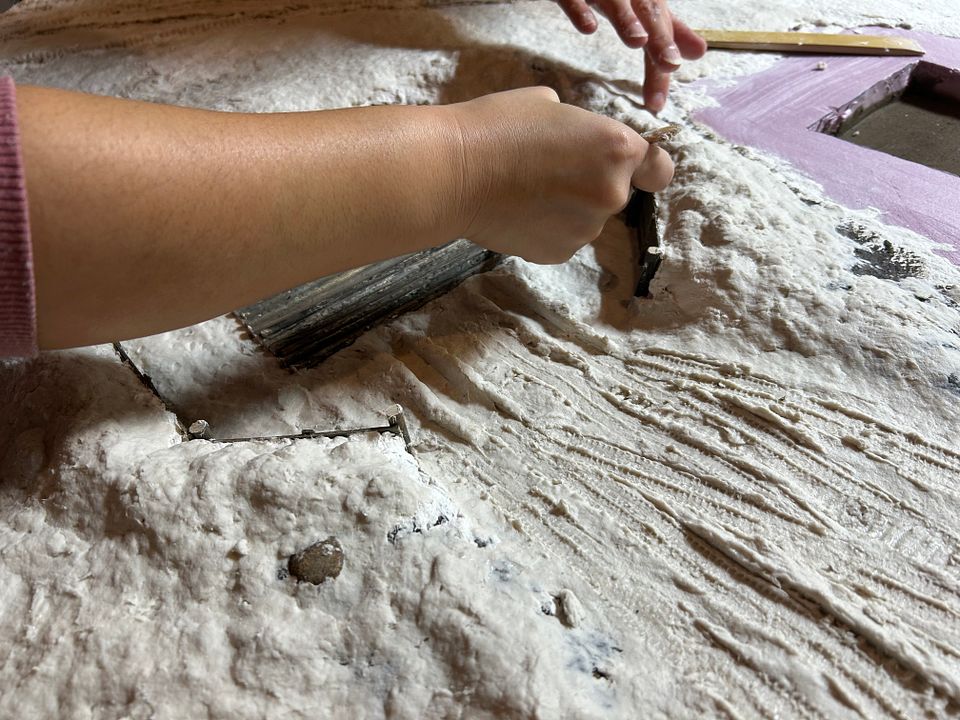
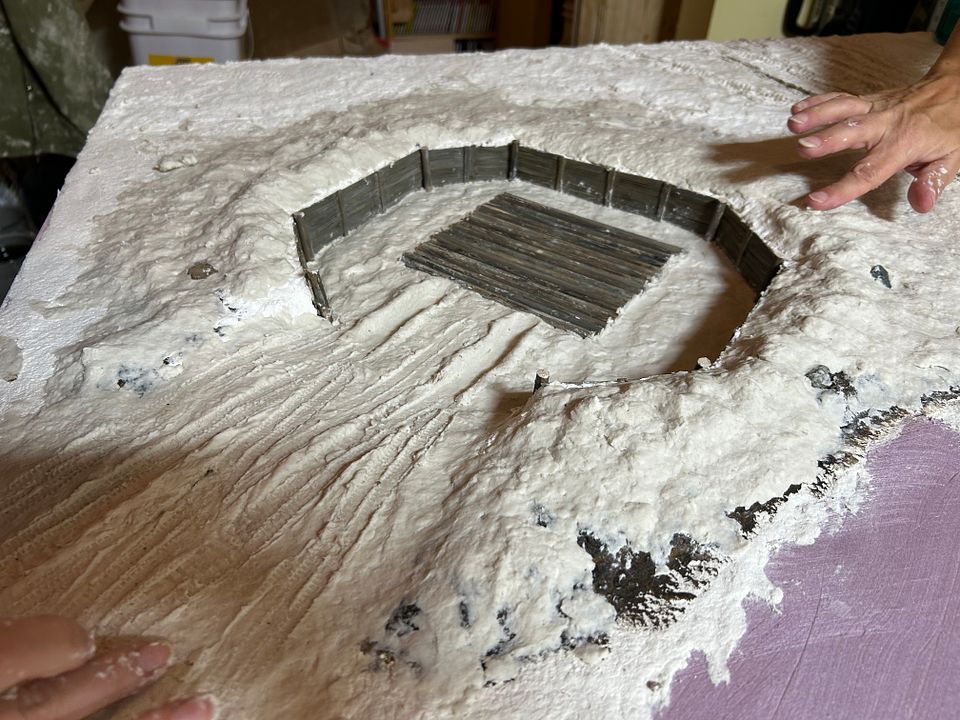
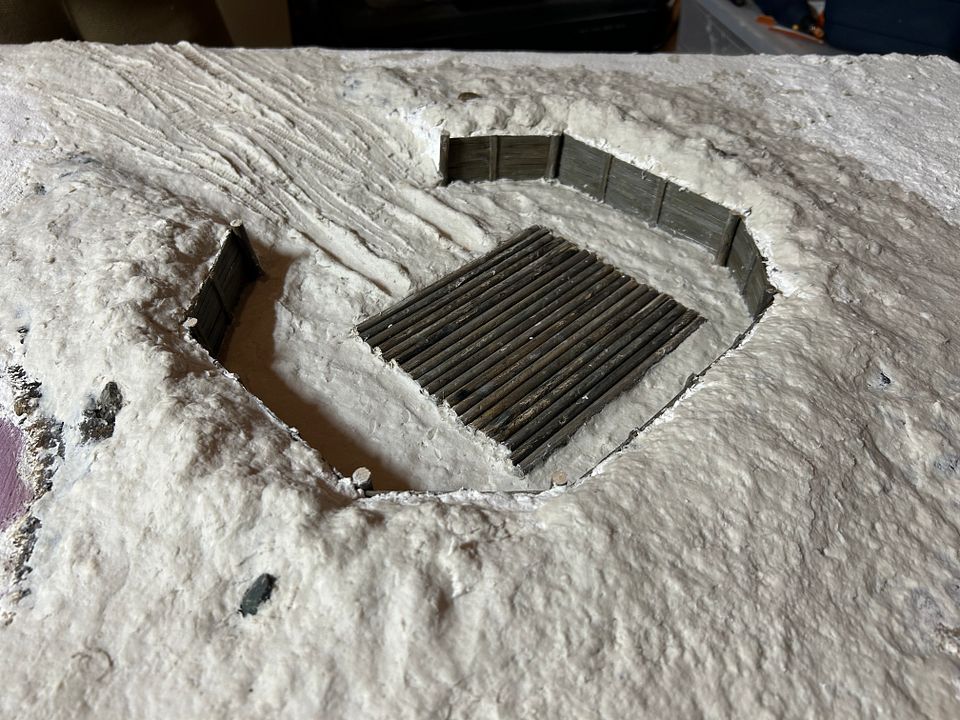
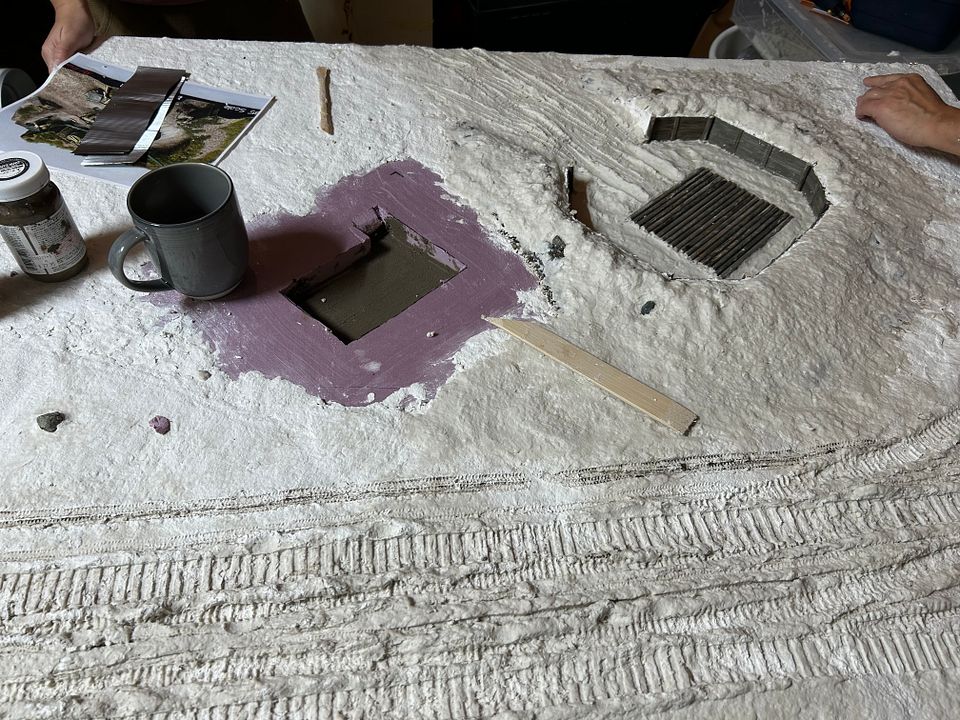
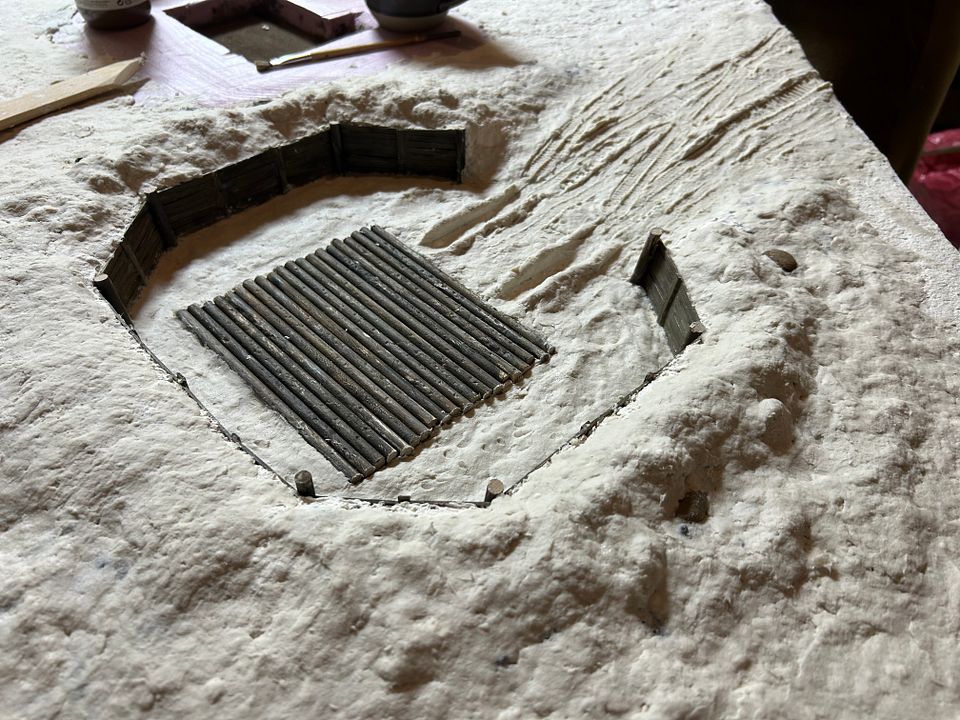
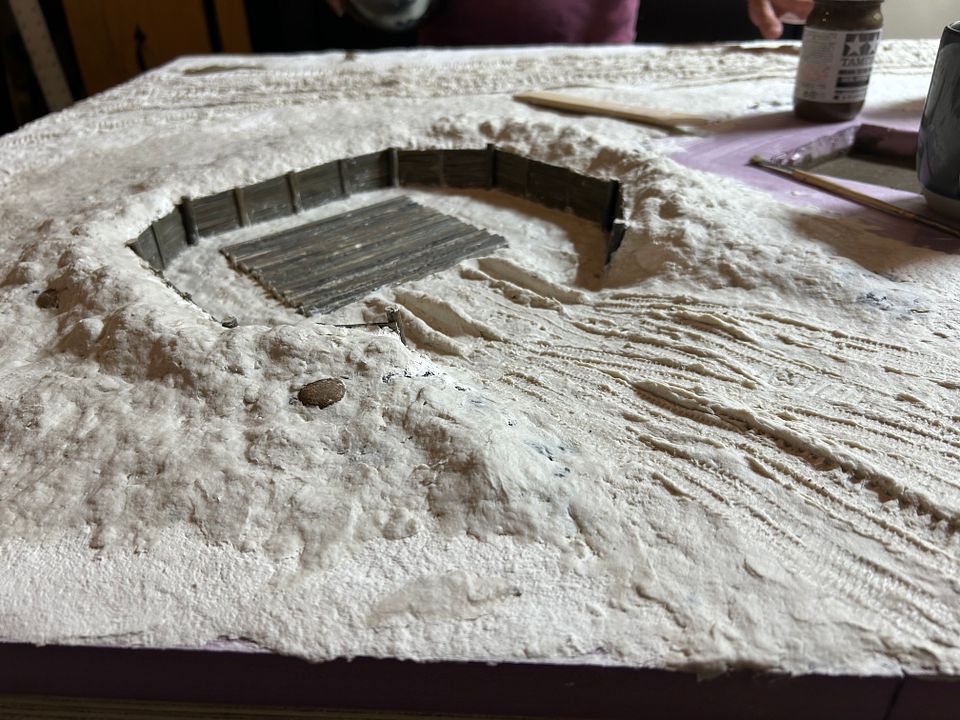
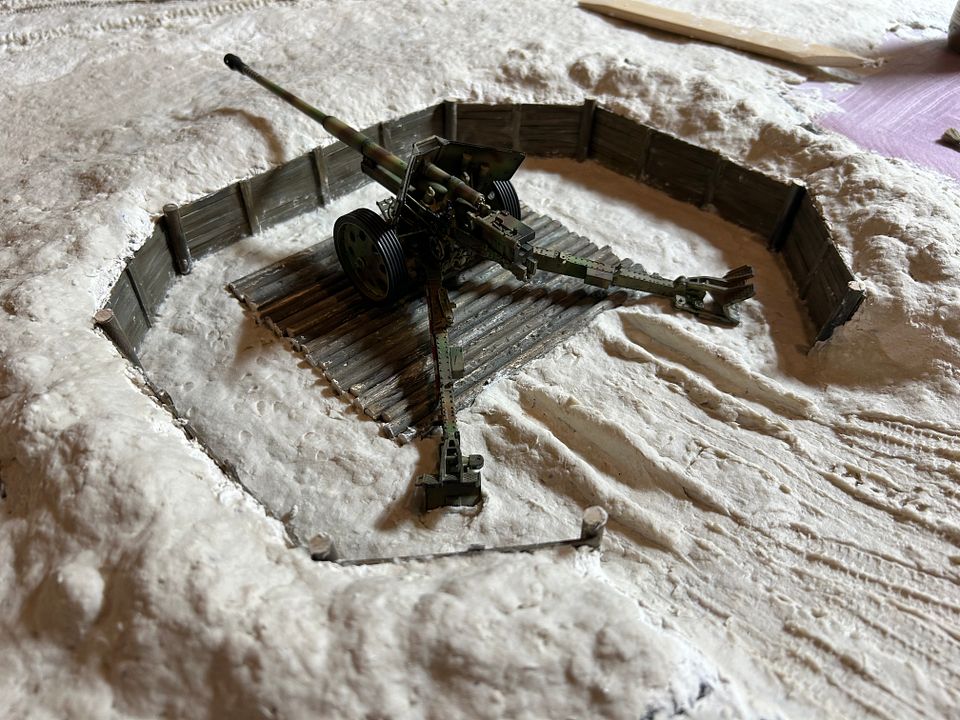
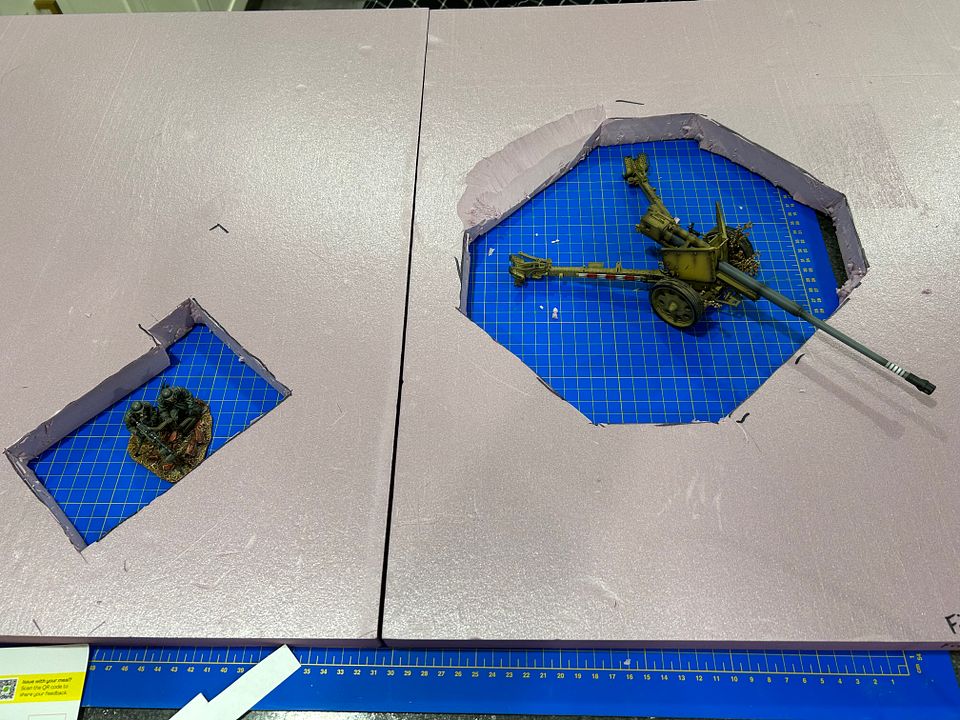
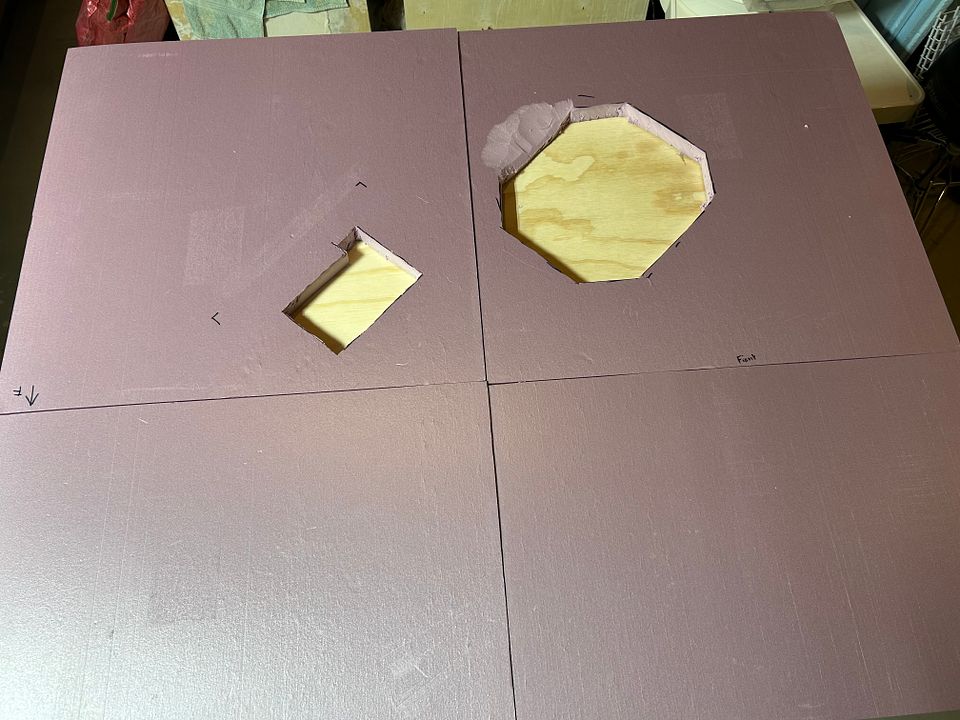
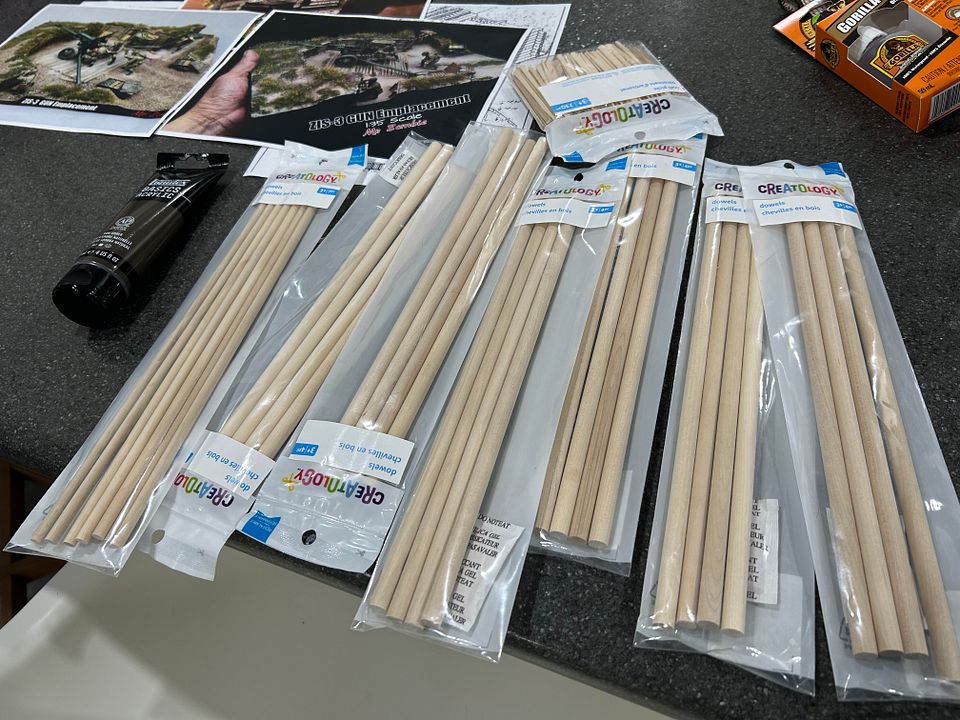
- a bunker made of logs, rocks, dirt
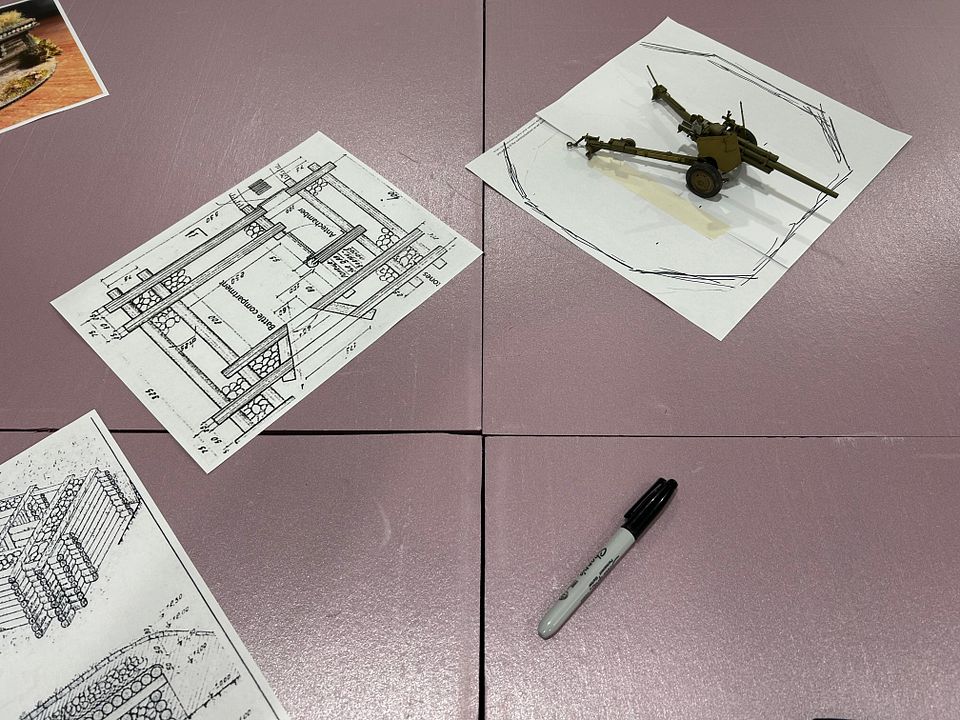
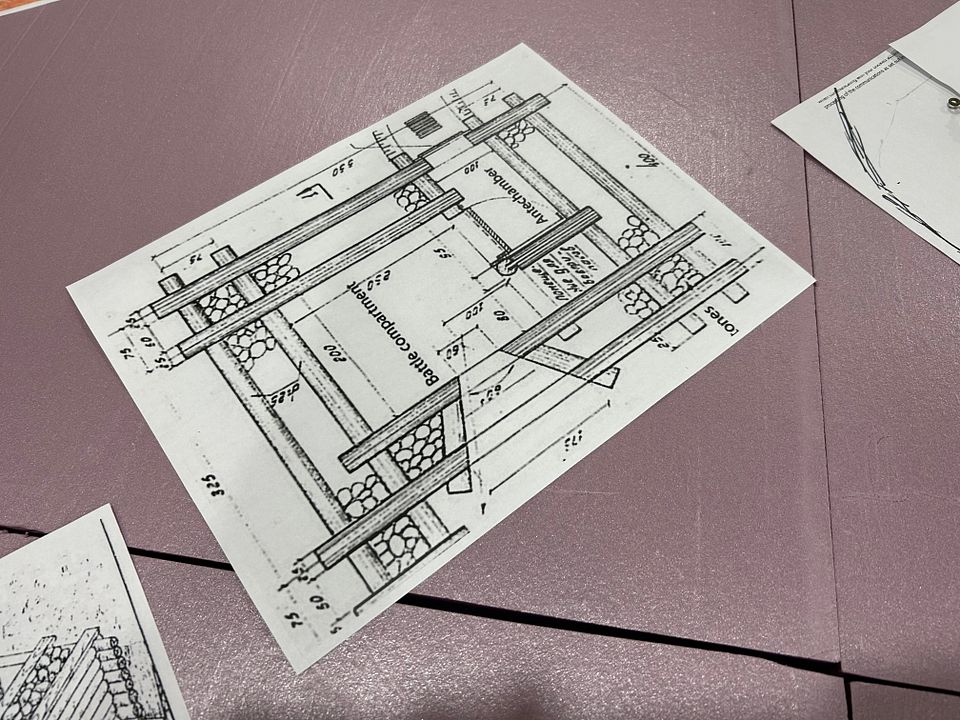
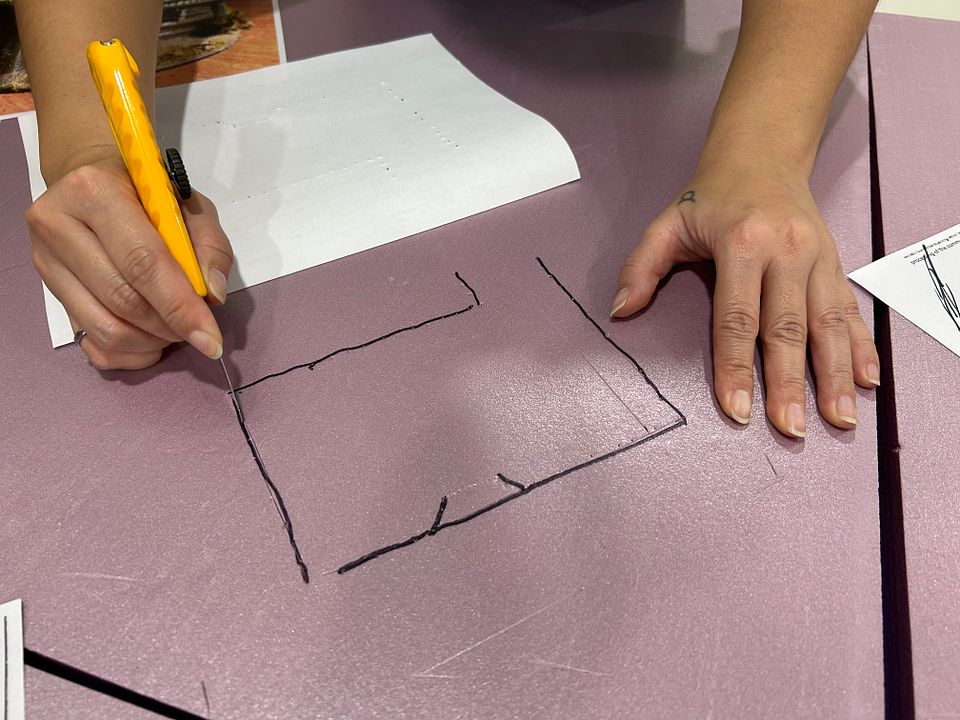
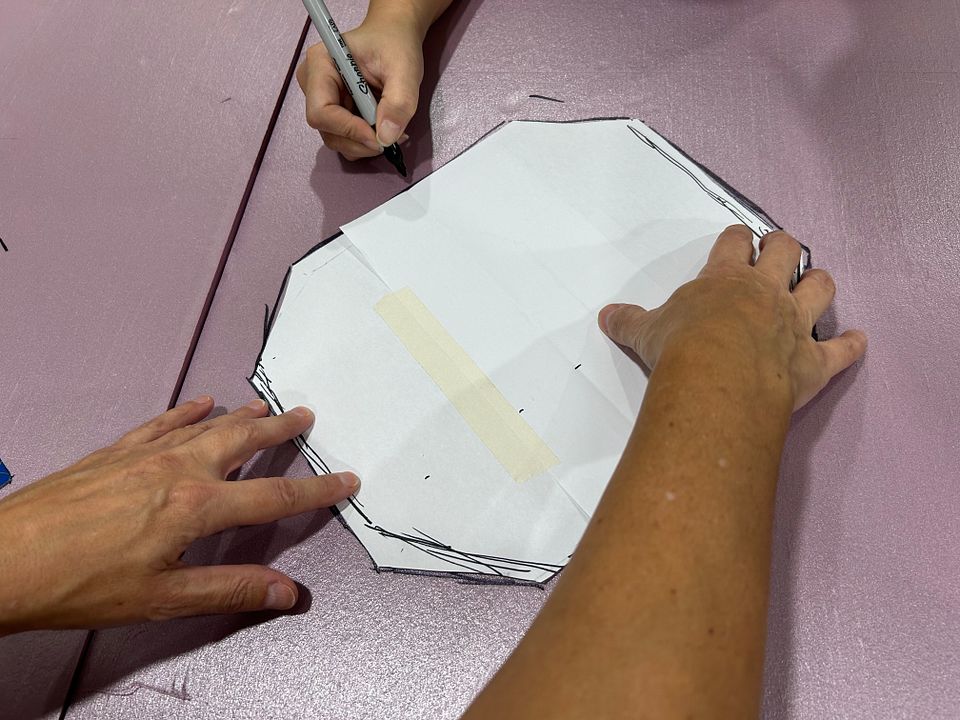
- a gun emplacement (3 ft below ground level)
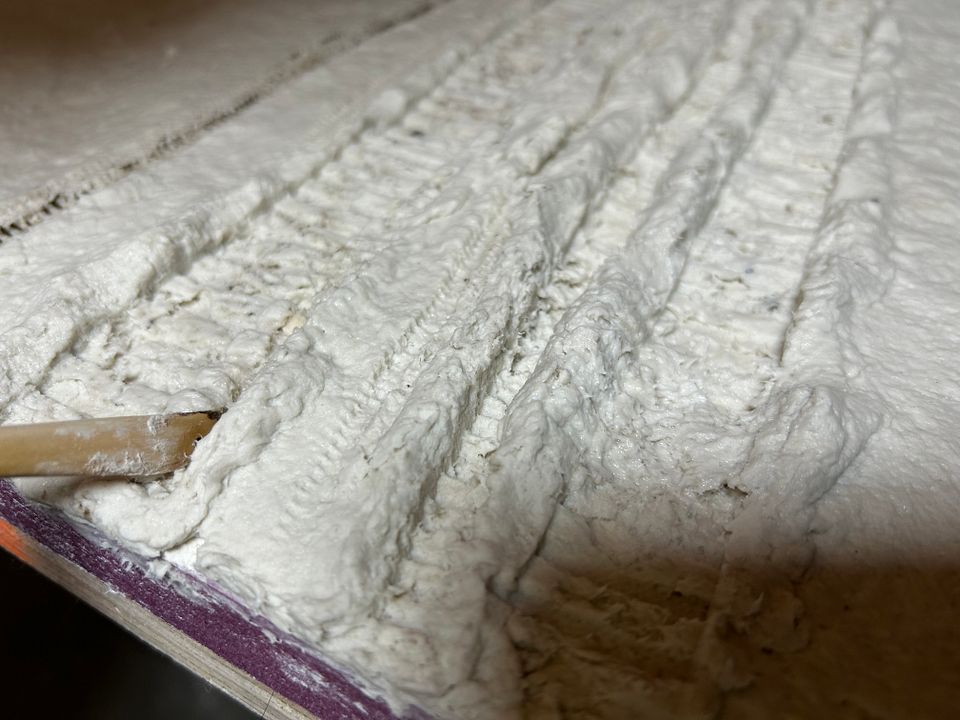
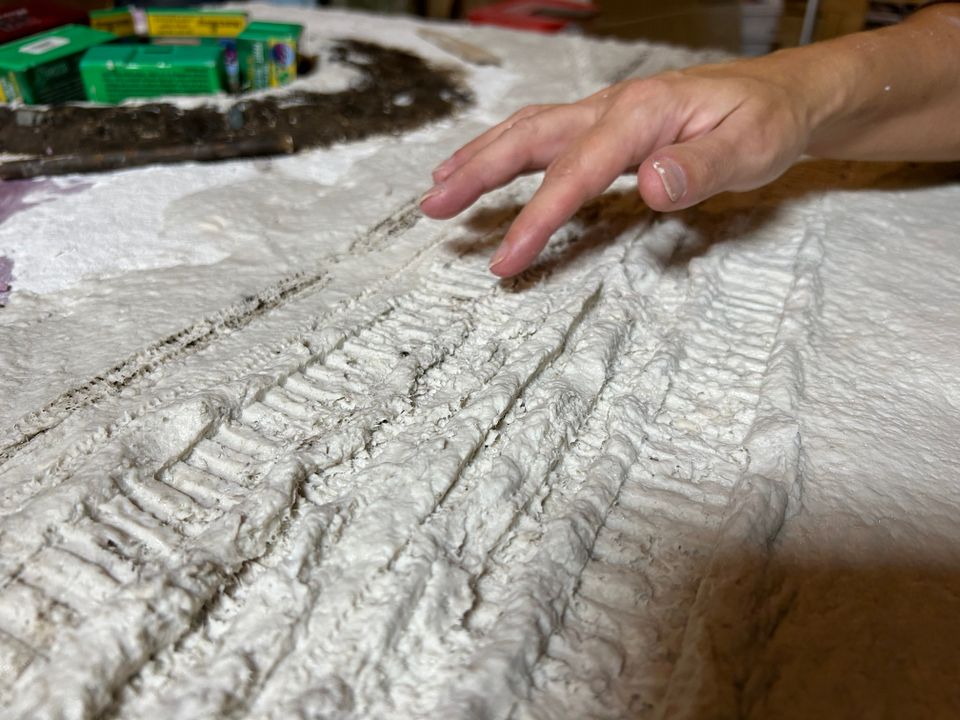
- ground work, dirt, rocks, foliage, tracks, etc.
The creek was the difficult element in last years dio. This years will likely be the bunker.