
"Crossing the Rhine with Dry Feet" Diorama (6 Viewers)

7th OVI

Sergeant
Joined
Jan 1, 2009
Messages
719
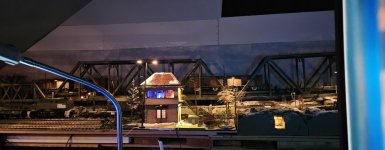
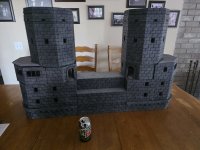
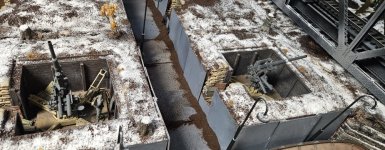
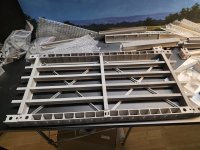
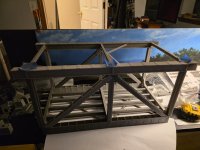
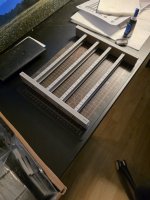
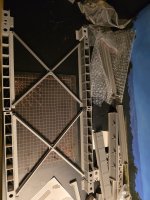
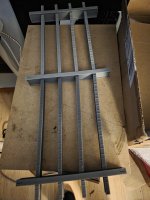
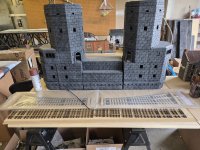
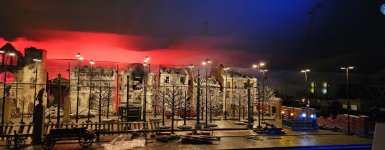
Began working on a permanent WW2 diorama using pieces from my old WW2 German city diorama and some new elements. This one is going to take some time getting done but I have almost all of the pieces on hand to make it happen. One of the challenges is taking apart the old diorama and expanding the train tracks (see attached images} and adding in the new elements like the crossing towers of the Ludendorff bridge (see attached image) that I just received and a series of new buildings. Wish me luck. Thx Chris
 

Attachments

  • 20250525_000900.jpg
    20250525_000900.jpg
    98.2 KB · Views: 84
  • 20250525_000851.jpg
    20250525_000851.jpg
    76.5 KB · Views: 83
  • 20260302_150924.jpg
    20260302_150924.jpg
    129 KB · Views: 83
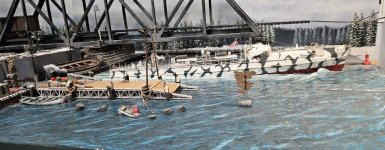
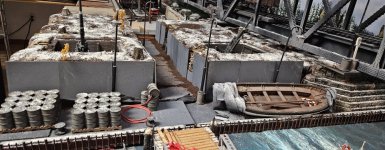
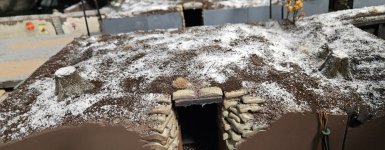
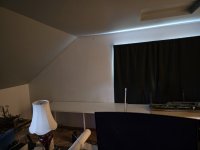
Well, a quick update, deconstruction of the old WW2 diorama continues. I need to speed it up since we cannot use the kitchen table with the bridgehead on it. The bridgehead is 42 inches across and almost 40 inches high. The plan is to deconstruct the old layout, increase the length of the railroad track, replace the city buildings with new improved versions, add the 3d printed bombed church, connect and power the streetcar track, add a bombed-out factory and then add the bridgehead. Here are a few before and after images of the deconstruction. The first part was taking apart the old dock area as seen in 4 of the images, the last 2 are of the empty area were the dock, water, S Boat and bridges were located. This section also included about 30 LED lights on the dock, bridges and within the bunkers that required disconnecting. That's it for now. Thx
 

Attachments

  • 20250502_115345.jpg
    20250502_115345.jpg
    138.8 KB · Views: 39
  • 20250502_115418.jpg
    20250502_115418.jpg
    152.7 KB · Views: 36
  • 20250502_115436.jpg
    20250502_115436.jpg
    170.2 KB · Views: 30
  • 20250502_115505.jpg
    20250502_115505.jpg
    141.2 KB · Views: 36
  • 20260402_172458.jpg
    20260402_172458.jpg
    76.5 KB · Views: 39
  • 20260402_172506.jpg
    20260402_172506.jpg
    109.4 KB · Views: 34
Obviously you need the space Chris, but it's just a shame that such an already diorama has to be sacrificed.
Still you have the photos, and the satisfaction of enjoying the building and completion of your original vision and managing to salvage some of it for your new project ! 👍🏻
 
Obviously you need the space Chris, but it's just a shame that such an already diorama has to be sacrificed.
Still you have the photos, and the satisfaction of enjoying the building and completion of your original vision and managing to salvage some of it for your new project ! 👍🏻
Honestly, it is hard taking it apart, a lot of effort went into the first version. Some of it will not work in the new layout as well so those elements will be either stored or disposed. Thx
 
All expertly done! Especially the details such as the ice on the dugout. THe Ramagan Bridge is a good rendition, having visited it many yrs ago.
 
Wonderful diorama with lots of detail. I really like the waterfront. All the best on your deconstruction and relocation. I know the feeling, having taken apart my Hadrian’s Wall.
Steve
 
What a huge project! It looks absolutely promising and stunning! Wishing you the best of luck—I’m sure it’ll turn out great! :) (y)
 
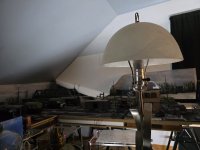
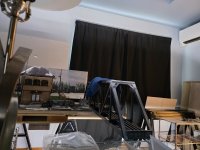
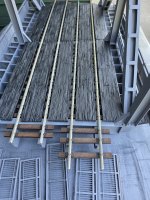
Though it would be time to post a quick update on the new WWII diorama using pieces from the old diorama. Deconstruction of the bridges, train yard, dock area and the S Boat (don't worry, the boat is intact, just in storage) is complete. Finished the wiring schematic for the trains, lights, switches, water towers and gates. Began mapping the area around the towers and building the 3D model of the front portion of the bridge to go between the towers. Built the diorama tables and started to map all of the terrain features around the bridge as well as trying out a potential 3D integrated back drop. This diorama section will be 2 feet wide and 16 feet long. I am trying to stay as accurate to images taken in 1945 as possible but may need to take some liberties to make it all fit. Attached are some images of the tables, bridge towers with RR track and the building of the 3D bridge portion that will go between the towers. That's it for now.
 

Attachments

  • 20260429_042657.jpg
    20260429_042657.jpg
    150.7 KB · Views: 11
  • 20260501_030026.jpg
    20260501_030026.jpg
    113.8 KB · Views: 9
  • 20260426_175944.jpg
    20260426_175944.jpg
    122.6 KB · Views: 9
  • 20260428_045716.jpg
    20260428_045716.jpg
    159.9 KB · Views: 10
  • 20260428_045724.jpg
    20260428_045724.jpg
    122.3 KB · Views: 10
  • 20260415_165703.jpg
    20260415_165703.jpg
    49.7 KB · Views: 11
  • 20260428_160258.jpg
    20260428_160258.jpg
    205.7 KB · Views: 11
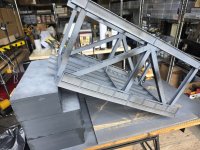
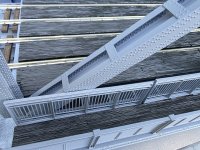
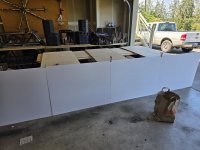
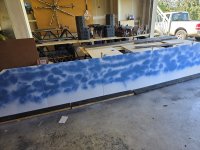
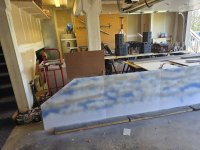
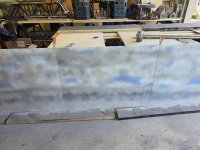
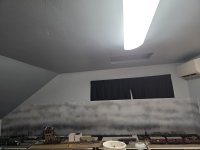
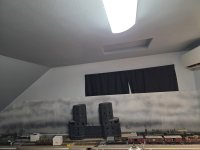
Well, it has been a minute since my last update so want to show you some of the progress. After studying the images of the capture and the collapse of the bridge, I have edited out pieces of the planned railroad portion of the layout so that there will be 2 parallel fully functional sets of tracks going across the diorama that will be the basis for 2 construction cranes and a small locomotive that normally accompanied them and .potentially a small freight train. The biggest challenge was creating a backdrop for the diorama. Almost all the backdrops were too small or when enlarged became very distorted. Tried a number of approaches and filled up 5 large garbage bags with failed attempts. So decided to make one from scratch. The backdrop is 42 inches tall and 16 feet long. I used period images taken around the bridge in Spring of 1945 as a guide and then painted it myself. I also got nearly finished with the bridge portion that will attach to the towers. I am just waiting on the arrival of the 3D printed portion of the tunnel to finish out the blocking of the towers and terrain with the backdrop. As always, here are some images of the bridge portion, the making of the backdrops and the initial laying of the track. More next month.
 

Attachments

  • 20260503_155912.jpg
    20260503_155912.jpg
    207.1 KB · Views: 8
  • 20260508_134913.jpg
    20260508_134913.jpg
    162.7 KB · Views: 8
  • 20260503_155923.jpg
    20260503_155923.jpg
    222.7 KB · Views: 8
  • 20260524_134651.jpg
    20260524_134651.jpg
    136.2 KB · Views: 8
  • 20260524_141750.jpg
    20260524_141750.jpg
    158.3 KB · Views: 8
  • 20260524_143957.jpg
    20260524_143957.jpg
    140.6 KB · Views: 8
  • 20260524_145959.jpg
    20260524_145959.jpg
    135.1 KB · Views: 8
  • 20260529_041718.jpg
    20260529_041718.jpg
    86.6 KB · Views: 8
  • 20260530_232317.jpg
    20260530_232317.jpg
    86.1 KB · Views: 8
Absolutely brilliant. This is such a big undertaking and you are certainly accomplishing it masterfully. 👏👏
Mike
 
Unbelievable on a massive scale! It is coming along beautifully. I wish I had the room for such a project, thanks for sharing your project with us.

Howard
 

Users who are viewing this thread

Back
Top