aujj65
Colonel
- Joined
- Sep 30, 2005
- Messages
- 9,153
So, here we are again! Ready for a 'How to Paint' (and as I said before, how I paint!) thread that will hopefully show a heap of white metal castings through to the end result of a traditional gloss finished set of toy soldiers.
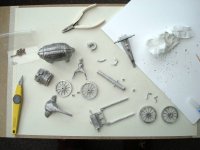
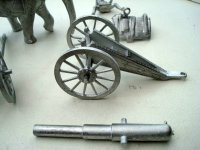
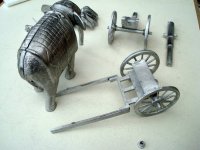
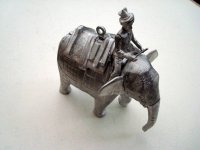
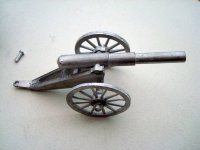
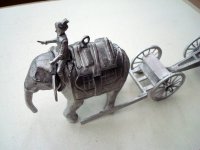
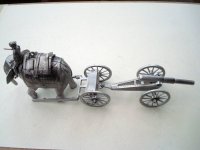
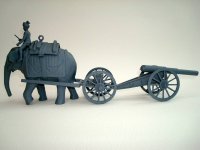
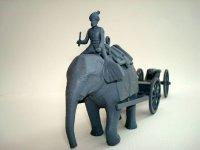
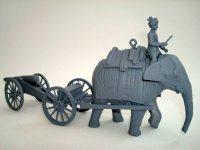
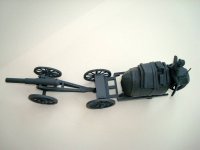
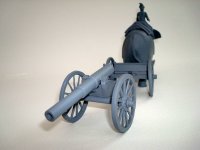
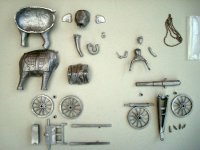
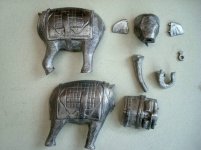
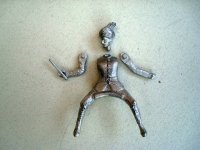
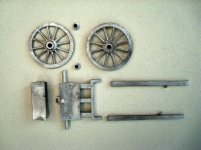
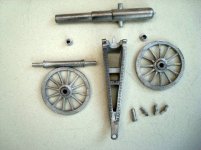
In this case the castings represent an Indian Elephant Battery (of the British Army around the 1880’s) consisting of elephant pulling a heavy limber with a 40Pdr gun. Again (as per the RHA) these are made by Fusilier Miniatures in 54mm scale. As I’ve said before I like these, as they are some of the better-finished castings around.
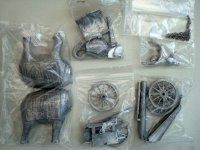
As the RHA set the castings are supplied as groups in separate plastic bags and there is even a choice of trunks for the elephant!
Below are all the little bags as supplied.
Jeff
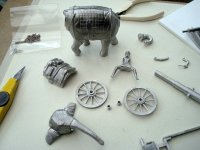
In this case the castings represent an Indian Elephant Battery (of the British Army around the 1880’s) consisting of elephant pulling a heavy limber with a 40Pdr gun. Again (as per the RHA) these are made by Fusilier Miniatures in 54mm scale. As I’ve said before I like these, as they are some of the better-finished castings around.
As the RHA set the castings are supplied as groups in separate plastic bags and there is even a choice of trunks for the elephant!
Below are all the little bags as supplied.
Jeff
") Camera is a Sony Cyber-shot 7.2 mega pixels. Plus I've learnt alot from others on the forum regarding using natural light as opposed to relying on the flash and this has a macro setting, much better results I think.
Camera is a Sony Cyber-shot 7.2 mega pixels. Plus I've learnt alot from others on the forum regarding using natural light as opposed to relying on the flash and this has a macro setting, much better results I think.