KV,
The castle was laid out with 4 towers, 3 walls and 1 gate section. I stole the gate from my JG Miniatures siege tower and made the portcullis out of Sculpey and kabob sticks.
The walls:
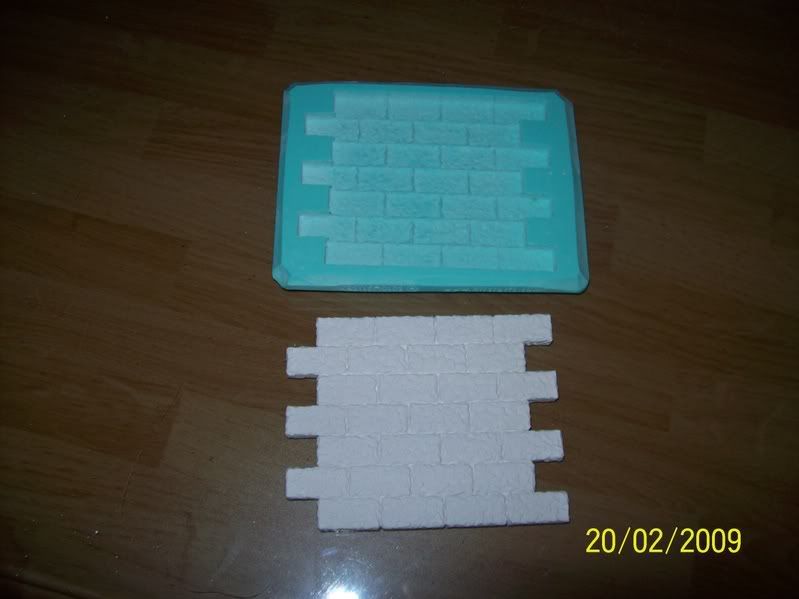
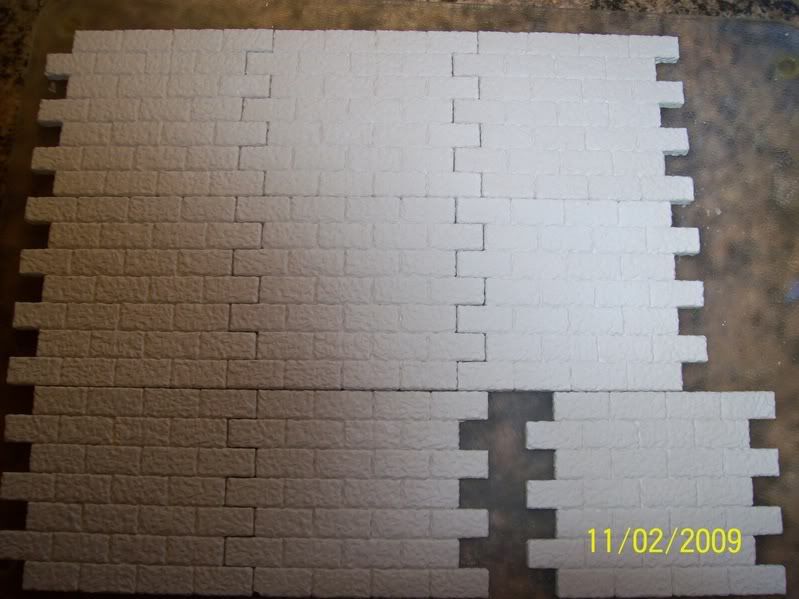
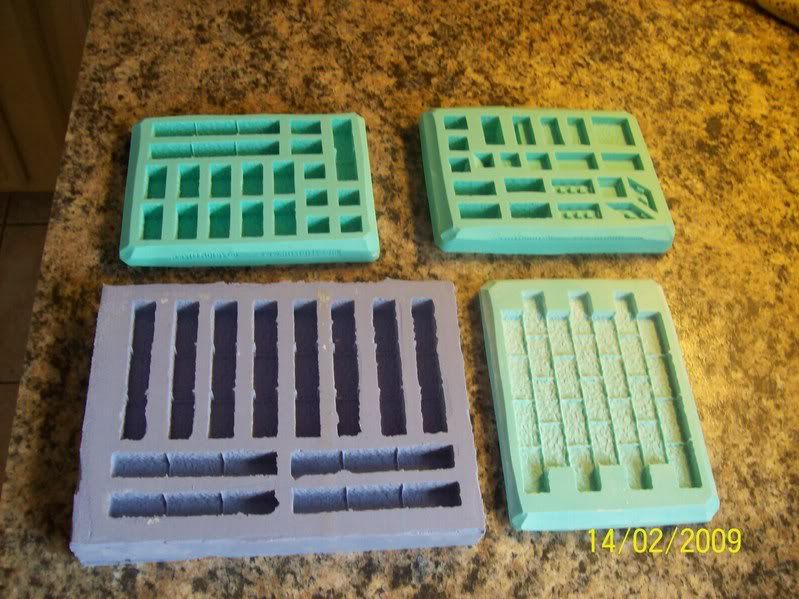
The walls were all made from wall mold #200.
The wall molds (#200), are 3 1/2"s tall and 4"s long, and I wanted them to line up in height with the open siege tower door (from K&C), which is 9 3/4"s tall.
I stacked 3 of the 3 1/2"s wall sections for my height, for an overall height of 9 1/2"s. A pretty close match to the seige tower door.
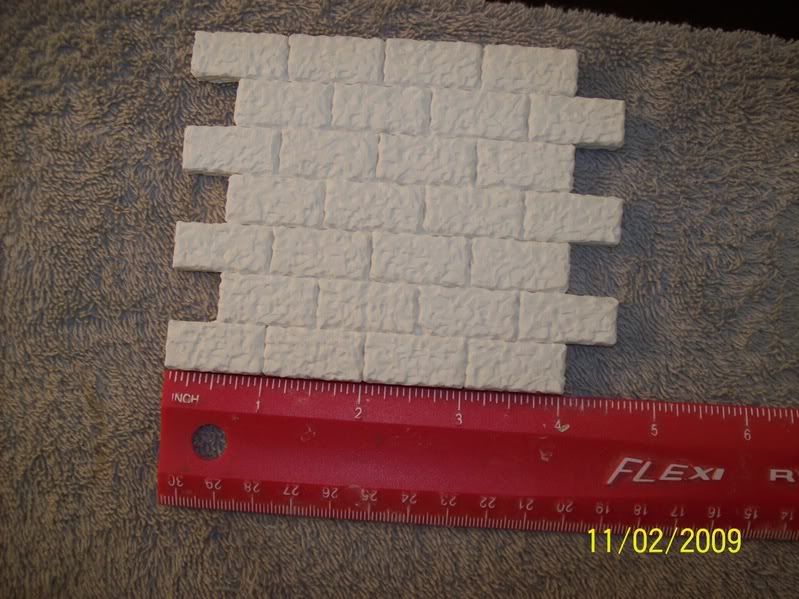
Important: Make sure you stagger the bricks so they look realisticly placed.
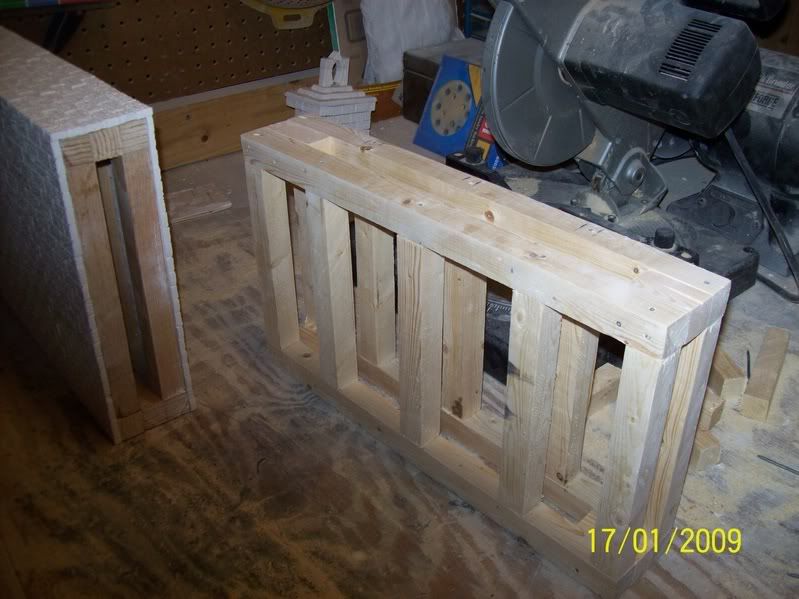
I re-inforced the interior of the walls with studs and rails just like a house.
You don't have to do this.
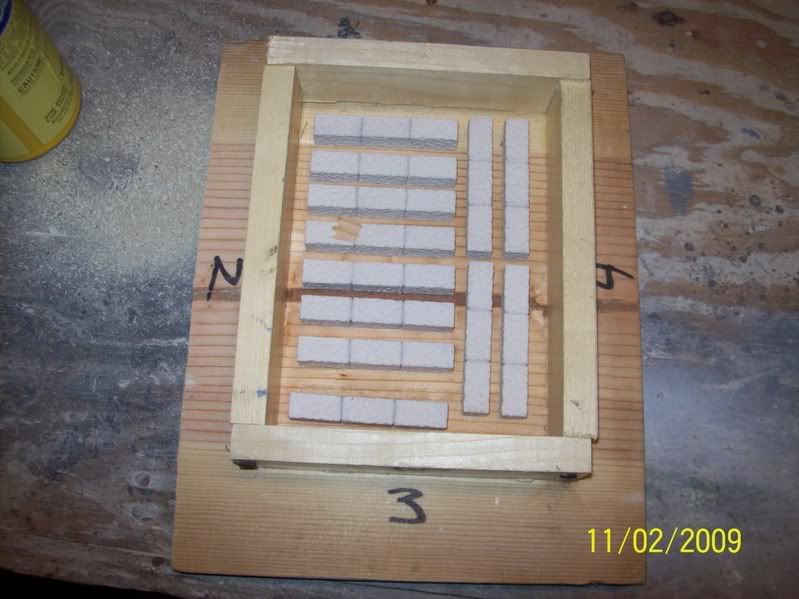
You will probably make a bottom for your walls and a catwalk for the top, so it will stand on its own.
My catwalk was made in 1 full wall sections, 3 1/2"s each. See photo:
The walls are sturdy by themselves, I just wanted a very stong piece.
Again the wall sections are 4"s long, so all the walls are done in 4" increments.
The two side walls consisted of 4 mold wall sections in length, for a 16" wall.
The rear wall consisted of 3 mold wall sections in length, for a 12" wall.
You can go longer or shorter if you want.
The wall sections can be scored with a sharp edge and broken cleanly on the edge of a flat surface with the palm of your hand.
No breaking is required if the height is built in increments of 3 1/2" sections and if the length is made in increments of 4" sections.
The towers:
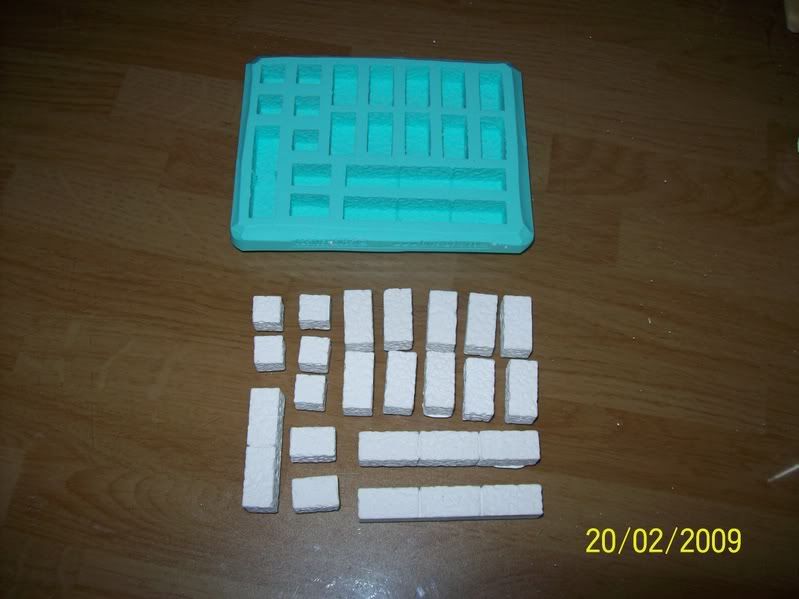
The towers were made from basic block mold #40.
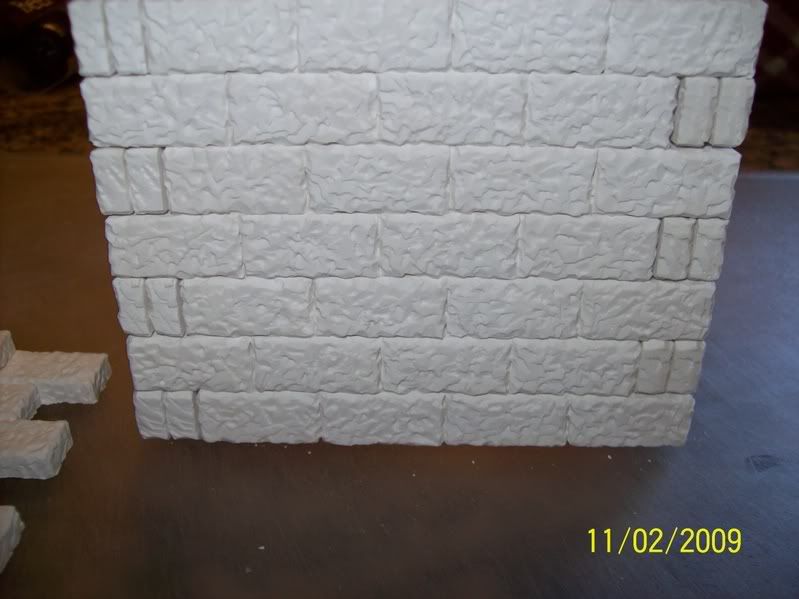
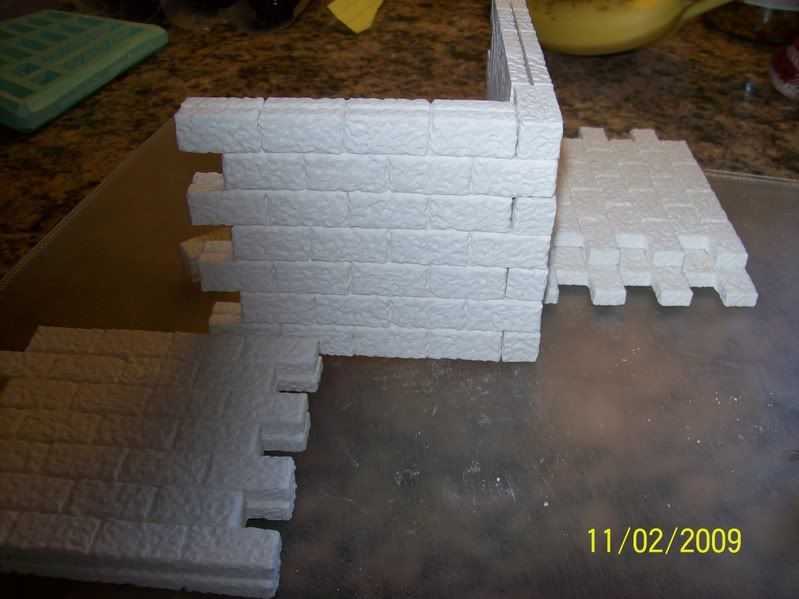
The towers can be subsidized with wall sections from wall mold (#200), but the corners will leave a gap. See photo:
To avoid this thin gap, you need a single block to end the corners. See photos:
This is the incorrect way:
This is the correct way, by adding a single block to the end row of wall sections, the gap is now gone making a nice corner.
The wall sections are 1/2" thick, the bricks are 1" thick, so you need to double stack the wall sections to make them the same thickness as an individual brick.
I hope the pictures make it clear for you.
I did not use wall sections on my towers, it was made from mold #40, of single, double and triple bricks.
The triple brick sections (see picture of mold #40) are a premium for your building. They allow you to build much faster.
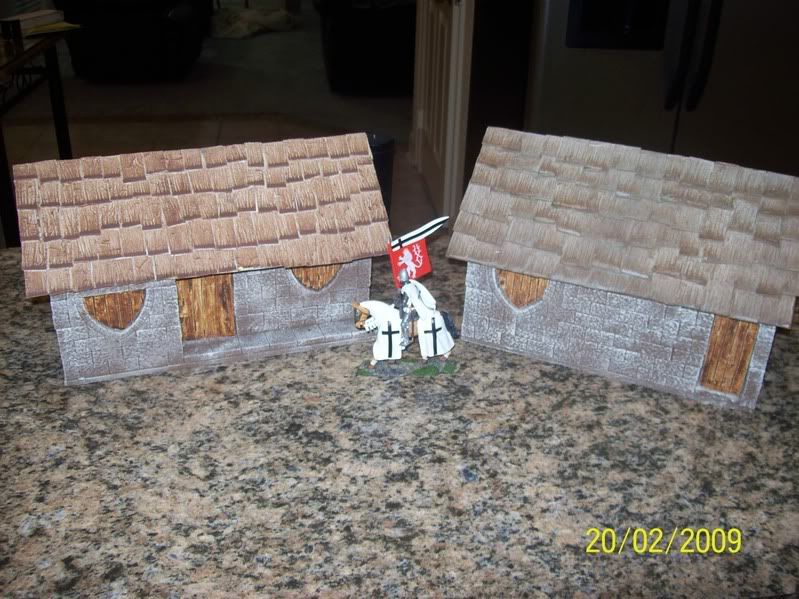
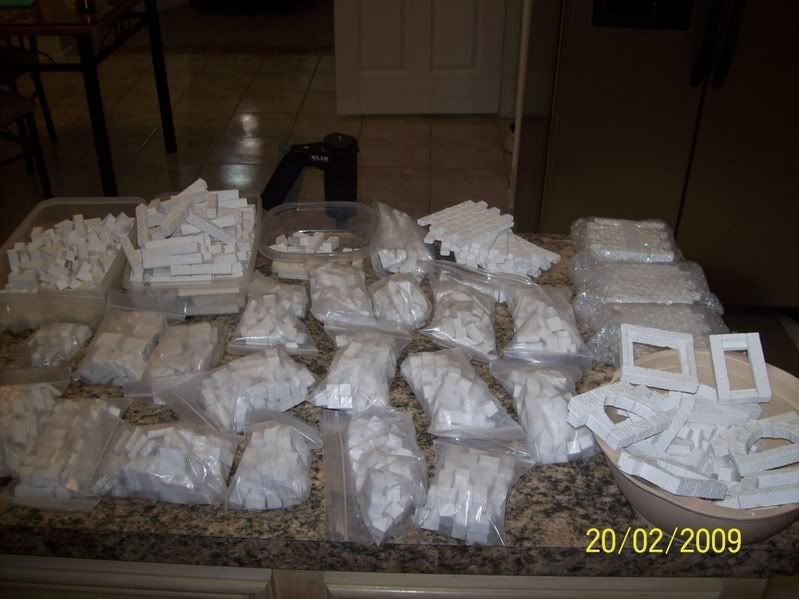
This is just my plan, you can be creative, you can make any sizes you want. I've already built 3 extra buildings from leftover blocks. I'm considering them as freebies, a big bonus, just extra building gratis.
You could teach me more about painting than I could teach you, but to answer your question....
The Paint:
I chose a chocolate brown instead of a traditional dark grey. My castle is a desrt castle.
I kind of wish I had started with a lighter brown, but the dry brushing really toned it down. The bricks are so textured that they really pick up the highlights very well. Do a sample brick or two to get your desired color.
I used a chocolate brown, thinned with water to the consistency of a thin milk. I slopped it all over liberally to let it run into all the cracks.
My first dry brush was a non thinned 1/2 and 1/2 mix of the brown with a biege.
My second dry brush was a non thinned mix of the beige.
Again, the bricks are so detailed with texture, that they will really pick up the highlights from the dry brush unbelievably pretty.
If you ever decide to do anything, start with mold #40, if you get serious, buy mold #200.
If you get in a jam, call me anytime. It would be my pleasure to help you avoid the mistakes I made.
Good luck and have fun.
You will be able to make so many buildings with this mold, so cheap. I'm guessing my extra buildings cost me less than $5 apiece with the glue, bricks, paint, Sculpey windows and doors. Really cheap!!!!
If you need help, I'm here for you.
Michael