Hirst Arts Castle and diorama done in 60mm. (1 Viewer)

There's nothing new here.

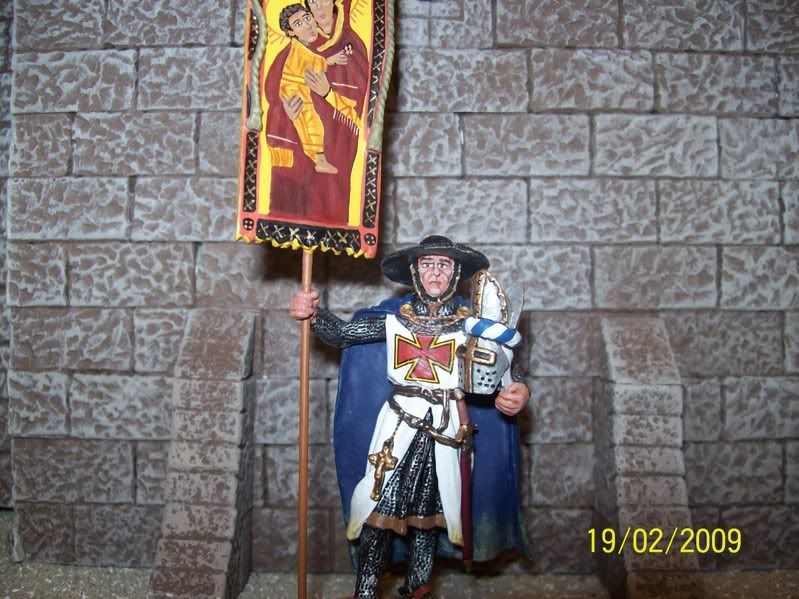
Just experimenting editing old photos, with scenic effects, cropping, etc...

Just picked a few photos and played around to see what I could do. Mostly trying to get a crisper, brighter, tighter more vivid photo.

100_0850.jpg

100_0773.jpg

100_0736.jpg

100_0707.jpg

100_0697.jpg

100_0705.jpg
 
There's nothing new here.

Just experimenting editing old photos, with scenic effects, cropping, etc...

Just picked a few photos and played around to see what I could do. Mostly trying to get a crisper, brighter, tighter more vivid photo.

100_0693.jpg

100_0620.jpg

100_0603.jpg

100_0586.jpg

100_0531.jpg
 
Mike,

By far one of the best dioramas ever!!!!!!!!!!!!!!!!!!!!!!!!!!!!!!!!!!!!!!!!!!!!!

Vick:D:D:D:D
 
Your thread was one of the most enjoyable I have read here.This is what it's all about.It's like you've created your own little world.ENJOY!
Mark
 
Great thread, great work, that tower full of Sarecens sure does make a colorful scene!!
Thanks,
Ray
 
Simon, thanks for the watch and the compliments,

Help me please:

(1) What kind of foam board did you use on your Iraqi building?

(2) Can you tell me exact name and the maker/distributor?

(3) When you scribed the damaged brick in the doorway, how did you keep the bricks at the same flush level as each other?

That is a really nice building, Michael

Hi Michael,
The foam board is generic pink and blue styrofoam. It's actually pretty hard to come by in the UK, only a few outlets - I guess our construction industry use different insulating materials to you guys in the States.

I don't know of the specific manufacturer, but I believe it's readily available in the US, at places like Home Depot and the likes? Perhaps the likes of Alex, Rod, Tim or Mike could confirm?

For the brickwork, I sliced away about 2mm thickness from the 'damaged' area. I then used a ruler and pen to mark out the horizontal lines of the brickwork, and 'scribed' the mortar lines with a ball point pen, adding the vertical lines afterwards. Is that what you meant?

Cheers for the compliment. You can get really good results using this foam - it's very forgiving.

Simon
 
Mike,
Let me congratulate you on an excellent castle! It came out great. The Hydrostone is a pretty light product. How much do you think it weighs (the castle) Very well met! All the details and ballista came out great.

Bite of approval VV
 
Thank you guys, for all the compliments, you hit my soft spot when you smiled on the ballista KV.

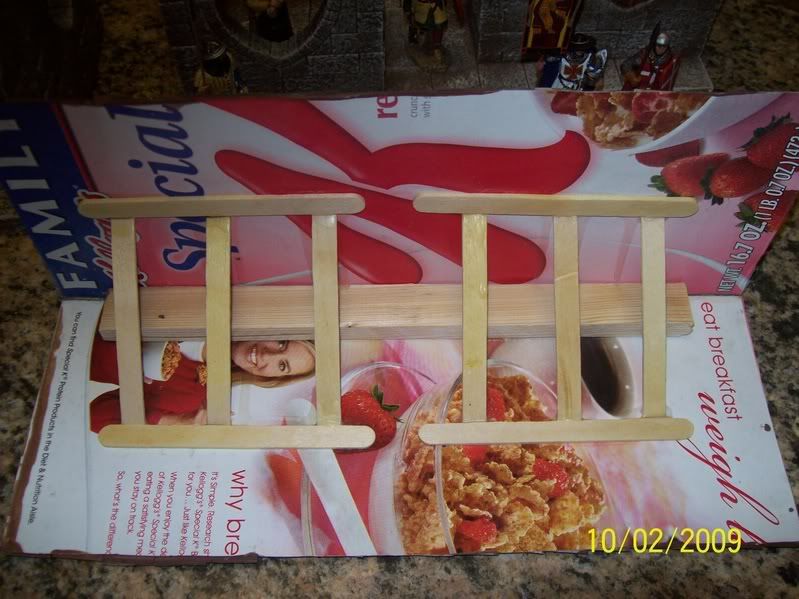
The weight, I don't know, I reinforced the walls with studs and rails (see photos), so it's got some weight, probably between 40-60 pounds. It's pretty solid.
 
Thank you guys, for all the compliments, you hit my soft spot when you smiled on the ballista KV.

The weight, I don't know, I reinforced the walls with studs and rails (see photos), so it's got some weight, probably between 40-60 pounds. It's pretty solid.

Good work deserves compliments. I admire your creativity and your can do attitude. I am going to be looking at those molds very closely to see which ones to order. gotta save my pennies;)

I have some of the Frontline and DP knights. I like the heraldry better on the Frontline. The sculpting on the horses is better on the DPs

I can't argue with the detail contrast on sculpting. The Frontline steeds coat of arms, badging and mail is superior in detail to Del Prado, but the detail in painting is weaker on the Frontline.

My biggest gripe with the Frontline I bought was that they had no bases. Some couldn't even stand on a flat surface, especially the charging steeds.

You'll have to fabricate some bases, I did mine from Sculpey.

I rolled out a base from a wad of Sculpey, pressed the hooves inprint into it before baking, then painted and glued when they came out of the oven.

One tip, if you do several at once in the oven, you might inscribe the bottom of the base before baking for reference in matching to the correct steeds foot imprint.

On the mold and plaster, why don't you start with mold #40 (the basic block mold for $34) and a 10 pound bag of Hyrdostone. You could make as many buildings as you want out of that for less than $50. It will pay off quickly, you'll have as many quality structures as you care to make for a small investment.
 
Nice job with the cropping of the photos MM1955 and will be looking forward to seeing what you put together once your JJ fingure arrive in the Lone Star State.........The Lt.
 
Nice job with the cropping of the photos MM1955 and will be looking forward to seeing what you put together once your JJ fingure arrive in the Lone Star State.........The Lt.

Joeseppi my friend, thanks for setting me up with Randy, he was a very cool guy and very eager to help. His voice on the phone really surprised me, I thought I was talking to a 25 years old kid until he cleared that up. He gave me lots of good tips and answered all my questions about JJ. Randy seems like the forum expert on JJ's. He knows all of their battles and figures in detail. He even steered me to a thread of his, to show me how to take photos as good as his.

I'm going to vote for you for Chief of Referecnce for this site. I think you still have every picture and post stored in that keen little mind of yours for reference, not much gets by you. I think you have a Pentel chip implanted in your brain that you never told me about.

Can't decide if I want to hold off on the JJ's until I finish a few uncompleted projects (still have 60 dead raw lead Zulus that need gluing/painting, want to fabricate some small Hirst structures from left over bricks and am going to re-do my terrain on the castle dio in floral foam) or get them in my hot little hands right now just so I can play with them.

About the JJ's, Larry Simmons, of March Through Times, told me, "Beware, they are so nice, if you buy one, you'll be hooked." He said they are the hottest thing in his store, even outselling the K&C.

Whatever I do from now on will be in a smaller scale, my office has filled up. I'll check on you in a few days. Appreciate the compliment of the photo editing, I'm going to get better at it. Thanks again Joe.
 
I can't argue with the detail contrast on sculpting. The Frontline steeds coat of arms, badging and mail is superior in detail to Del Prado, but the detail in painting is weaker on the Frontline.

My biggest gripe with the Frontline I bought was that they had no bases. Some couldn't even stand on a flat surface, especially the charging steeds.

You'll have to fabricate some bases, I did mine from Sculpey.

I rolled out a base from a wad of Sculpey, pressed the hooves inprint into it before baking, then painted and glued when they came out of the oven.

One tip, if you do several at once in the oven, you might inscribe the bottom of the base before baking for reference in matching to the correct steeds foot imprint.

On the mold and plaster, why don't you start with mold #40 (the basic block mold for $34) and a 10 pound bag of Hyrdostone. You could make as many buildings as you want out of that for less than $50. It will pay off quickly, you'll have as many quality structures as you care to make for a small investment.

I could start a new business "kilted Vampire Kastles". I will look into it Mike. Thanks for the tip.:)
 
Nothing new here, just experimenting with backdrops and lighting.

Just wanted to see how they would come out on forum.

100_1017.jpg


100_0979.jpg
 
Mike how did you end up painting the walls? Can you go over your openings and tell us how you layed them out?
 
KV,

The castle was laid out with 4 towers, 3 walls and 1 gate section. I stole the gate from my JG Miniatures siege tower and made the portcullis out of Sculpey and kabob sticks.

The walls:

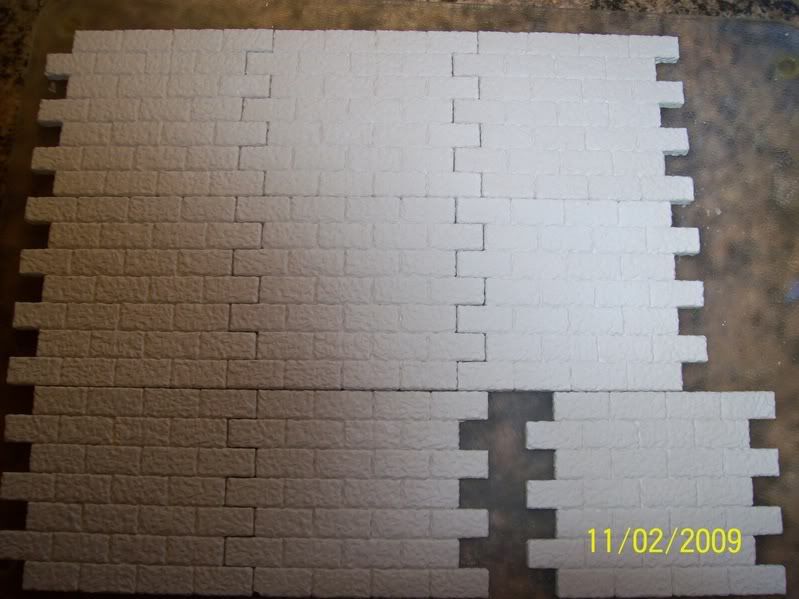
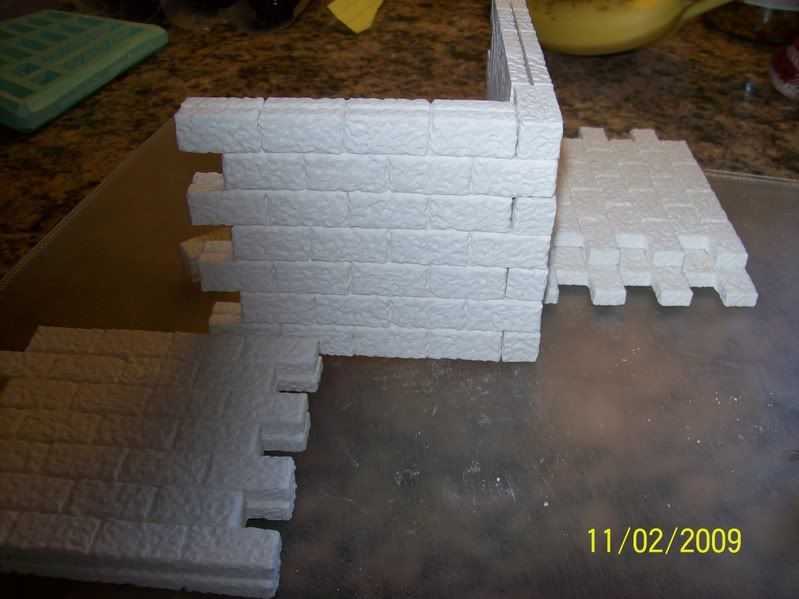
The walls were all made from wall mold #200.

100_1021.jpg


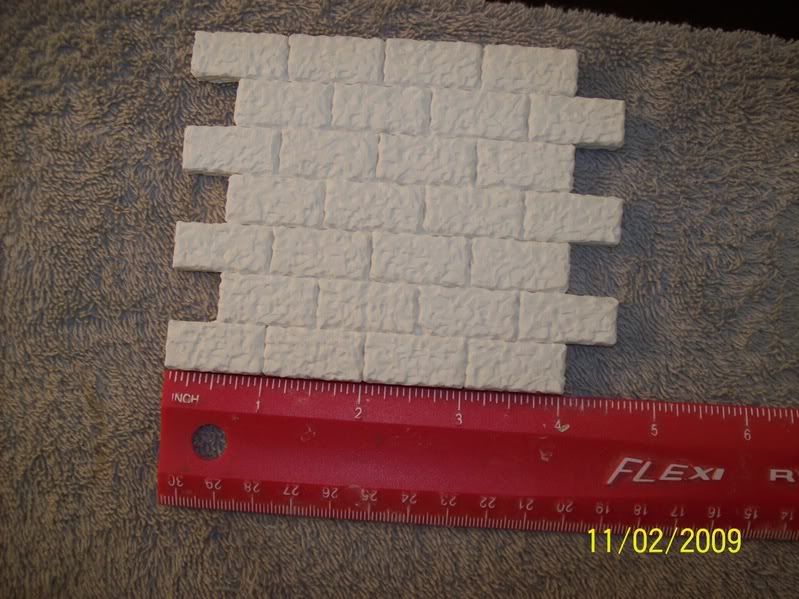
The wall molds (#200), are 3 1/2"s tall and 4"s long, and I wanted them to line up in height with the open siege tower door (from K&C), which is 9 3/4"s tall.

100_0577.jpg


I stacked 3 of the 3 1/2"s wall sections for my height, for an overall height of 9 1/2"s. A pretty close match to the seige tower door.

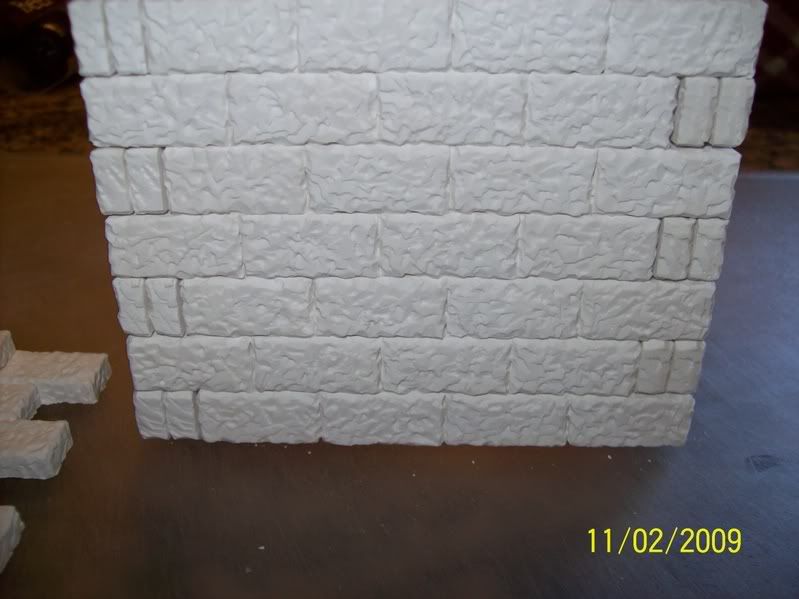
Important: Make sure you stagger the bricks so they look realisticly placed.

100_0579.jpg


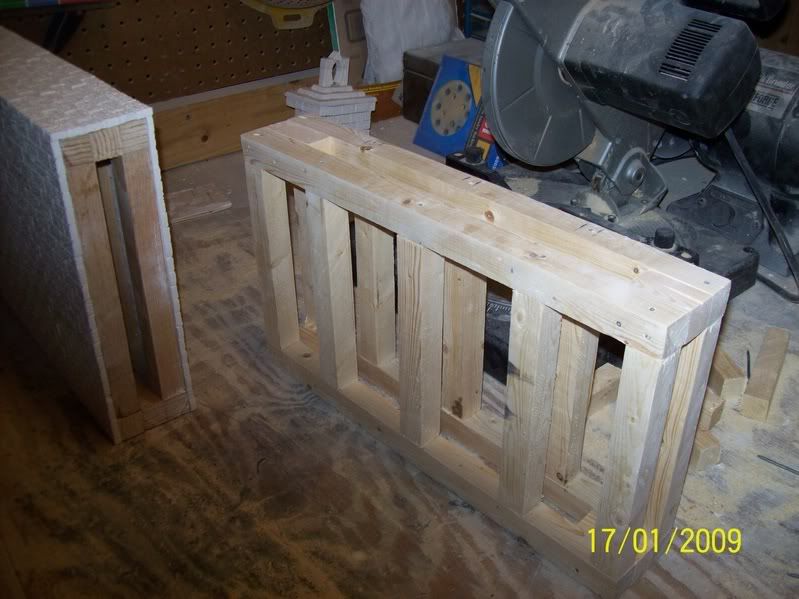
I re-inforced the interior of the walls with studs and rails just like a house.

You don't have to do this.

You will probably make a bottom for your walls and a catwalk for the top, so it will stand on its own.

My catwalk was made in 1 full wall sections, 3 1/2"s each. See photo:

000_0001-3.jpg


The walls are sturdy by themselves, I just wanted a very stong piece.

Again the wall sections are 4"s long, so all the walls are done in 4" increments.

The two side walls consisted of 4 mold wall sections in length, for a 16" wall.

The rear wall consisted of 3 mold wall sections in length, for a 12" wall.

You can go longer or shorter if you want.

The wall sections can be scored with a sharp edge and broken cleanly on the edge of a flat surface with the palm of your hand.

No breaking is required if the height is built in increments of 3 1/2" sections and if the length is made in increments of 4" sections.

The towers:

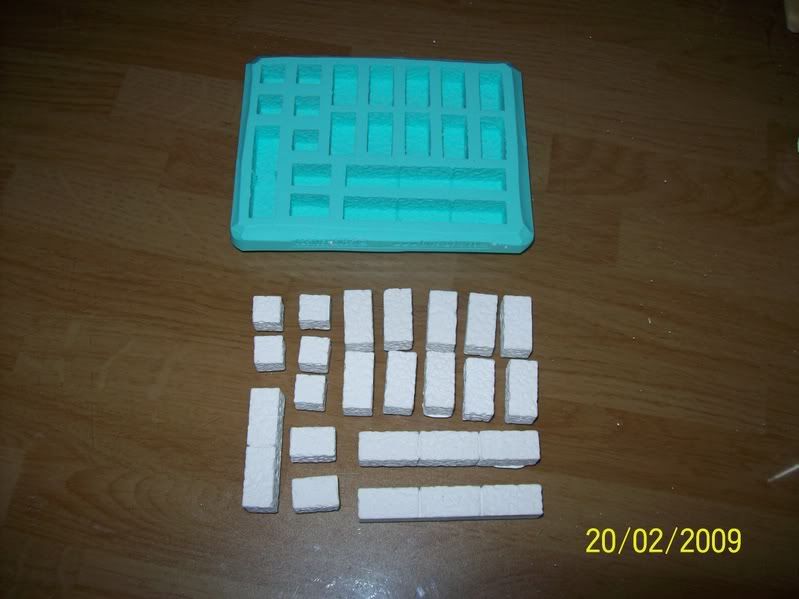
The towers were made from basic block mold #40.

100_1020.jpg


The towers can be subsidized with wall sections from wall mold (#200), but the corners will leave a gap. See photo:

100_0557.jpg


To avoid this thin gap, you need a single block to end the corners. See photos:

This is the incorrect way:

100_0559.jpg


This is the correct way, by adding a single block to the end row of wall sections, the gap is now gone making a nice corner.

100_0561.jpg


The wall sections are 1/2" thick, the bricks are 1" thick, so you need to double stack the wall sections to make them the same thickness as an individual brick.

I hope the pictures make it clear for you.

I did not use wall sections on my towers, it was made from mold #40, of single, double and triple bricks.

The triple brick sections (see picture of mold #40) are a premium for your building. They allow you to build much faster.

This is just my plan, you can be creative, you can make any sizes you want. I've already built 3 extra buildings from leftover blocks. I'm considering them as freebies, a big bonus, just extra building gratis.

You could teach me more about painting than I could teach you, but to answer your question....

The Paint:

I chose a chocolate brown instead of a traditional dark grey. My castle is a desrt castle.

I kind of wish I had started with a lighter brown, but the dry brushing really toned it down. The bricks are so textured that they really pick up the highlights very well. Do a sample brick or two to get your desired color.

I used a chocolate brown, thinned with water to the consistency of a thin milk. I slopped it all over liberally to let it run into all the cracks.

My first dry brush was a non thinned 1/2 and 1/2 mix of the brown with a biege.

My second dry brush was a non thinned mix of the beige.

Again, the bricks are so detailed with texture, that they will really pick up the highlights from the dry brush unbelievably pretty.

If you ever decide to do anything, start with mold #40, if you get serious, buy mold #200.

If you get in a jam, call me anytime. It would be my pleasure to help you avoid the mistakes I made.

Good luck and have fun.

You will be able to make so many buildings with this mold, so cheap. I'm guessing my extra buildings cost me less than $5 apiece with the glue, bricks, paint, Sculpey windows and doors. Really cheap!!!!

If you need help, I'm here for you.

Michael
 
KV,

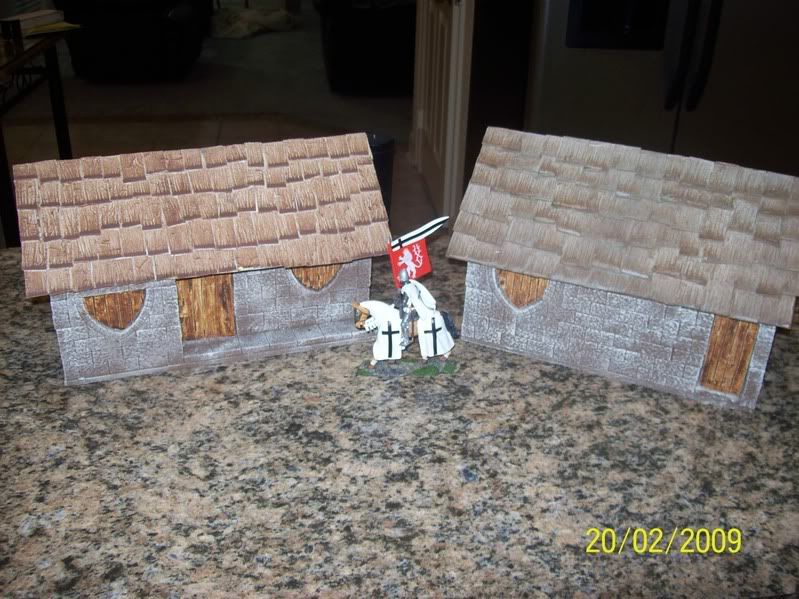
These were made from leftover bricks.

100_1026.jpg


I consider them free.

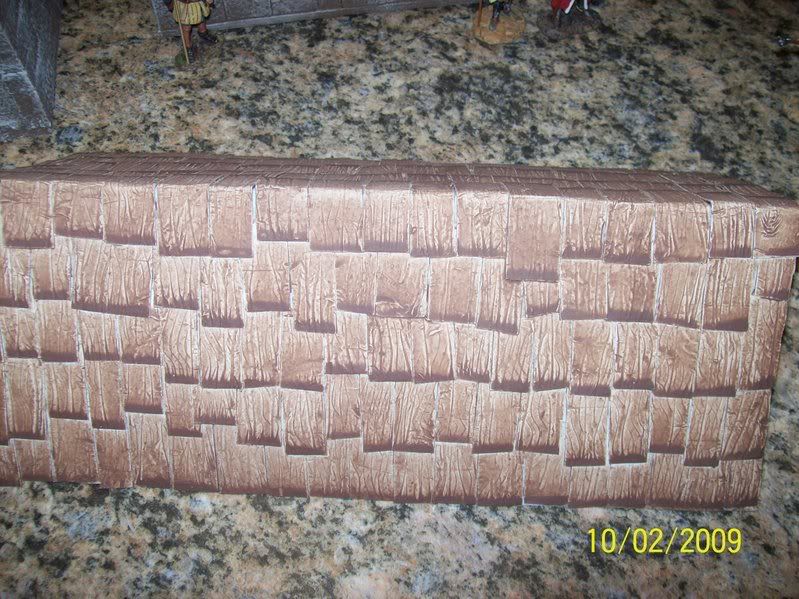
The roof, I made myself.

100_0522.jpg


100_0523.jpg


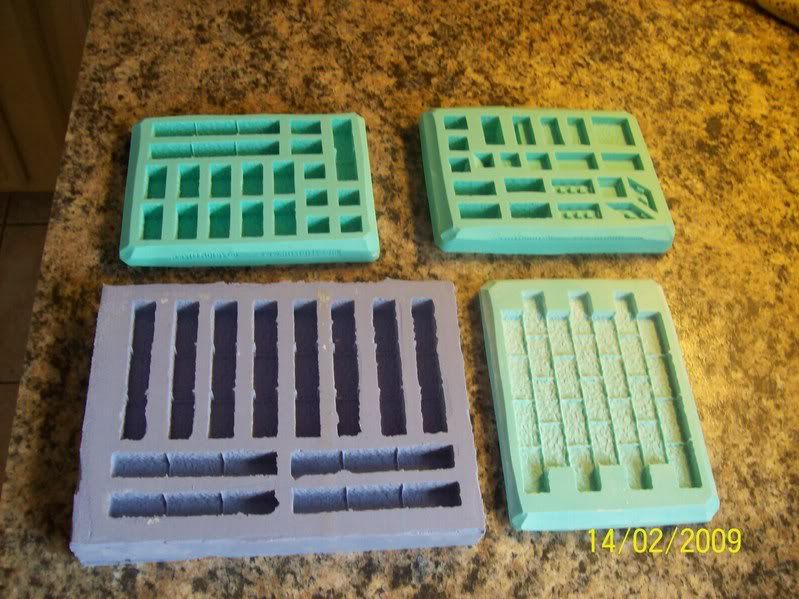
I spent $103 on 3 molds and $48 on Hyrdostone (3-50 pound bags at $16 each). I bought #40, #53 and #200 (bridge).

$151.00 total. I still have over a 1/2 bag of Hydrostone left.

I just ordered 8 single castings of molds #41, #42, #44, #50, ,#61, #70, #230 and #240.

They cost $2.00 each.

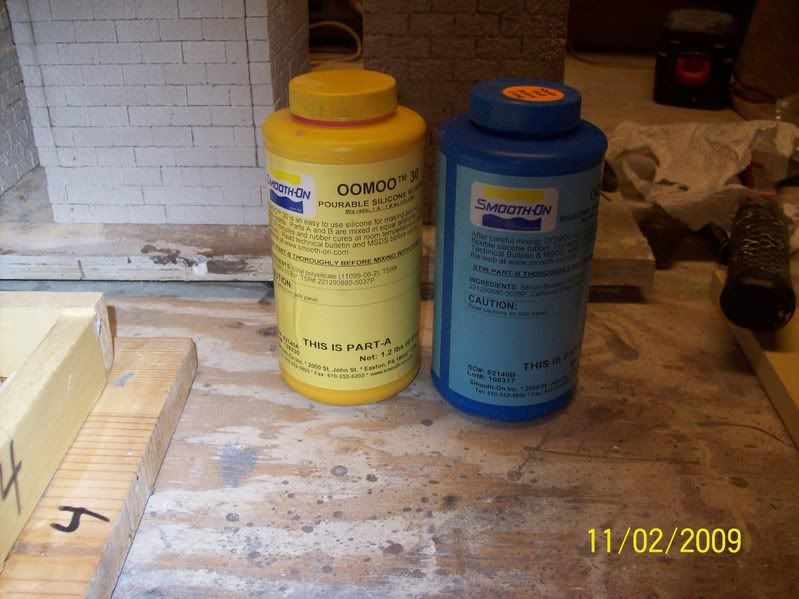
I will make rubber molds from them with OOMOO25, like I did in my thread and mass produce the for myself for next to nothing, instead of buying the molds.

100_0729.jpg


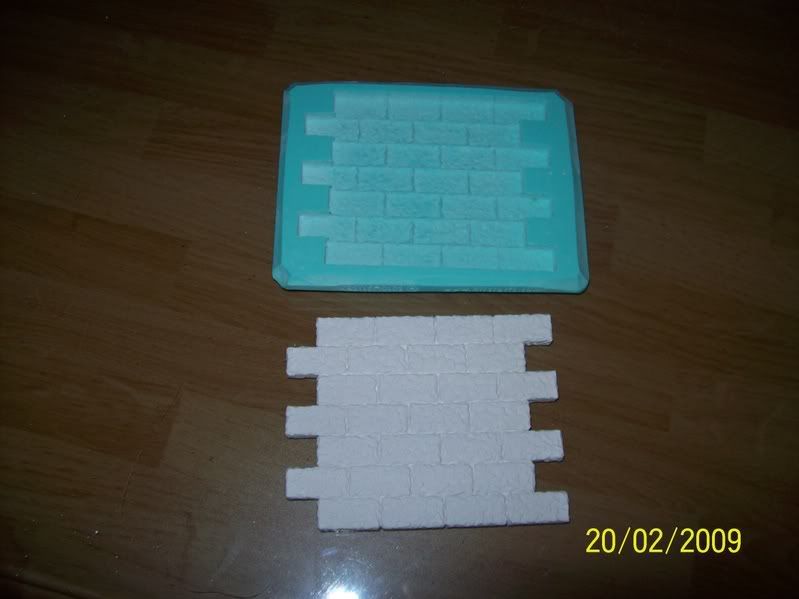
I made the purple mold from this product (OOMOO25).

100_0554.jpg


I made my own casting.

100_0551.jpg


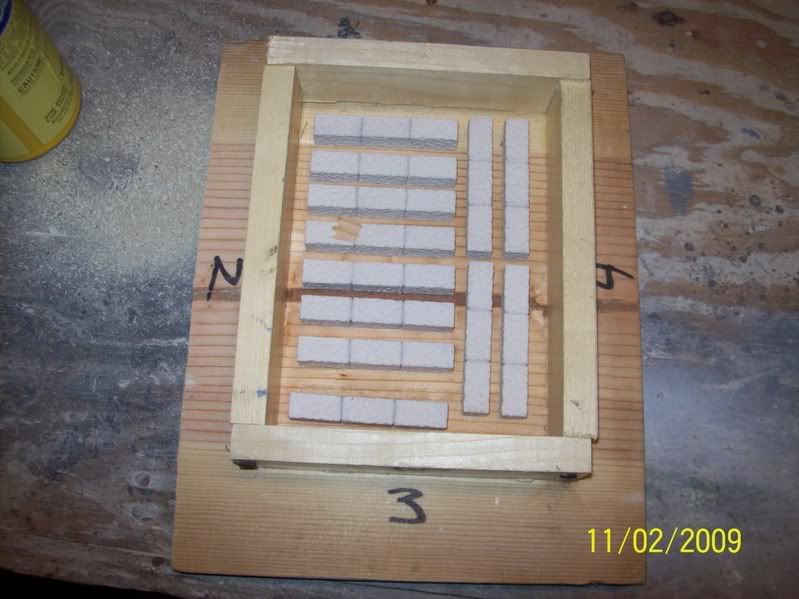
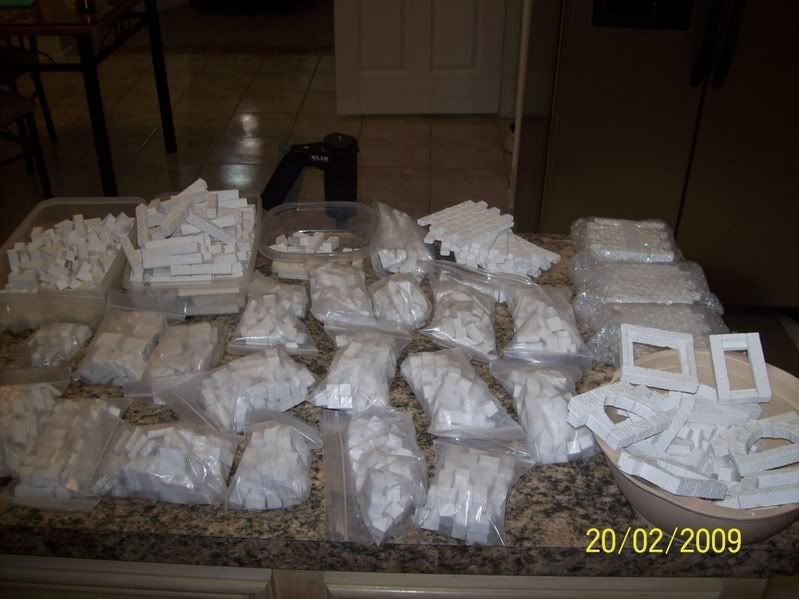
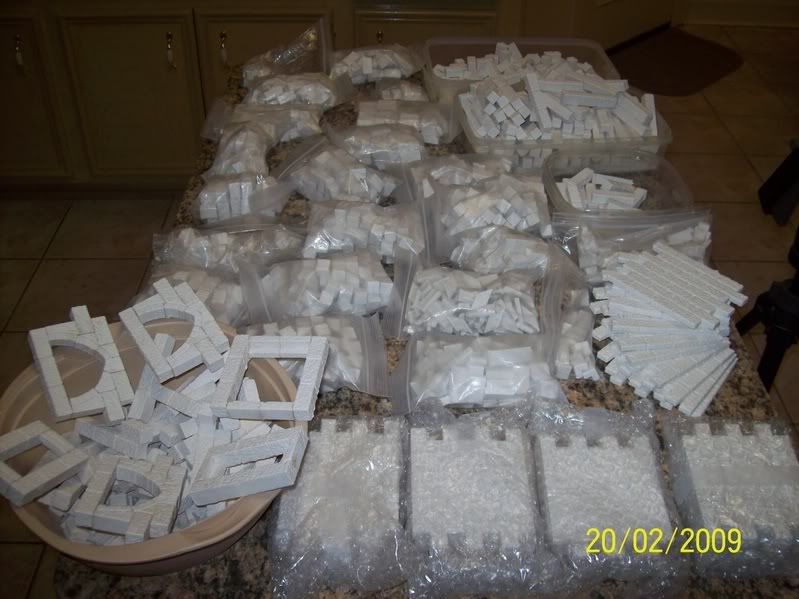
I have piles of bricks left over.

100_1028.jpg


100_1027.jpg


I can make tons of stuff for such an inexpensive investmentt. You can make anything you want so cheaply.

Again, if you take the plunge and need any help, just call, Michael
 
Nothing new here, just experimenting with backdrops and lighting.

Just wanted to see how they would come out on forum.

100_1017.jpg


100_0979.jpg

Mike

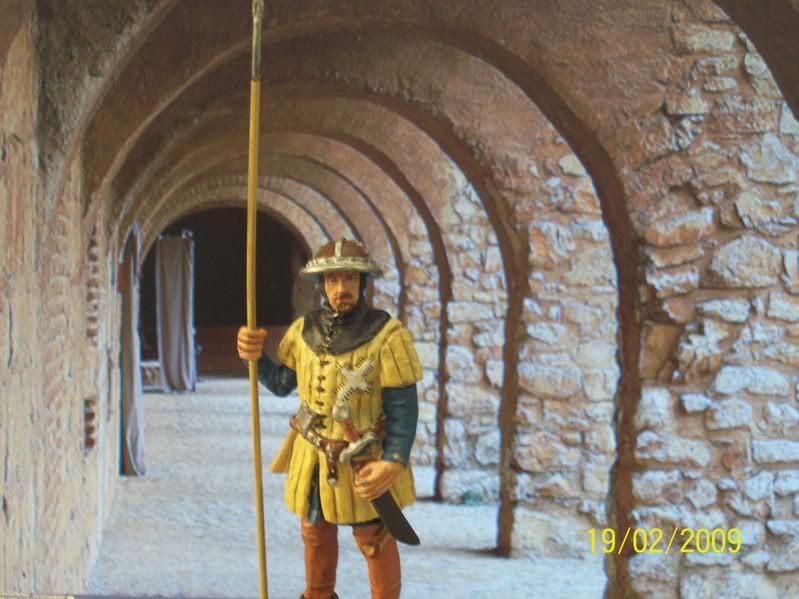
These are excellent. I especially love the bottom one. Great composition. You are definitely on the right track. Can you remove the date stamp from your photos? That would make the realism complete. The soldier looks like a real person and your choice of backdrop was brilliant since it literally draws our eye into the picture. I'm JEALOUS of this great shot:D

Keep up the good work.
Randy
 
Randy, thanks for the compliment and especially the enhancement you emailed me.

I did not edit it through my Kodak software, but am sure I can pretty easily.

Do you use a flash or just your 3 light set-up?

Do you use close-up or zoom?

How close is the camera actually to the figure when you shoot if you use close-up?

Your edit makes it look 100% better.

Thanks for the tips too. I'll get better.

I'm beginning to realize how important a good photo is. I've noticed a big commitment from more hobbyist lately on the forum to photo editing. Everybody's photos are getting better.

I'm sending you a stock copy of this photo. I had little success in printng out a high quality copy of it on the paper I have. When enlarged and printed, the detail blurred. I'll go to Office Depot today.

I actually took that photo with my soldier standing in front of the picture on my computer monitor screen. I didn't use the print out of the photo.

I just reduced the photo on my monitor to the size I wanted.

Then propped up my soldier so his feet were level with the monitor's photo, turned off the flash so it wouldn't glare off my monitor and squeezed off a few.

It held all the detail pretty well. Again, I'll get better.

You're a really nice guy to check on me. Very cool of you.

Thanks for all the photos you emailed me. Nice to know who I'm talking to, I'll reciprocate.

Michael
 
Mike,
You took those shots in front of a monitor?! They came out fab, and a wonderful idea to boot!!! You now have been blessed with Randy's KSAs and generosity to help in any way. Top notch friend on the forum...I wish we could all get together some day:cool:
Mike
 

Users who are viewing this thread

Back
Top