New Office Diorama... (1 Viewer)

Okay...

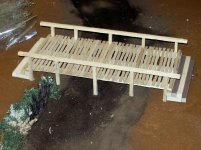
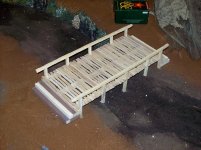
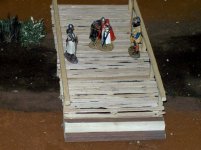
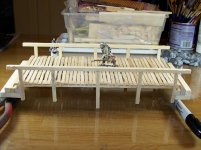
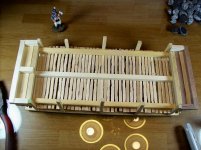
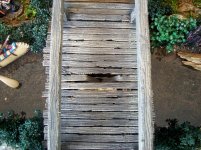
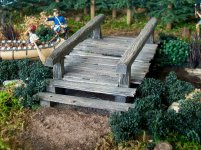
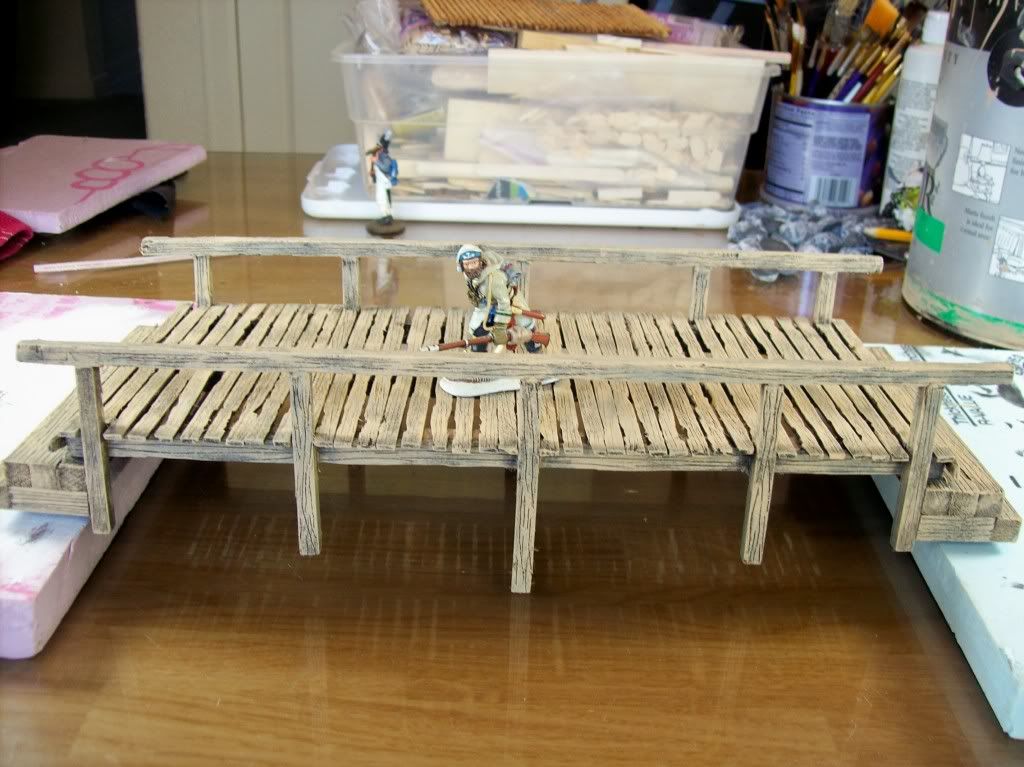
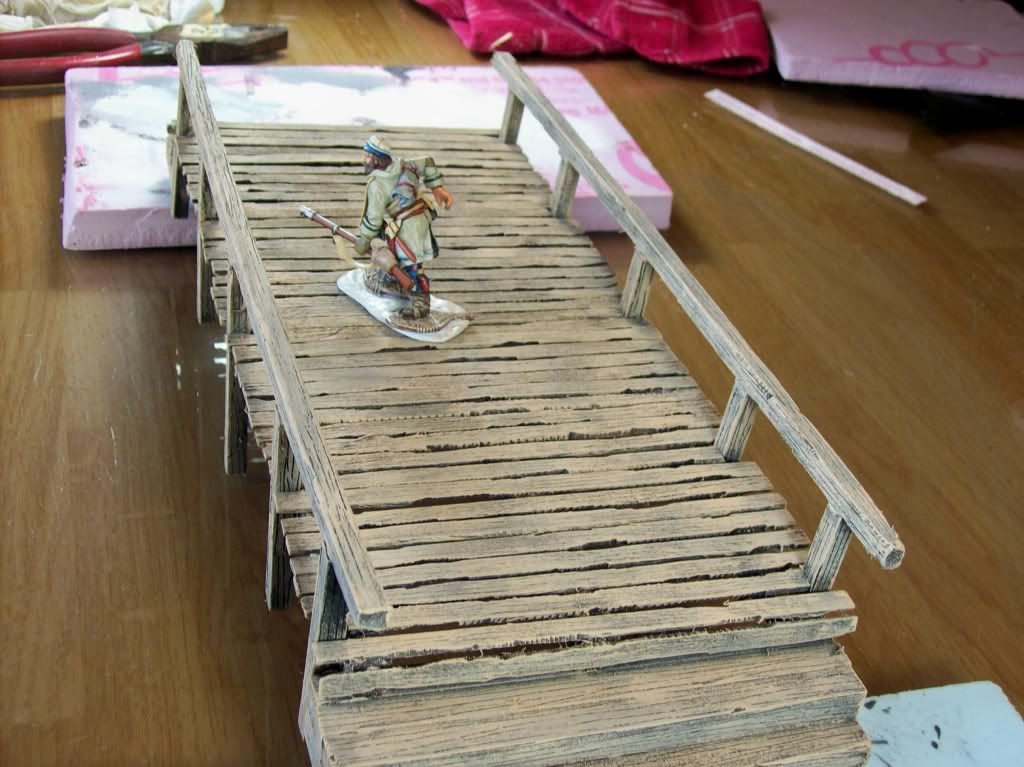
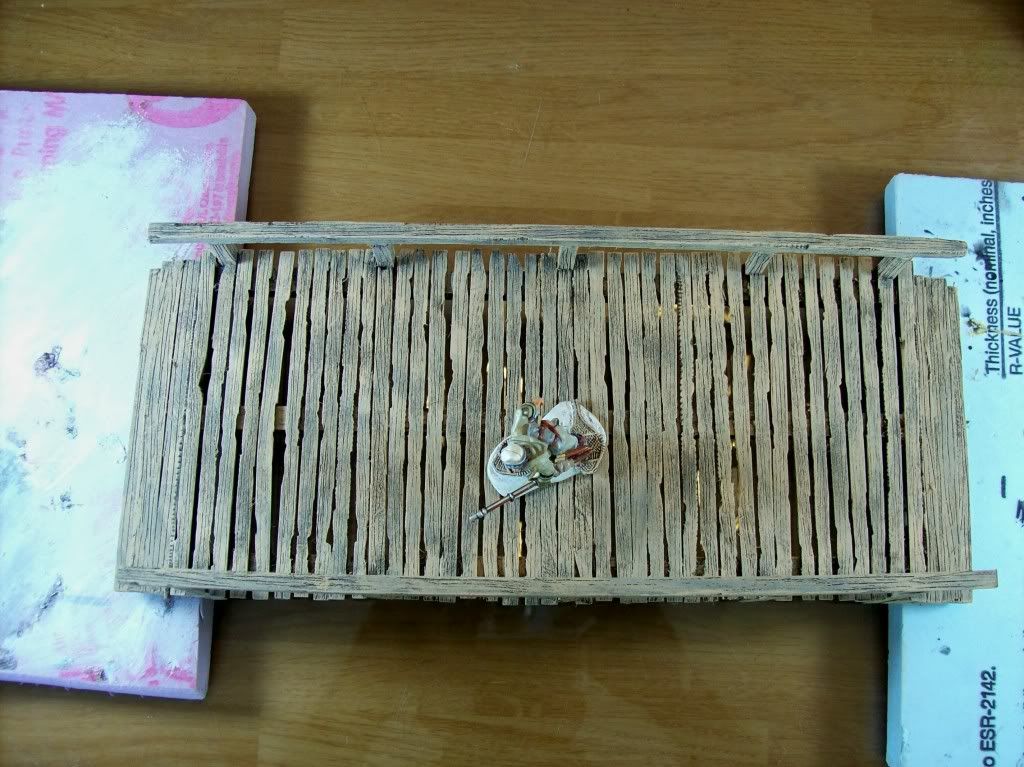
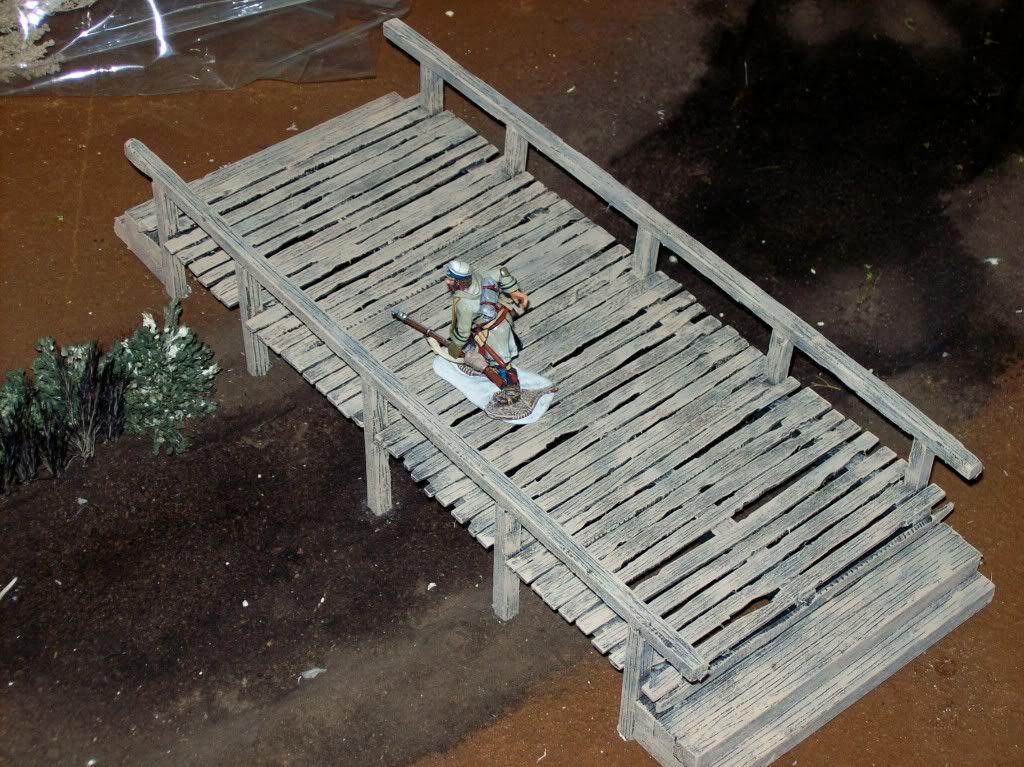
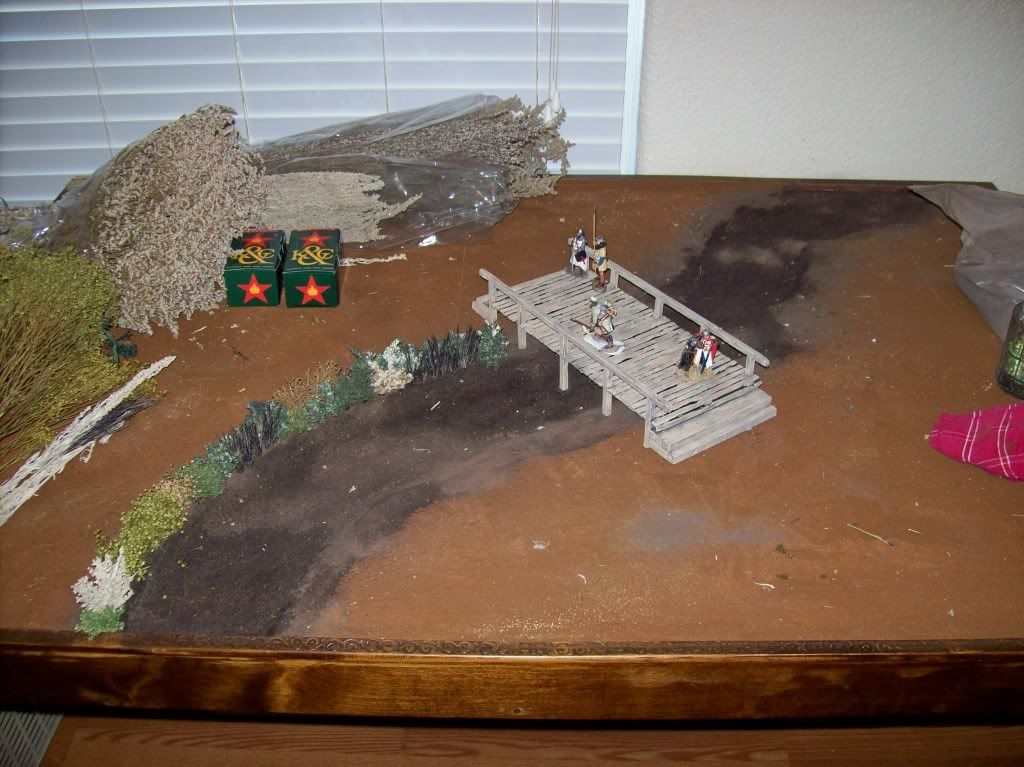
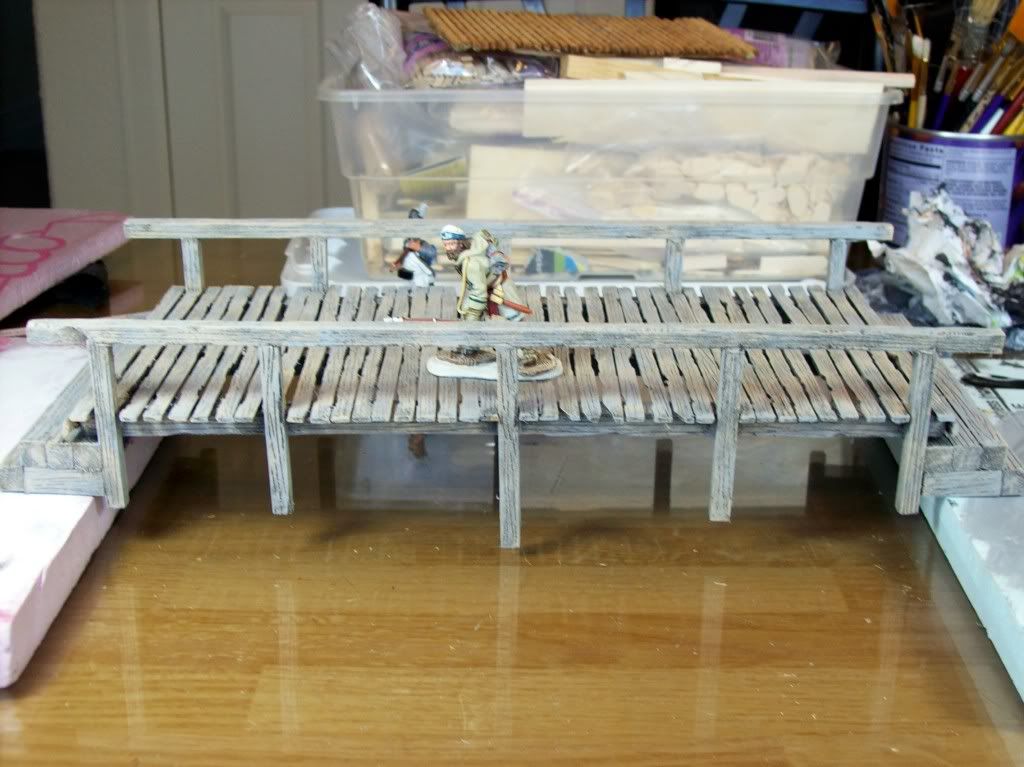
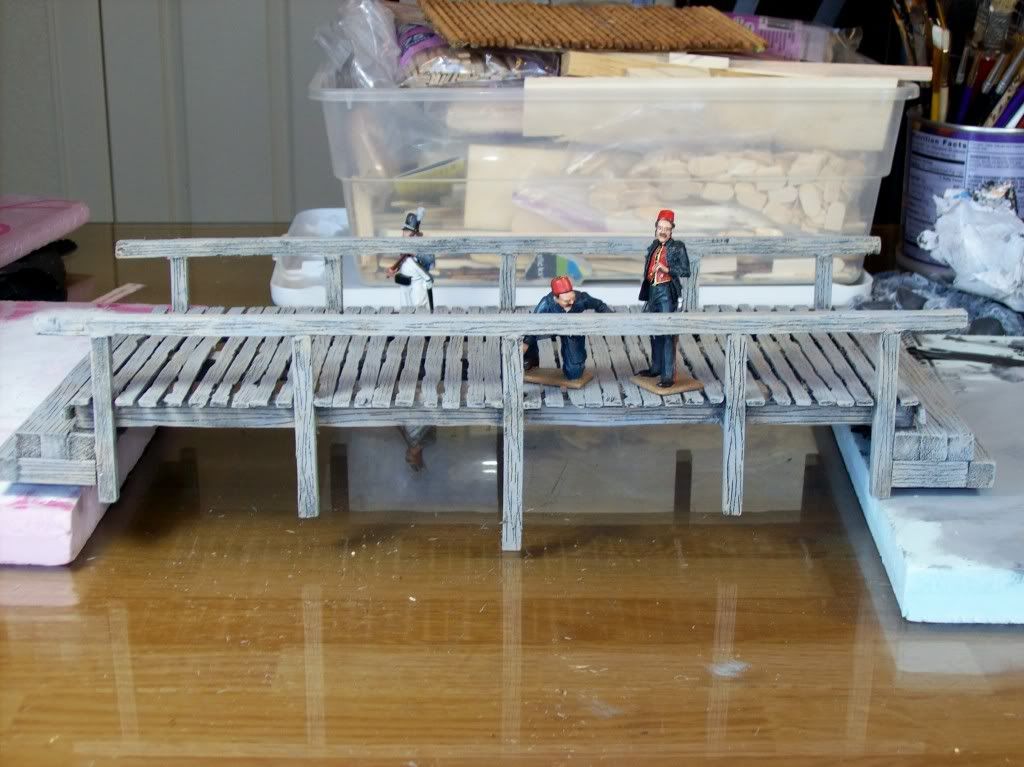
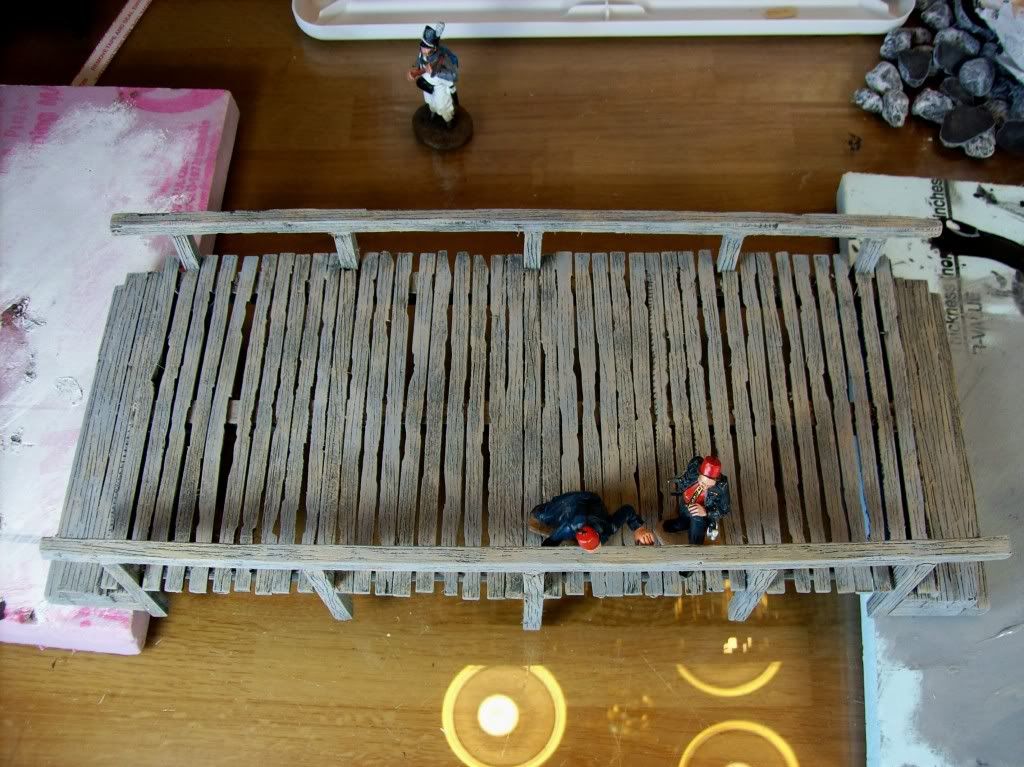
I finished building my bridge...it's pretty big...maybe bigger than I expected...but I said earlier in this thread that I wanted a big bridge...I guess it will be the centerpiece of the diorama...

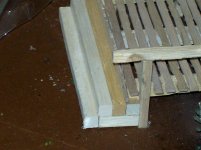
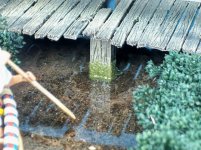
all the posts (pilings) are seated about 1/4" into the painted Styrofoam and puttied river bed...

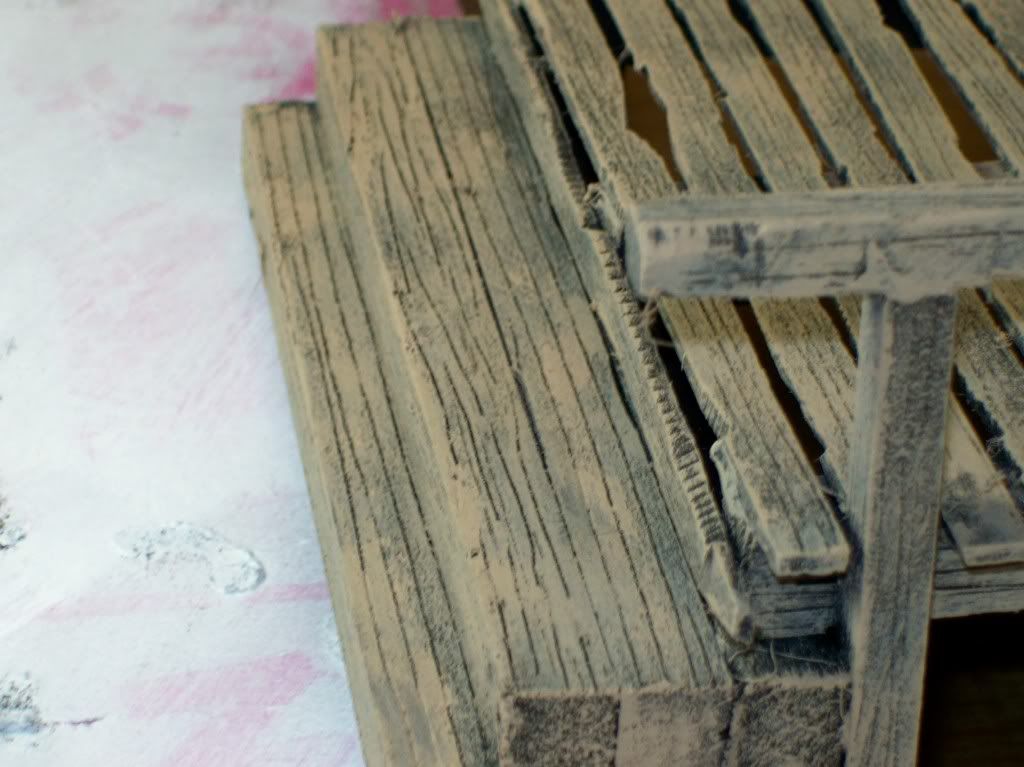
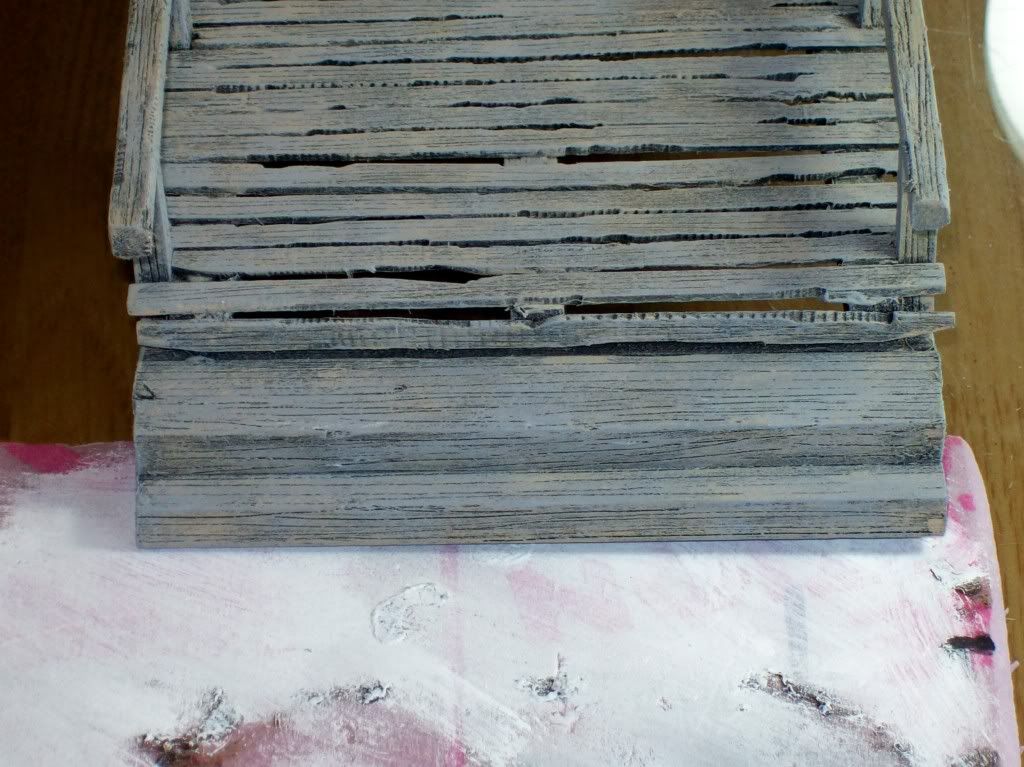
"grain detail" has been etched into each exposed piece of wood for added detail...

tomorrow I will remove it and paint it black...then do a dry brush of a tan color to give it a really exposed weathered look...

I'm still hoping my foliage will arrive Thursday...I would like to wrap this thing up pretty quick...

that's all for now...
 

Attachments

  • 100_1570.jpg
    100_1570.jpg
    129.1 KB · Views: 252
  • 100_1571.jpg
    100_1571.jpg
    124.2 KB · Views: 251
  • 100_1572.jpg
    100_1572.jpg
    91 KB · Views: 253
  • 100_1573.jpg
    100_1573.jpg
    111.3 KB · Views: 255
  • 100_1574.jpg
    100_1574.jpg
    112.8 KB · Views: 250
here's a couple of pics of it out of the ground...
 

Attachments

  • 100_1577.jpg
    100_1577.jpg
    112 KB · Views: 290
  • 100_1578.jpg
    100_1578.jpg
    122 KB · Views: 286
Okay...

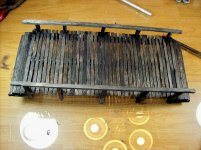
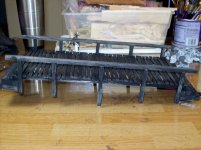
I gave the bridge a good "paint wash" in black...just slopped it on all over...

I will let it dry and then go over it in a "dry brush" of tan...

it will really give the wood a real weathered dilapidated look...a really beat up outdoors weathered look...

the reason I gave it a wash in black was so the paint could creep into all the grooves and etches I made for "grain detail"...they will stand out nicely when I do the tan dry brush...

if i get it drybrushed today...I may seat it in the terrain and fix the ground work around the posts...

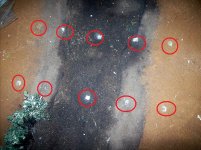
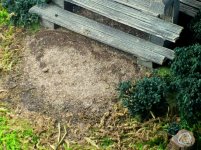
I pressed the 10 posts into the terrain and will glue them in these holes...I circled the holes in red in the last picture...
 

Attachments

  • 100_1579.jpg
    100_1579.jpg
    122.4 KB · Views: 268
  • 100_1580.jpg
    100_1580.jpg
    107.3 KB · Views: 267
  • 100_1581.jpg
    100_1581.jpg
    164 KB · Views: 266
Mike..

I have two dio's on the go at the moment and am falling behind because I am watching yours develop. Interesting that you use a black wash. I may try this as I usually use burnt umber wash and similar and lighten accordingly then weather.
Mitch
 
Mitch...I did this one the same way...so this is what you should expect as a finished product...I would love to see yours...
 

Attachments

  • 100_0579.jpg
    100_0579.jpg
    179.5 KB · Views: 290
  • 100_0580.jpg
    100_0580.jpg
    175.8 KB · Views: 291
  • 100_0598.jpg
    100_0598.jpg
    163.1 KB · Views: 287
  • 100_0599.jpg
    100_0599.jpg
    186.8 KB · Views: 283
Very effective. I am currently building the framework for a bomb damaged building and a damaged first floor so, may try the black wash to really darken the wood to replicate fire damage rather than use pigments.

I will post some pics soon
Mitch
 
Mike Great job!!!^&cool Love the bridge and the ground work looks great! You have me itching to get off my butt and start a new project. I haven,t touched anything in awhile now and I need some inspiration like this to get me in the mood to try something.
I haven,t been posting much but I have seen a lot of your recent work and it all looks great. Keep it up, it all looks great!^&cool

Once again Sir Michael another great round of tutoring an looks like you've awaken Sir Fish which will be a pleasure to see what he comes up with....PapaZ
 
Love your bridge Michael, that was a great idea to have a broken plank in the centre:salute::

The stones are great also{bravo}}

Cheers

Martyn:)
 
thank you Mitch, Tim, Joe and Martyn...

I was real unhappy with the tan dry brush...the bridge looked like a big yellow blob...

so I added a gray dry brush to soften it...

here's some pics of the tan dry brush...


100_1585.jpg


100_1586.jpg


100_1588.jpg


100_1589.jpg


100_1590.jpg


100_1591.jpg
 
here I added a gray dry brush to soften it up...I'm not 100% happy...but hope it will look okay when all finished...

Martyn...I have had more people comment on that broken plank I added to the diorama I sold in San Antonio...it's not too late to break one on this bridge and I think I will when I pour the Magic water...I will break it enough so it will hang into the water...

anyway...here it is with a gray dry brush on it...I do like it better now...
100_1590.jpg


100_1589.jpg


100_1593.jpg


100_1591.jpg


100_1588.jpg
 
I was still unhappy with the tan in the bridge...and while I'm not a perfectionist...I had to drybrush it one more time to get it how I wanted it...this is the final version...and I'm pretty happy with it...

it has a good weathered outdoor look now...
100_1598.jpg


100_1599.jpg


100_1601.jpg
 
Mike,
Great work on both the castle and the river diorama. I love the wooden bridge. Terrific attention to detail!
Semper Fi!
Rick
 
Mike- That's some great stuff there- a flexible diorama is always a cool thing to have!
Great to see your work again,
Sandor
 
I'm glad I stumbled into this thread-this has been an incredible tutorial on dio building-thanks much for sharing this and all the tips.
mike
 
Mike, great thread. I'm enjoying it and getting inspired to get back at some of my projects. Thanks for that. Here's a quick tip I learned from an old model railroader; When you make your glue/water solution for spraying, add 5% rubbing alcohol to the mix. It makes the solution "wetter" and will flow and seep much better. It works great. I like your use of natural dirt too. That is something I do as well in fact I use real rocks too and as much natural stuff as possible. I loved your tip about roughing up the planking. Looking forward to more of the great thread.
 
ty Rick, Sandor, Mike and Captain...

Sandor...glad to see you back and having some fun...even if it's only temporary...

Captain...thanks also for the tip on the alcohol...I will start doing that...

I'm hoping my foliage will arrive today...I'm anxious to finish "shrubbing out" the river bed and getting this finished...

I'm going to post pictures of the foliage I'm using...with it's name, cost and where to find it...it should be useful info for dio makers...
 
Okay...

so my foliage finally arrived today...a day later than they told me...but it's here so I'm pleased...

one of the things I get asked most about...in the pictures I show is...

what the foliage I use is and where did I get it...

so I'm going to post some pictures of some of my favorite stuff...telling what it costs and where to get it...

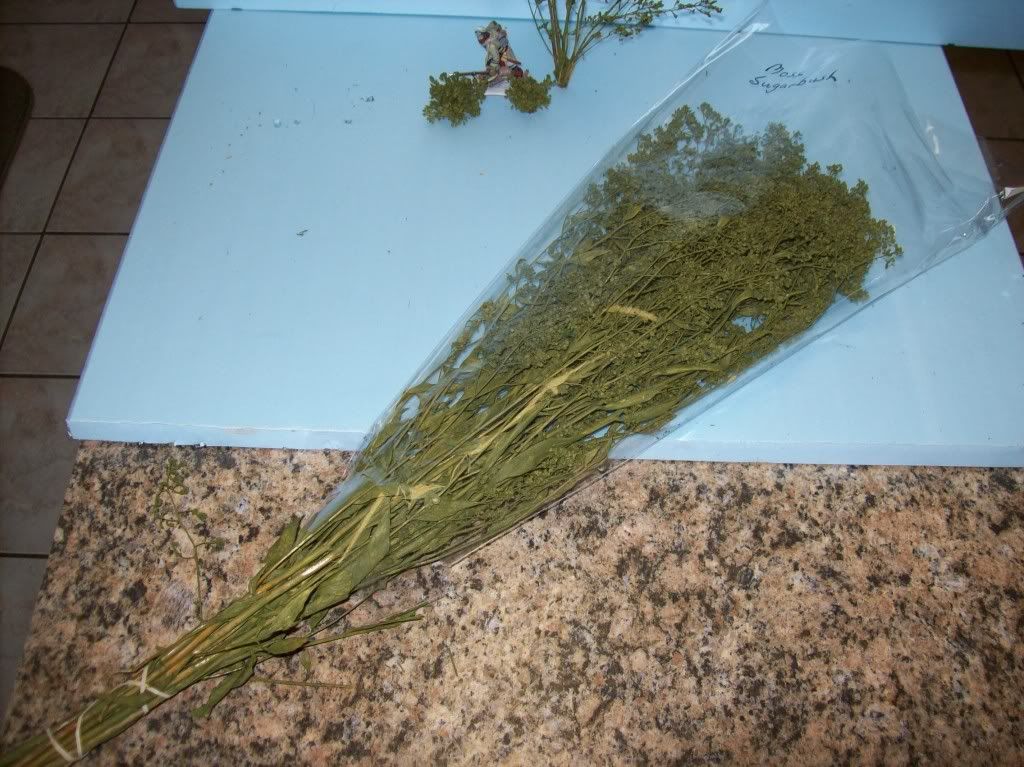
the first one...is one of my favorites...

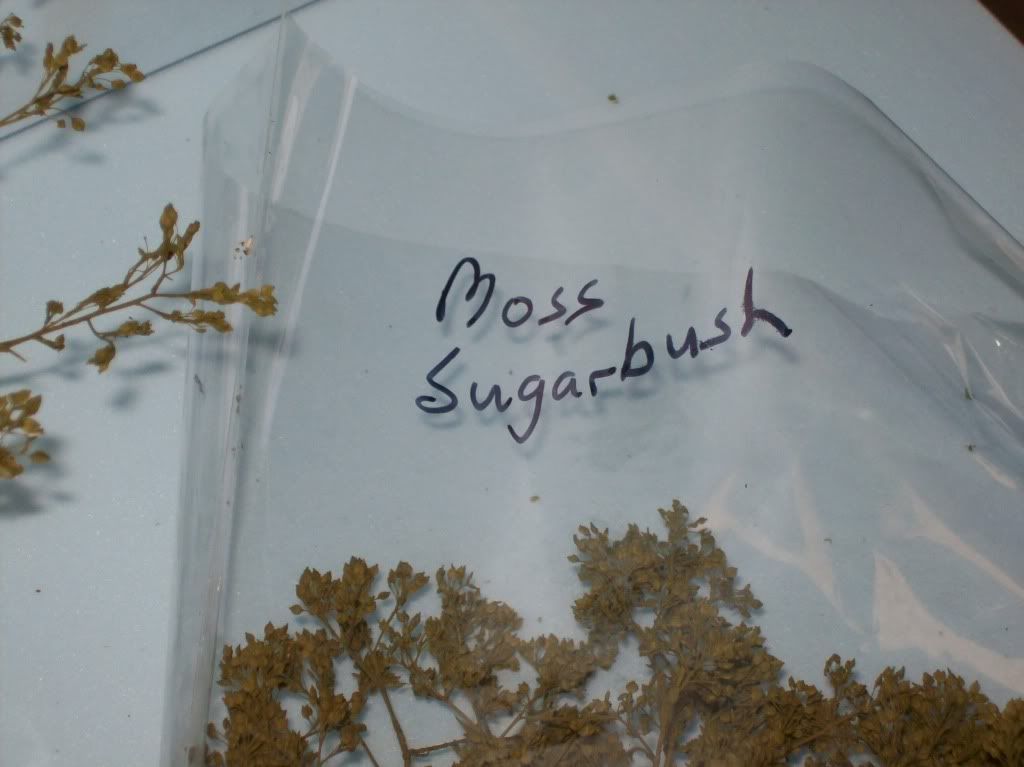
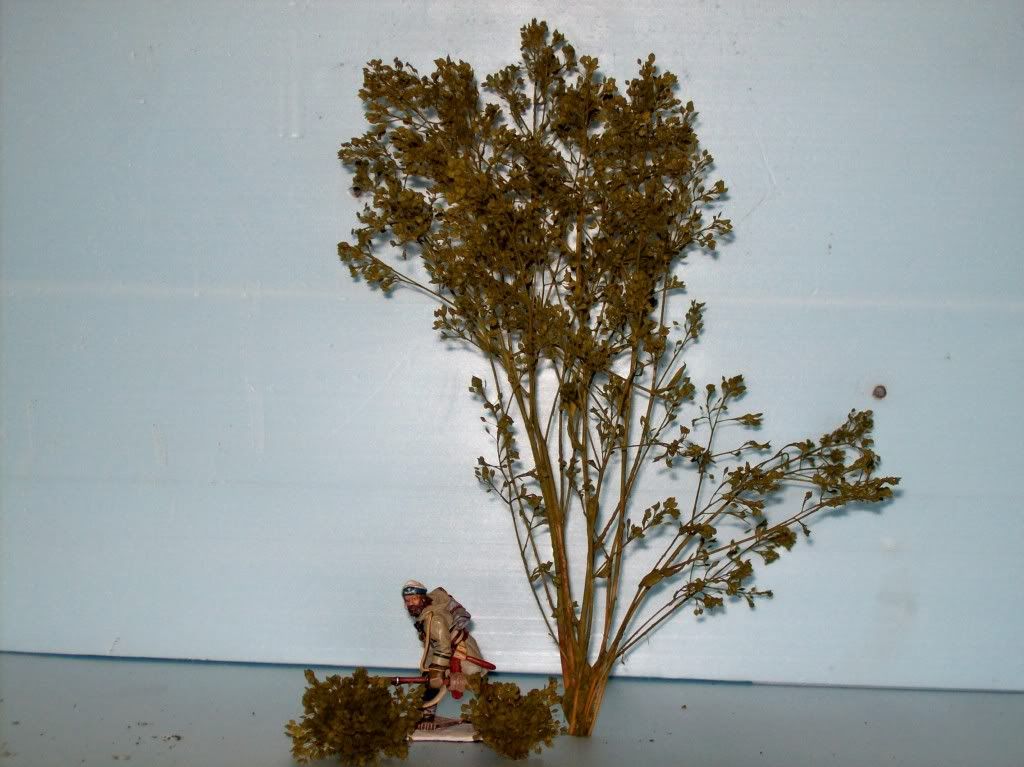
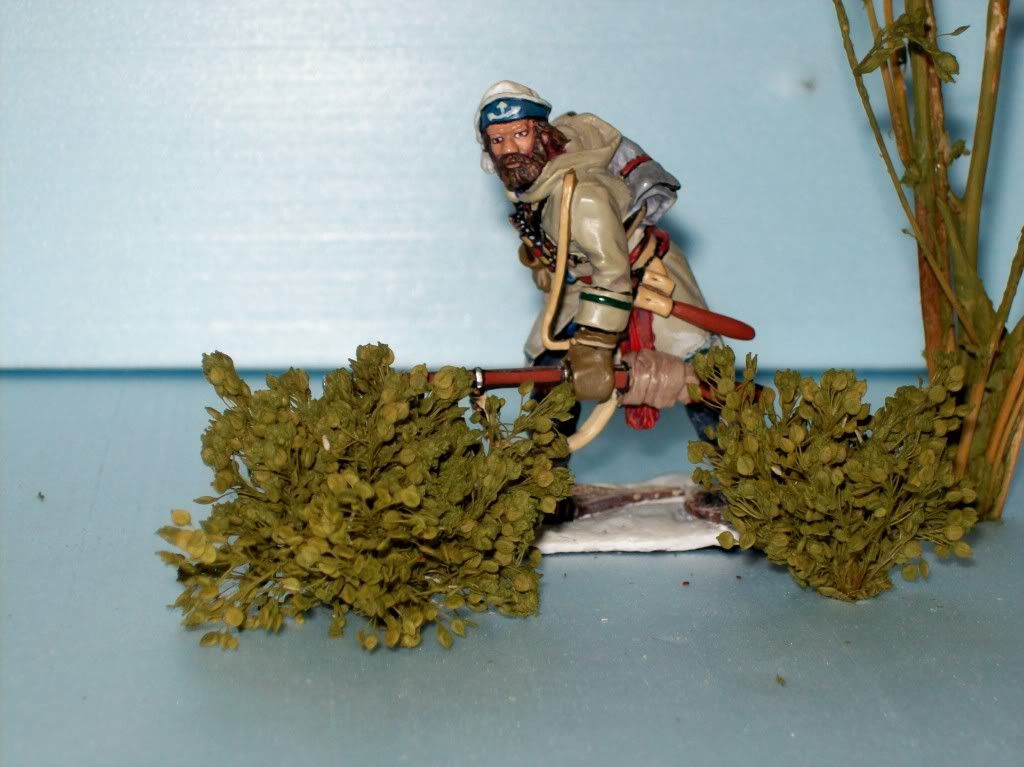
it's called "Sugarbush"...it's really good for trees and shrubs...very delicate in size and scale...

I mentioned earlier about preserved and un-preserved...

this comes preserved...which I prefer as it is softer and less brittle...so it is flexible and won't break up every time you touch it...but if you can't get it preserved...you can preserve it yourself with glycerine...(I explained this earlier in a post on this thread)...

here's some pictures of Sugarbush...it comes in a variety of colors...a variety of greens also...

100_1696_00.jpg


100_1695_00.jpg


100_1693.jpg


100_1694_00.jpg
 
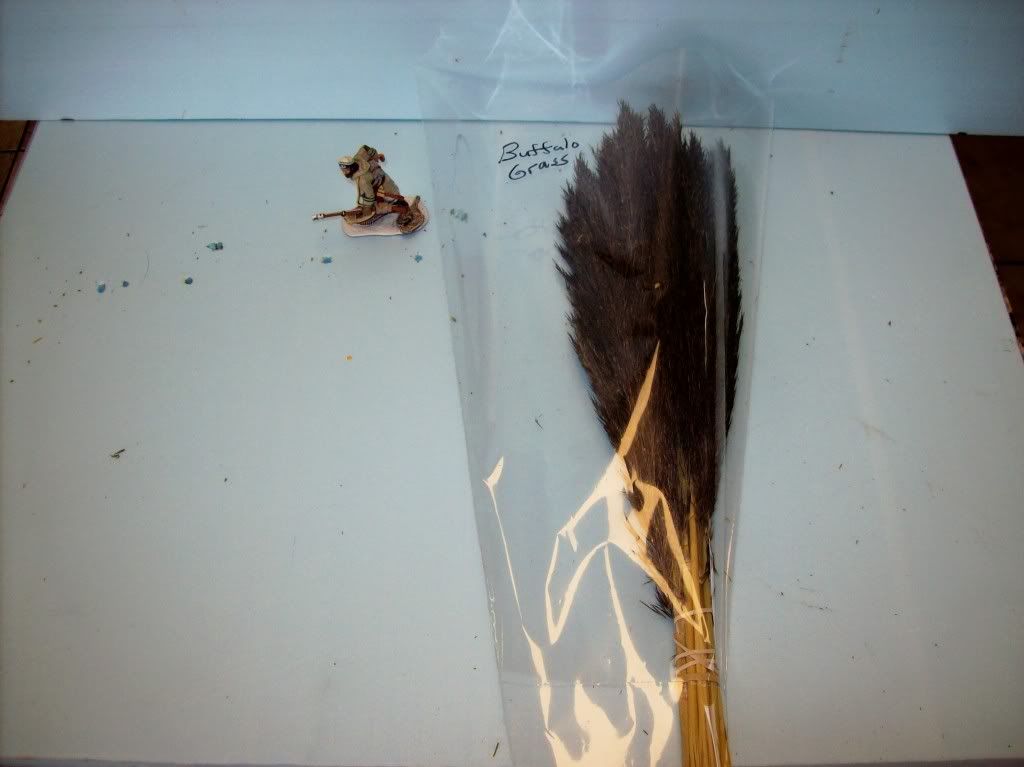
this is another one of my favorites...

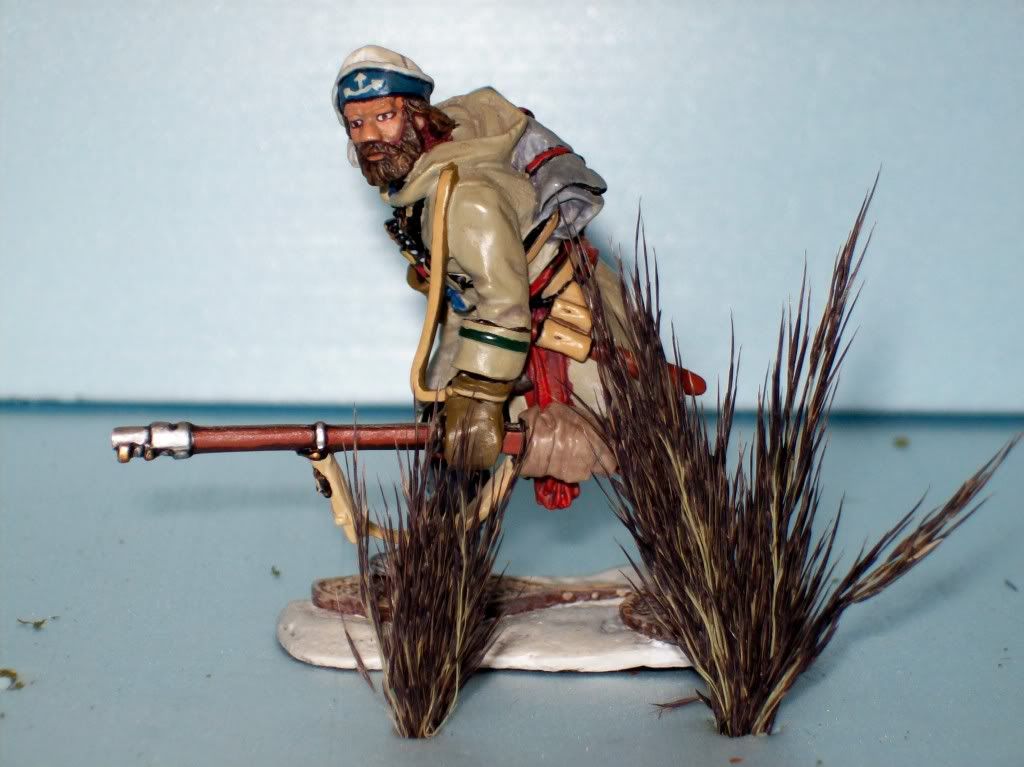
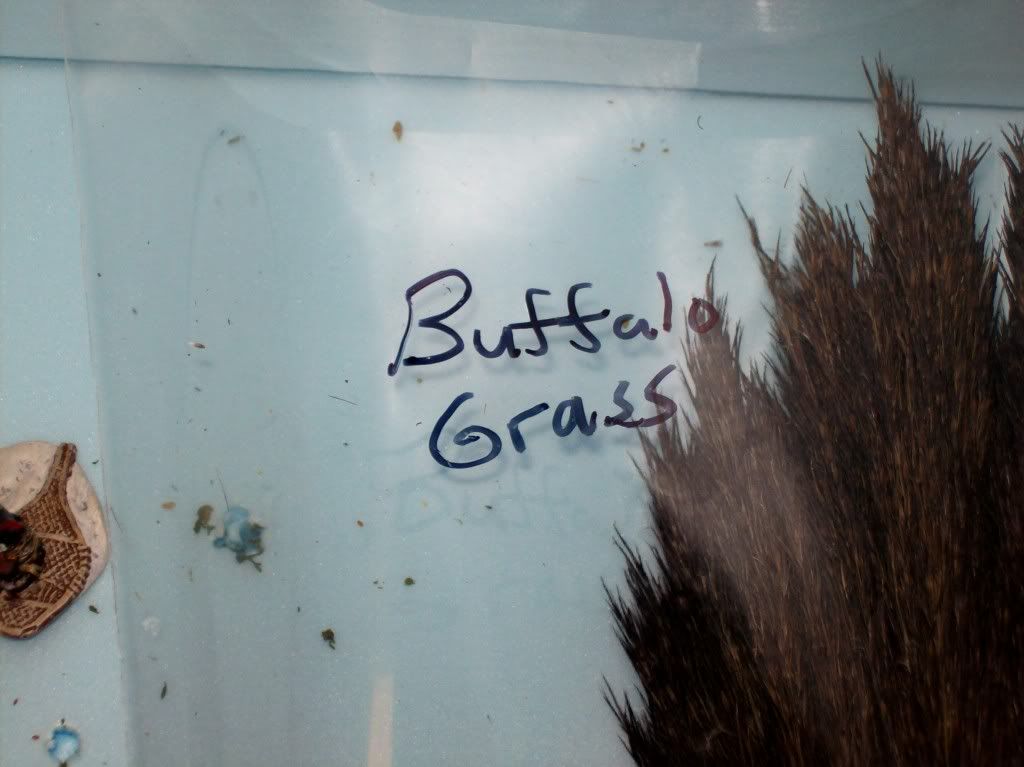
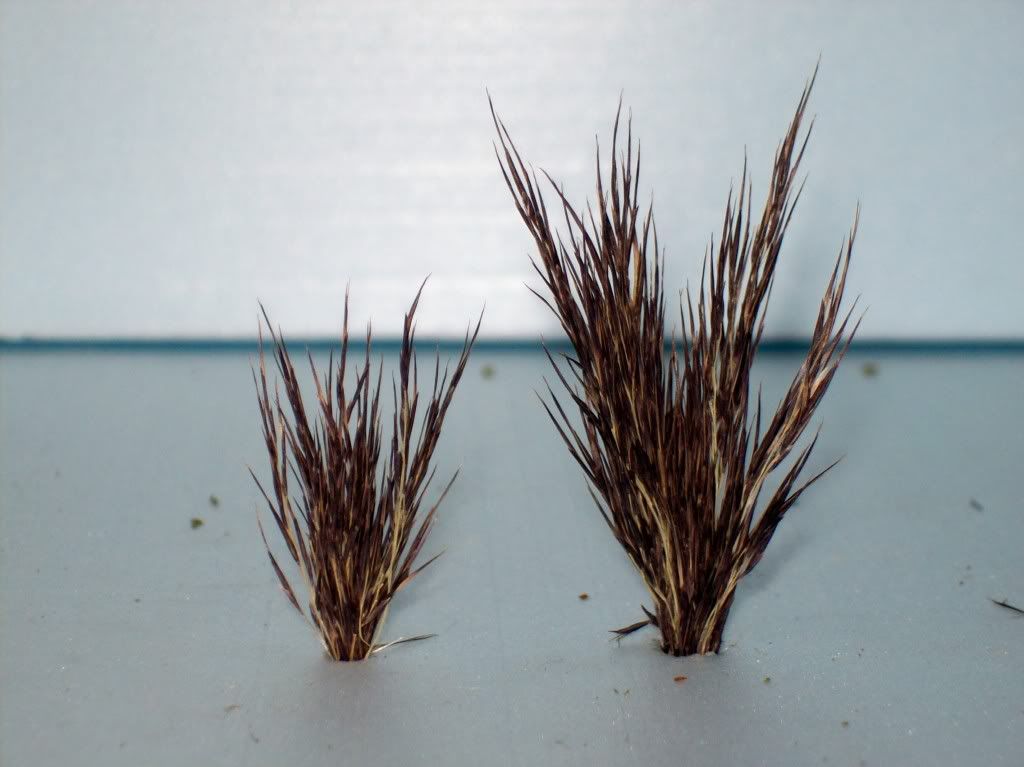
it's called "Buffalo Grass"...it seems to only come in this color...

it's really soft and flimsy...very small in scale size and it looks great as wild grass or weeds...especially around a river bed...

it reminds me of a duster...like you dust your furniture with...

it's a little more delicate and harder to work with...but the results are really nice...


100_1699.jpg


100_1700.jpg


100_1704.jpg


100_1701.jpg
 

Users who are viewing this thread

Back
Top