You are using an out of date browser. It may not display this or other websites correctly.
You should upgrade or use an alternative browser.
You should upgrade or use an alternative browser.
Rivoli (1 Viewer)
- Thread starter blaster
- Start date
Louis Badolato
Lieutenant General
- Joined
- Apr 25, 2005
- Messages
- 18,456
Victor,
I’m with John ... amazing work so far and really looking forward to the endgame!

I’m with John ... amazing work so far and really looking forward to the endgame!
blaster
Major
- Joined
- Sep 10, 2008
- Messages
- 6,737
Hi Louis and John,
thanks for your comments. I'm starting to add more details to each piece, preferably before I add them to the scene.
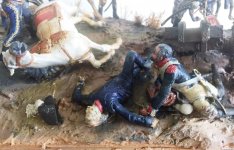
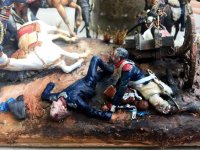
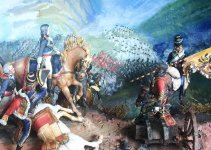
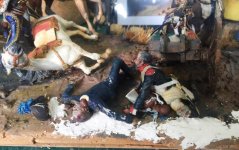
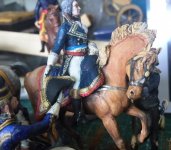
For example, the dead and wounded soldiers in front. The groundwork and paraphernalia are being detailed as per the painting. I also cleaned up the groundwork for the next round of painting.
Added cross straps and breast straps to two horses.


blaster
Major
- Joined
- Sep 10, 2008
- Messages
- 6,737
I'm waiting to purchase a hand drill to drill tiny holes to fit the horse bits.
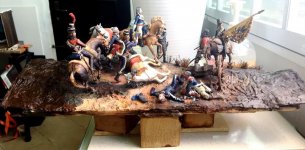
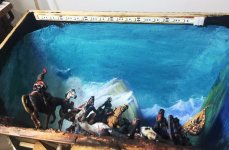
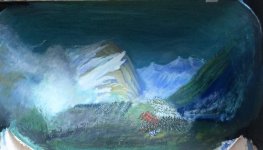
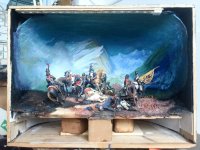
In the meantime, I mounted the foreground base onto a suitable stand raised to the correct height to fit into the shadow box. I also extended the base groundwork.
The second picture shows a simple frame mockup for the scene. The frame sides will be further closed up to frame the scene.
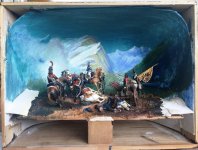
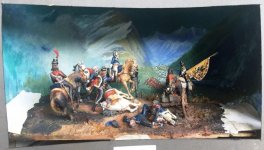
In the meantime, I mounted the foreground base onto a suitable stand raised to the correct height to fit into the shadow box. I also extended the base groundwork.
The second picture shows a simple frame mockup for the scene. The frame sides will be further closed up to frame the scene.


blaster
Major
- Joined
- Sep 10, 2008
- Messages
- 6,737
The final background figures are being developed now. Two officers are being improved.
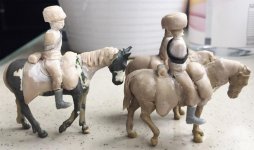
I also recruited two, then three smaller figures which are visible just behind Nap and the horse handler.
They appear to be Chasseurs and I used converted 1/35 Dragon donkeys for the horses. The rest are being made up from putty.
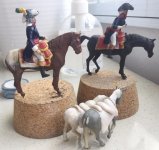
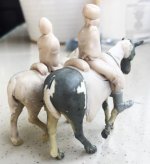
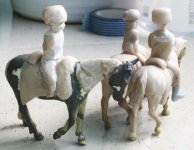
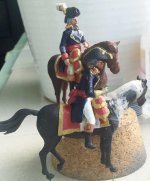
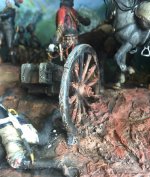
I painted the sides of the piece and also painted a matt blue on Naps and the foreground dead soldier. The wheel of the limber was greyed.
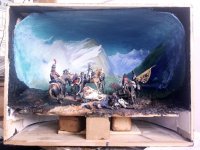
I also recruited two, then three smaller figures which are visible just behind Nap and the horse handler.
They appear to be Chasseurs and I used converted 1/35 Dragon donkeys for the horses. The rest are being made up from putty.


I painted the sides of the piece and also painted a matt blue on Naps and the foreground dead soldier. The wheel of the limber was greyed.

blaster
Major
- Joined
- Sep 10, 2008
- Messages
- 6,737
blaster
Major
- Joined
- Sep 10, 2008
- Messages
- 6,737
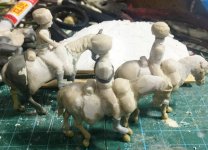
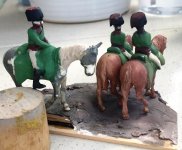
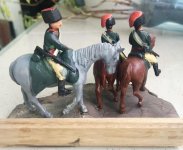
Somehow, I managed to finish off this tawdry trio of mounted chasseurs.
Then I epoxied the piece by the ledge to the back underside of the main foreground, supporting it with a piece of wood until the glue cured.
Notice the size difference and the lowered heights of these figures when compared to the foreground figures.
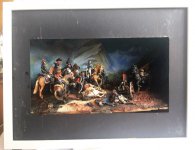
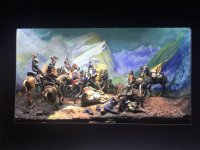
The front of the piece shows the desired end effect. Not bad, huh?
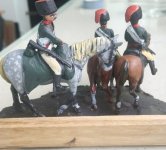
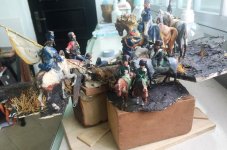
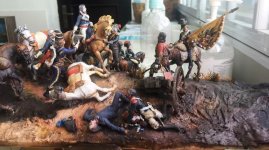


blaster
Major
- Joined
- Sep 10, 2008
- Messages
- 6,737
blaster
Major
- Joined
- Sep 10, 2008
- Messages
- 6,737
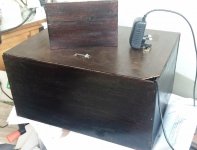
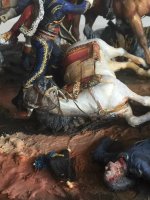
I gave the shell another coat of dark brown stain and then varnished it with polyurethane.
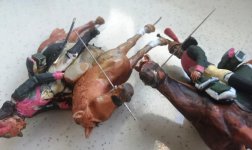
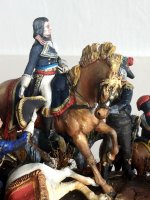
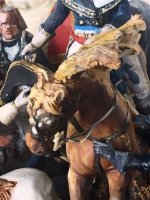
Then I finally started to add the horse bits to the nags, starting with Nap's mount. Got to break the duck and quit prpcrastinating otherwise this piece will never get done. Really fiddly business but I actually managed to complete the first headstall! Break out the cheap plonk.
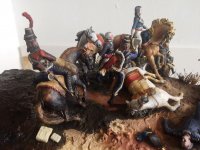
Also added minor foreground details such as discarded Historex accessories for relaxation.
Then I started on the wounded horse headstall. Done as well. That's it for today!


blaster
Major
- Joined
- Sep 10, 2008
- Messages
- 6,737
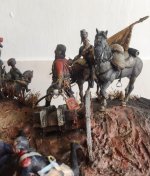
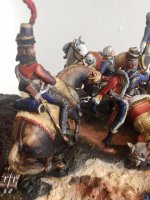
I finally completed the rigging of the headstalls, bits etc on the two mtd figures in the scene. Tricky work as access was limited. Then I carefully pushed the mtd hussar to its original upright position. Added some horseshoe imprints into the ground around the horse as per the painting. Also completed a discarded backpack in the foreground.

blaster
Major
- Joined
- Sep 10, 2008
- Messages
- 6,737
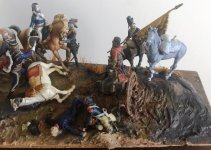
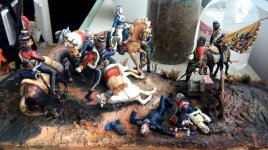
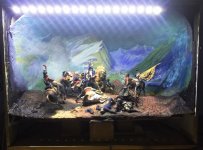
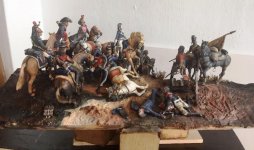
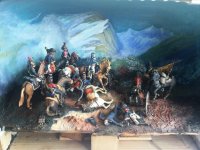
On a roll now, I suddenly found that I have completed all the unattached mtd figures. I took some time to drill holes in the ground to place all these figures. The two back figures were abutting against the background. So a minor adjustment in positioning allowed me to push the foreground scene snugly against the background. Notice the foreground dragoon rear hoof is not fully embedded in the ground.


Users who are viewing this thread
Total: 2 (members: 0, guests: 2)


