blaster
Major
- Joined
- Sep 10, 2008
- Messages
- 6,550
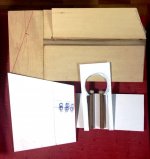
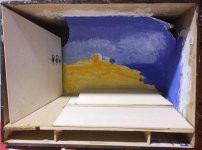
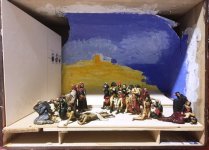
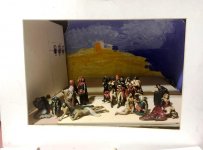
Just putting down my thoughts on planning this diorama at this stage. I hope that the below explains my approach clearer. I may make further changes along the way.
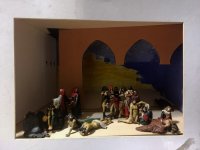
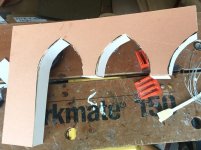
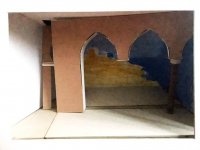
As mentioned earlier, I found the architecture a little unsettling. Hence I’ve decided to shift the viewpoint by slanting the backwall and arches of the foreground area, allowing it to slant from back to front to disappear offstage on the right side. I think that this foreground area extends further on the right side. Thus, this will allow me to create a sense of space continuity towards the right side. I will have to disguise the right side with either painting or a small mirror.
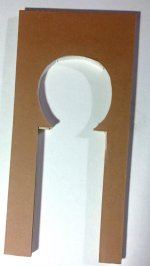
The left side is most likely contained by the left wall. Slanting it inwards towards the background heightens the sense of perspective (I think). This arrangement will perhaps result in part of the keyhole opening being obscured by the backwall. This shifted backwall should in turn create some real space to insert in a couple of manservant figures carrying a litter behind the two arabs distributing bread loaves.
I will add a ceiling which, going by the height of the walls in the courtyard, is just above the arches. Thus the ceiling will be visible to the viewer in my proposal.
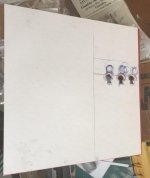
The courtyard space is slanted and contained by cutout templates for the walls. I think that the round tower should be modelled as well.


