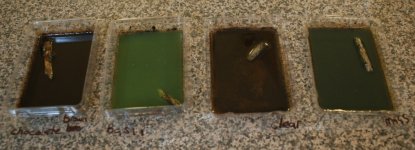
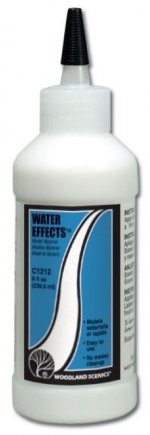
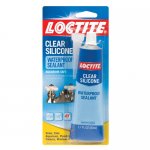
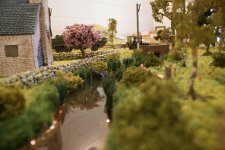
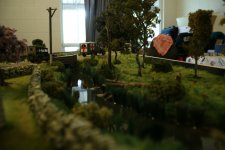
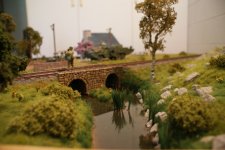
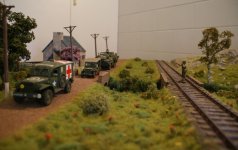
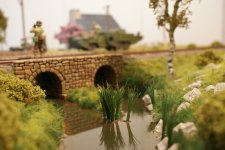
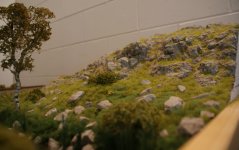
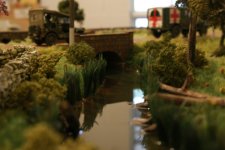
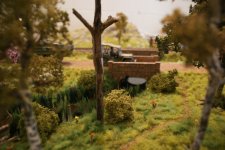
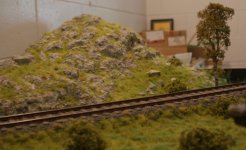
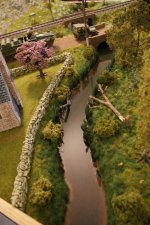
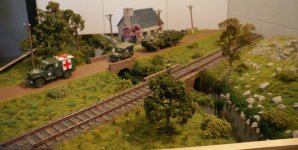
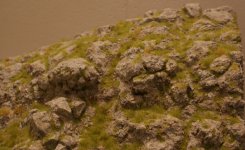
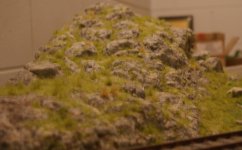
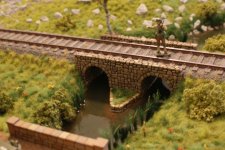
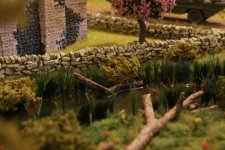
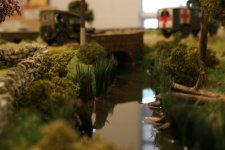
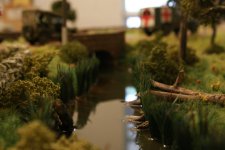
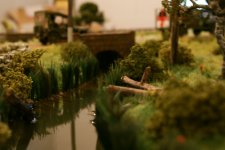
Tom, always good to try a couple of samples like you are doing. It is also best to let them cure longer then the recommended to see how they set. I actually prefer Woodlands products probably because I am use to them. I have tried Magic water and others including industrial clear sealants and it just depends on the look you are after and what is comfortable to you. One suggestion is to look at images of actual water to see what you want to duplicate. Do you want still water, moving splashes, light current, and so on. Use those looks to shade the floor or bank of the creek to give you a good look. You can also add stuff between layers to give a 3 dimensional effect. Looking at what you have done so far and getting advice from Mike, you can not go wrong. I am anxious to see the outcome. Hope this helps. Chris Here are a couple of examples: