New Office Diorama... (1 Viewer)

mikemiller1955

Lieutenant General
Joined
Aug 3, 2008
Messages
17,491
One of the things that I really love about this forum...is the step by step instructions from some of the modelers on here...when they share their techniques...their secrets...

I do love collecting the soldiers...and I do love taking the pictures...

but watching some of the tutorials from some of the very skilled hobbyist on here that create buildings from scratch, and the "how to's" on metal castings, and the creating of realistic scenic structures and not to mention some of the great painters on here doing fantastic paint jobs on their figures...has always been my favorite thing...

I couldn't glue an arm on a figure before I joined this forum...but I have learned so much from the tutorials...I have learned so much from guys sharing and teaching...things like dry brushing, paint washes, working with styrofaom...wood...plastic...etc...this forum is filled with some very talented and creative model builders...

I'm not saying I'm in that group...but I thought it would be nice to document and share building a project...

In my office I have two diorama tables I built...both are 58"x37"...which sounds large...but believe me they fill up fast...as all of you know that your collection seems to grow and grow...

I built them from scratch and stained both the tables some time ago for dioramas...one has a castle I built on it...I'll never take it down because the castle was a "labor of love" that took a long time to make...plus I collect the beautiful King and Country Crusader series...and need a place to display them...

the other table has been empty for some time now...it used to hold my Zulu collection...but as my other collections grew...I sold it off...

so after removing all the junk that had accumulated on the table since the Zulus departed...I'm inspired to create a diorama...I'm not saying you're going to learn anything from following this thread...but I will show a "step by step" on what and how I'm doing it...

I collect a lot of 7 Years War...French Indian...War of 1812...Crusaders...Roman...so I want to make something with a terrain and scenic ground work that will allow me to be versatile...

I'm going for timeless wooded terrain...and of course a river through the middle of the table...

I have so many FIW props...log houses, cabins, barns, settler's homes, wigwams, long houses, Ranger's huts...etc...that I want something that I can just swap out structures for different series...something that will work for all of them...

I left one side pretty open...so it will be able to accommodate a nice sized structure...I will run a river with a bridge down the middle and on the other side I left enough room for a small engagement...

anyway...here's the start of this thread...
 
I'll be following this thread with great interest Michael:salute::

Cheers

Martyn:)
 
thank you Martyn...I don't think there will be anything groundbreaking here...but it should fun for me...and hopefully can help someone along the way...

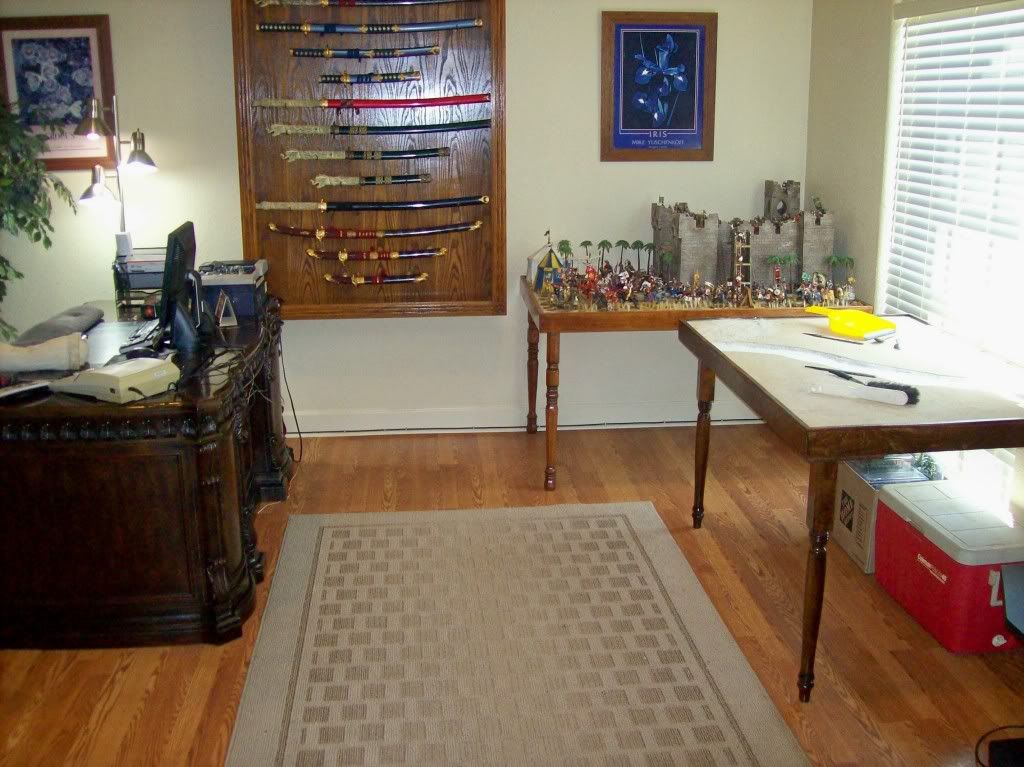
here's a picture of my office...I wish it was bigger...but it is what it is...

100_1513.jpg


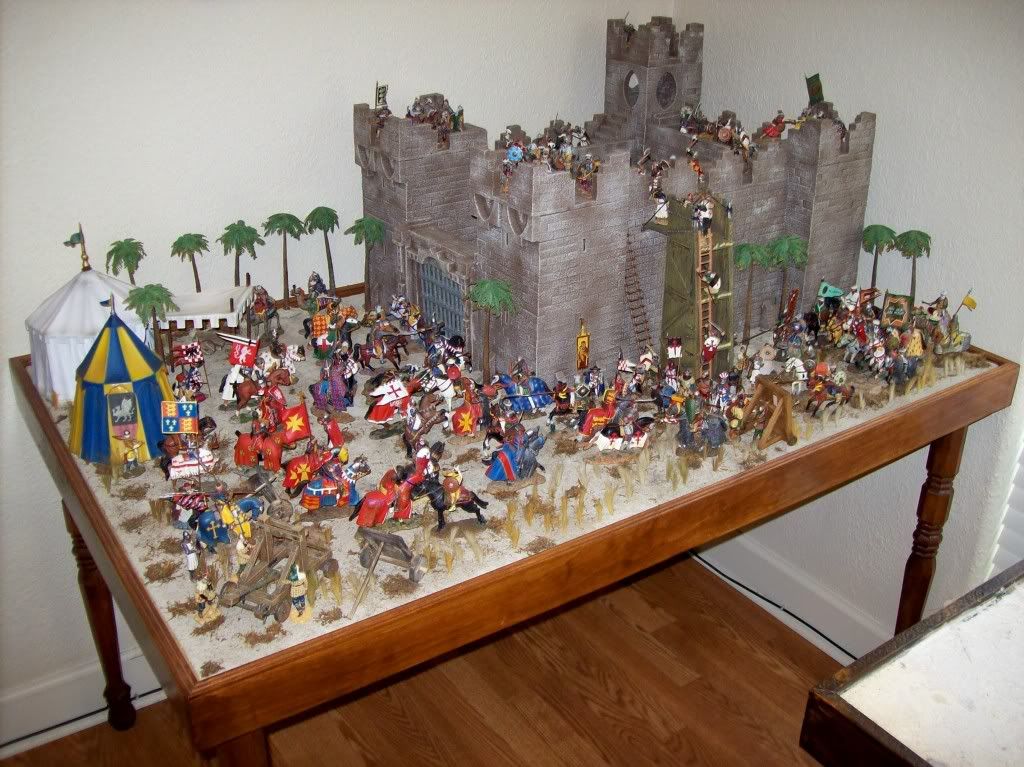
here's a picture of the castle that I built...it houses K&C...Black Hawk...Del Prado Crusader series figures...

100_1512.jpg


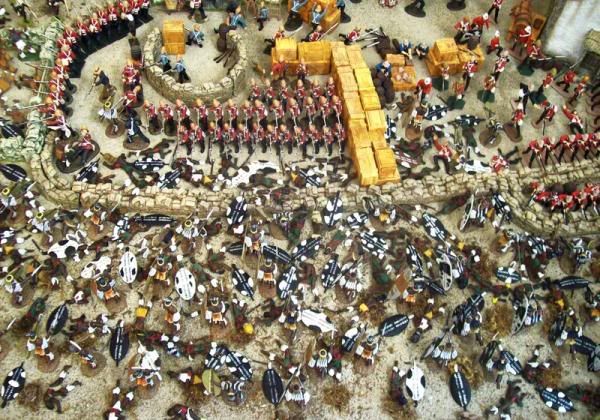
here are some pictures of my old Zulu diorama...which I miss incredibly...

8012.jpg


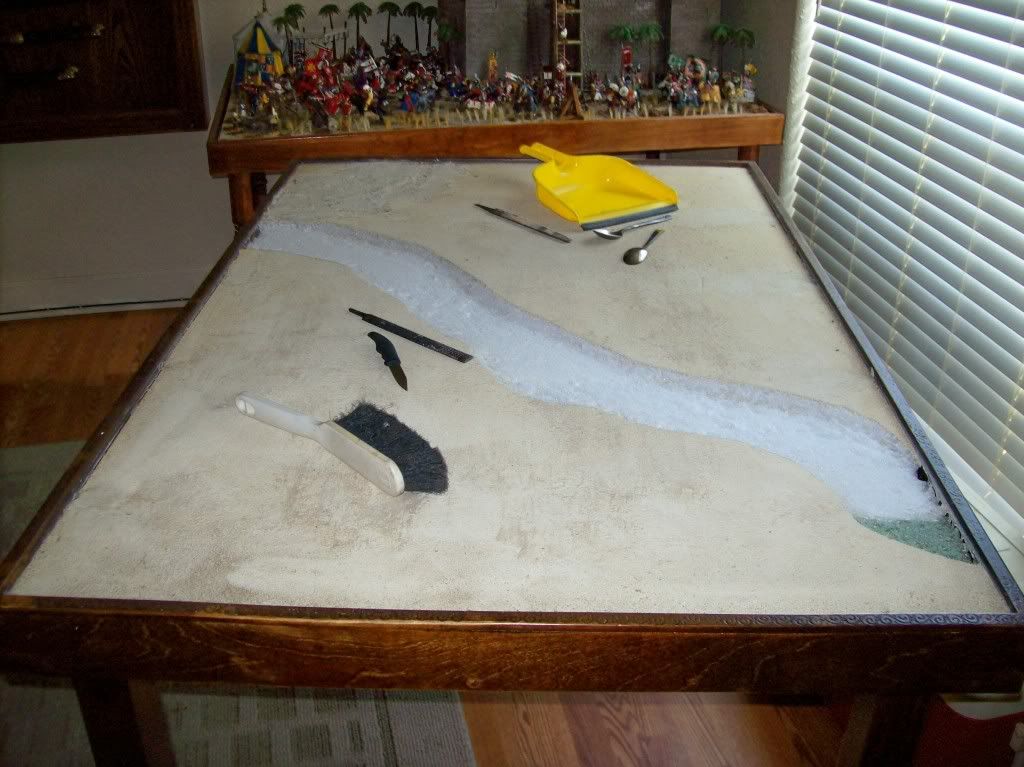
here are some pictures of what I'm starting with...

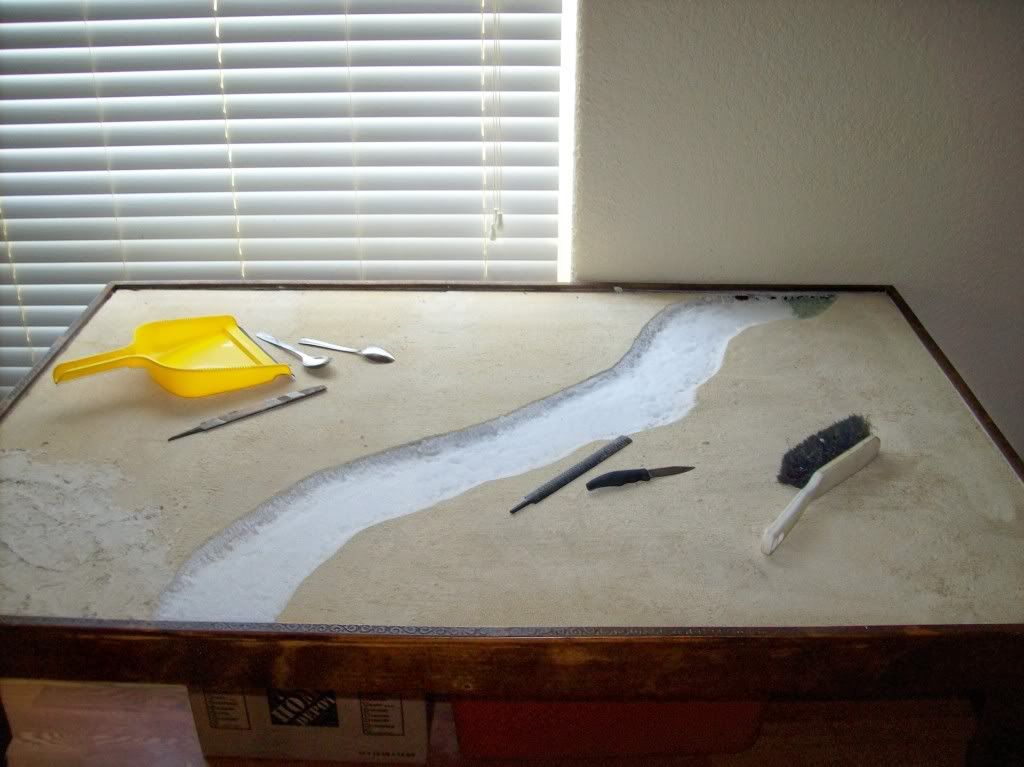
the table already had a white Styrofoam base on it...it is already textured in a sand terrain...all I have done so far is dig out a channel for the river...

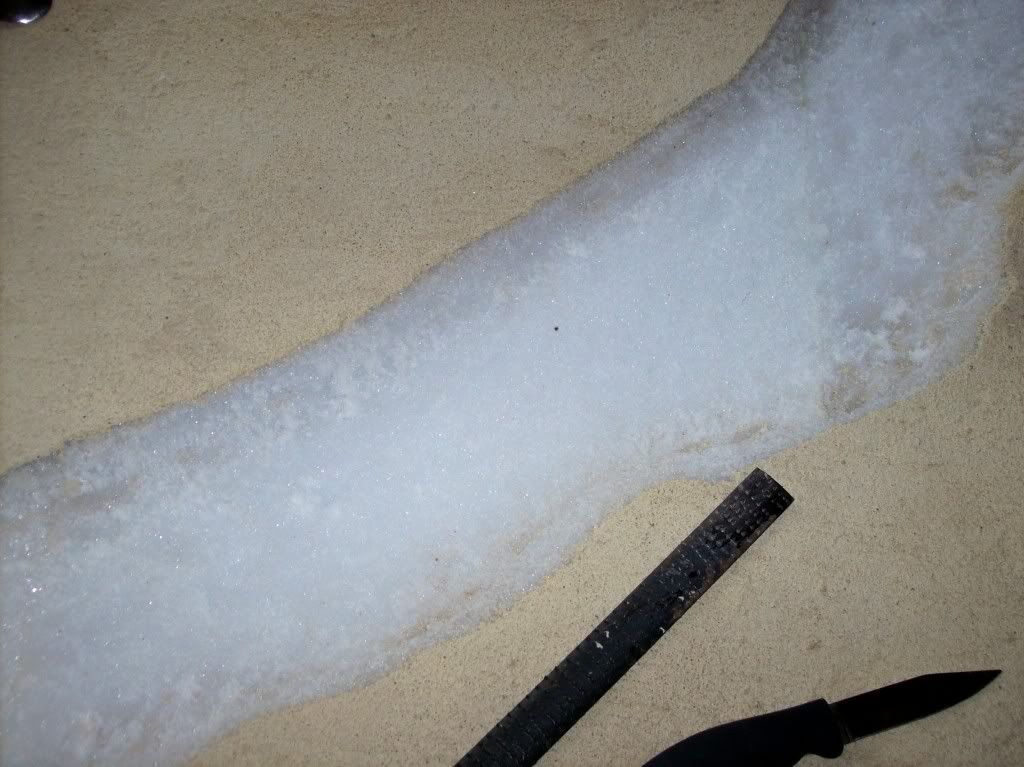
I traced it with a marker and scored it...then dug it out with a spoon...I used a "bastard" rasp to smooth it all down and slope the banks of the river in...

100_1509.jpg


100_1510.jpg


100_1505.jpg


the river bed and banks are now smooth and shaped...

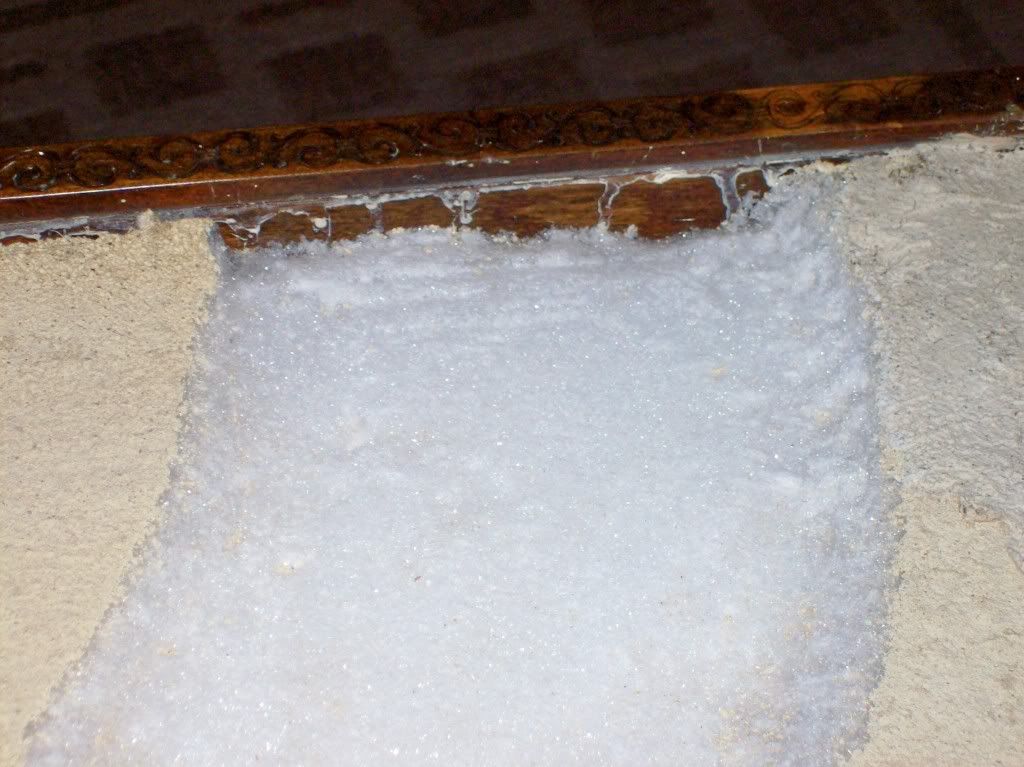
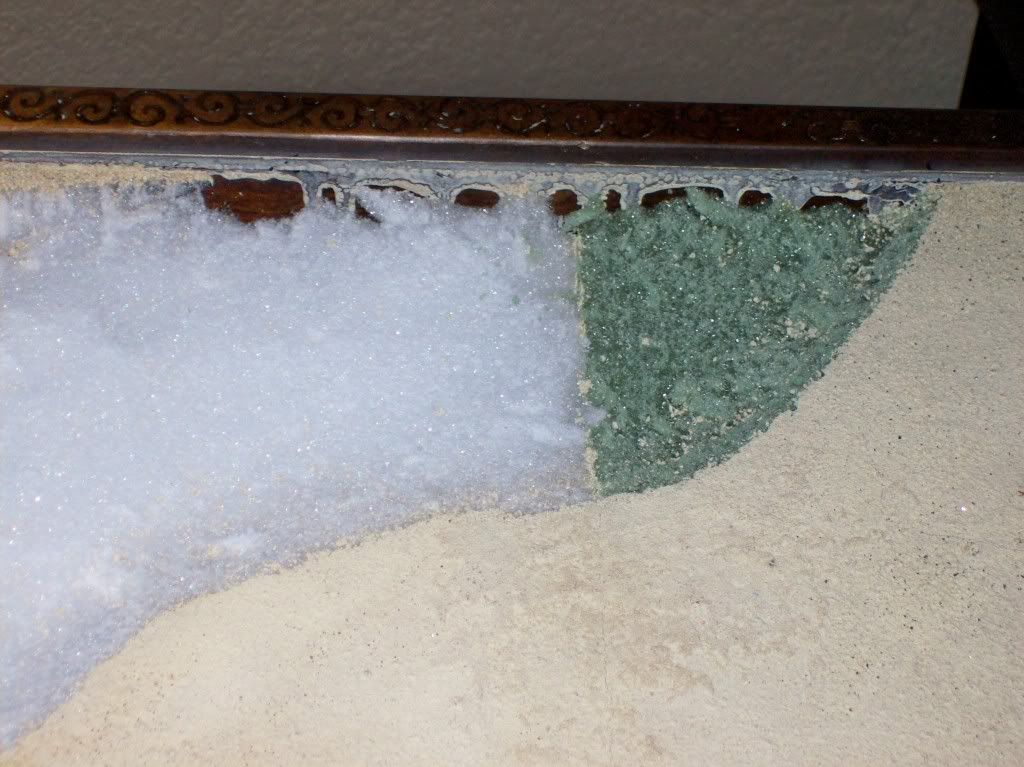
the ends of each side of the river that meet up with the wood...will be sealed with a wood putty...the putty is a soft yellow paste that will seal the ends and contain the water in the river...


100_1507.jpg


100_1506.jpg


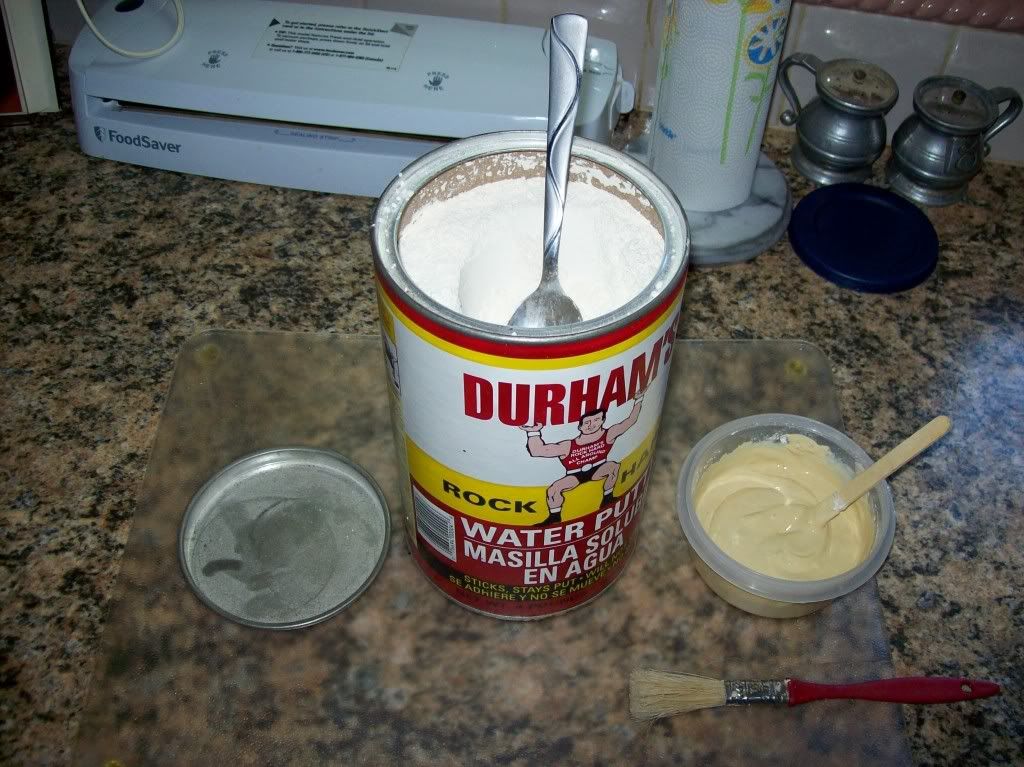
I like Durham's Water Putty...it is easy to work with...dries extremely fast...is somewhat mold able and incredibly hard once set...

unnamed.jpg


I will get the putty prepared and coat the river bed and ends today...maybe paint the river bed tonight if time allows...

that's all for now...
 
I'll be following this thread with great interest Michael:salute::

Cheers

Martyn:)

So will I Martyn an what a pleasure it will be and can't wait to see what Michael sets up for the first of what he's got plans for.
 
Thanks Joe...I hope it turns out as nice as I see it in my head...
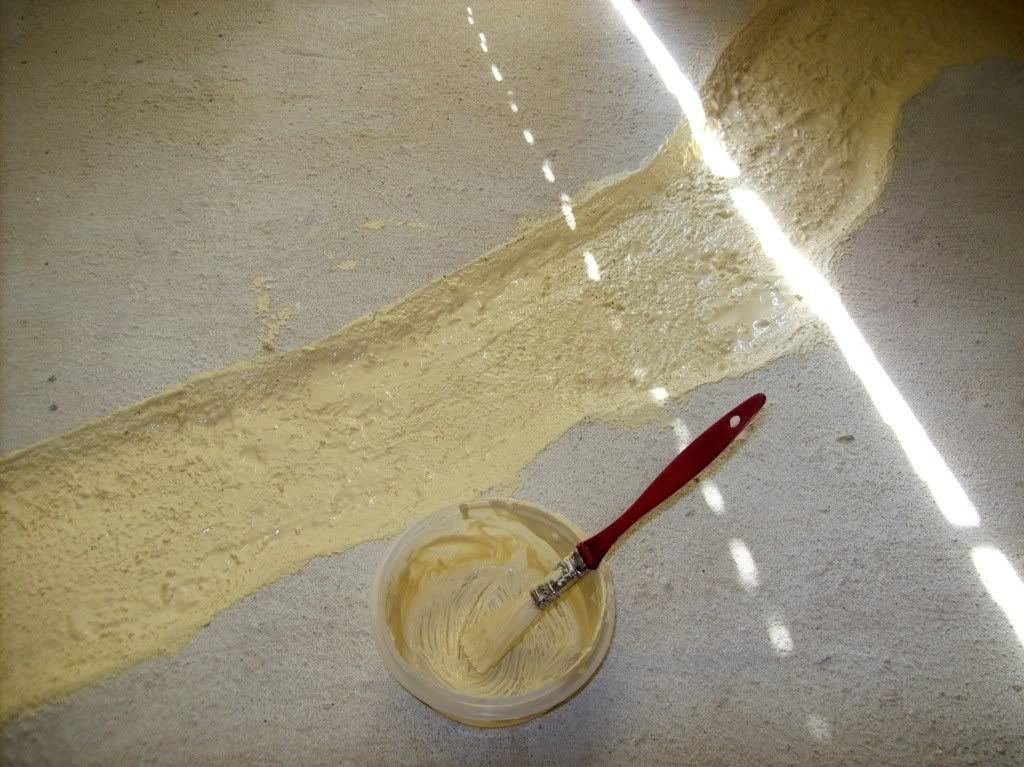
Well...I made up a batch of Durhams Water Putty...I like mine the consistency of a soupy pancake batter...not too stiff...

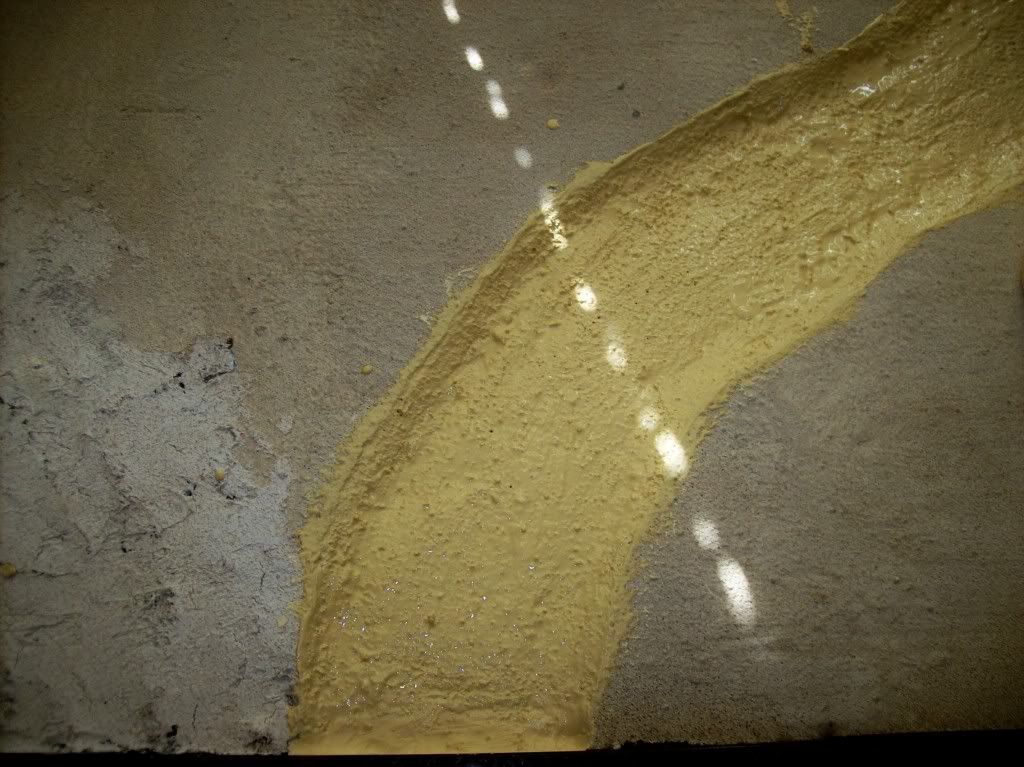
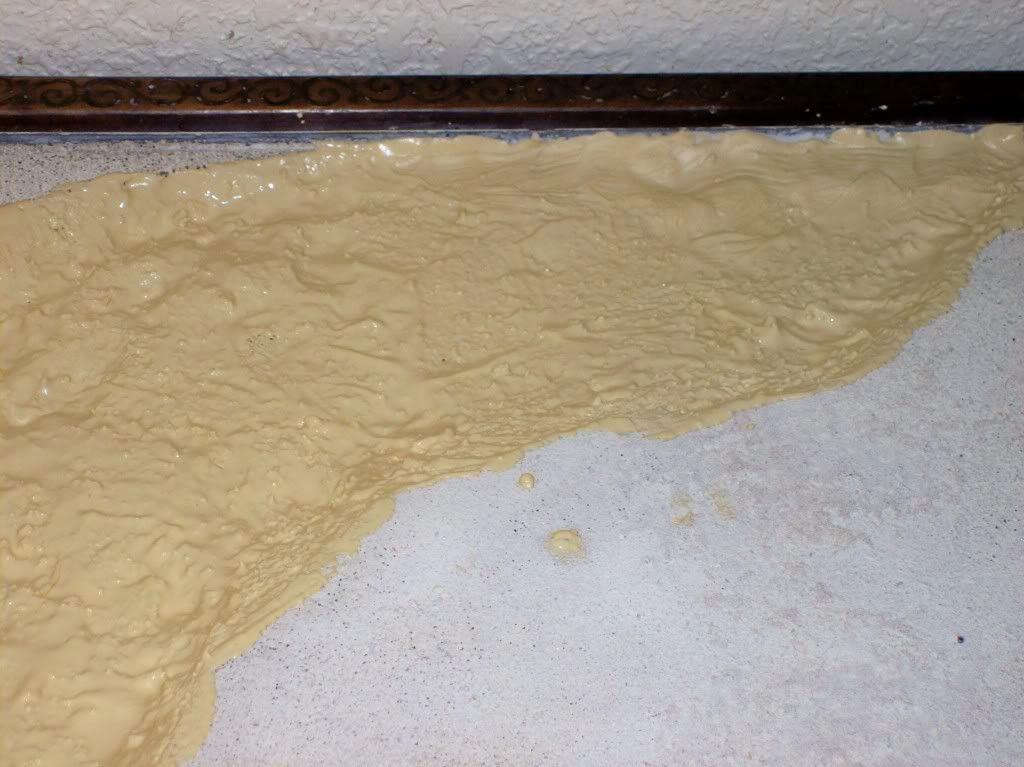
I'm painting on the water putty to air tight seal any pin holes in the river bed that will allow the Magic Water to seep out...

I just paint mine on with an old paint brush...

using this type of closed cell air whipped plastic styrofoam...this procedure may not be necessary...but I have had pin hole leaks in the past where a lot of Magic Water has seeped out...

WHAT A MESS!!!!

so...it's a relatively minor procedure that I recommend...
here are some pics of the Durham Water Putty applied...it will harden in less than 30 minutes...maybe I can get it painted tonight...
that's all for now...
100_1514.jpg


100_1516.jpg


100_1515.jpg


100_1517.jpg
 
Hey Mike
Your buildings and terrain look really excellent.
The Castle is a true Centerpiece.
Can you tell me more about how you
constructed that structure, please ?
A Monte Casino type building has been in
the back of my imagination for awhile.
Thanks
Denver
 
Denver...thanks...here's a link to the website that I ordered the brick molds from...

http://www.hirstarts.com/index.html

they are designed for 25-30mm scale buildings...

they have molds and plans to build a lot of things from castles to Roman, Sci Fi, Egyptian to Gothic structures......but no plans for 54-60mm...

I just bought some molds...bought some plaster (hydrocal) and started making bricks...

it was a fun project...
 
Another one of your fantastic builds I see Mike. Looking forward to following along as usual.
 
Mike
Their website is interesting.
Which set of Bricks did you use ?
The Fieldstone sets have my attention.
The Church also has possibility.
 
Mike
Their website is interesting.
Which set of Bricks did you use ?
The Fieldstone sets have my attention.
The Church also has possibility.

Thanks Jeff...thanks Scott...

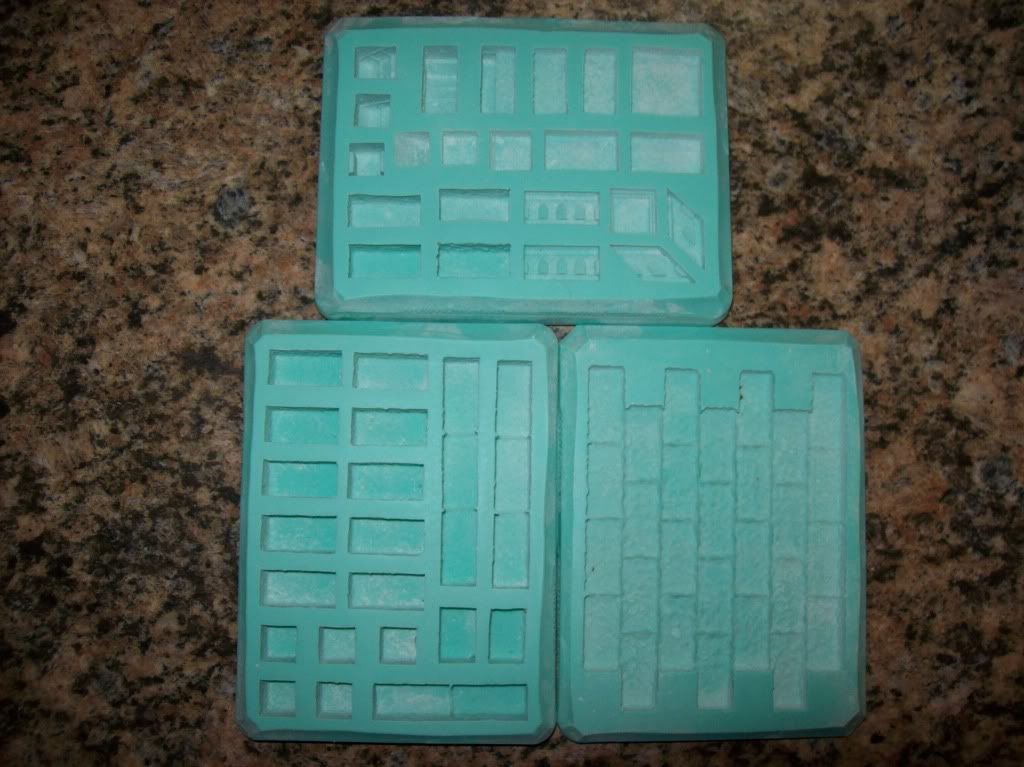
Denver...I bought 3 molds...#40 (basic block)...#53 (bridge)...#200 (wall builder)...

100_1520.jpg


but Hirst Arts has dealers that will sell you single precast bricks if you like something specific from a certain mold and don't want to buy the mold ...

http://www.hirstarts.com/links/links.html

meaning you can buy just one specific individual brick already cast as oppossed to buying the mold itself...

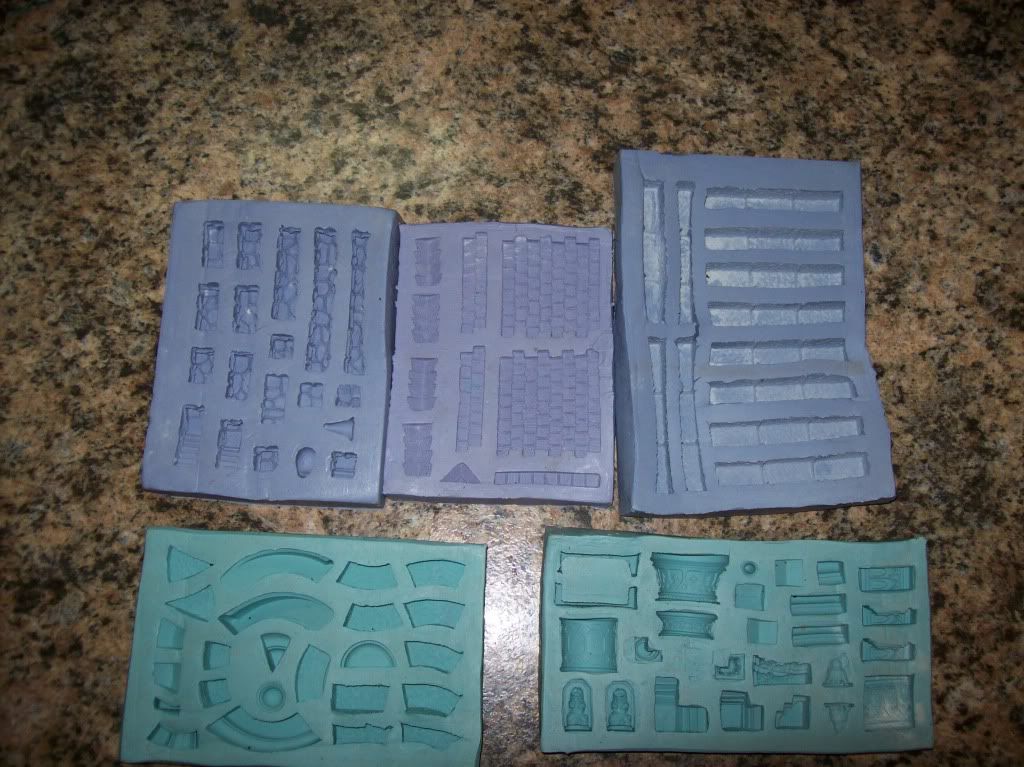
I bought a few of these odd pieces and made my own rubber molds...

I also made my own molds with several of my most used bricks...so I could mass produce quickly...

100_1519.jpg


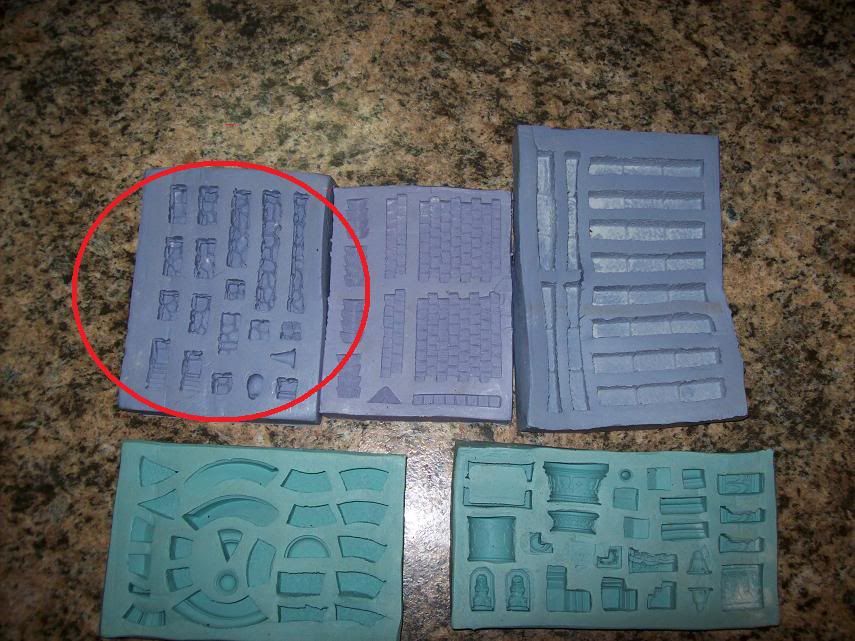
the fieldstone mold you mentioned is a nice mold...I bought a couple of pieces (instead of the mold itseld and made my own mold...circled in red)...

100_1519-1.jpg


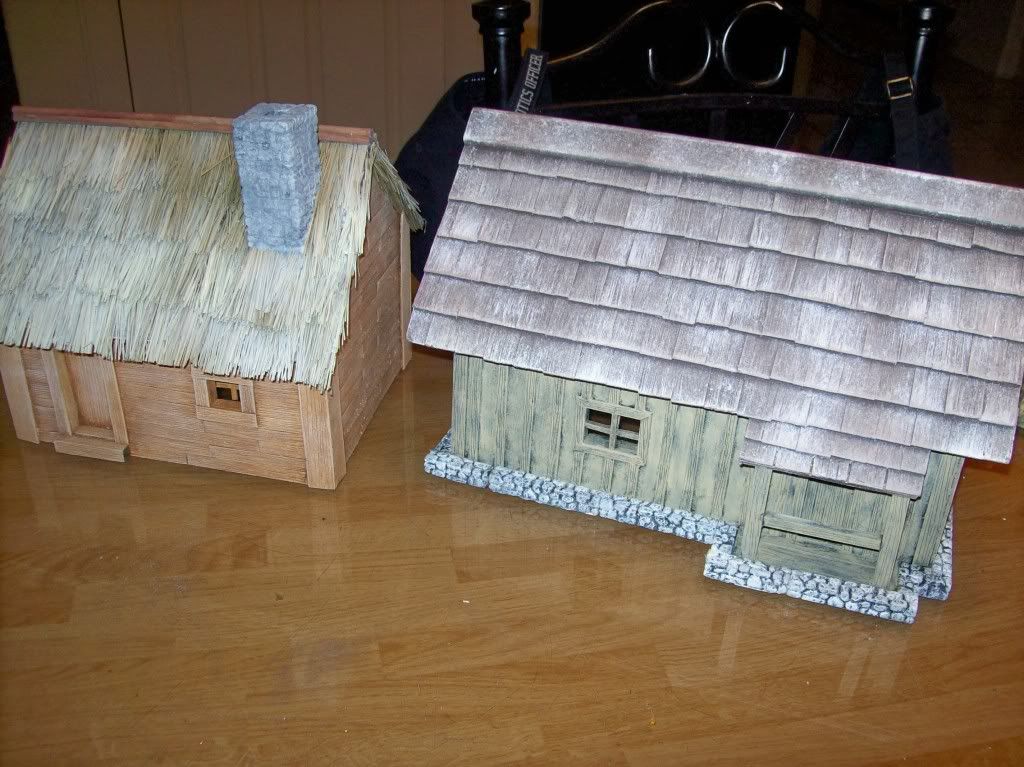
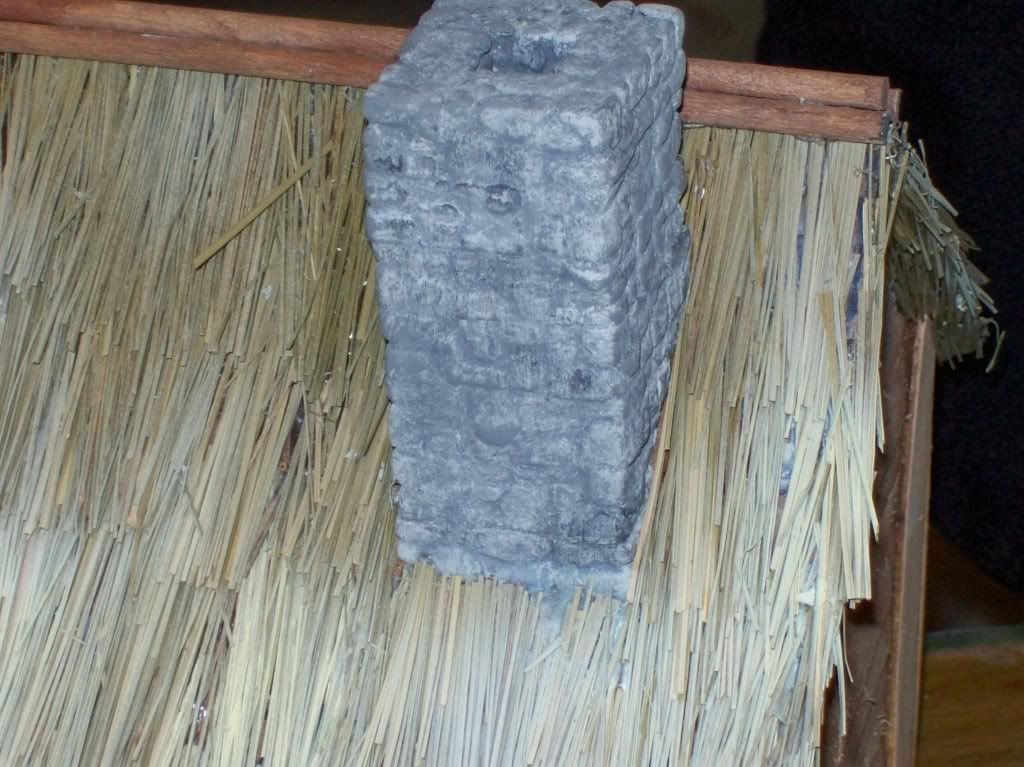
I have used it for chimneys and rock bases around houses I have built...also for some fieldstone rock walls...it's a very useful mold and good in scale for 54mm...

100_1523.jpg


100_1524.jpg


100_1525.jpg


the Hirst Arts molds are a really good product...I recommend them highly...I used hydrocal plaster...it's what they use to make dental molds...very strong psi hardness level...
 
I got a coat of dark brown paint on tonight...maybe not necessary as I will have a dirt and grass groundwork...but if some of the terrain is glued on poorly...doesn't adhere well or gets scratched off...all that will be exposed is a brown paint...instead of the original sand colored terrain...I may dirt the river tomorrow or start adding shrubs...that's all for tonight...
 

Attachments

  • 100_1526.jpg
    100_1526.jpg
    70.8 KB · Views: 501
This will be a great thread to follow. I look forward to it developing with great interest. I Really like watching your work come together
Mitch
 
thank you Mitch...I hope it turns out okay...

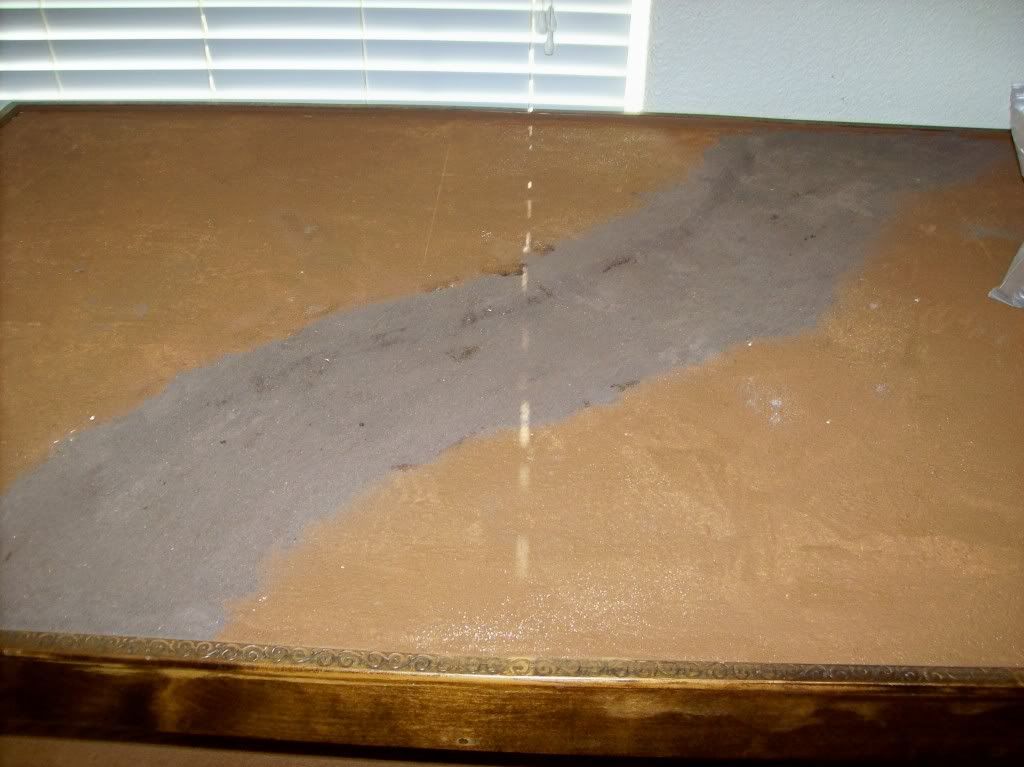
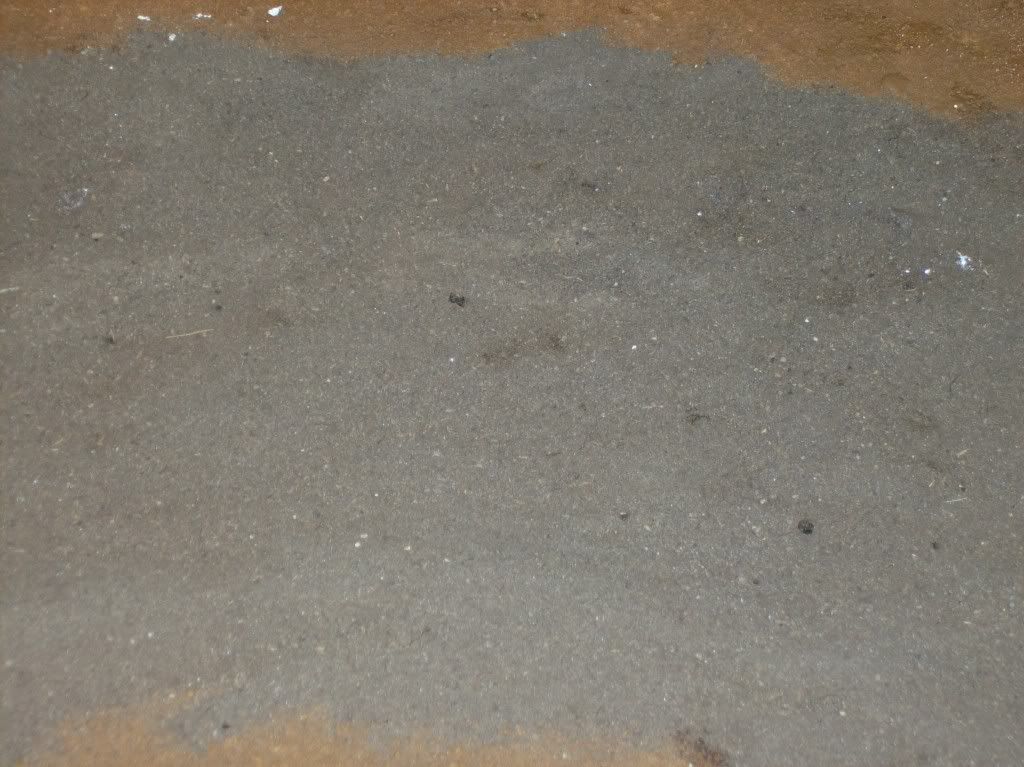
I glued the dirt into the riverbed today...

100_1530.jpg


100_1529.jpg


in the past I have painted the river bed...usually a black...then a charcoal gray drybrush...then with lighter gray drybrush...

but on the last two rivers I did...I just used good old "Mother Nature" dirt out of the flower bed...I liked the look of the dirt and thought it was easier than painting...so...again I used dirt on this one...I sifted the dirt until it was very fine...like silt that you would see in a river bed...

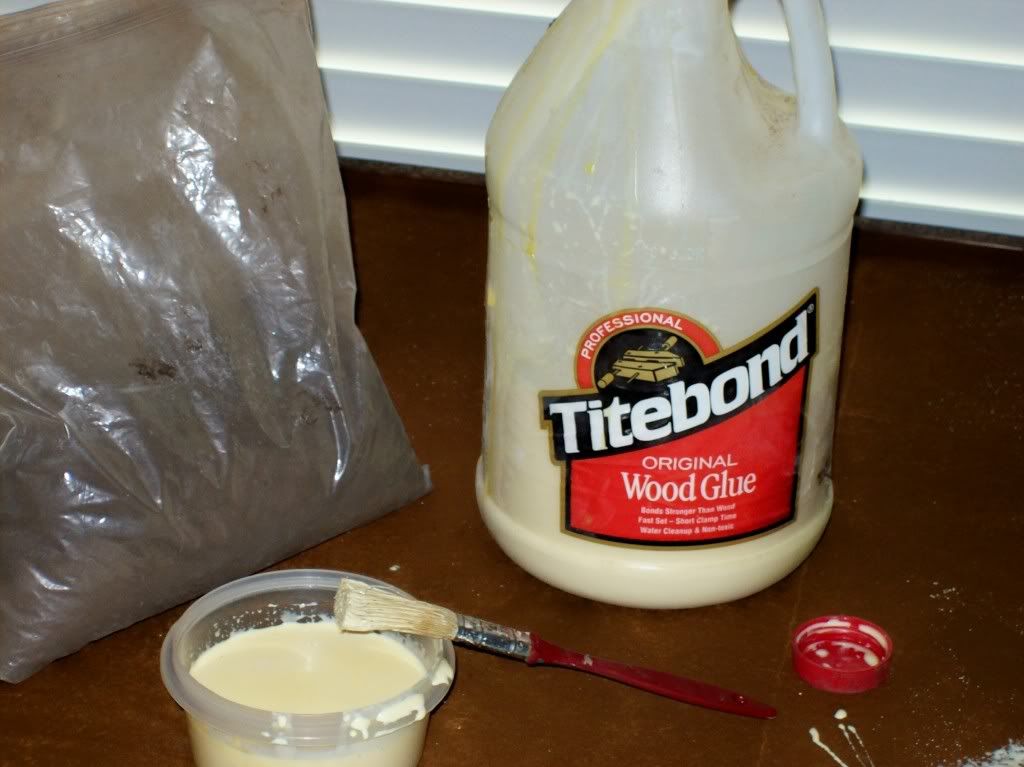
I used an old jar of wood glue...I have used it before for this...I have also used plain white Elmers/Aleens before...and both work fine...

100_1528.jpg


100_1527.jpg


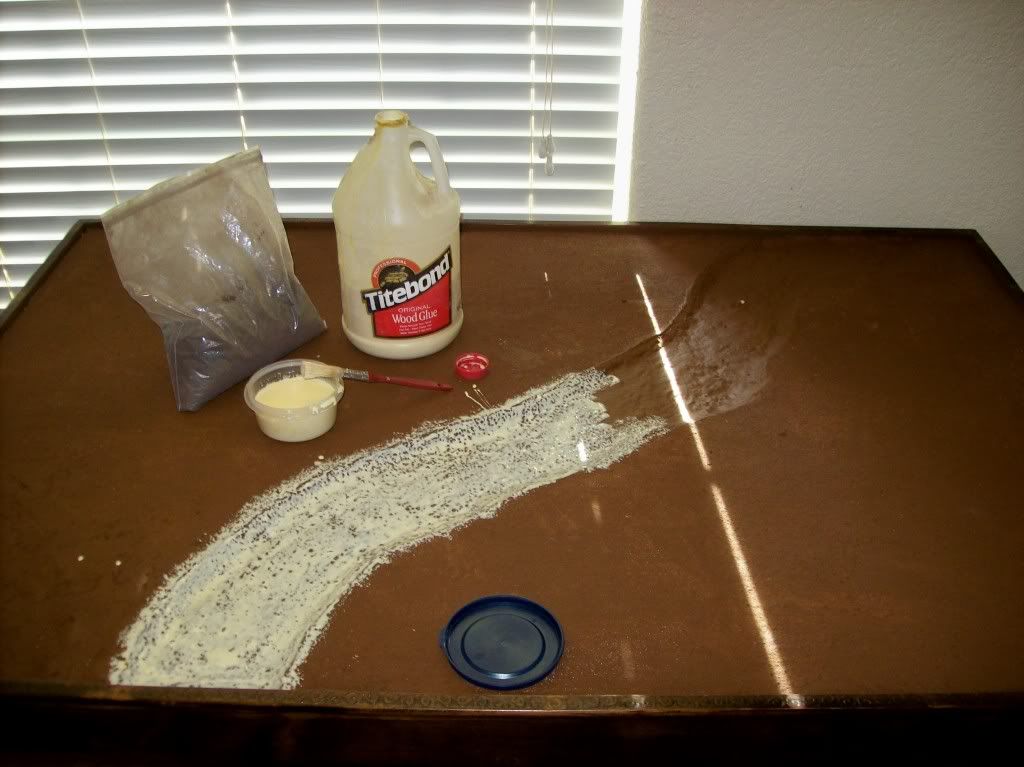
I diluted the glue about 50% with water...so it was more managable...and then just painted it on...then sprinkled the silty dirt on it...I will let it dry...then spray a mist of glue/water (again 50/50) on top of it to solidify the whole thing...

I overlapped the glued dirt onto the top of the river bank...I think it's easier to do that step first...before you add you shrubs and groundwork...instead of trying to add the dirt under the shrubs once they are in place...

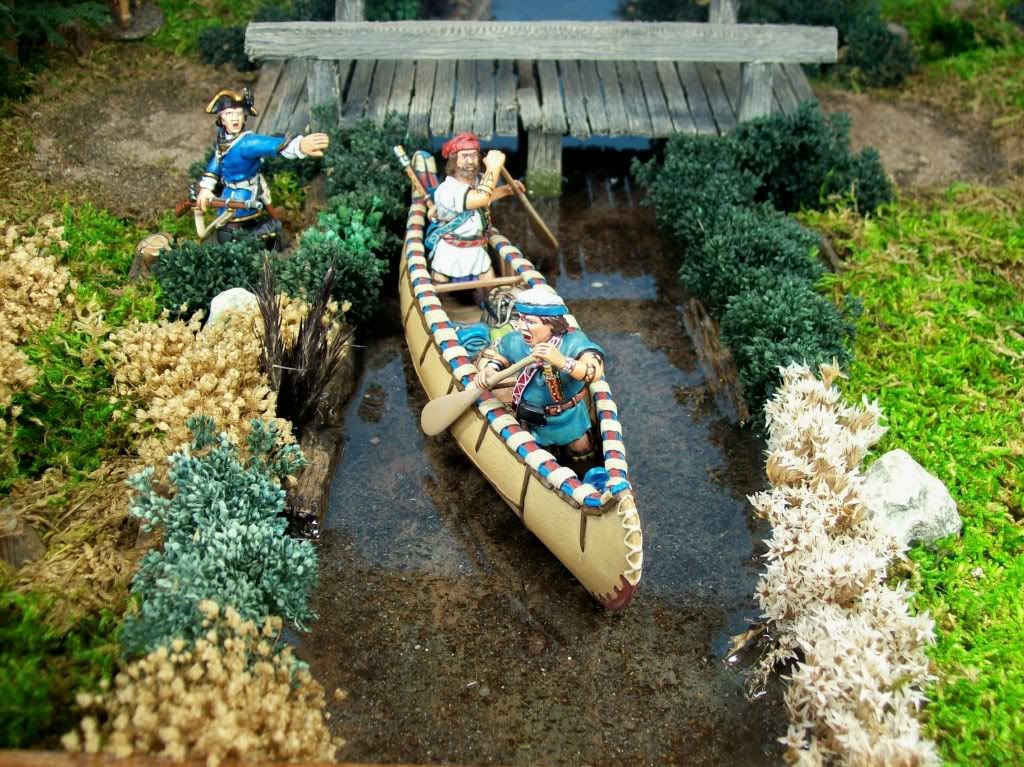
these 3 pictures are of a river I did with dirt...I really liked the look and thought it was easier...especially for a guy thats not a great painter...like me...

100_0591.jpg


100_0597-1.jpg


100_0598-1.jpg


these 2 pictures are of a river that I painted...I also liked it...I can't remember for sure...but I think I painted it green with a brown drybrush...but again...instead of trying to replicate "Mother Nature"...I just used "Mother Nature"...

101_2458.jpg


101_2467.jpg


I'll let it dry overnight...maybe start on the shrubs tomorrow...that's all for now...
 
Looks like a great and big scale project in the works Mike.

Always sad to see former collections in photos like that but in this case I suspect the new landscape will quickly solve that problem. As your past efforts with the magic water have been routinely impressive, I am looking forward to seeing the huge water feature take shape here.

I hope you will eventually use all those Chippewa figures to good effect on here.

Thanks for the SBS.

MD
 
Very detailed info Michael and what a great result{bravo}}

You can also see where I got the idea for my jetty:wink2:

Cheers

Martyn:)
 
Last edited by a moderator:
thank you Dave...thank you Martyn...

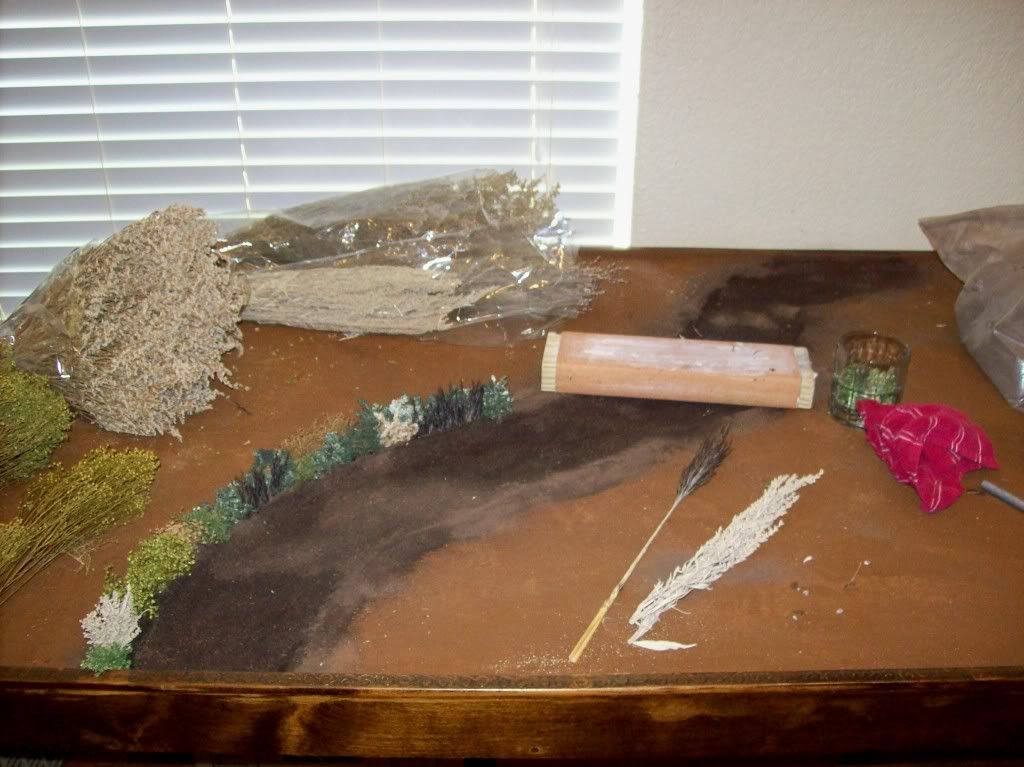
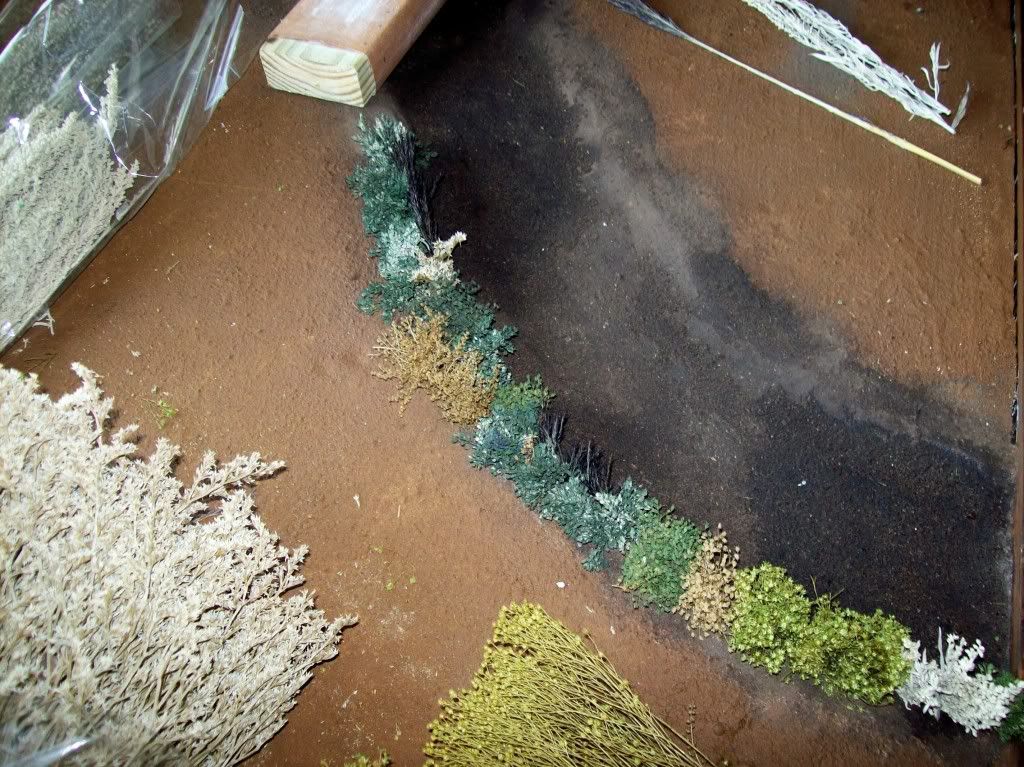
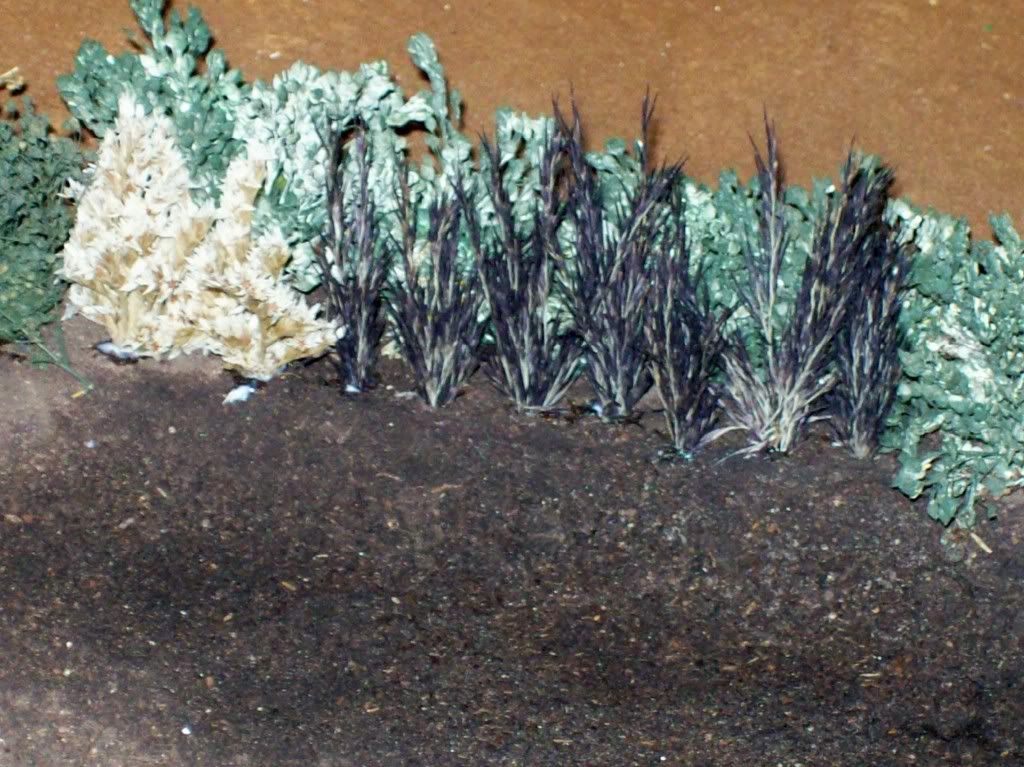
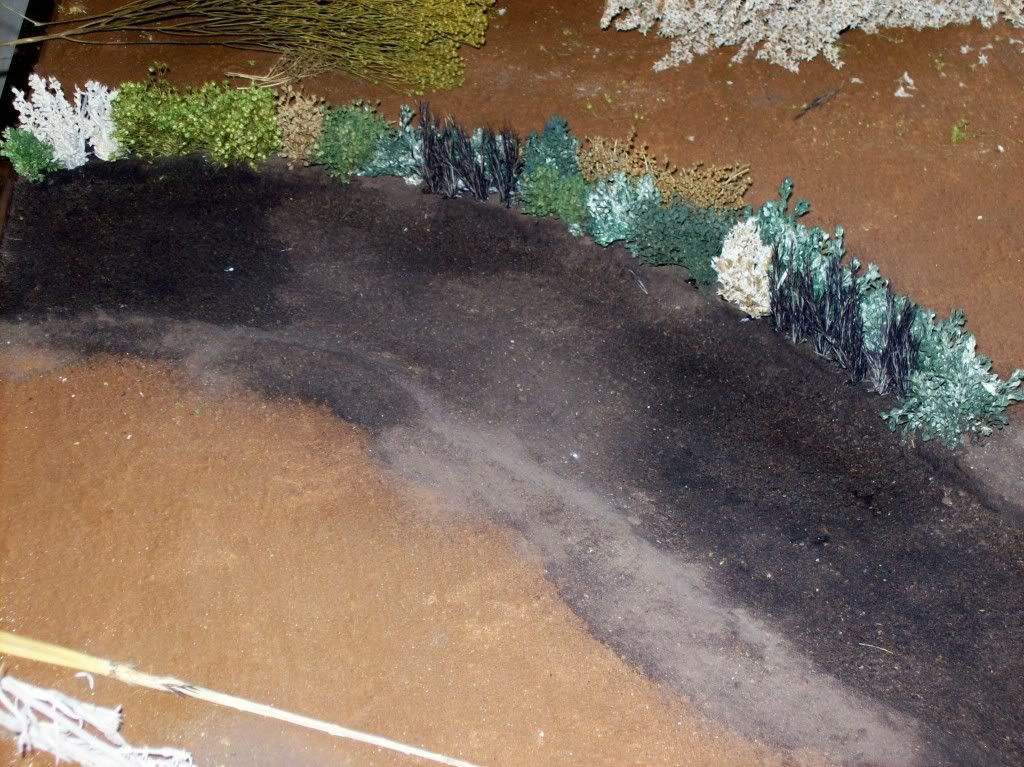
as promised...today I started on the shrubs around the river bank...I know it doesn't look like much right now...but this is the same process I have used to make all my rivers...once the river is poured...and the ground work is added...it will all come together and look much, much, much better...(see previous photos of rivers)...

I am going to make a list...with pictures and names listed...of all the foliage that I use...and I will list the dealer I buy from...I think a lot of people might find that they can really enhance their dioramas with some of these realistic foliages...

these big bunches of foliage (wrapped in plastic) that you see on the table range from $4-$7 apiece...they are huge and last a long time...unfortunately I bought mine a long time age and am very low on my favorite shrubs...you might look at Hudson and Allen...they sell quite a few...

so I had to make an order today and was informed that they wouldn't arrive til Thur ( Oct 6th)...so instead of rushing and using what I have on hand...I'm gonna wait til my foliage arrives...I have some nice stuff ordered...

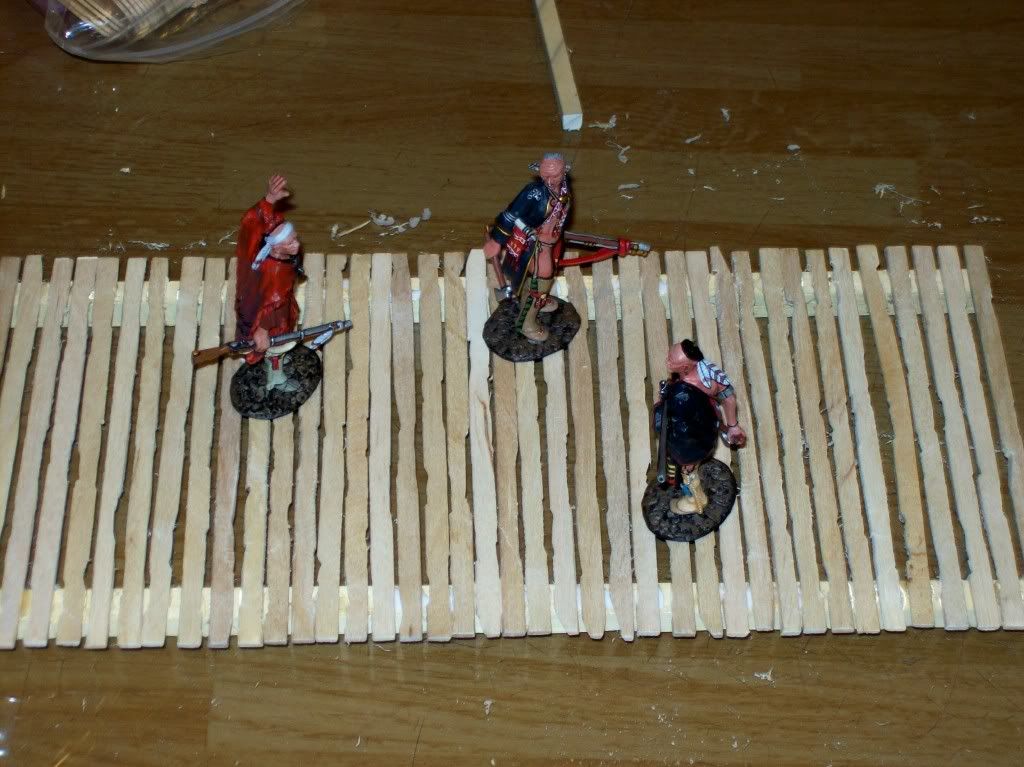
in the meantime...I need to build a bridge...I want a really weathered old bridge span in the space where the 2x4 is laying....something old and beat up that looks like it has been exposed to the element for a long time...something a little wider than the 2x4...it will be similar to the bridge I built in the previous pictures...

I will need to make it before I pour the Magic Water as some of the supporting posts will be submerged in the middle of the river bed...

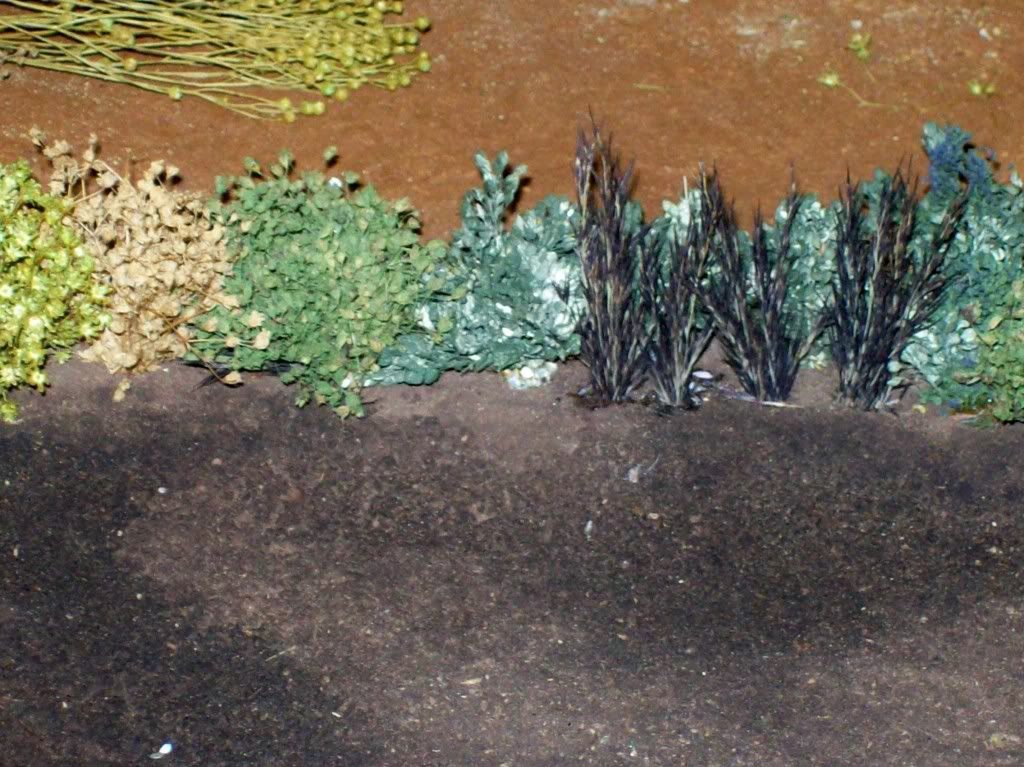
here's a few pictures of the foliage I started on...

all you do is clump some of them together in your hand...fluff them up so they look natural...poke a hole in the styrofoam...add a drop of glue...trim the stems of the foliage you clumped together and then poke them in the glue hole...the glue will dry transparent and disappear...

it's a pretty fast process and will really add some nice realism to your dioramas...

the foliage comes 2 ways...dried or preserved...always try to order the preserved...as it is less brittle...the dried is very crispy and brittle and will get damaged over time...the preserved stays soft and is very durable...there is a way to treat the unpreserved brittle foliage with glycerin...by diluting the glycerin with water and spraying it with an old bottle sprayer...(to preserve and soften it yourself)...the glycerin is cheap and can be bought at almost any store where dried foliage is sold (Hobby Lobby/Michaels)...

anyway...here's some pictures...

I won't start back on the foliage til my shipment arrives...so I'll start on my bridge next...

that's all for now...

100_1533.jpg


100_1532.jpg


100_1531.jpg


100_1534.jpg


100_1535.jpg
 
One last thing and I'm done for the day...I got a baked chicken in the oven and company coming for dinner...then I'm playing golf tomorrow so I won't be doing anything on this diorama tomorrow either...

excuse me...two last things...

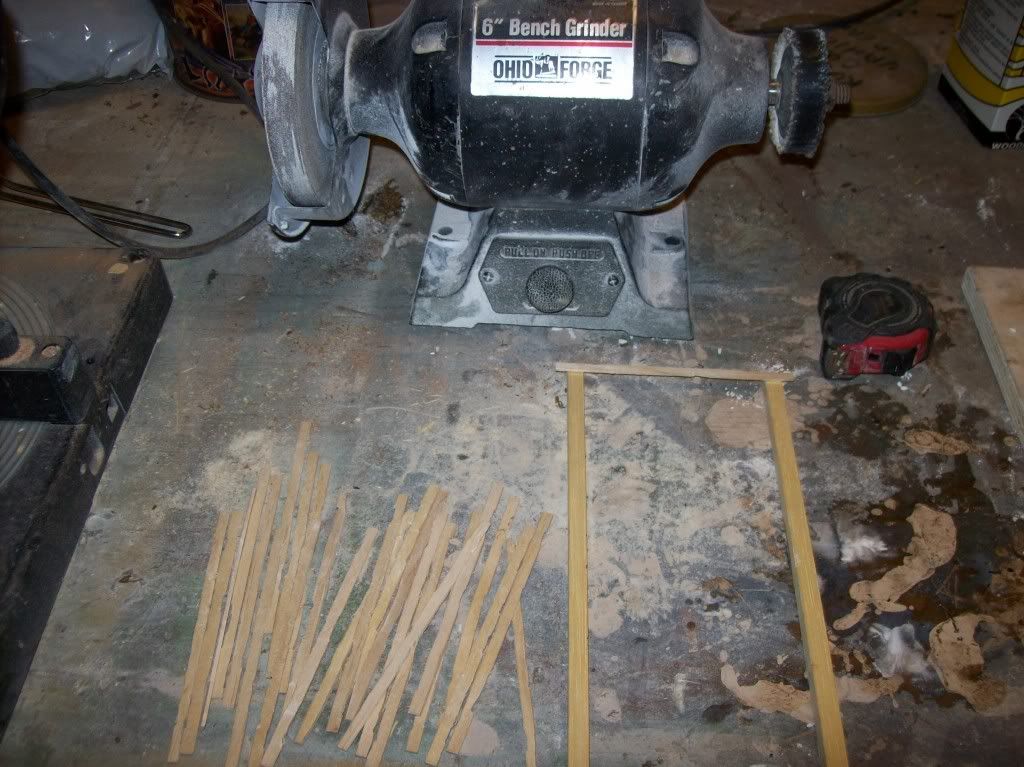
as promised...I started on the bridge while I'm waiting for the foliage to be delivered...here's 2 pictures...

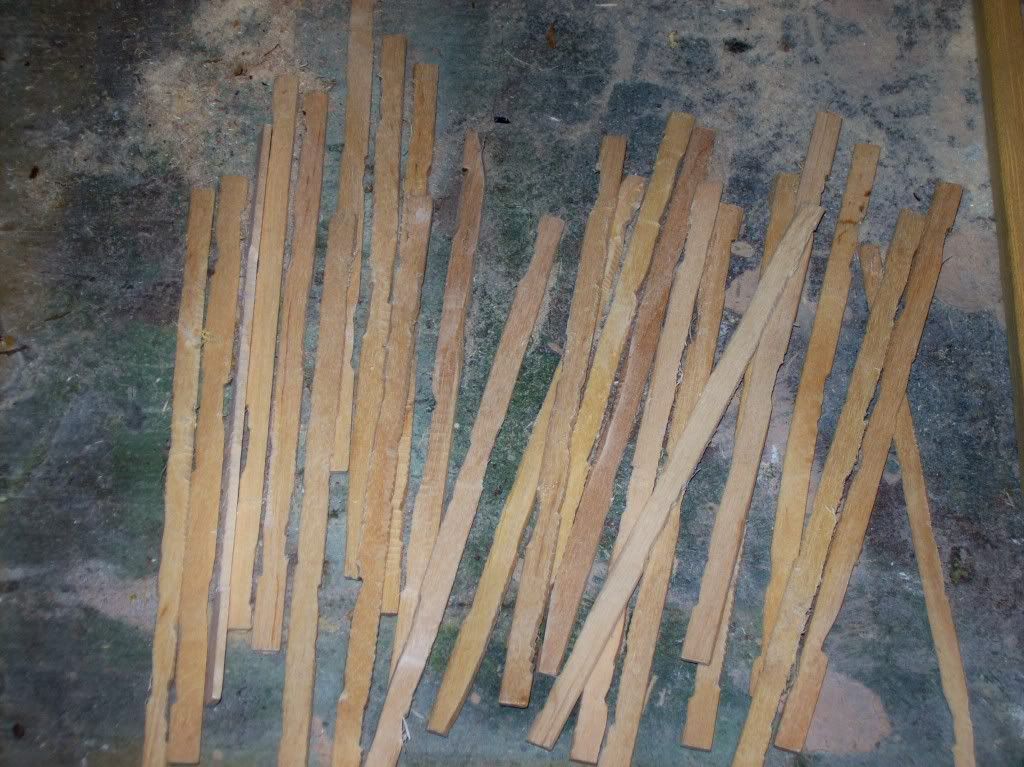
I "roughed up" the wood for the bridge on the grinder...giving it some character...on the first couple of buildings I made...I didn't do this...and they looked too "clean"...so when building an outdoor wooden structure...I recommend a lot of imperfections to give it a more realistic look...I know it sounds strange...but I definitely want this bridge to look "weathered"...

the bridge will be pretty big...12 inches long...

100_1540.jpg


100_1541.jpg


100_1543.jpg


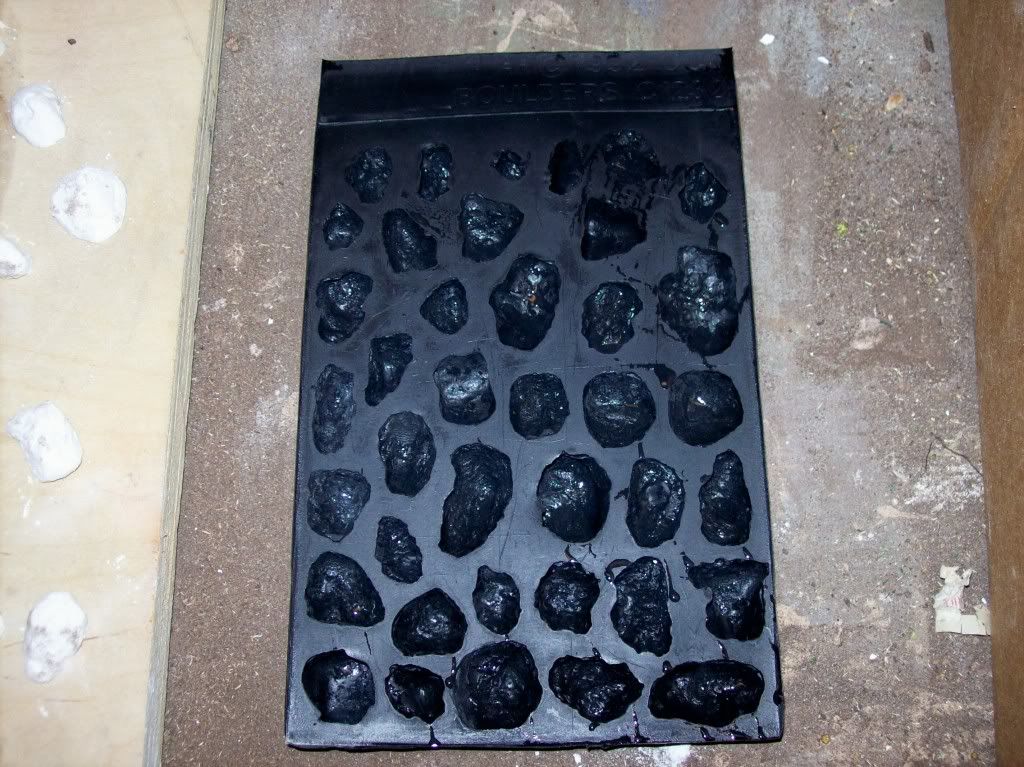
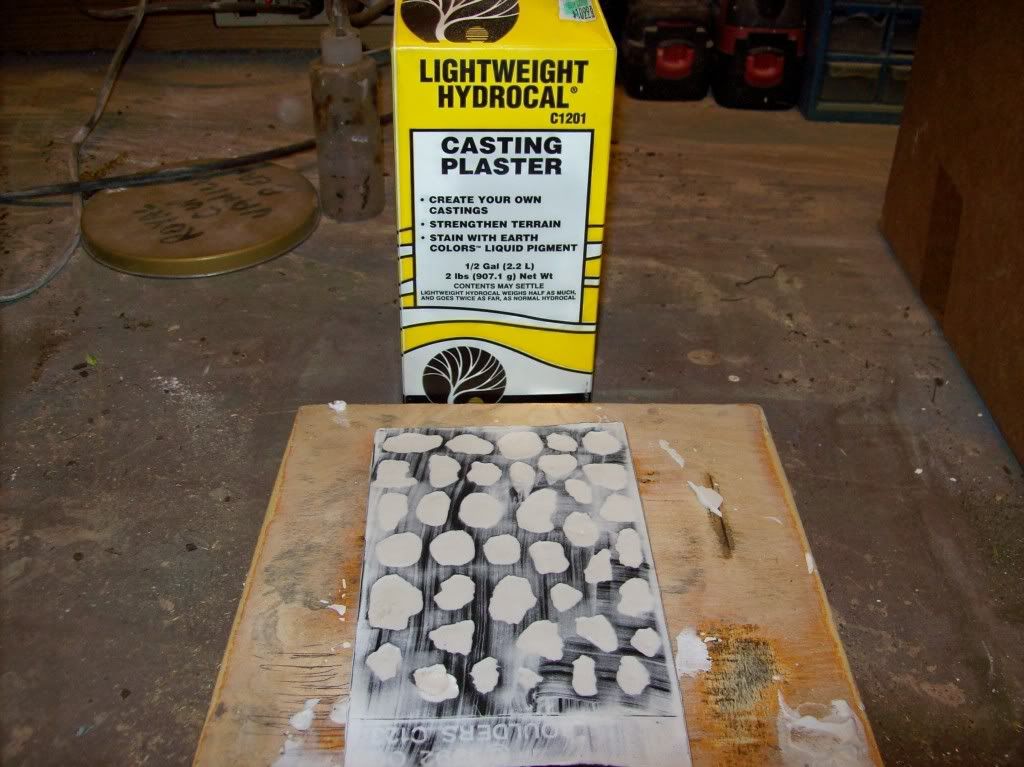
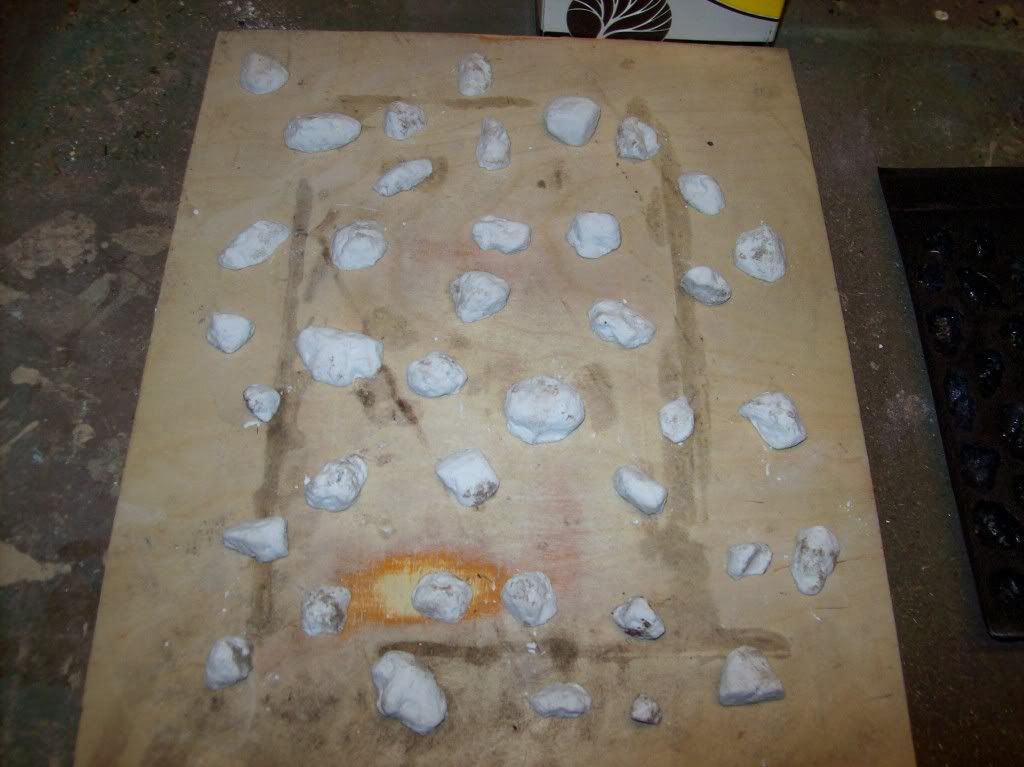
also I'm making a couple of molds of some small field rocks...I usually laugh at people that buy rocks...when you can pick them up out of the street...but the good thing about these molds...is that all the rocks are flat on the bottom and I can paint them all to match...so while I usually pick up rocks for free...yes...I'm making these...

I can almost hear Jim Mora saying..."rocks...rocks...don't talk to me about rocks"...hahaha...

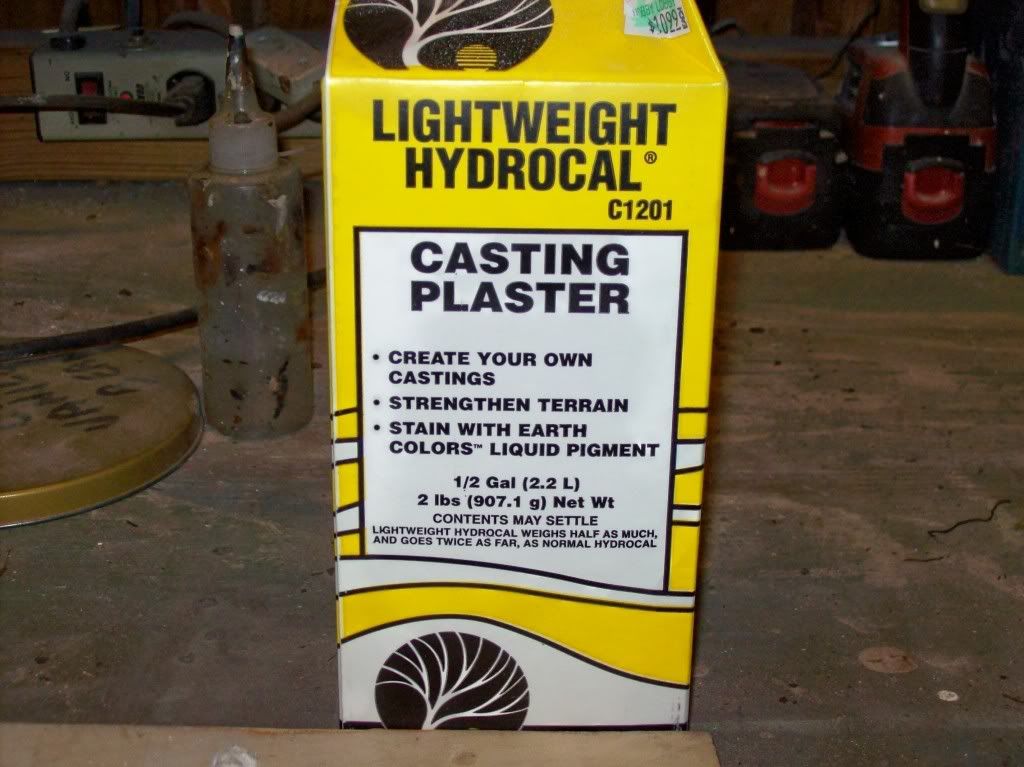
anyway...I'm gonna run a couple of molds of these small rocks and paint them while I'm waiting on the foliage...I'm using a Woodland Scenics mold with some hydrocal...this is pretty simple to do...here are some pictures of the process...

100_1539.jpg


100_1538.jpg


100_1536.jpg


100_1537.jpg


serious...that's it for the day...and maybe tomorrow...if it's really hot when playing golf...I get too tired to work...
 
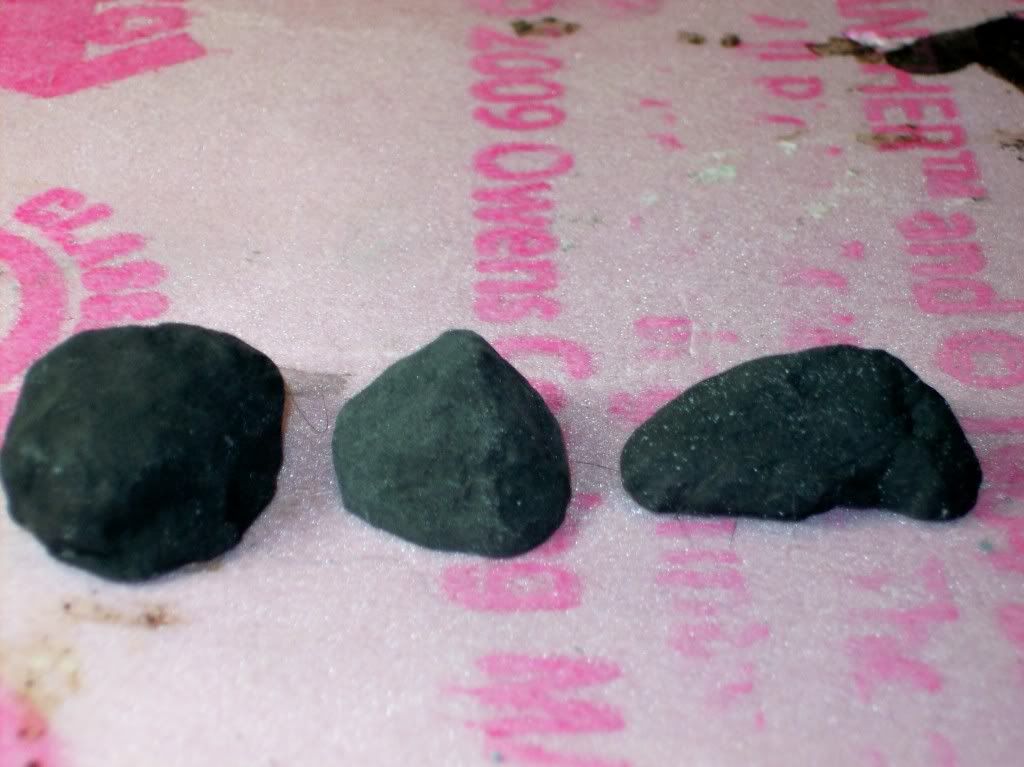
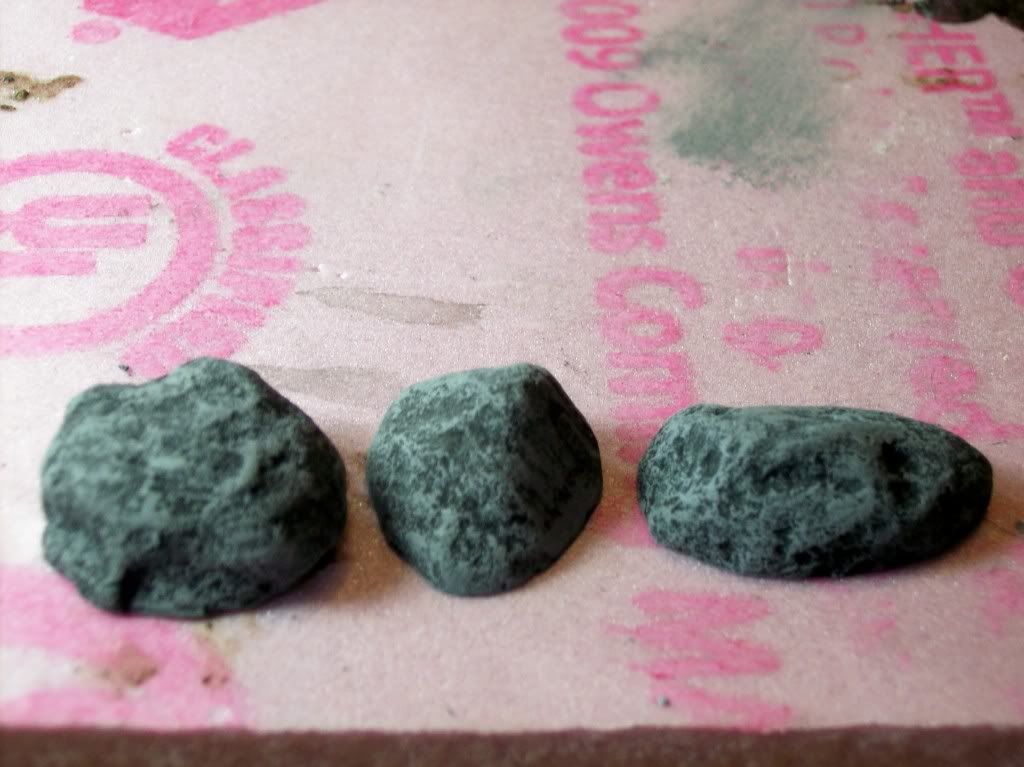
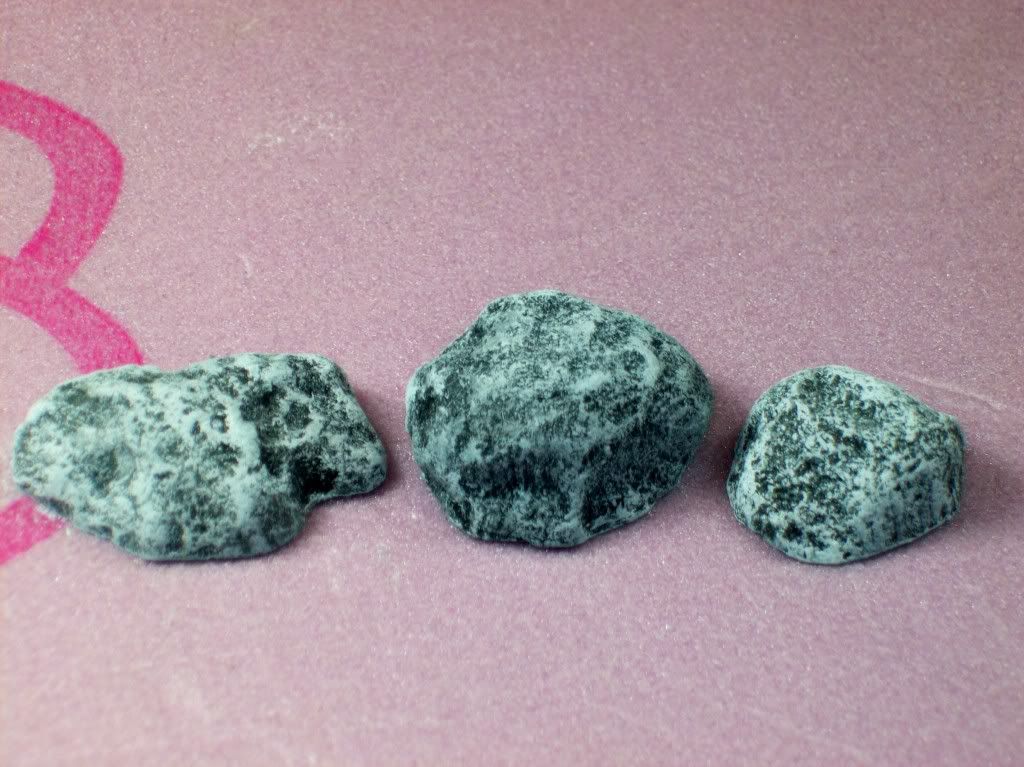
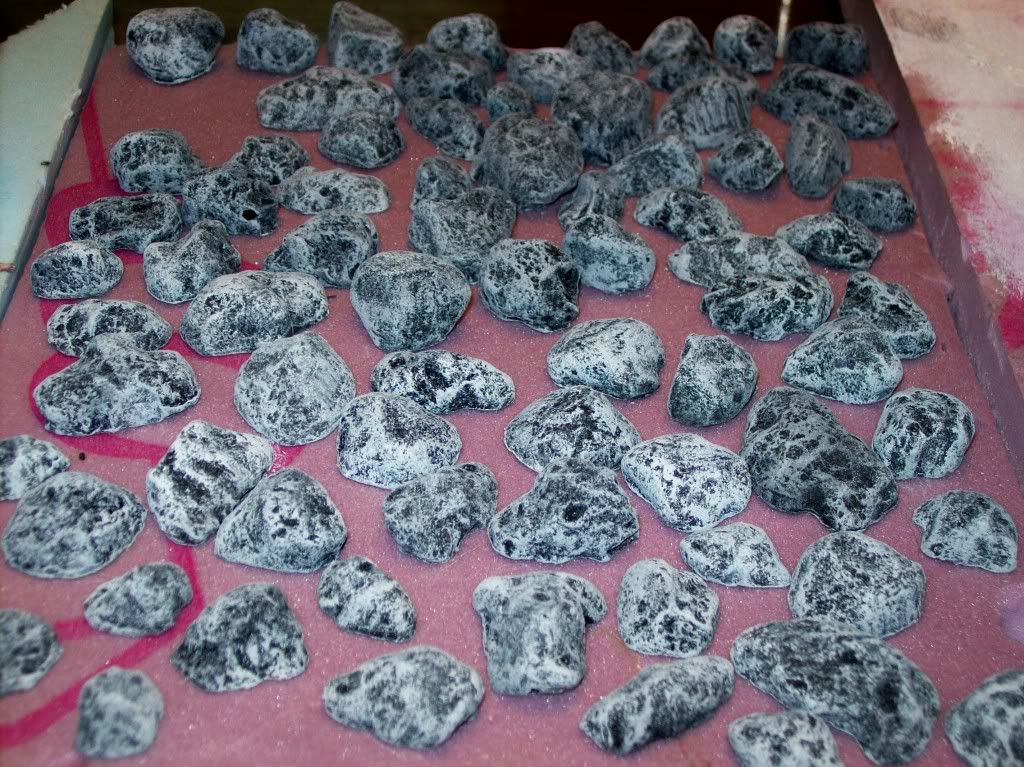
Well...I did a little something today...not much...I have been distracted by football...but I did paint my rocks...

I ran two molds of these rocks...I think there are 40 rocks per mold...I may do another...maybe 2 more...I don't know yet...

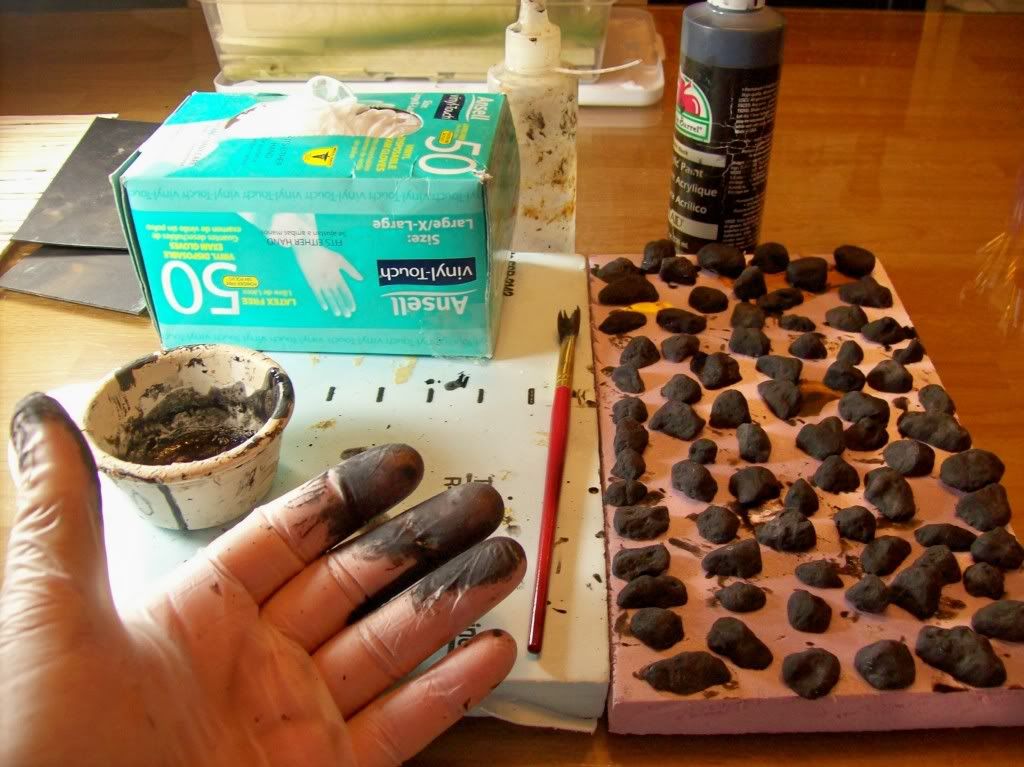
I painted them all black...then did a dry brush of gray...followed by a dry brush of white...

I wear one of those cheap latex gloves when I paint these really small things...it helps keep my fingernails clean and helps spread paint all over the object...as the glove itself eventually gets coated in paint...

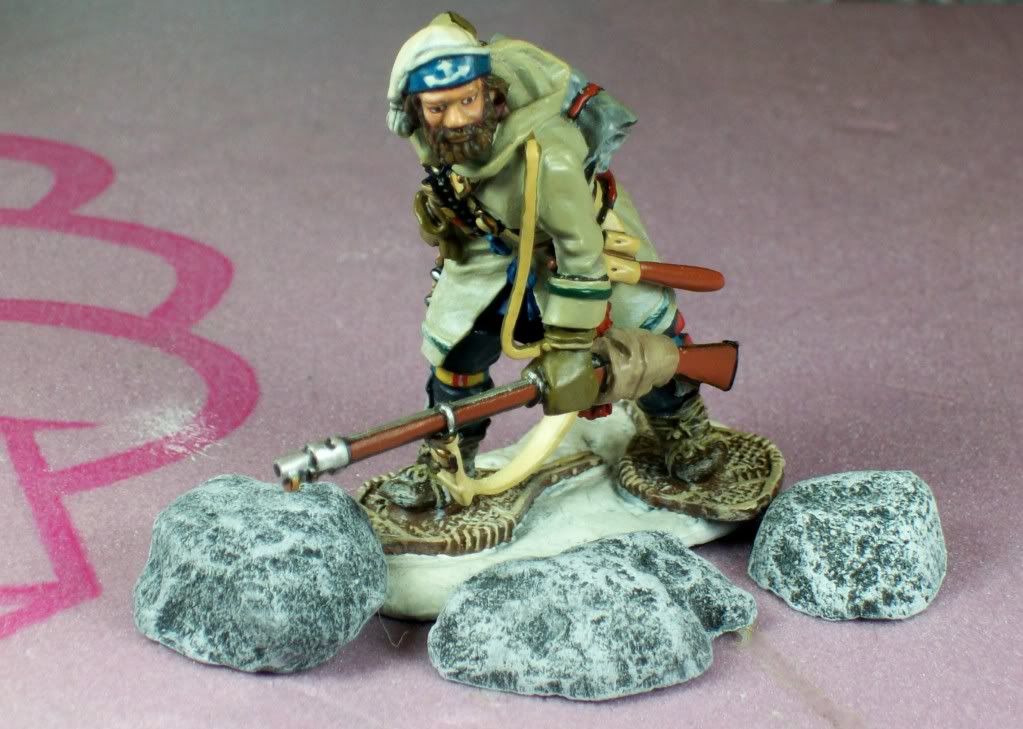
I think they will look good in the river bed...and other areas...I put a JJD Snow Shoes figure next to them to show the scale...

I know you can find rocks in the street...but the good thing about these is that they are all going to be the same color and they all have flat bottoms...

100_1559.jpg


100_1560.jpg


100_1562.jpg


100_1567.jpg


100_1566.jpg


100_1569.jpg


I may get back on my bridge tonight...but I'm kind of devastated by the epic letdown by my Cowboys...seems there is no lead or deficit that is safe with them...:mad:

that's all for now...
 

Users who are viewing this thread

Back
Top