Foam Desert Fort... (2 Viewers)

I made a little progress tonight...

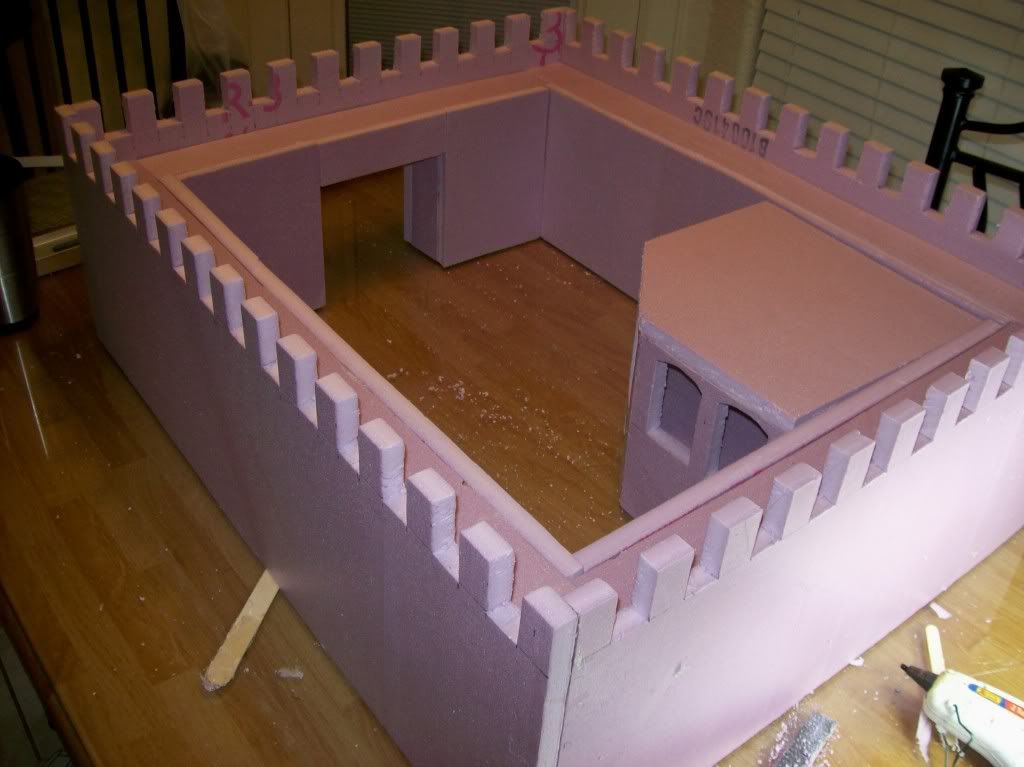
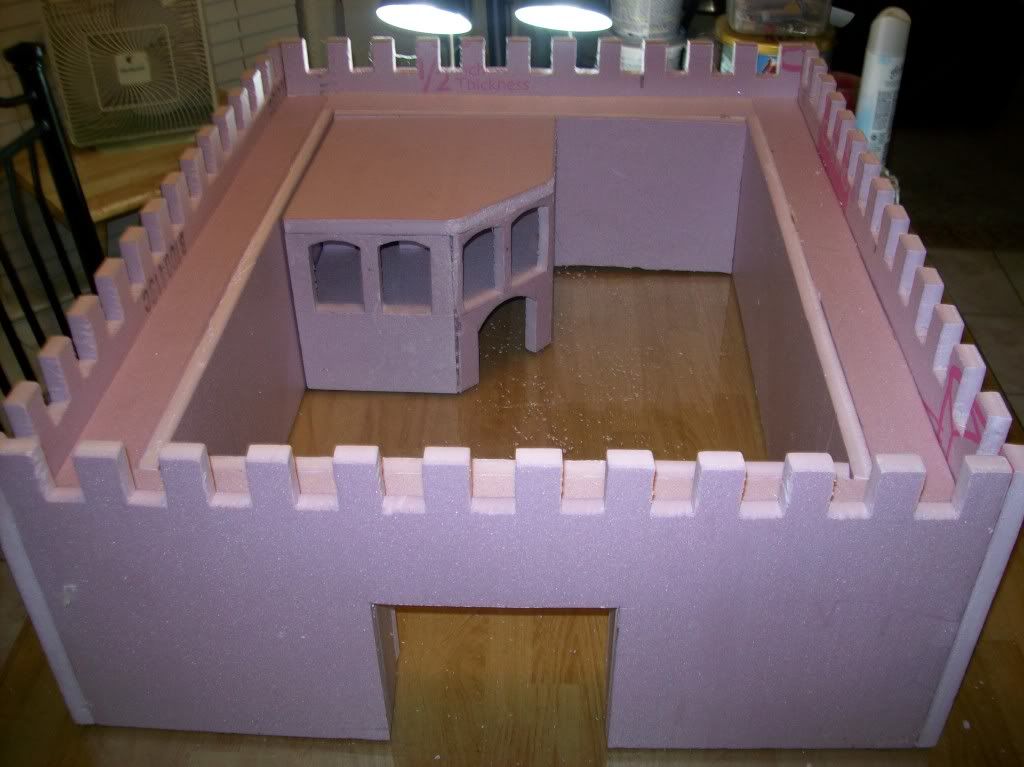
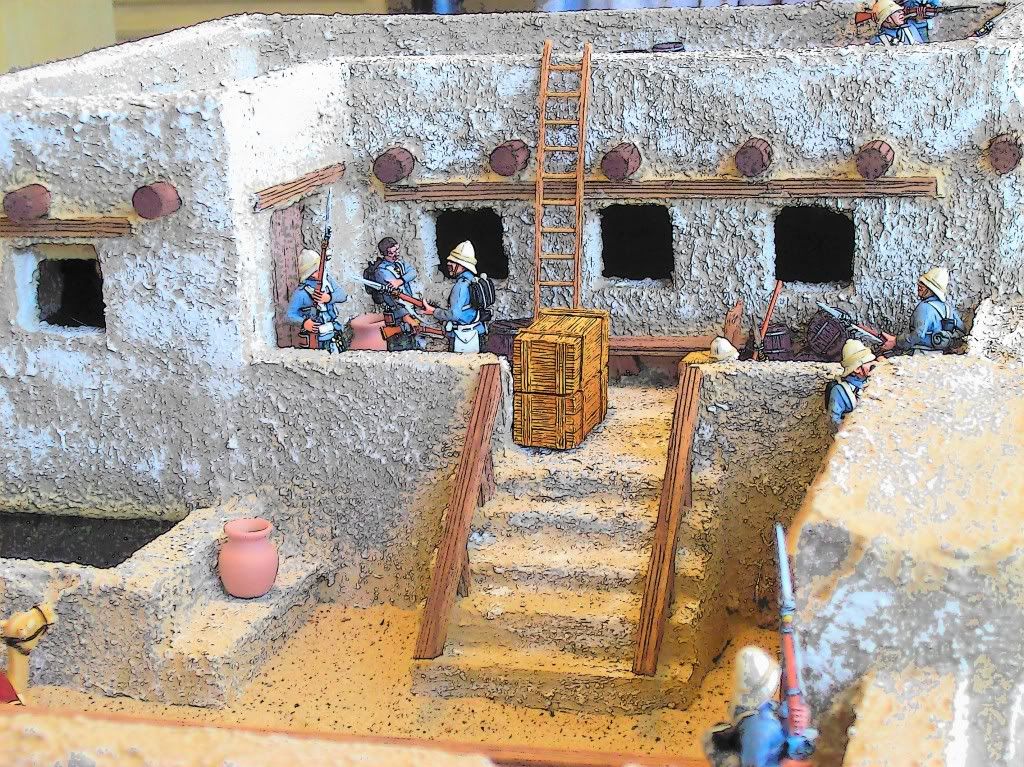
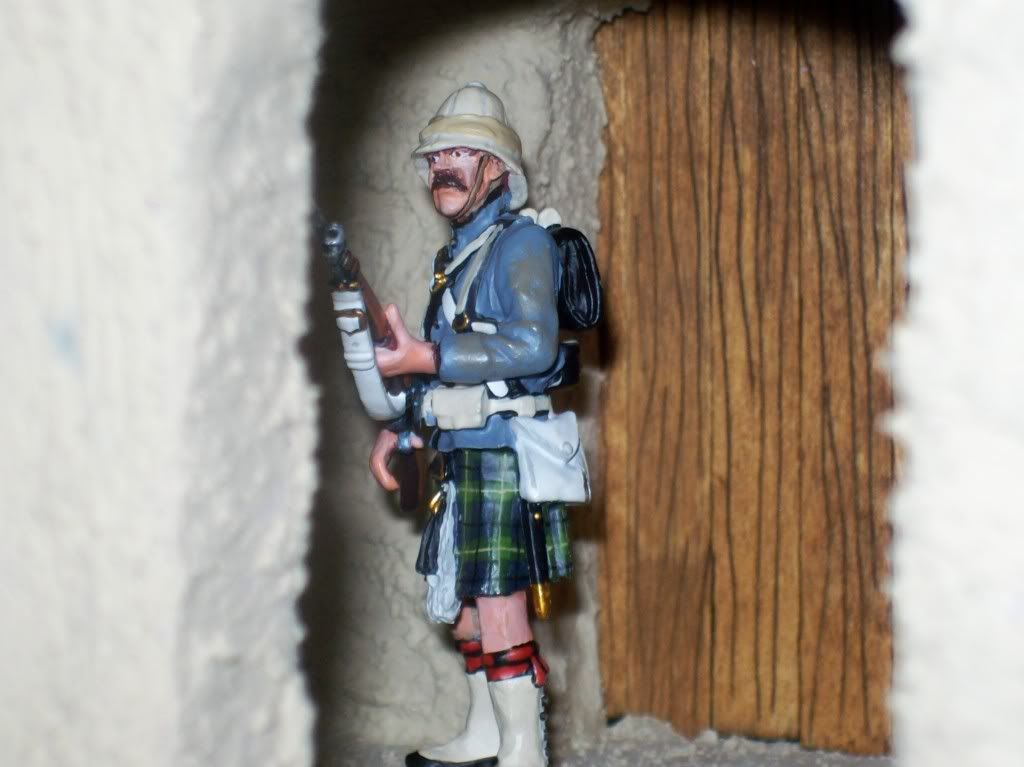
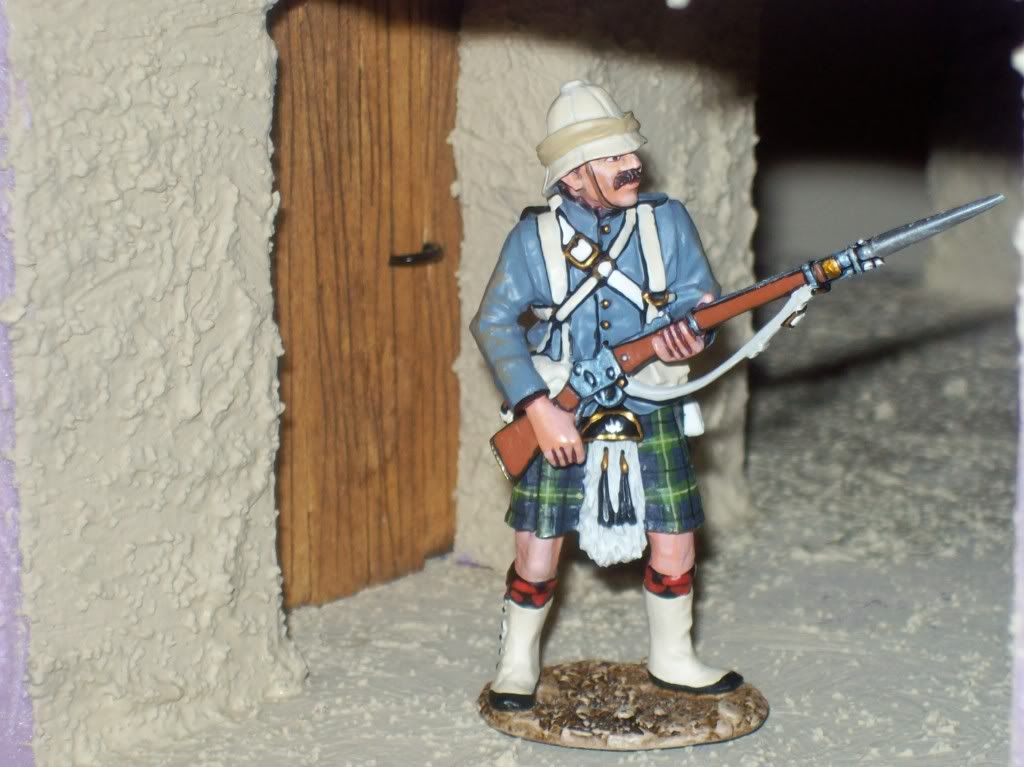
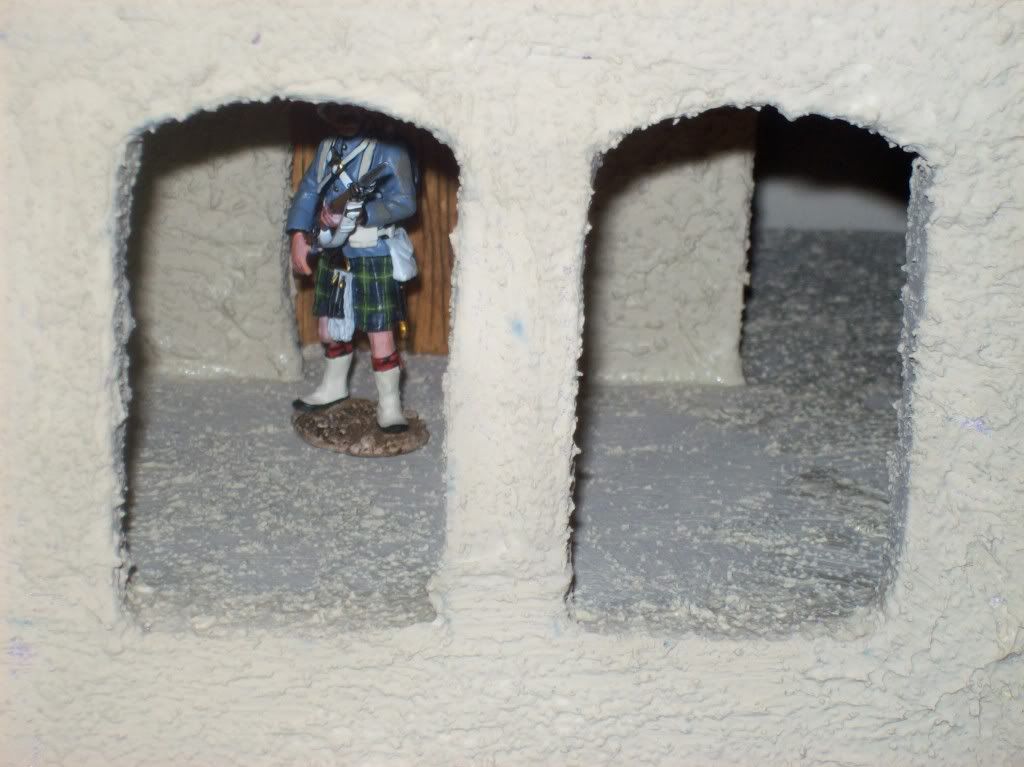
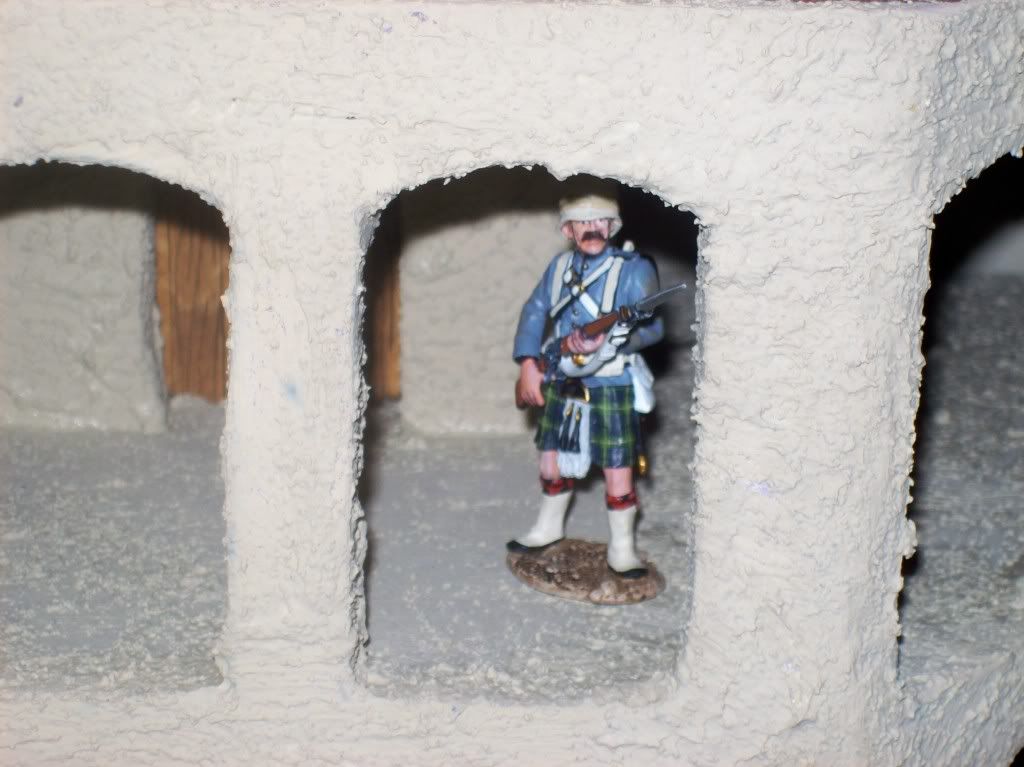
maybe these pictures will make it a little more clearer what the inside will look like...

there will be a wall from the courtyard floor up to the edge of the catwalk...

I'm pleased so far...

I have no game plan and am just "winging it" one step at a time...

my courtyard is shrinking...but I think it will still be okay...

101_1040.jpg


101_1041.jpg


101_1044.jpg


101_1045.jpg


101_1046.jpg
 
Thanks Nicoli...

Extremely happy with my progress tonight...

my neck is not hurting too bad and I'm moving along well...

I'm getting more confident with the foam...

while it's not near as intricate or complicated as Modwalls detailed brick walls...

I'm getting some decent results and learning a lot of tricks...

okay...

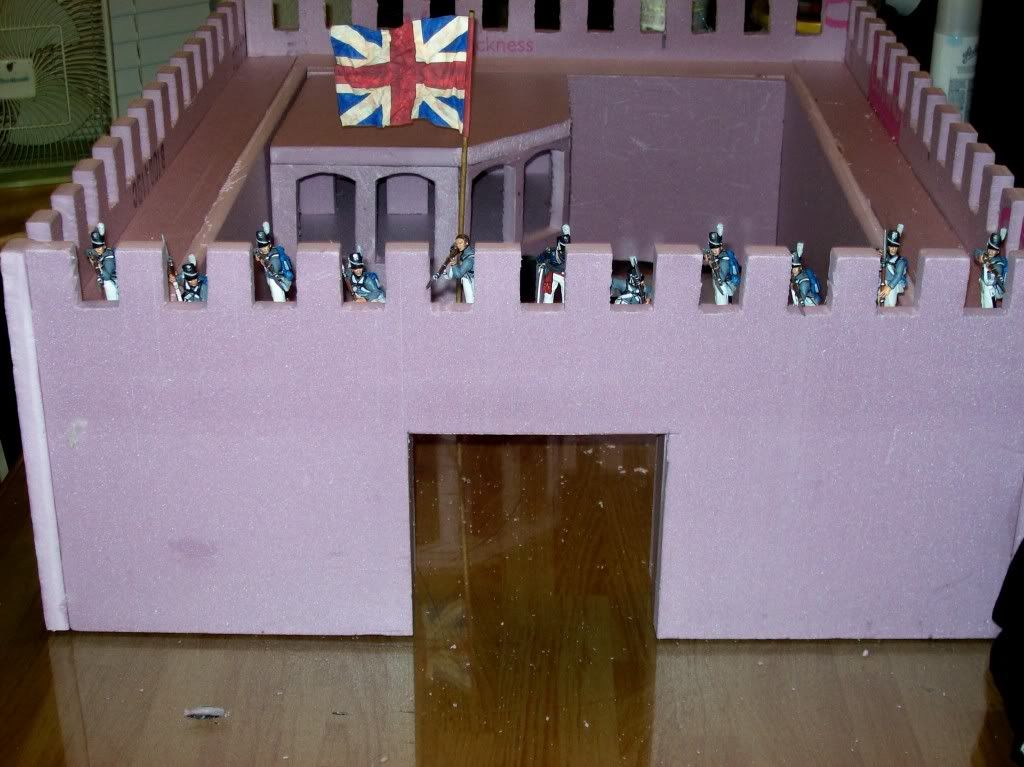
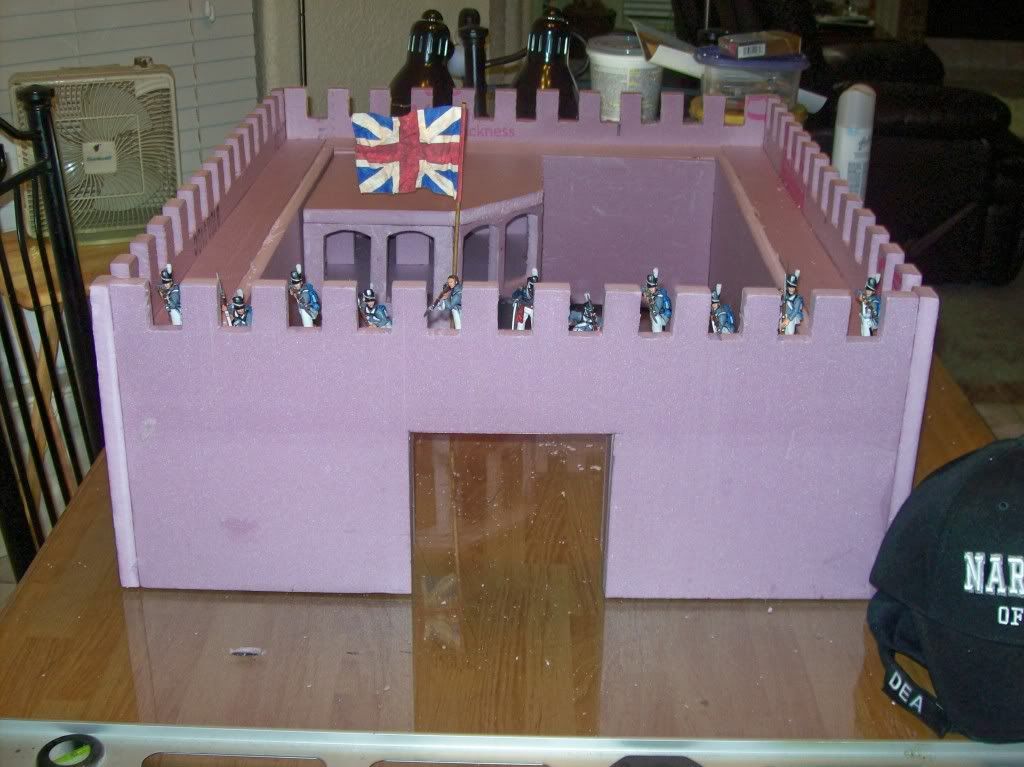
so what I have here is a French fort...

occupied by the US Army...Scott's division...

displaying a British flag...:rolleyes::rolleyes::rolleyes:

hehehe...

guess you can tell I'm ready to play...

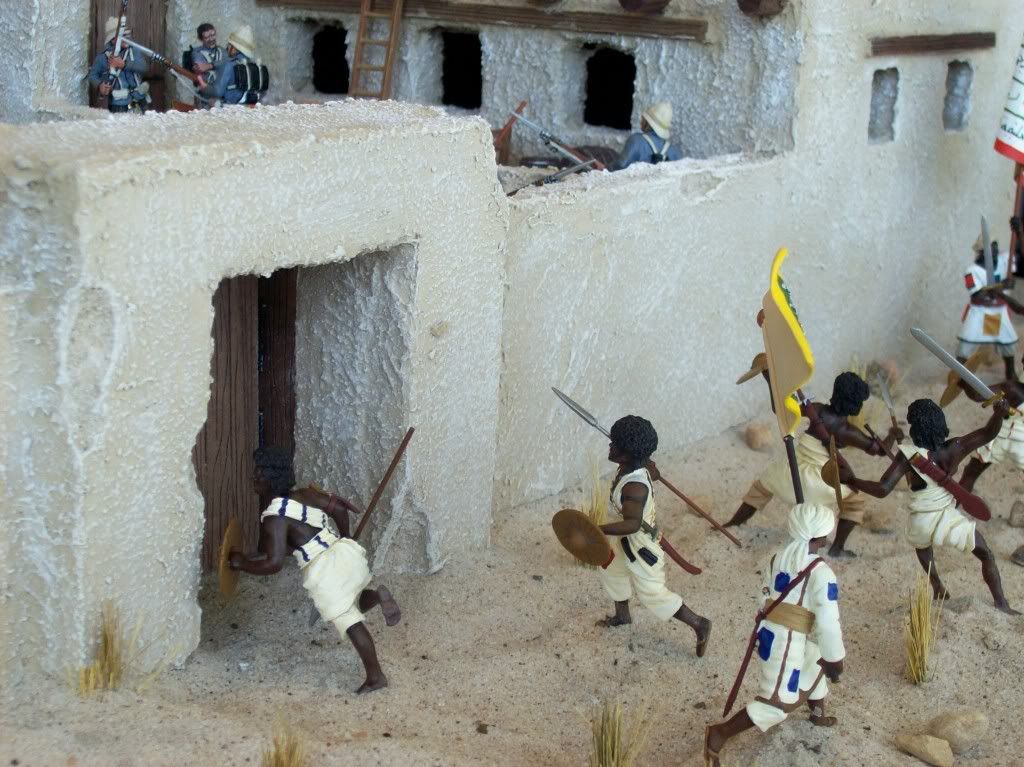
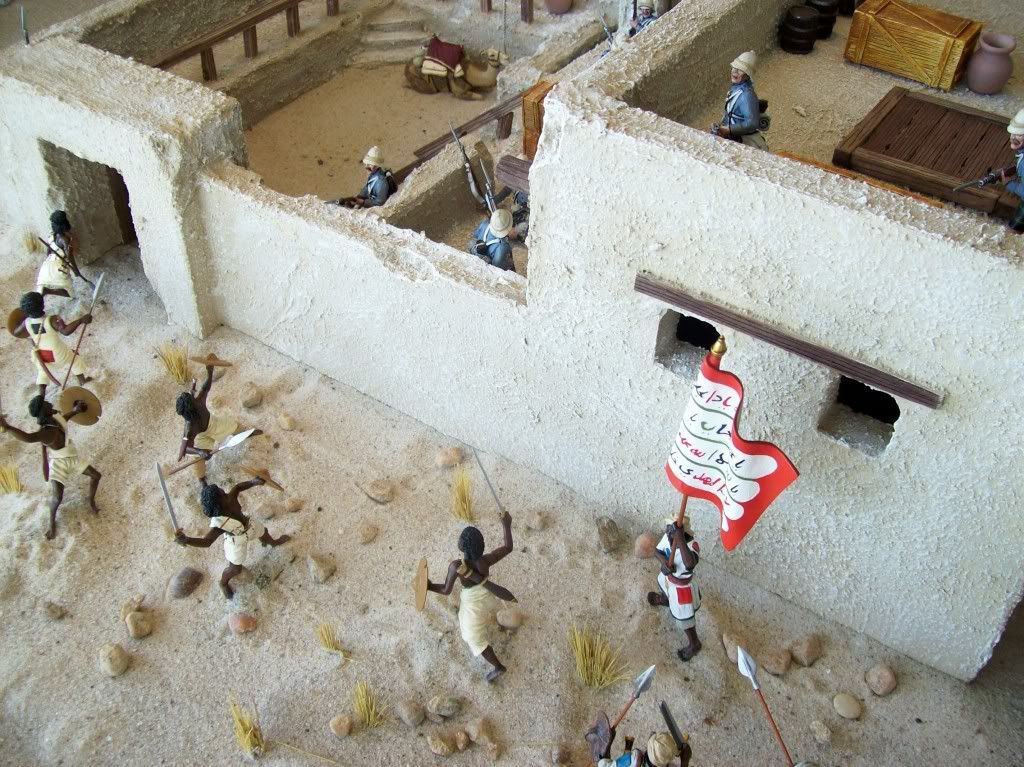
I just wanted to set it up to see how it looked with soldiers on the walls...

I finished the interior walls...they are 2 3/4"s thick...which would represent over 6 feet in this scale...so that's suitable I think...

I may put some small buttress's on the exterior walls...I have seen this on many forts and castles...for stability of tall walls...

tomorrow I will start on the interior buildings and hope they don't crowd the courtyard too much...

101_1051.jpg


101_1049.jpg


101_1048.jpg


101_1050.jpg
 
Apologies Michael, I've only just seen this thread.:eek:

Your Fort looks superb, doesn't need a large courtyard, by the looks of things:cool::cool:

Cheers

Martyn:)
 
Thanks Joseph, Mitch and Scott...

Scott...I'm not exactly sure what you're saying but I am building the inside walls 2 "s thick...

2"s in 54mm scale is about 6 feet almost...so this will give the illusion of a thicker more realistic fort wall...

these are pictures with the "studs" in place that I will adhere the interior walls and catwalk to...

the catwalk will be 2"s thick with the merlons on one side and a wood railing all along the indside...I don't want soldiers falling into the courtyard...

once this is filled in...I will add the interior buildings...

Randy...my interior courtyard is slowly disappearing...but there is no turning back now...

the courtyard may end up very small...hahahaha...

I will have room for a badminton net perhaps...

Looking good Michael, when I suggested cutting the walls I meant from the merlons down to the ground, then make a section of wall to fit in the gap that is left.

Perhaps this one could be the officers quarters :)

Great job my friend looking forward to the next step.
 
Hey, looking good Michael!
I really do enjoy watching your creations come to life, and this is shaping up superbly.
Great work.
Simon
 
Mike, your Fort is coming along GREAT!
I look forward to seeing the finished product.
Never let the pink foam control you, you are the master of it:D
Great job!
Nick;)
 
thanks Martyn, Scott, Simon and Nick...

I have not touched this thing in a couple of days...I did get some tiny hinges... so I will start on the front gate today...I hope...
 
Looking really good look forward to the next stages
Mitch
 
Thanks Mitch...

well...

I'm not setting a land speed record here...

but I have gotten back to work...

in my defense...my neck, shoulder, back and arm are killing me...

but I feel pretty good today so I did a little work...

I got started on the entrance...

I have a lot of stuff to correct...this is a pretty rough unfinished view...but I'm real happy with it so far...

101_1058.jpg


I'm gonna frame out the inside and outside with these large timbers...I need to go buy a piece as I don't even have enough to do one side...it will be like a door frame...hiding the jamb and cleaning everything up...

101_1063.jpg


the gap at the top and the bottom is deceiving...I think it's the glare on the glass table and the sun shining in...I measured it and it's less that 1/2 cm...

101_1060.jpg


the gap at the top...I'm gonna have to fill in...I thought my measurements were good...but the doors dragged on the top so I had to lower the doors some...but I will fill it in with some trim and clean it up...

101_1062.jpg


the hinges need to be repainted...they were brass and I spray painted them with enamel before I started...I scratched them up a little and need to touch up the screws...I'll use the spray enamel and apply it with a brush...

101_1067.jpg


101_1066.jpg


you can see how small the screws are...I put a quarter next to the hinge set...these were a pain in the butt...but I wanted the doors to open and close...

101_1065.jpg


I still need to put handles and a latch on it...but again...I'm real happy with it so far...

with this scale and with these little doors and hinges...when you get off just a smidgen...it really magnifies the mistake...

I'm waiting on some window frames I bought online...I can't cut out any windows on the interior buildings until I get the frames...

I got plenty of other stuff to do while I wait on the mail...
 
Once again very nicely done Michael an nice to known you felt a little better today to work on it. Take care buddy an have a good night..........PapaZ
 
Thank you Guiseppe...
I got a coat of primer on it and I'm stopping for the night til it dries...
I used this light primer cause I'm gonna do it the same color as the garisson I made...
101_1069.jpg


101_1070.jpg


101_0902-1.jpg


101_0901.jpg


101_0907.jpg
 
Hope you are feeling better soon Michael. Thanks for sharing your progress so far looking good !!
 
Glad your feeling better the pics are really informative and a pleasure to follow
Mitch
 
This project is starting to look pretty exciting Mike. I know those little craft size hinges are a real challenge, so well done. I like the weathered look you have achieved with the door timbers and framing. Is that all craft store beechwood you've used?

MD
 
This project is starting to look pretty exciting Mike. I know those little craft size hinges are a real challenge, so well done. I like the weathered look you have achieved with the door timbers and framing. Is that all craft store beechwood you've used?

MD

Thanks Scott and Mitch...

thanks Dave...the wood is just craft store dowels...I scratch some grain in them and paint them...but yes...the little hinges are a total booger to use...if you're off just a fraction of a cintimeter...the errors really show up badly on this scale...the doors can be so completely off when you are not exactly square with them...I got lucky on my first attempt and they lined up and closed perfectly for me...

on the wood...just etch some grooves to represent the grain and paint it brown...wipe it off...and the dark paint will stay in the grooves you etched...

101_1071.jpg


101_1072.jpg
 
Got back from the OTSN show in Chicago yesterday afternoon Michael and am just now catching up with this thread. My goodness man, do you ever rest or sit still :D;). You are amazing at what you do and I think this project is going to be one of your best. I am really glad I took a peek . . . .
:) Mike
 
Thanks Mike and Titus...

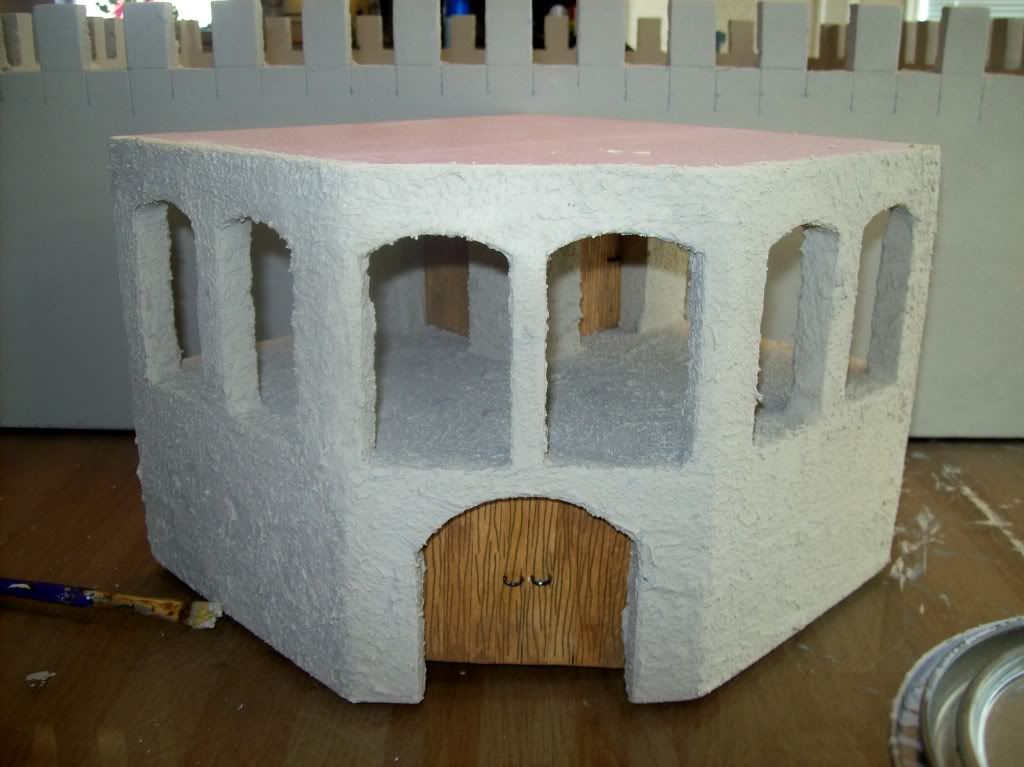
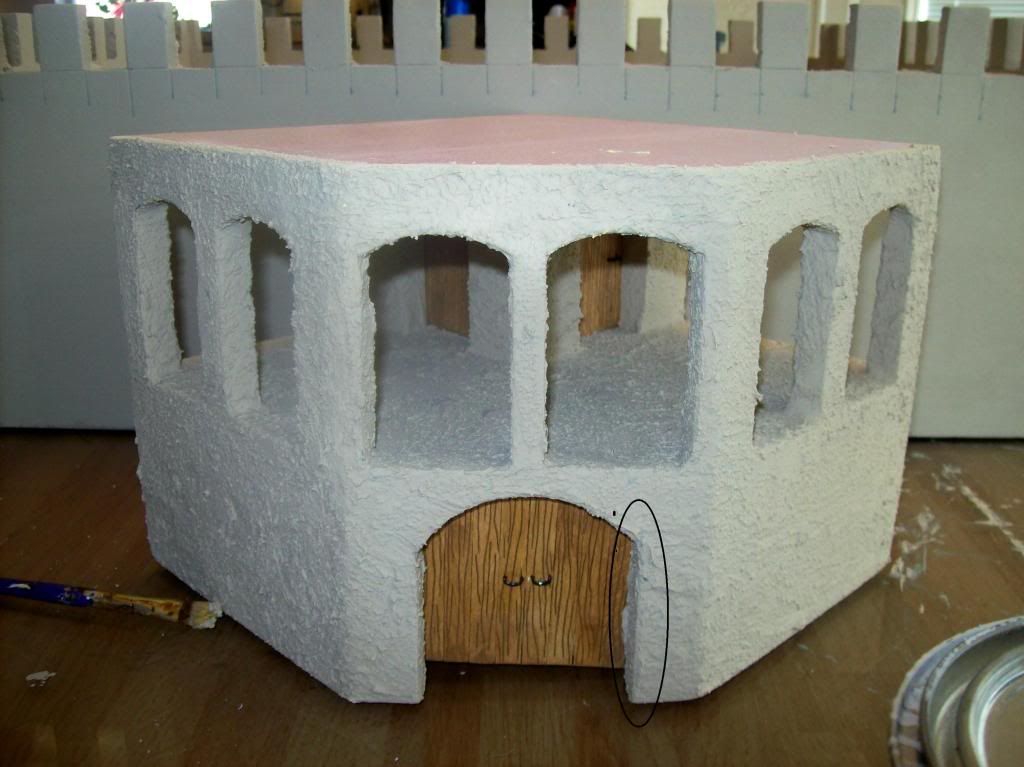
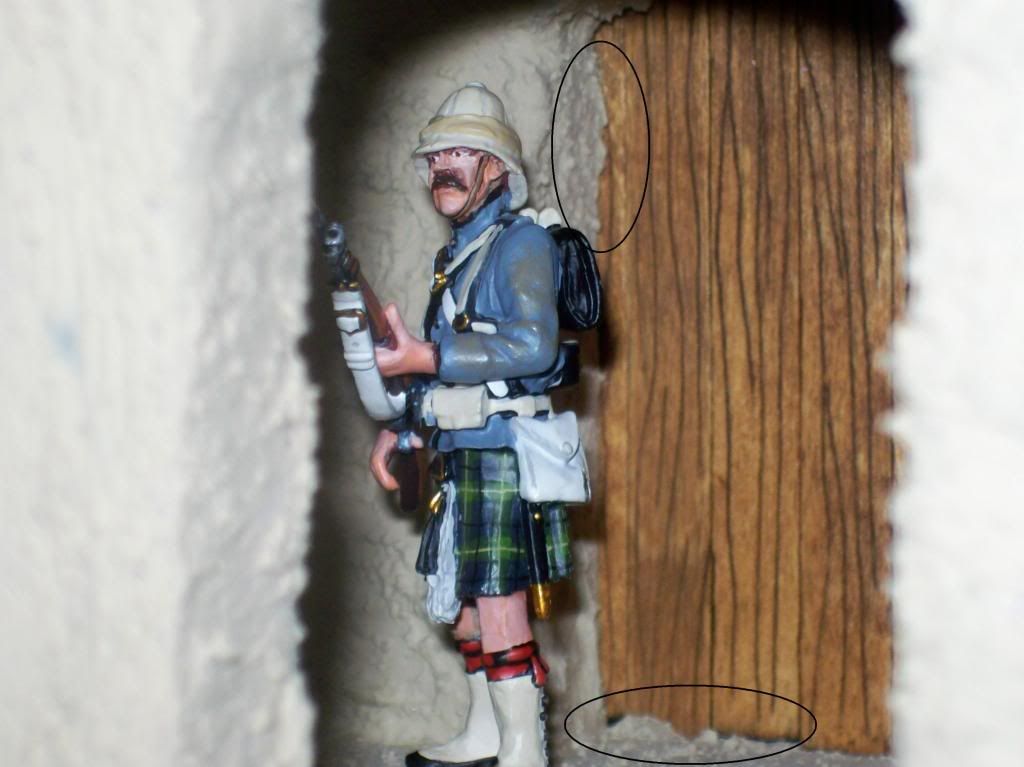
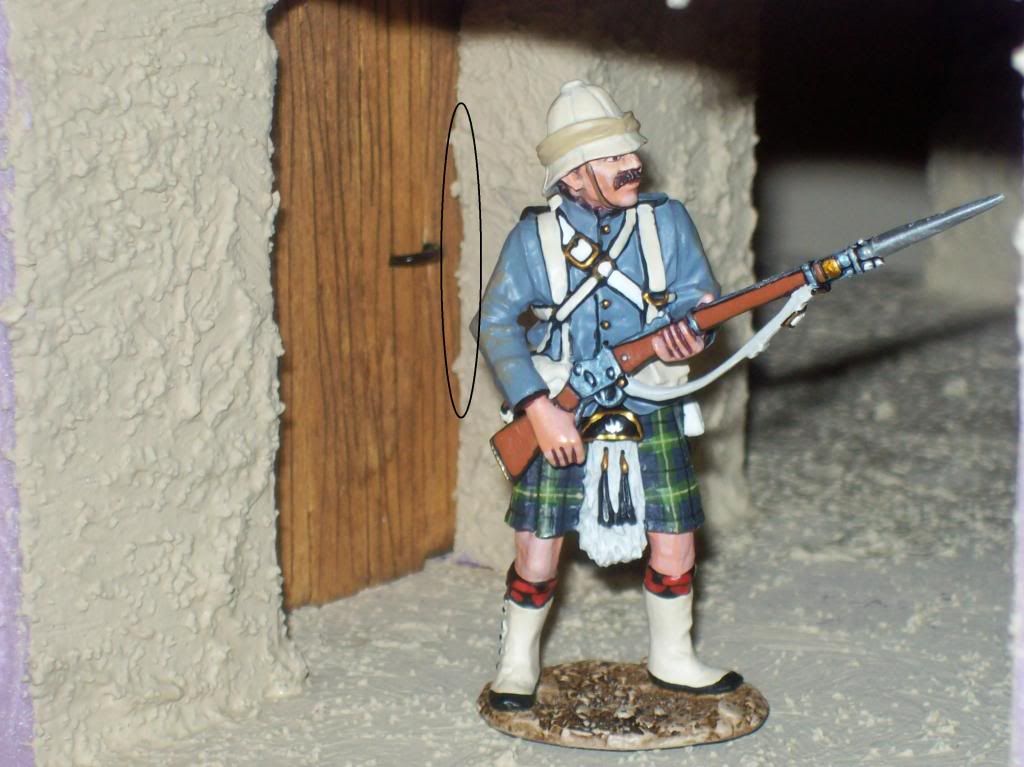
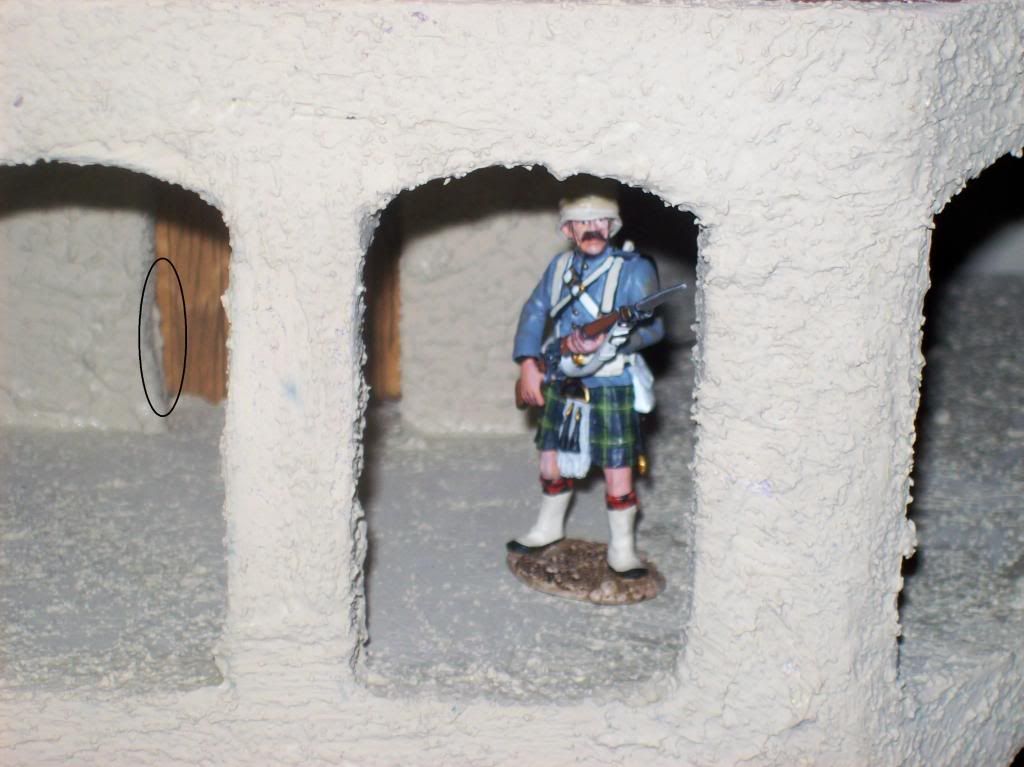
this first piece...which will go in a corner of the inside of the fort...had to be textured and the doors had to be made before I installed it...it would have been too difficult to do it after it was installed...I have a coat of stucco patch on just to show the basic color and the texture...I need to clean it up and it will get a couple of coats of dry brushing to give it some weathering...but I thought it would be easier to do before installing it...at least you can get an idea what it will look like...I need to do some "clean-up" work around the door frames...I want to add a bunch of railings and bannisters on this piece...once I get this piece glued in...I will start making the other interior buildings...I'm still waiting on some window frames before I can start the other buildings...but I'm real happy with it so far...the doors turned out nice...the second level is supposed to be like an officer's quarters...there will be a lookout tower on top...

101_1078.jpg


101_1076.jpg


101_1075.jpg


101_1074.jpg


101_1073.jpg
 
These are the spots I need to clean up...once it's dried completely...I will trim off the excess and make them look a lot better...I'm hoping to get some lanterns that will light uip...it might make a really nice picture in the dark with the lanterns lit...

101_1078-1.jpg


101_1076-1.jpg


101_1075-1.jpg


101_1073-1.jpg
 

Users who are viewing this thread

Back
Top