My First Foam Building... (2 Viewers)

Started back on this thing again...

I got a coat of a light tannish, sand colored, cheap, flat latex on the building...

real watery to cover all the cracks...

you can use any acrylic also...but no enamels...they can melt the foam board...check your paint on a spot to make sure...

the painting...it's not finished yet...needs some washing and dry brushing...the building is too "clean" and needs some aging and highlights...

101_0375.jpg


and started on the wood to build the porch, doors, windows and ceiling beams similar to this picture...it will be my version...:D...

Touching_History_Sudan_38.jpg


I like working with popsickle sticks...

I used two sticks here...regular (for the plank flooring on porch) and wide (for the window frames)...

the wide will warp if you get it too wet...so don't dilute the paint too much with this piece...

you can buy the popsickle sticks anywhere...

101_0378.jpg


also a square pole piece and a round pole piece...

the poles at Home Depot...I used 7/16" on both...about a $1.00 apiece for a 3 foot section...

101_0377.jpg


you can "grain" them easy...

use the back of an Exacto knife to deeply score the wood...

irregular patterns look best (look at the unpainted one)...

101_0372.jpg


101_0371.jpg


put on a paint diluted with water and the paint will settle in the etched grain...let it dry or wipe it off with a towel...the grains will remain highlighted...

I used Folk Art acrylic "Asphaltum"...I like it cause it's pretty dark and the etched grain really shows up good...but use what you like ...

tip...snap off the ends of the popsickle sticks with a pair of pliers instead of cutting them with snippers...the look more realistic on the ends...even a few exposed splinters don't hurt...long as they are in scale...

tip...some of my popsickle stick buildings were coming out too clean...the wood planks were just too neat and too well milled...not weathered enough...so I weathered the sticks by gouging out hunks with an Exacto knife...I don't want them to look too perfect...the two small ones on the outside have been weathered with a knife...a little extra work...but I think they look better than the one in the middle...just my opinion...

tip...paint the inside of the building...you can see in the windows and the pink foam looks bad...it doesn't take but a few extra minutes...

anyway...gonna work on some wood today and maybe some weathering with paint on the outside of the building...

101_0373.jpg
 
I just put a dry brush on the building...

it only takes a few minutes...

I really did it backwards...starting with a light tan colored building...then dry brushed a darker brown color on top of that...

I think most people would tell you that the dry brush technique would be a lighter color on top of a darker color...

I'm not sure if I like it...and may do another light colored dry wash over this now...I dunno yet...it's growing on me...hehehe...

to dry brush a piece...

all you want to do is apply enough paint to pick up the hight lights and add some "character"...

dry brushes techniques work especially well with a heavily textured pieces as opposed to a smooth piece...the grainier the painting area...the better...all those little raised indentions will come to life with a light dry brush on them...

just get your brush really wet with paint...then on a scrap piece of wood...keep brushing until all the paint is gone from the brush...even when you think the brush is dry...believe me...there is plenty of paint left in it...

when you think the brush is completely dry...then you are ready to do a dry brush...

then just lightly hit spots on your building with the brush and plenty of paint will appear...

I did not do much to the insides of the windows frames cause they will have wood in them...I did do the roof hatch as it will not have wood in it...

I do recommend painting the inside...

I know I may be getting a little trivial in my explanations...and I know most people know this stuff as well as the back of their hands...but I remember when I first came on this forum...I wanted to know everything...well honestly...I still do...and I always found the "how to" threads as the most interesting...and loved it when they went into detail...so...hopefully...this thread will help somebody...


101_0386.jpg


101_0383.jpg
 
Another great 'how to' Michael. The results look fantastic.

Simon
 
Mike

It's coming along very nicely. You've got a winner there for sure!

Randy
 
Thank you Carlos...Jeff...Randy...Mike...Gazza...Russell...Scott...Mark...Mitch and Simon...

Mike...special thanks to you for your help...I think you do some of the best bricks I have ever seen...

http://www.treefrogtreasures.com/forum/showthread.php?t=18334&highlight=bricks&page=3

Simon...your Iraqi building was an inspiration...I may try bricks again on my next one...

http://www.treefrogtreasures.com/forum/showthread.php?t=11800&highlight=Iraq+building&page=3

I made my first real mistake today...not my first mistake by any means...just my first bad one...but I think I have corrected it and have learned from it...

I should have waited to stucco patch and paint the exterior until I had the window frames in...

with all the crunchy texturing inside the foam window frame from the stucco patch product...when I started building the wooden sills...it was a bumpy fit at best...with some pretty severe gaps...

I mixed some paint with some more stucco patch and painted it in the gaps...

101_0388.jpg


101_0396.jpg


101_0391.jpg


101_0390.jpg


101_0389.jpg


I think it's gonna look okay but I will have to do some more dry brushing with the darker paint to blend in the patch work once it dries...I took some pictures of the finished windows with the stucco patch still dry...I'm probably finished for the night until the stucco patch dries and I can dry brush it tomorrow...I hope to do the ceiling timbers and start on the porch and doors...

I think I'll just etch out a bunch of wood and popscikle sticks tonight and paint them so I can move fast tomorrow...so far so good...I'm starting to like it...
 
Just found your thread Michael. Your project is coming along very nicely and the step-by-step instruction is great. Looking forward to your progress reports.
:) Mike
 
Hi Michael,

I have been watching this thread with the greatest of interest. For quite some time, I have been thinking about attempting to build an accessory using foam. However, even though I have followed other "how to" threads, yours is the best I have seen regarding clear, specific, and understandable steps for a complete novice (me) to follow. Thank you for taking the time to post this thread and suppliment it with your wonderful photos. It is extremely helpful.

Warmest personal regards,

Pat :)
 
Looking great, Michael! Your JJD Sudan will have a nice place to kick back...be sure to include a beer keg!
 
Thank you Mike, Pat and Nick...

I was thinking some Hooter's girls instead of a keg...

the fix job on the windows dried a whole lot faster than I hoped...so I went ahead and re-dry brushed the walls around all the windows...

it turned out okay...not too noticeable it was re-done...

I got the ceiling joists in...all I did was cut them about 3 inches long, etch some grain work in them and hot glue them into some small holes I poked into the exterior wall...these were made with the 7/16th inch dowels I showed earlier...

I grouted them around the wall hole and dry brushed them once more too...I know I missed a few spots around the ceiling joists...the close ups on the camera show everything...I'll touch it up a little better...

I worked up some wood to make the porch...I really roughed the planks up before I painted them...I got a little bit of an idea in my head as how to finish off the porch..I want it to be sturdy and solid so I think I'll put poke some timbers into the front wall and adhere them to the porch to solidify both pieces together...

I decided I want to do some small shutters for all the windows...so I will do that tomorrow along with the door and keep going on the porch...

I'm real happy with it so far...the detail on the porch should turn out nice...I really like making wood planks with the popsickle sticks...I love the way they turn out...they are not glued on yet...I'm not sure how I will do it yet...

fingers crossed...:rolleyes:

101_0398.jpg


101_0399.jpg


101_0401.jpg


101_0397.jpg


I think the roof of the porch will be done something like this popsickle house I made...some thatched hay done in layers...

100_9505.jpg
 
Grrrrrrrrrrrrrrrrrrrrrrrrrr!!!!

Kind of frustrated here...can't get motivated today...

A Fedex delivery of soldiers really didn't help...hehehehe....

Either I'm distracted...losing interest...or just frustrated...

probably a little of each...

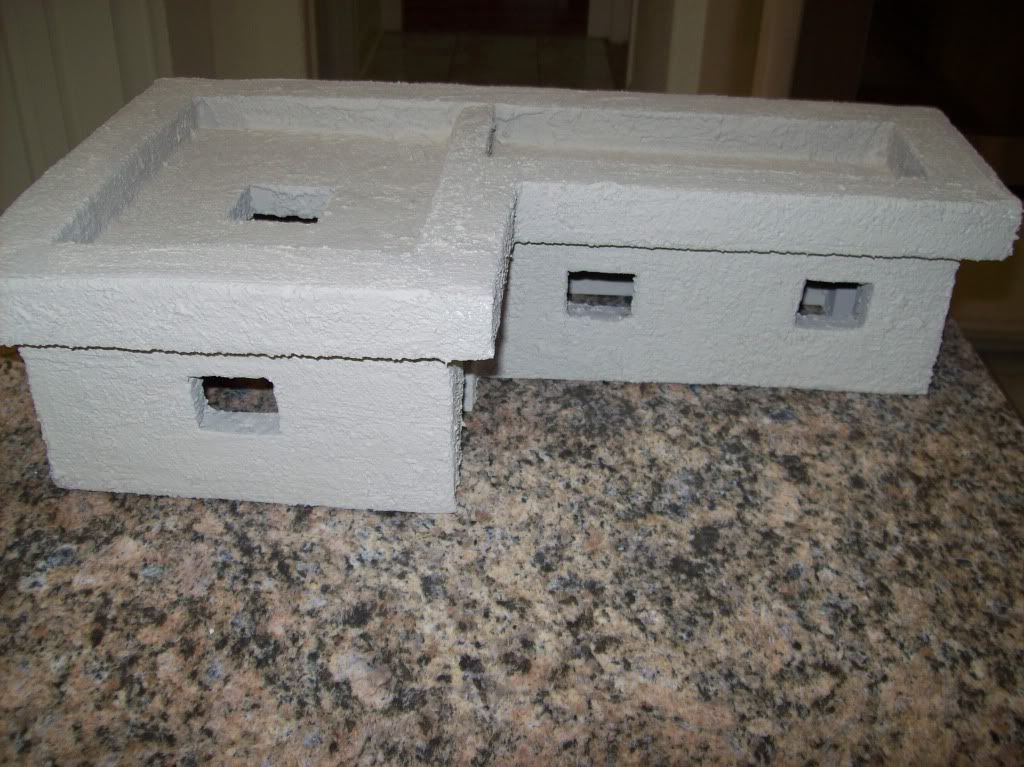
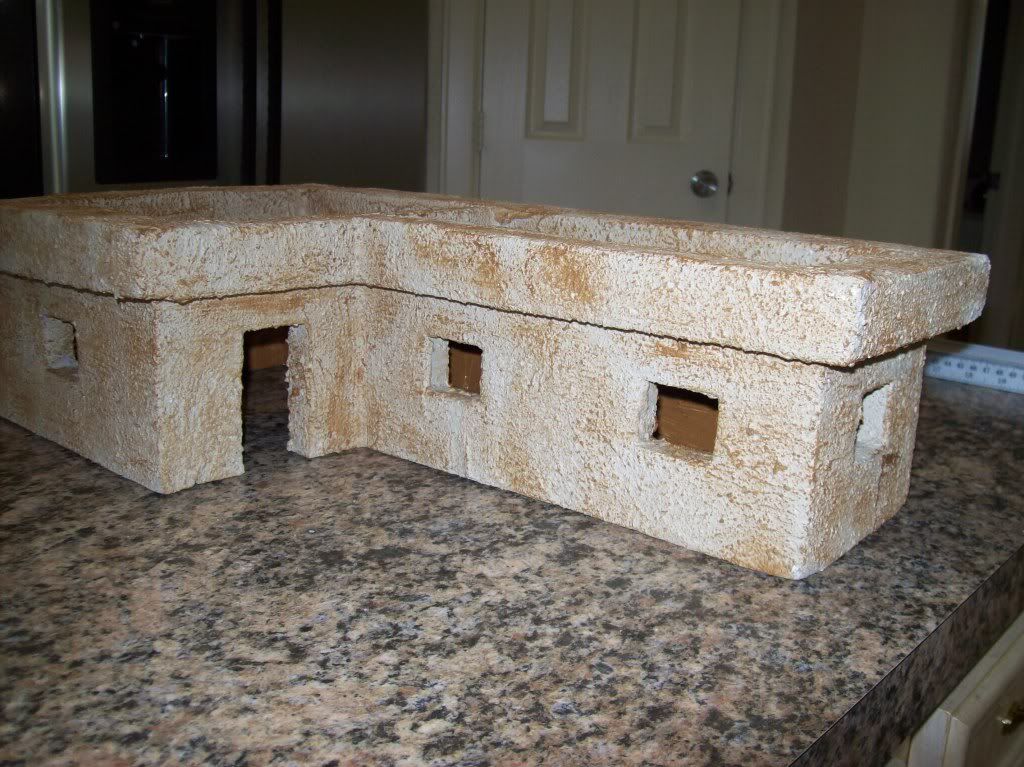
I'm having trouble with the porch...more specifically the awning...

just too weighty and bulky to add on now...poor plans...but that's how you learn I guess...

I don't feel like the structure would be strong enough for some "rough play" if the wooden porch and awning was just glued to the styrofoam...I don't think it would be a strong enough bond to stay adhered...

I feel like it would break off...eventually...:eek:...

I never wanted a base on the bottom of this structure...which would have stabilized the porch and awning plenty...I know I could have built a sturdy porch and awning if I had a base glued onto and extending from the structure to build it on...

I wanted to be able to put figures on the inside...shooting out of the windows...so no base...I wanted access to the inside...

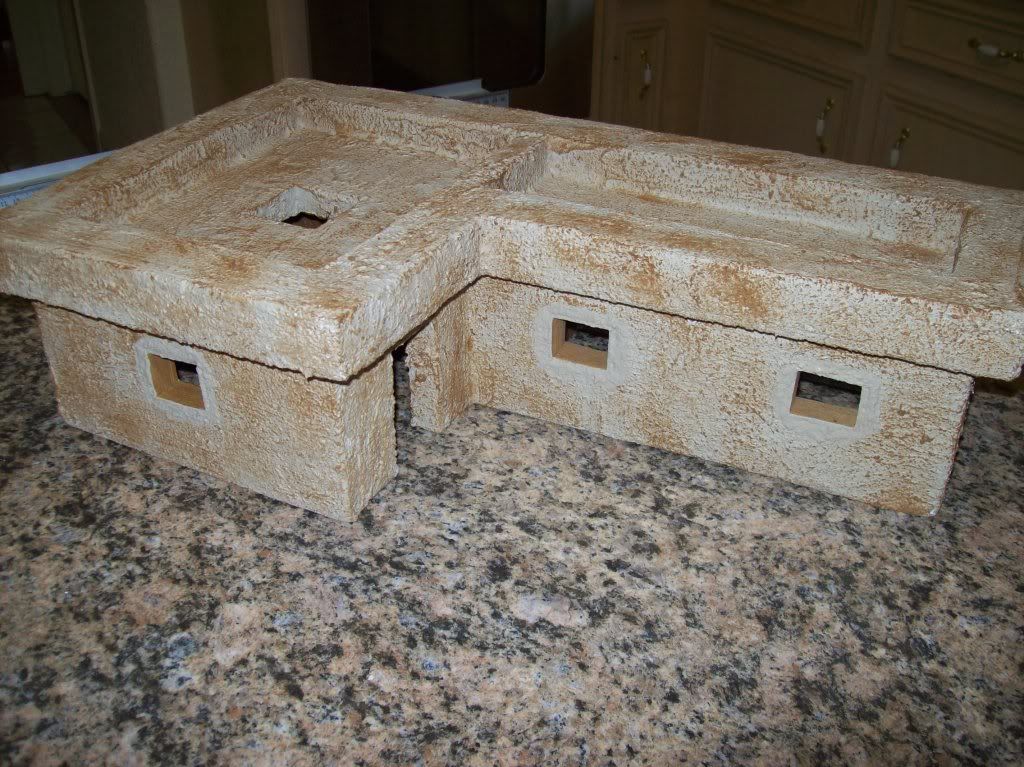
I think the only way I can make this clumsy flimsy porch and awning is to add a base to the bottom of the whole building...soooooooooooooo...

I guess I won't...

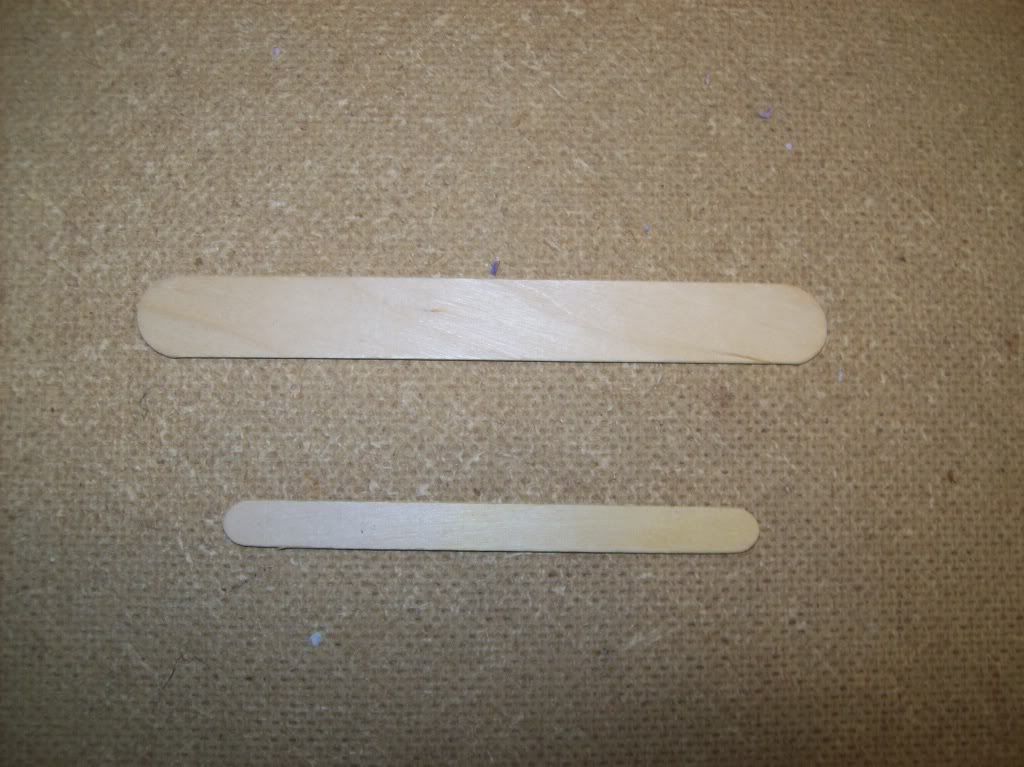
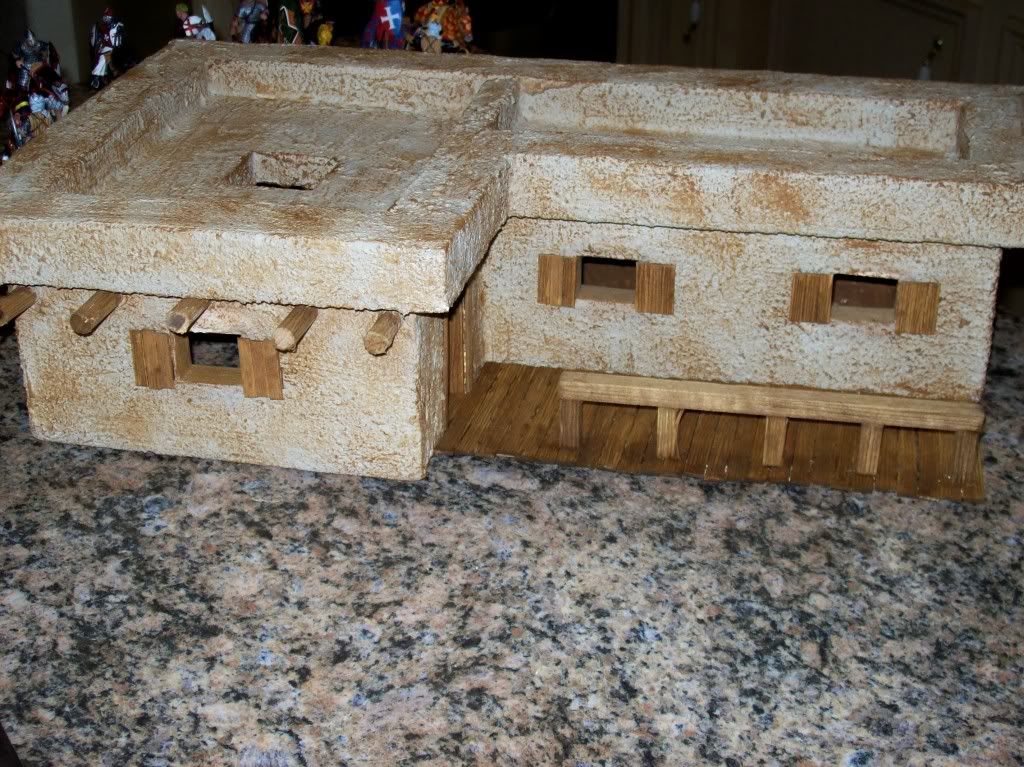
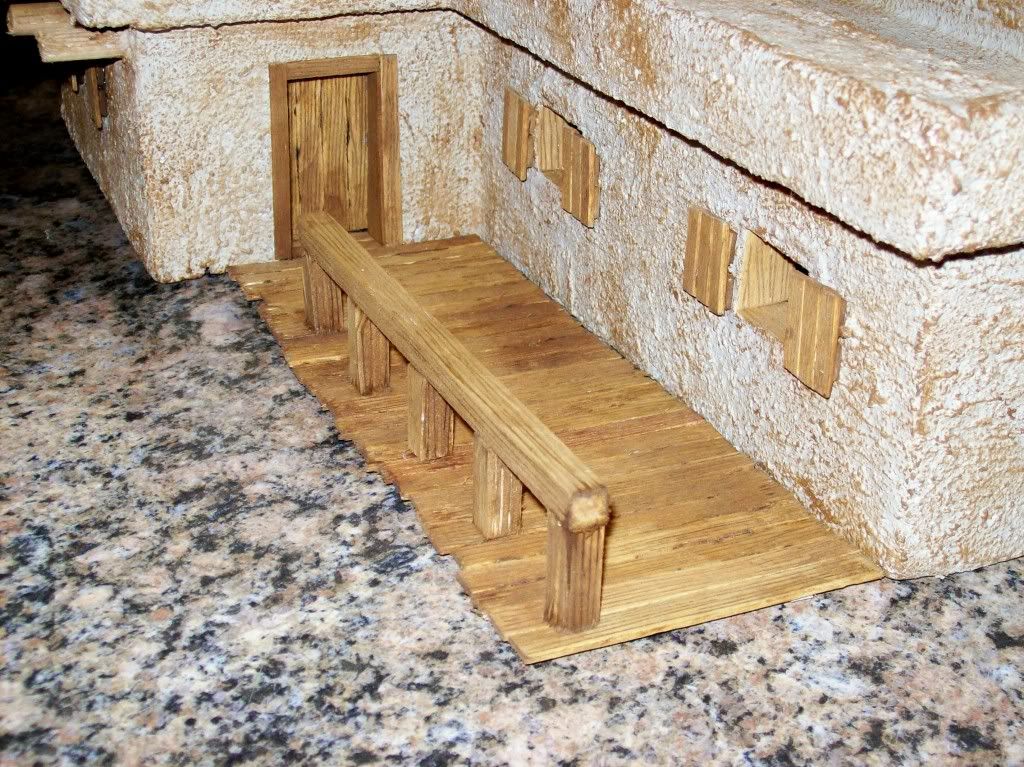
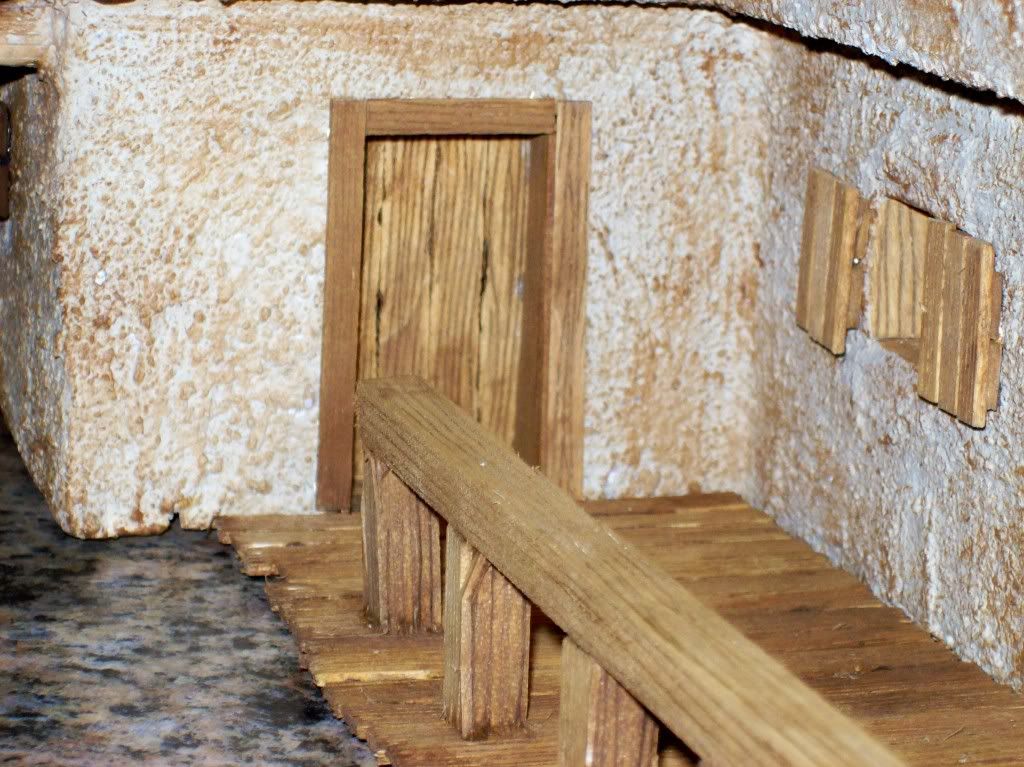
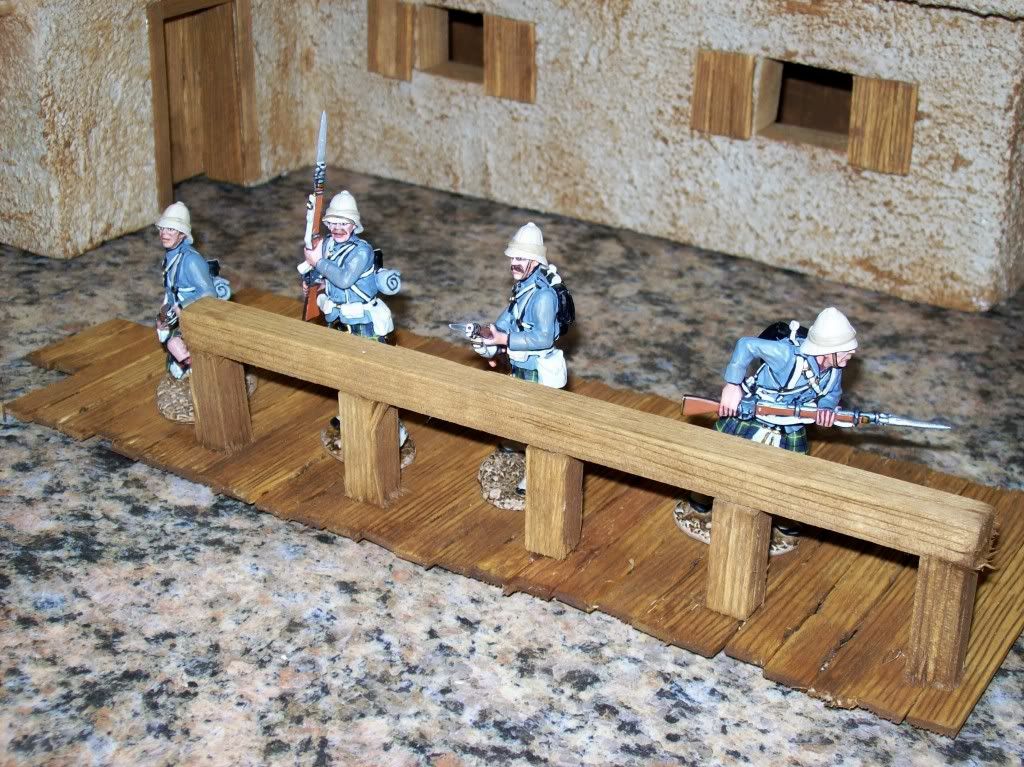
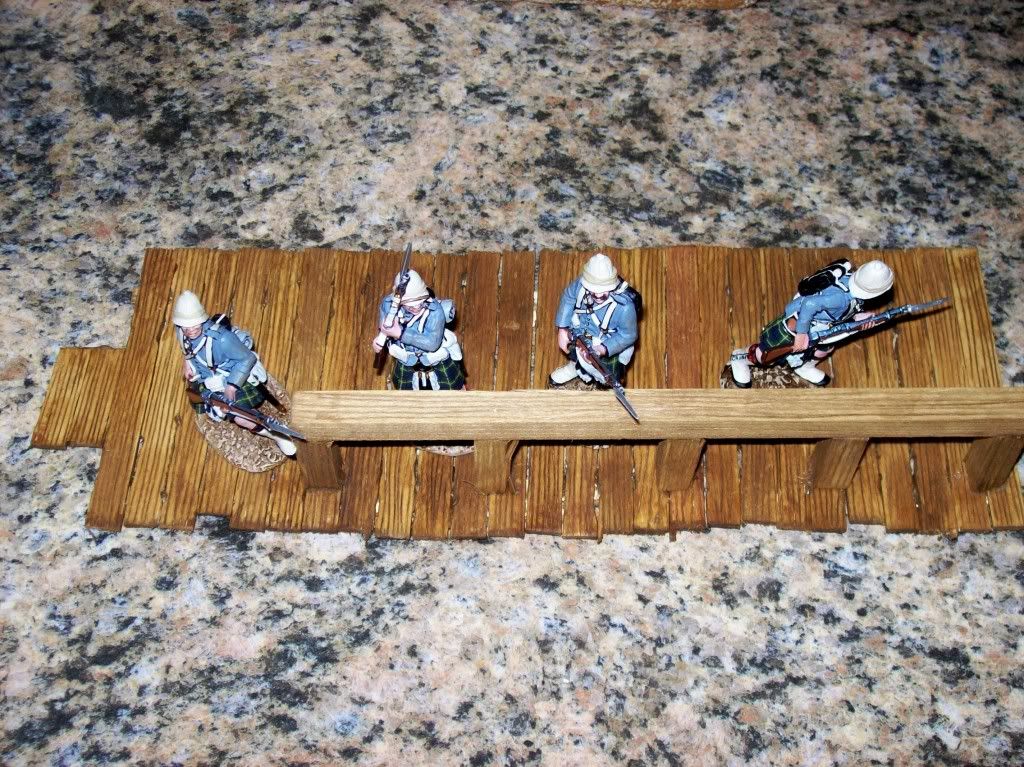
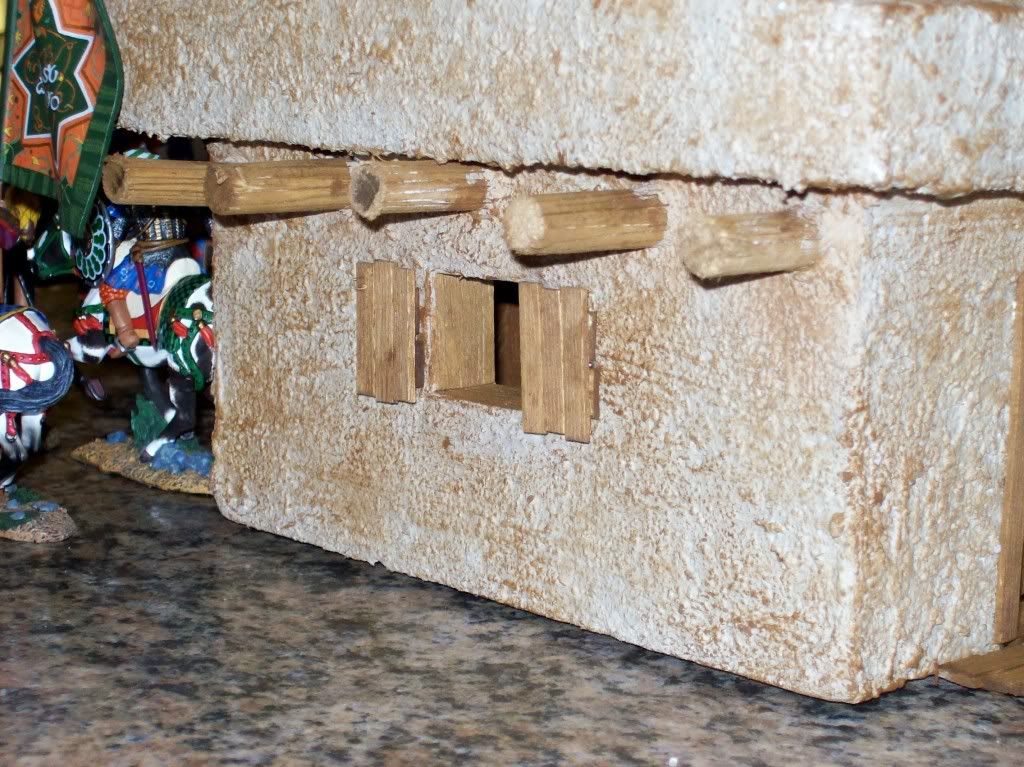
I did the door today...and the shutters on the windows...

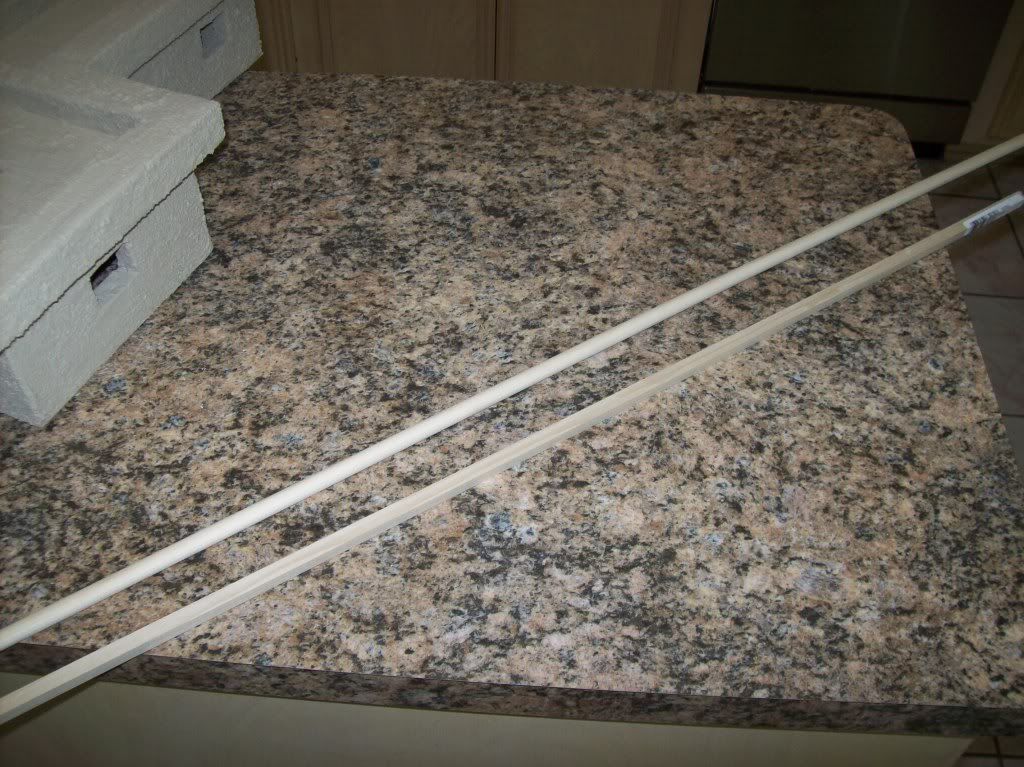
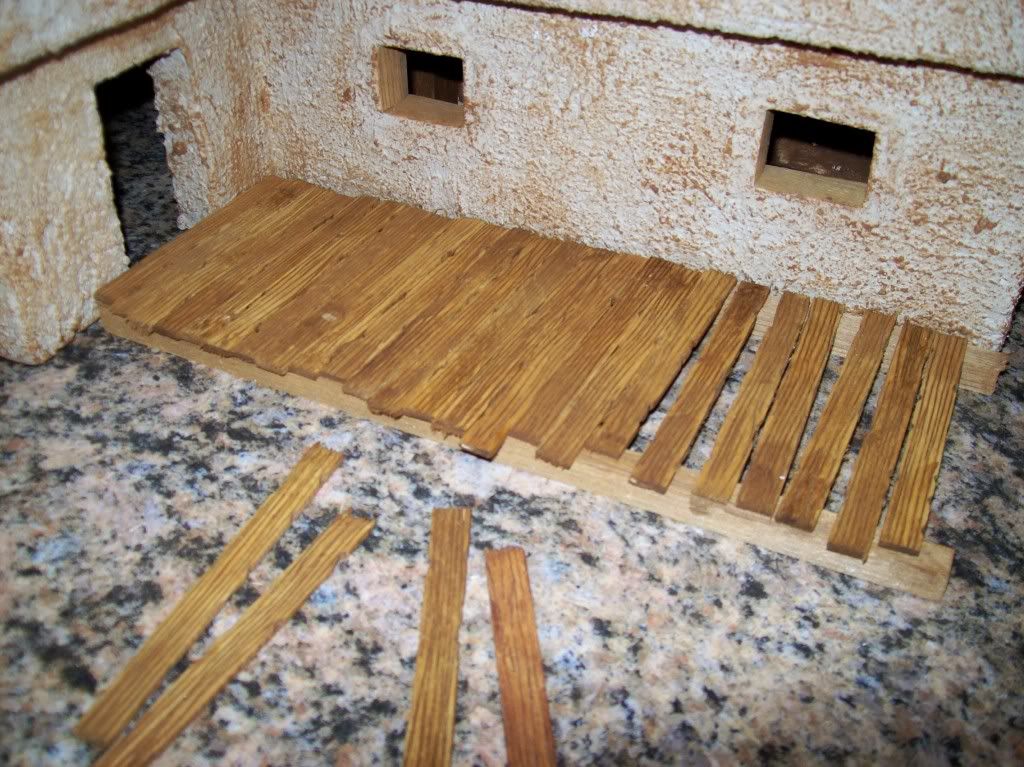
I did a small porch...but left it unattached cause I don't think I can secure it strongly enough so it won't eventually break off...

the porch just slides in and out...I can get two different looks without it being permanent...

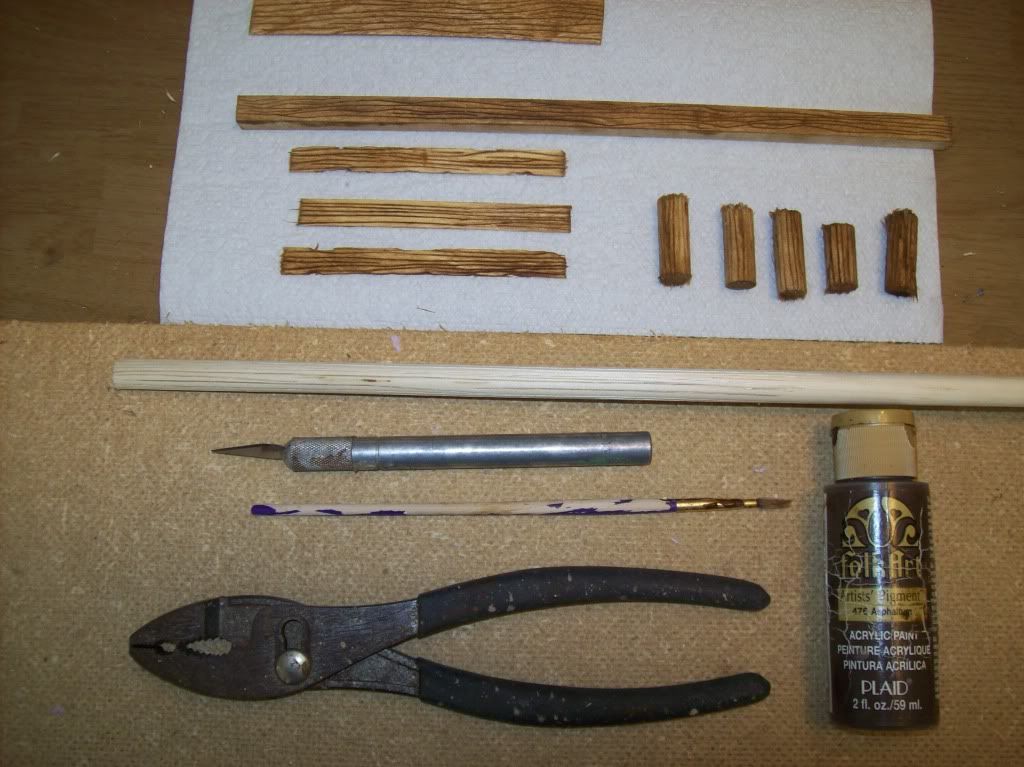
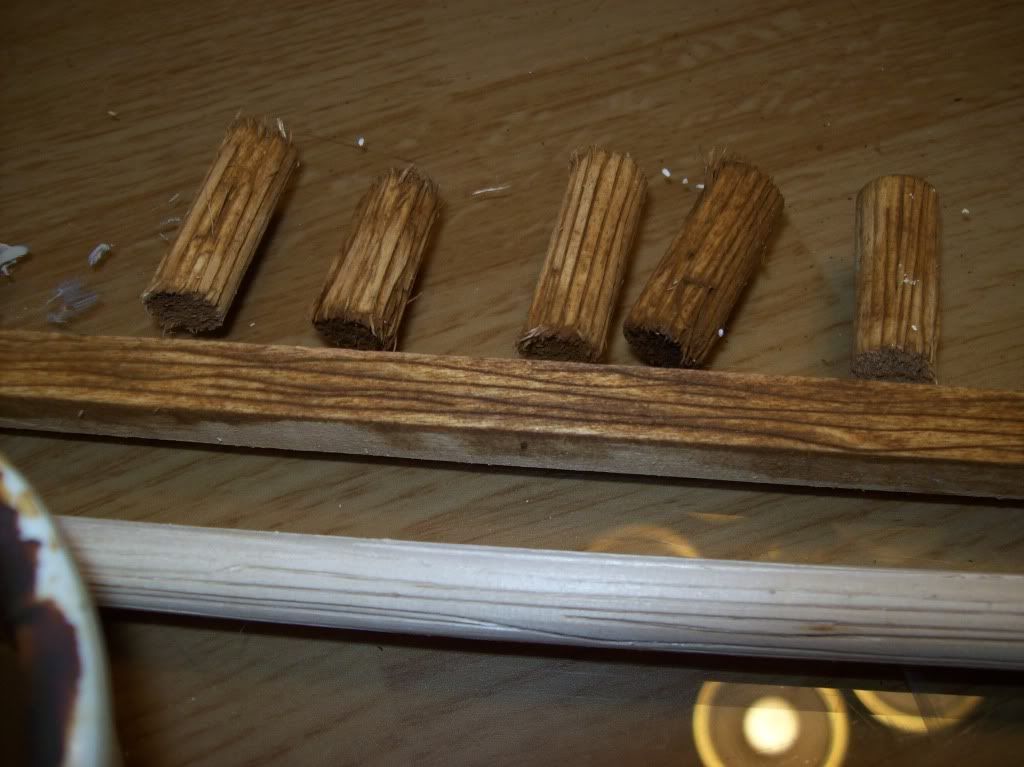
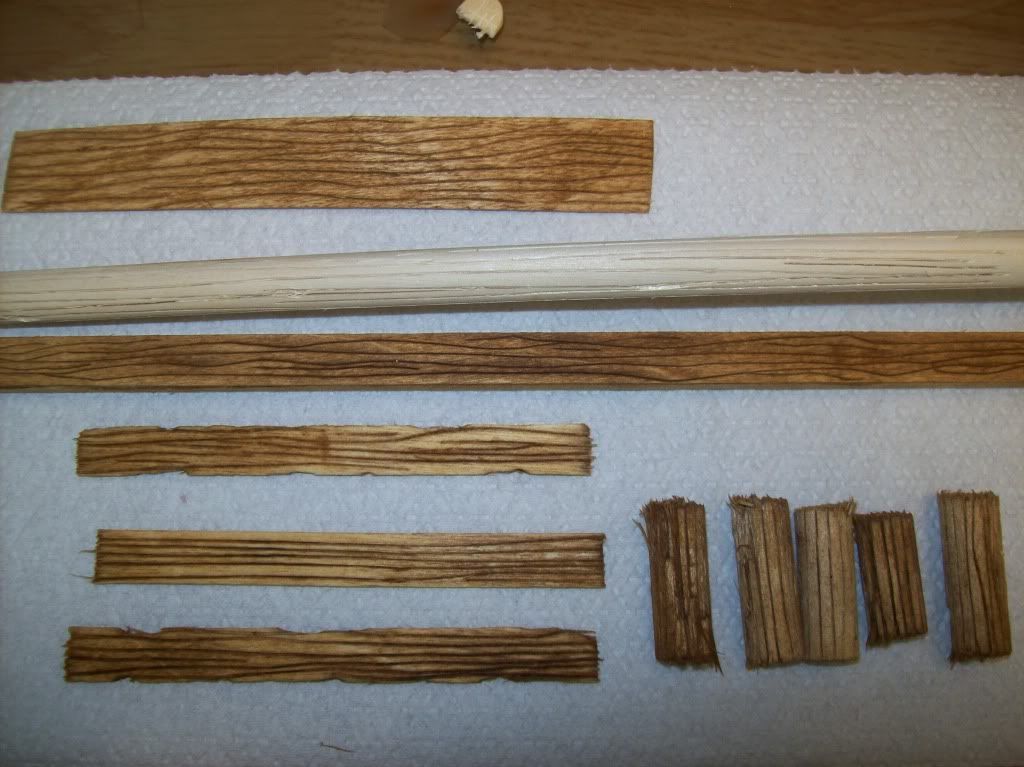
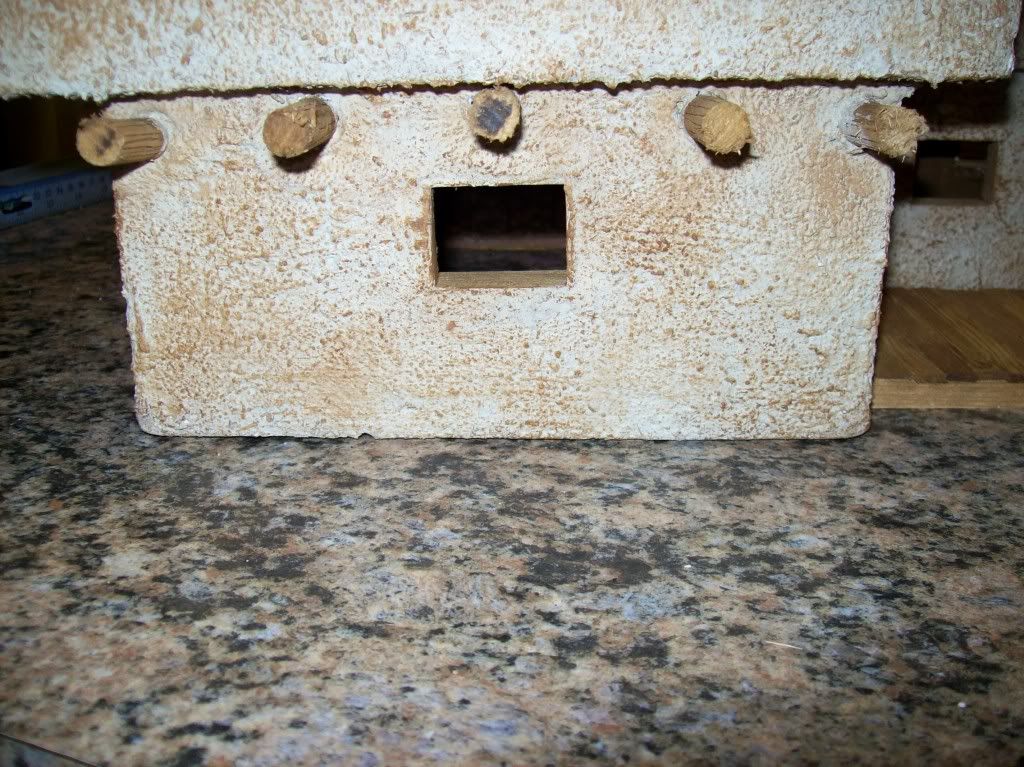
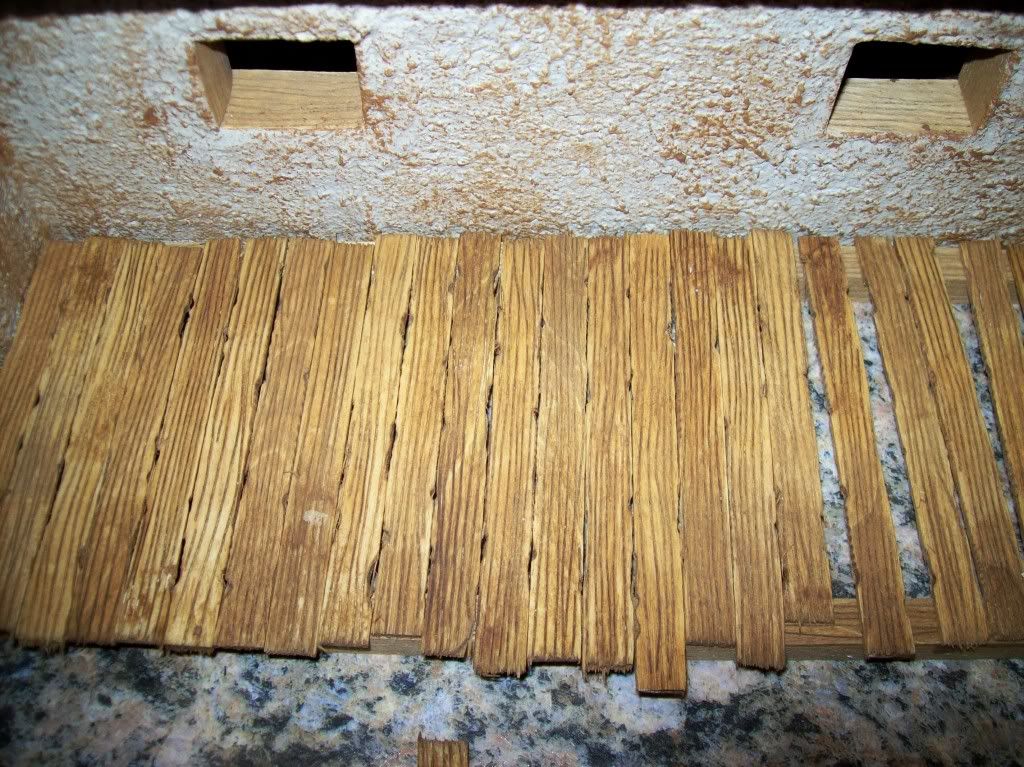
the doors, shutters and porch are made of popsickle sticks...grained the wood with an Exacto knife...painted with a dark wash...wiped them dry leaving the paint in the grain etchings...

I'm not unhappy with it really...I still have some more work to do on it...I want to put ceiling joists protruding from the building over the porch...maybe a little more woodwork on the porch...a bench...a table...I don't know yet...but I guess it's pretty much finished...

a pretty easy job and I got a one of a kind building...pretty cheap project...with a lot of material left over to do more...I learned a few things doing it...I think the second one will be a lot easier...I would like to build a small village...simple strucures...square homes mostly...they should be very easy...

these were some quick pictures...I used a flash...no props...no terrain...just a couple of figures...

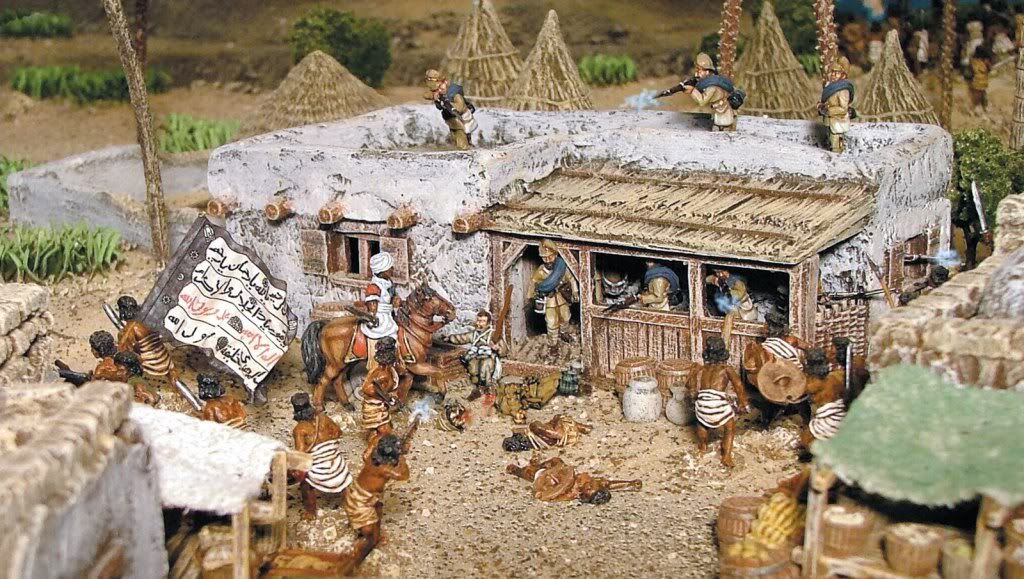
I'll finish the building up and use it in a dio next week...that's all for now...anybody who watched...I appreciate it...I hope you learned a little something and are not intimidated to try one of your own...

I asked Modwalls (Mike) to do one...if he does...you should be in for a treat...this little project would be a piece of cake for him...

101_0404.jpg


101_0405.jpg


101_0406.jpg


101_0411.jpg


101_0412.jpg


101_0410.jpg
 
Mike, this is just awesome! I've "planned" on making some foam buildings for years...even have most of the material piled up in the basement...but have never been able to rouse up the motivation to actually take on the project. There were always some little nagging problems I didn't want to strain my mind to solve. Your posts have answered most of those questions. Thanks!
Onward with the creativity!

Joe
 
Mike, it seem like you are disappointed with the result. Have you thought about having the top of the roof flush with the walls? OK, you wouldn't have a parapet on the roof but it would make the thickness of the medium less obvious imho. And you could put sandbags on the roof to provide protection for your troops in need.
 
Thanks for taking us on the SBS adventure. Looking forward to seeing what you do next as you create your Sudan village.
 
Mike, it seem like you are disappointed with the result. Have you thought about having the top of the roof flush with the walls? OK, you wouldn't have a parapet on the roof but it would make the thickness of the medium less obvious imho. And you could put sandbags on the roof to provide protection for your troops in need.

Thank you Joe...thank you Scott...

Matt...I'm a little disappointed I didn't figure out a way to include the awning after I jumped in...my plans were good to start with...I just deleted the idea of a base and then I had no support for the porch...

I really did cut a base for the whole thing to start...look at the picture below...I just decided to leave access to the interior so I could place soldiers on the inside...but I will use this building...I'm not throwing it away...


101_0416.jpg


I liked the style of the roof on the building Simon did some time age...big inspiration for me...that's why I chose the parapet...

desert027.jpg


but I also like these and intend to make several more...

Touching-History-Sudan-models-for-sale.jpg


now that I have an idea what will work...I know I can make these in one day...these are simple...4 straight walls and a roof...you can build the simple structure in 5 minutes with a hot glue gun...

On the next one...

I probably won't frame out the inside of the windows with wood...leaving it with just stucco instead of wood...

I will add the timbers sunk into the walls above the doors and windows like in the last picture above...

I will crumble or age spots on the brick and on the roof and corners to give it some character...

I will try a "plaster" finish...like in the last photo...with the Durham's putty instead of a stucco finish...

maybe two or three coats of the putty with different paint added to each to give it a refinished look...

I'm gonna try and carve some exposed bricks and plaster around them...like Simon did in his thread...

I know I'm going to do a roof with a worship round dome on it...just a ball of styrofoam cut in half and textured...

12.jpg


I got lots of ideas...

now that I know how easy they are...I will make some more...

I'm not that disappointed...I can use this building...it looks good enought to use...I'm pretty upkey about the whole project...I learned a lot...

I don't think I will be buying anymore Middle Eastern style structures...I'm sure I can make my own now...
 
I have never built any similar building but looking at the other pics it seems a parapet is a must have.

An easy fix for your next build would be to glue the roof in say One inch below wall level which would give you a parapet as depicted in some of the pics you posted.

With your present building you could glue the roof of a porch under the eaves.
 
That building is excellent Michael and this whole thread has almost tempted me to have a go:D

Cheers

Martyn:)
 
I have never built any similar building but looking at the other pics it seems a parapet is a must have.

An easy fix for your next build would be to glue the roof in say One inch below wall level which would give you a parapet as depicted in some of the pics you posted.

With your present building you could glue the roof of a porch under the eaves.

Thank you Matryn...

Matt...you're right...that's exactly how I planned the next building...a simple solution...
 

Users who are viewing this thread

Back
Top