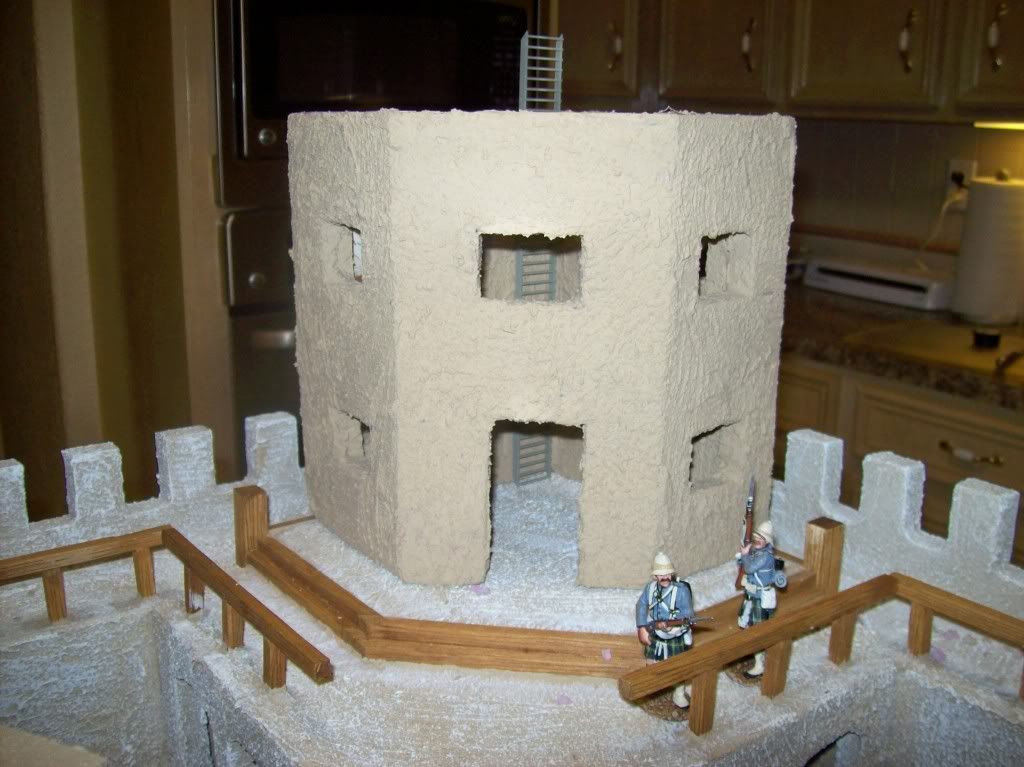
Foam Desert Fort... (1 Viewer)

So one question-what company are you using to populate this work of art? I don't know of any F.F.L. in MATT, but it would sure look very good with a more "realistic" style of figure. Also, can you place figures inside the buildings? If so, how do you do that? Be sure to post pics!
 
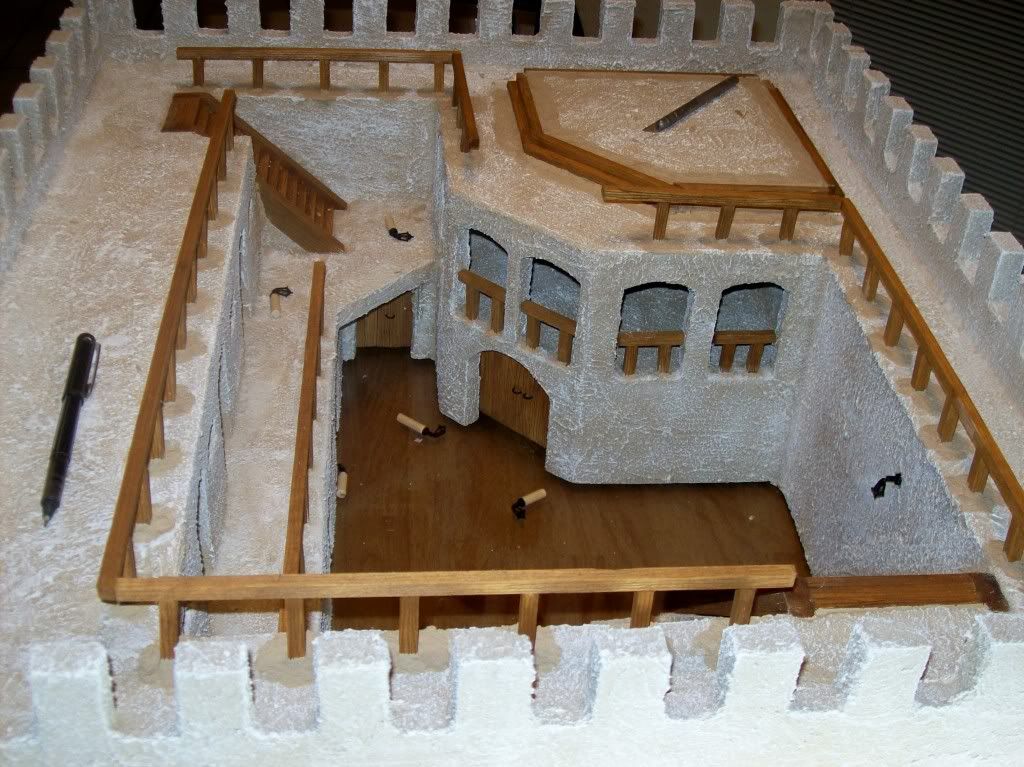
That courtyard will be big enough for roll call, most of the Forts defenders will be on the walk way dealing with the Dervish:cool:

Enjoy your golf, I've just seen our weather for the coming week and there is a threat of snow:eek:

Cheers

Martyn:)

Well...the Olympic size pool is now out of the question...still considering a bocce ball court....hehehe...SNOW????...in October????

Mike..this is the first I have seen the progress since you began...looking really great!! Congrats!

Thanks Nick...

So one question-what company are you using to populate this work of art? I don't know of any F.F.L. in MATT, but it would sure look very good with a more "realistic" style of figure. Also, can you place figures inside the buildings? If so, how do you do that? Be sure to post pics!

I'm using JJD Nile/Sudan Gordons to defend...JJD/Brit Mahdist and FW's to attack...I know it's not historically correct...I qualified that in my first post for those annoying "rivet counters"...

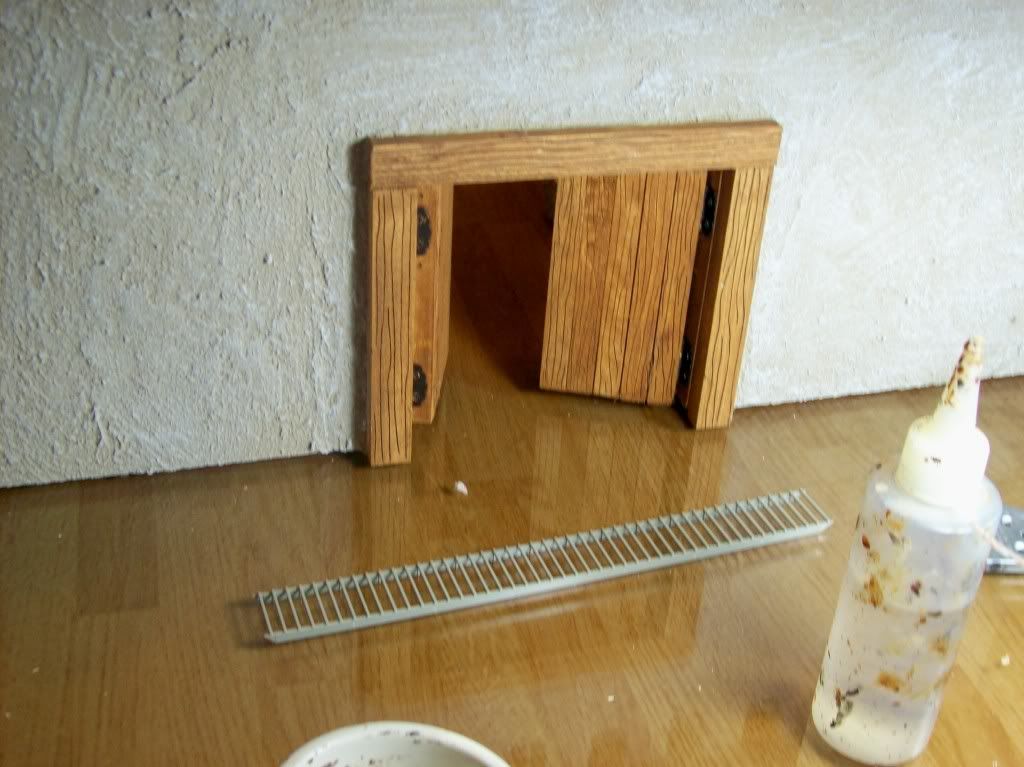
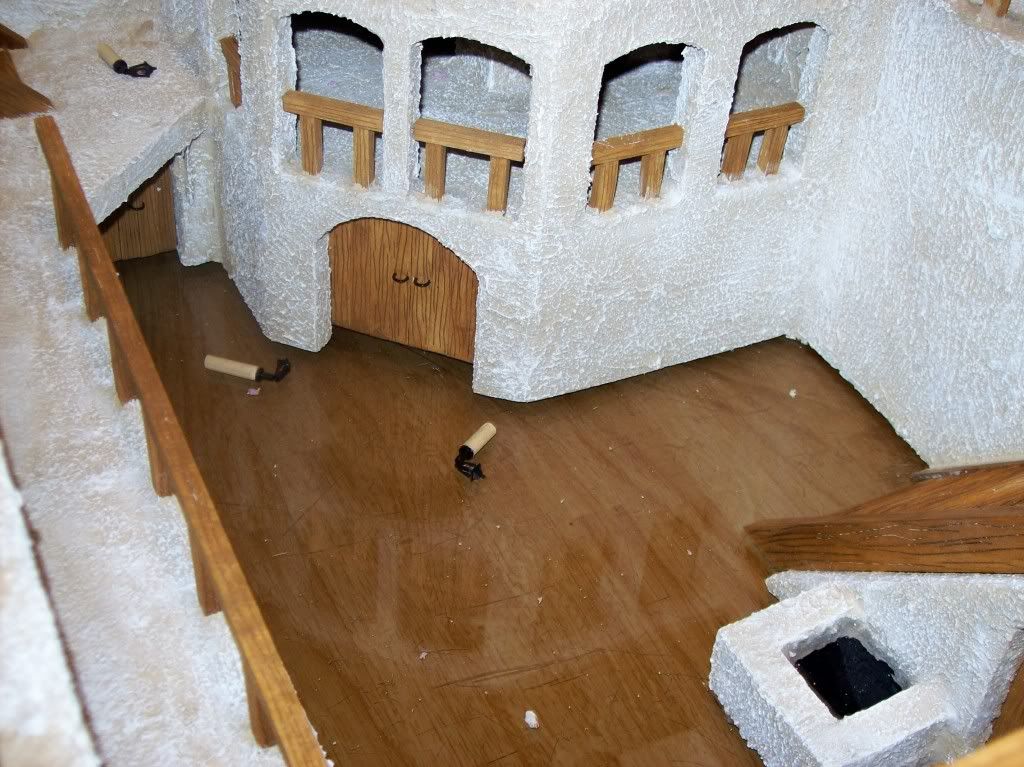
all the interior structures are shut tight...the doors don't open...but I have access to the rooms via the underside...so I can place figures inside the rooms shooting out the windows if the fort gets over run...
 
Your fort looks great.

Here is a link to the fort I built for my 25mm figures.
http://www.matakishi.com/foreignlegionfort.htm

Walt
Walt....


your fort is awesome...

I read about all the techniques you used...brilliant ideas...

very creative how you patched in the Precision Products Egyptian brick patterns...I wish I had thought of that before I did mine...I think it's a great touch to add to the age of the fort...

you look to be as good of a painter as your Dad is a wood worker...both of you being very talented...

I can see how he spent a month building it...he added a lot of detail...as did you on your dry brushings and antiquing methods...


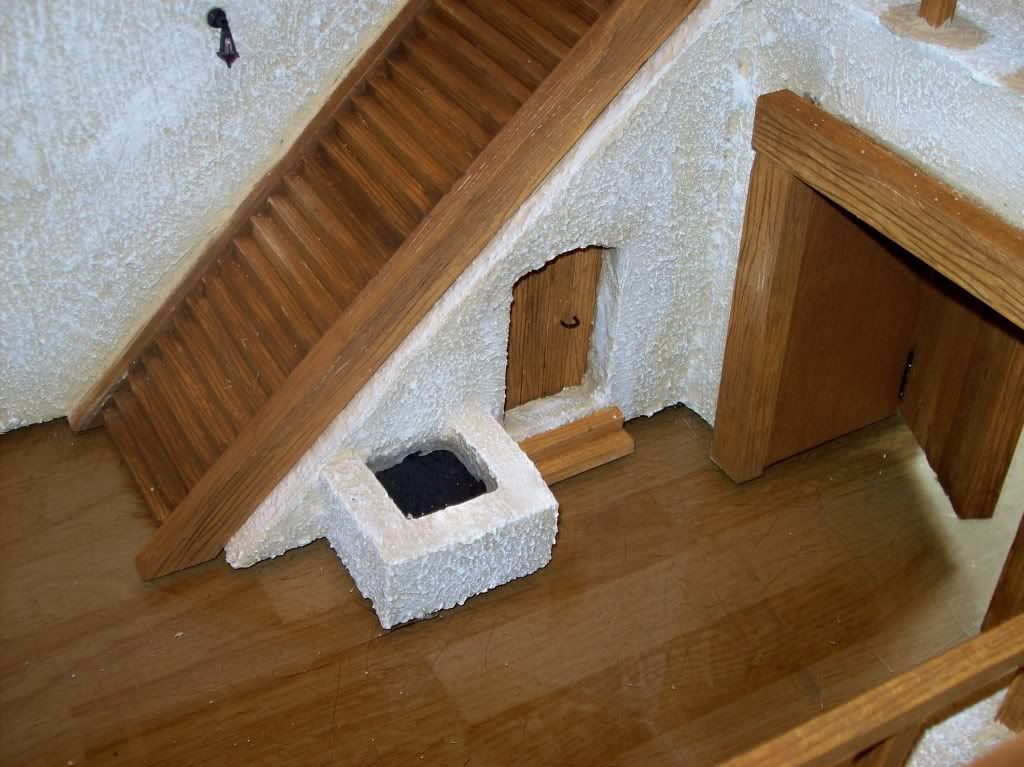
I considered the Ready Patch spackling...but went with a product called Stucco Patch...it required no tape to stick the compound to...as it adheres well to both wood or foam board (which I used)...

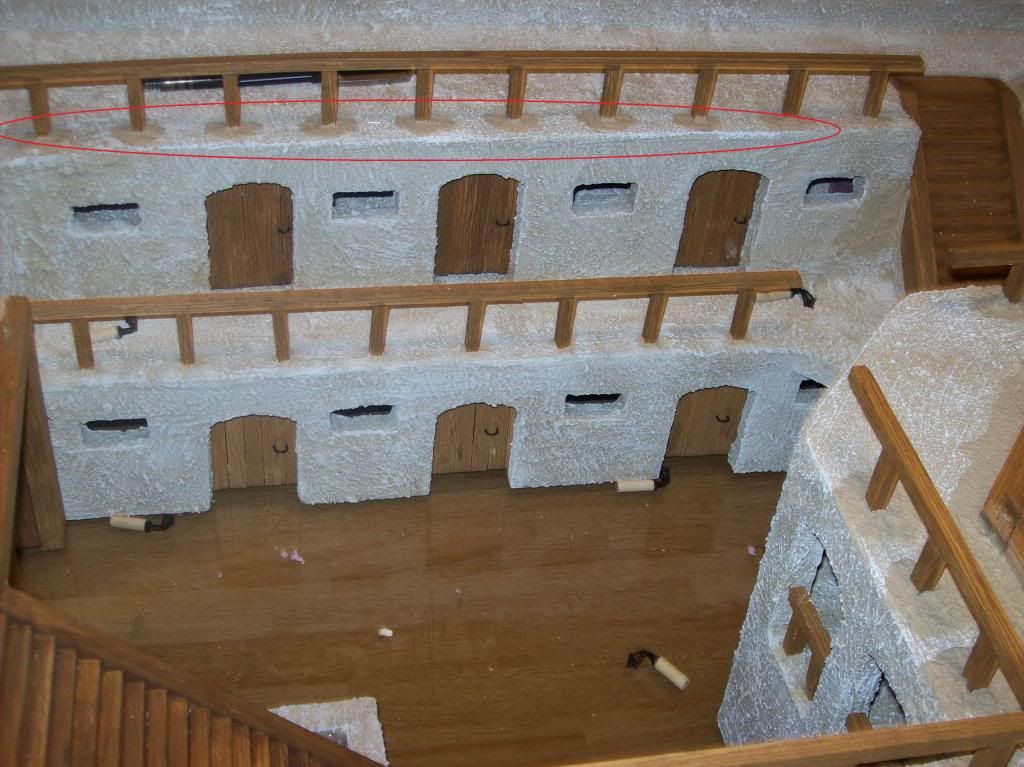
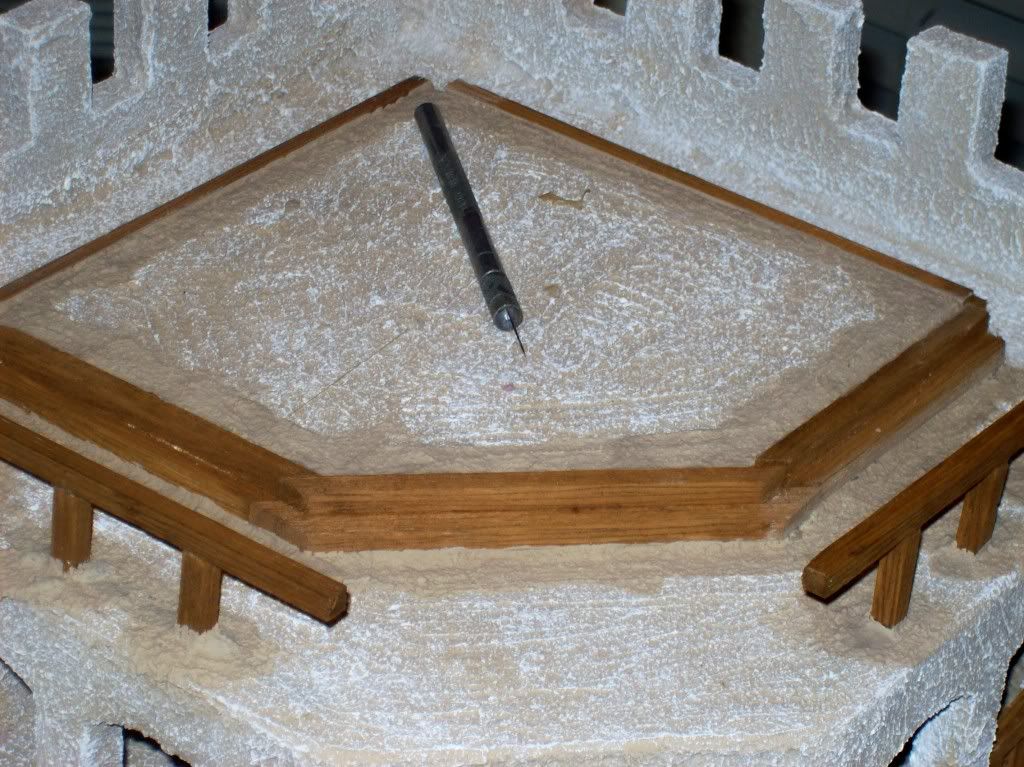
one big set back I'm having ...is every time I add some wood stuck in the fort...I have to re-patch the stucco around it and the re-dry brush it...see picture with the red markings on it...

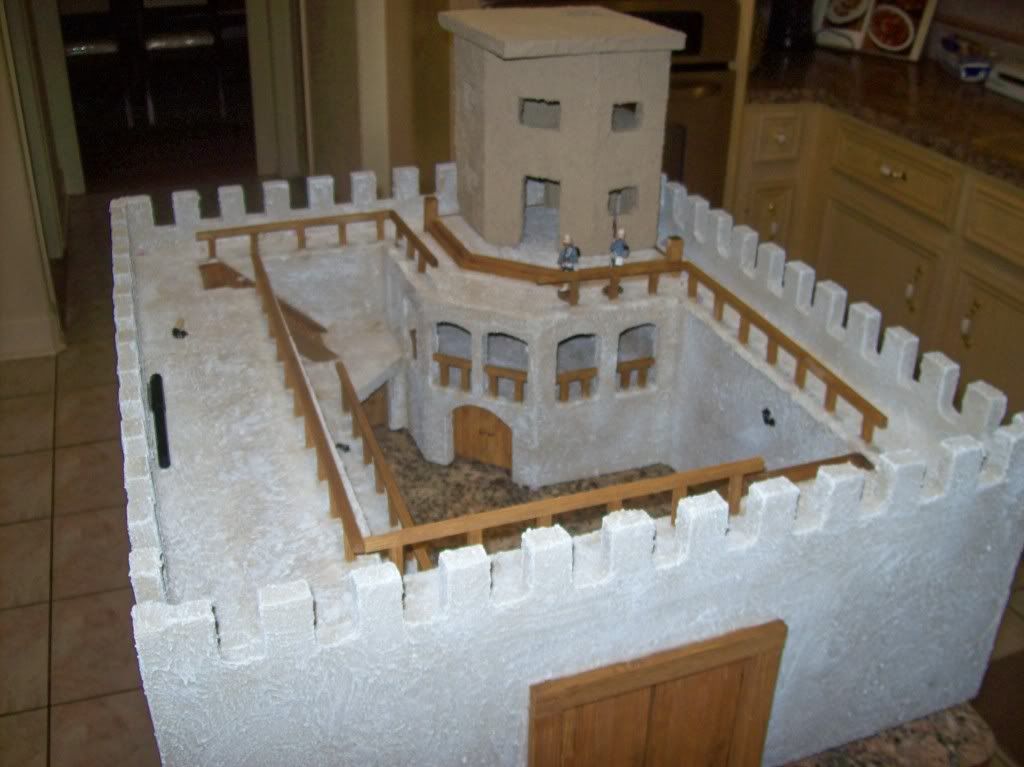
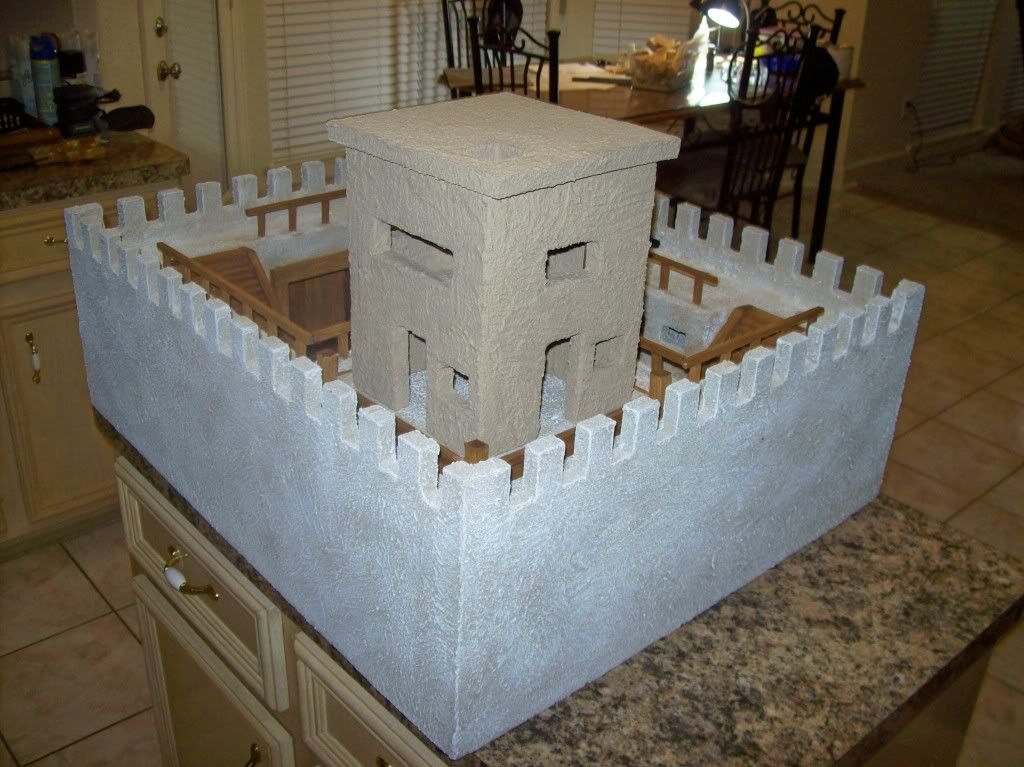
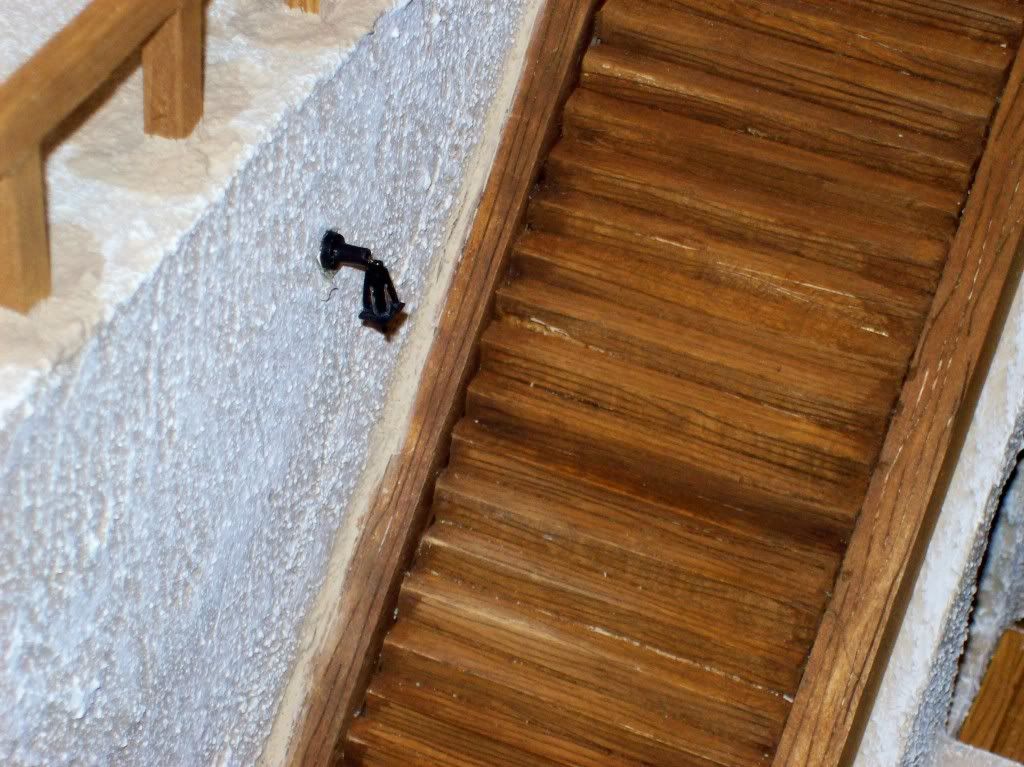
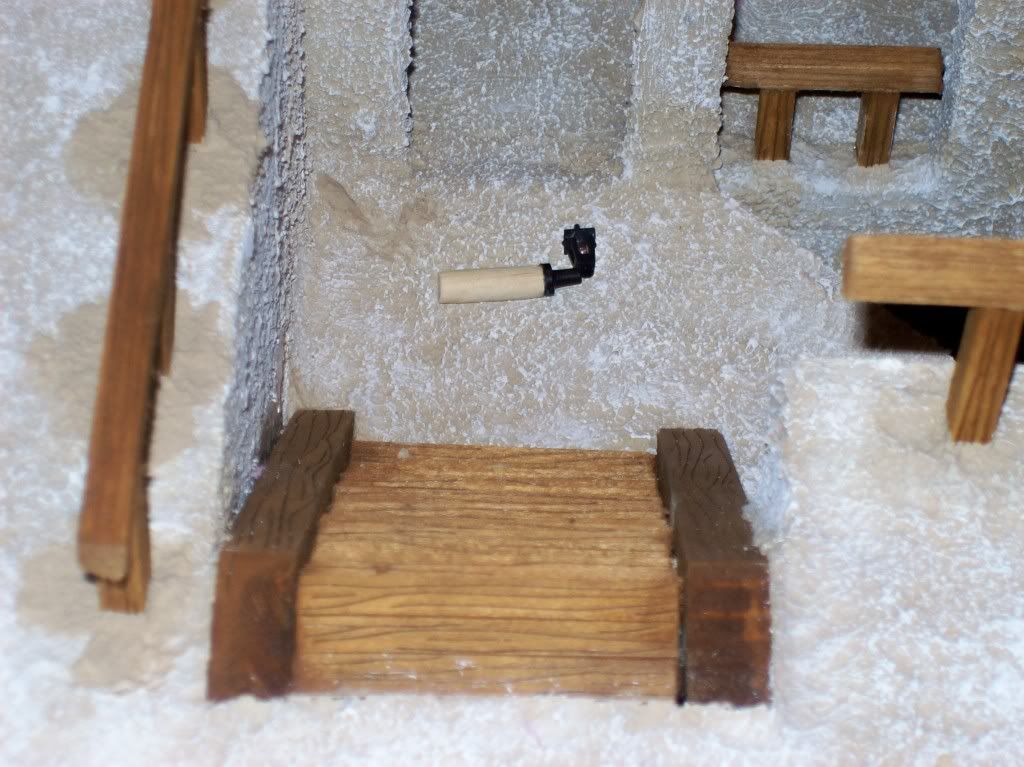
all I have left is to build the tower in the flat platform...dry brush the new stucco spots...add a bar to lock the front gates...install the small lamps and then do a final weathering...

I may ask Ken Osen for some tips on weathering the fort...

anyway...thanks for the link...your fort is really cool...here's some pictures of the last bit of work I have done...do you have any more pics of your fort I can see...I wanna steal some ideas...hehehe....

101_1205.jpg


101_1206.jpg


101_1207.jpg


101_1208.jpg


101_1209.jpg


101_1210.jpg


101_1211.jpg


101_1212.jpg
 
Nicely done Sir Michael looking forward to your next batch of photos and seeing it manned an defended.......Papa Z


Walt....


your fort is awesome...

I read about all the techniques you used...brilliant ideas...

very creative how you patched in the Precision Products Egyptian brick patterns...I wish I had thought of that before I did mine...I think it's a great touch to add to the age of the fort...

you look to be as good of a painter as your Dad is a wood worker...both of you being very talented...

I can see how he spent a month building it...he added a lot of detail...as did you on your dry brushings and antiquing methods...


I considered the Ready Patch spackling...but went with a product called Stucco Patch...it required no tape to stick the compound to...as it adheres well to both wood or foam board (which I used)...

one big set back I'm having ...is every time I add some wood stuck in the fort...I have to re-patch the stucco around it and the re-dry brush it...see picture with the red markings on it...

all I have left is to build the tower in the flat platform...dry brush the new stucco spots...add a bar to lock the front gates...install the small lamps and then do a final weathering...

I may ask Ken Osen for some tips on weathering the fort...

anyway...thanks for the link...your fort is really cool...here's some pictures of the last bit of work I have done...do you have any more pics of your fort I can see...I wanna steal some ideas...hehehe....
101_1205.jpg


101_1206.jpg


101_1207.jpg


101_1208.jpg


101_1209.jpg


101_1210.jpg


101_1211.jpg


101_1212.jpg
 
its an incredible piece of work. A free masterclass.
Mitch
 
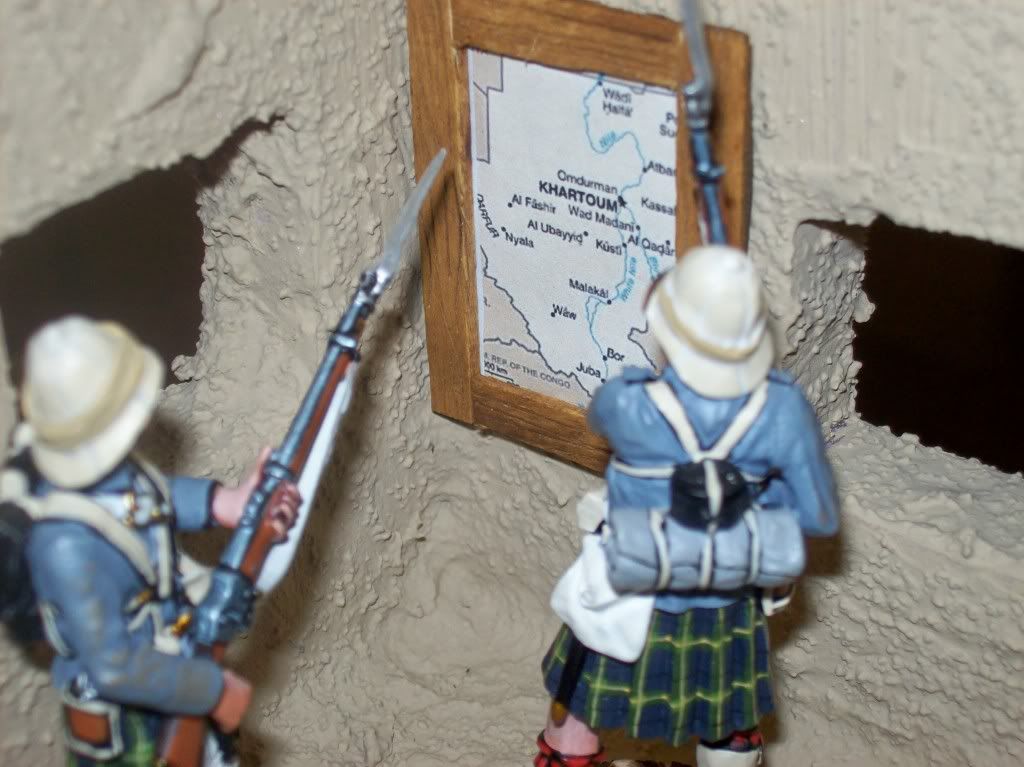
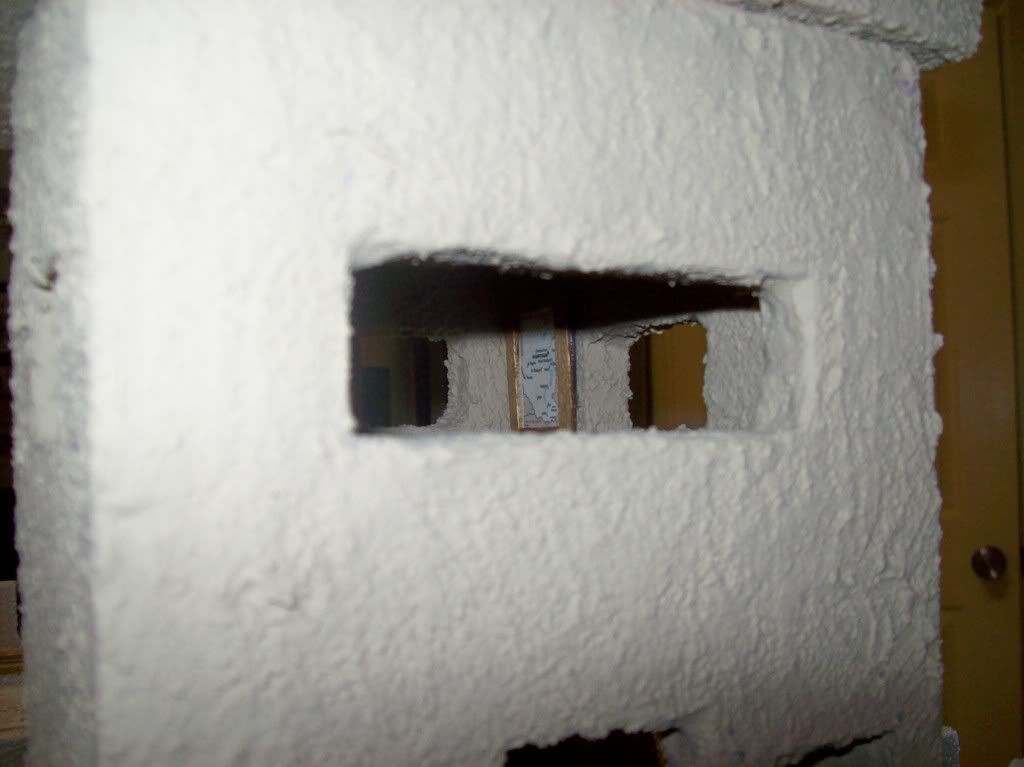
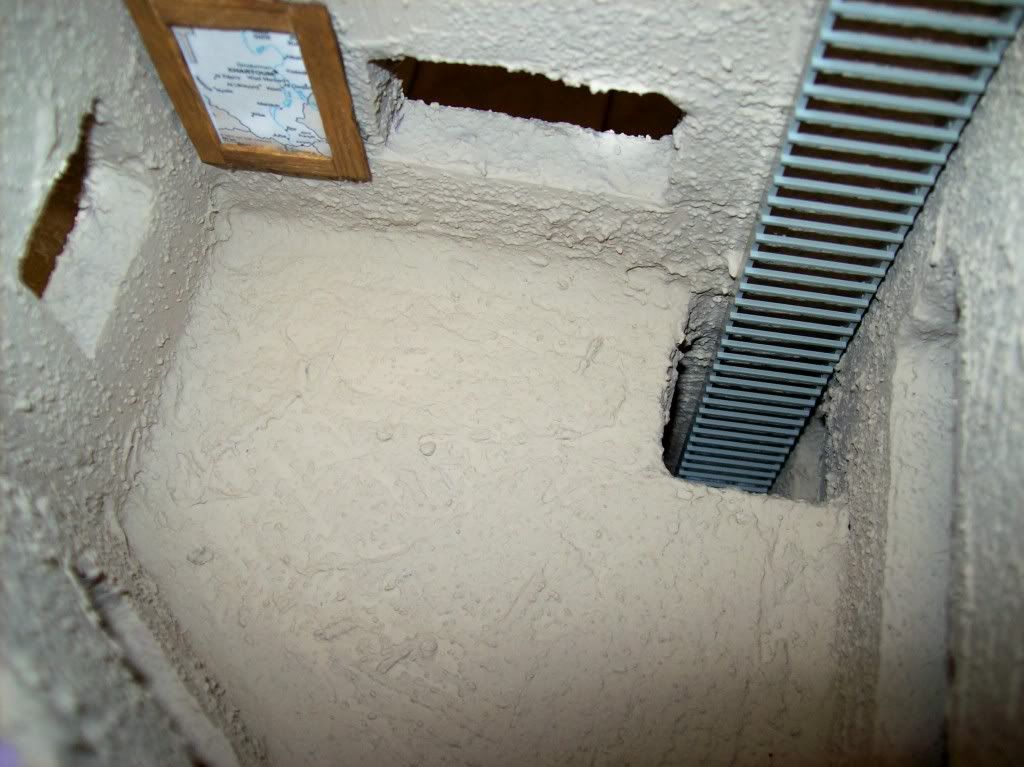
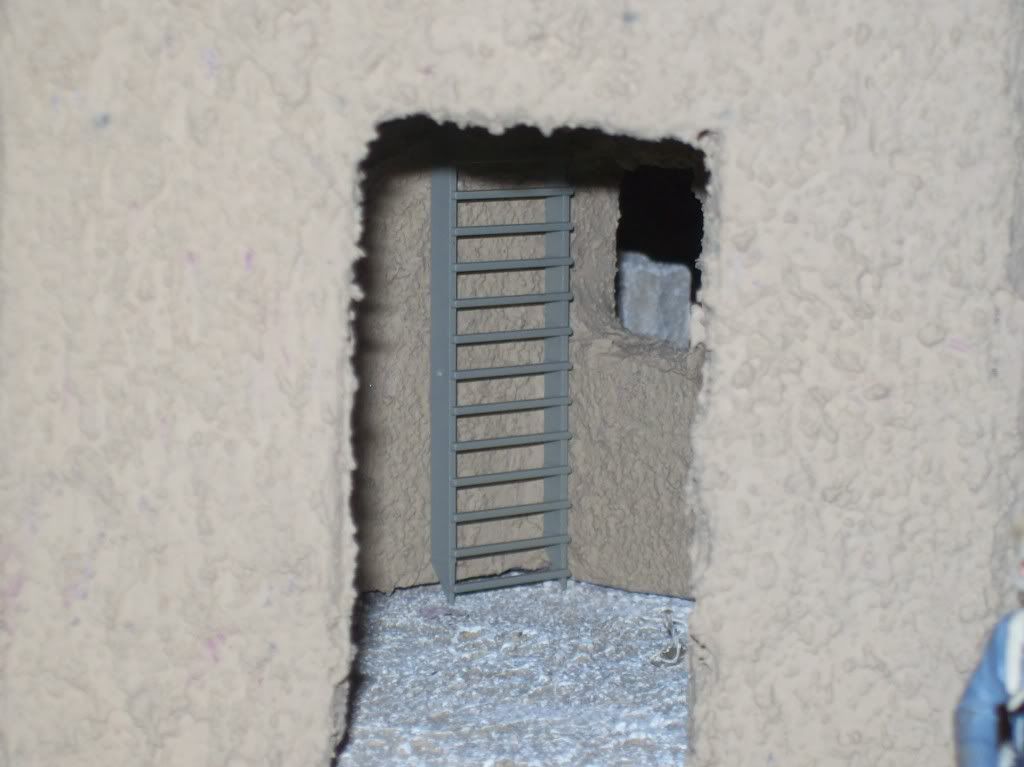
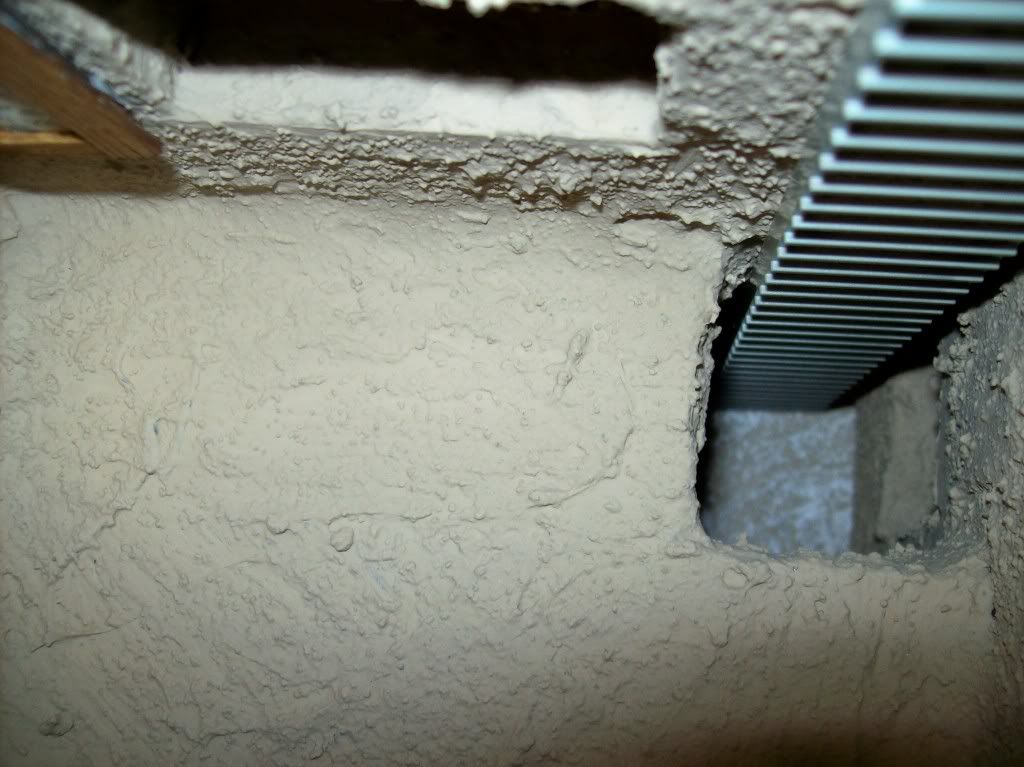
I gotta get back to work on this thing...I have really been lazy...I hate my lookout tower...I feel like scrapping it and starting over...I do like the little map I made...it has potential...I scanned and reduced about a dozen images...maps...Queen Victoria...etc...I will make a few maps to hang on the walls...the clarity on the reduction is unreal good...

modern technology...:rolleyes:

I hope the ladder will look a lot better painted...hehehe...I don't think it would look any worse...

101_1346.jpg


101_1351.jpg


101_1352.jpg


101_1354.jpg


101_1355.jpg


101_1356.jpg


101_1358.jpg


101_1360.jpg
 
I have 3 sets of the GDH-04's ordered for this month...I promise I will have it finished before the UPS truck comes...


I hope....:rolleyes:
 
I have 3 sets of the GDH-04's ordered for this month...I promise I will have it finished before the UPS truck comes...

I hope....:rolleyes:

Bet you do Michael

Love the wall map, great idea that may be borrowed;)

Cheers

Martyn:)
 
The map on the wall is very clever and looks great. I'm enjoying watching your progress on the fort.
 
Michael:

This is looking fantastic...I can't get over how well the map came out! Although those two guys look as if they have no clue where they are. Did the one on the left just say "I think we were supposed to take a left at Albuquerque"?!

Next I want to see the photo of HRM Queen Vic!
 
Michael:

This is looking fantastic...I can't get over how well the map came out! Although those two guys look as if they have no clue where they are. Did the one on the left just say "I think we were supposed to take a left at Albuquerque"?!

Next I want to see the photo of HRM Queen Vic!

I sent you that photo...

she was a very scary woman...we're waiting for Halloween...it would be more appropriate...
 
I say leave it Michael, the lookout tower is good !! real good !!

I also like the "ladder" it's great when you can use one thing for another purpose.
 
I say leave it Michael, the lookout tower is good !! real good !!

I also like the "ladder" it's great when you can use one thing for another purpose.

Scott..that ladder is actually a "roof rafter" from Hansa Systems...I think it will make a nice ladder with a little work...the scale might be a little small...but it's a very nice piece and should look okay once painted and weathered a little...

http://www.hansasystemsusa.com/products.htm#roofrafters


scan0004.jpg
 
Looks great the tower looks fine but, its down to how you feel at the time whether it stays or goes. The map is a great idea and just adds those extra little details that make a model building into a masterpiece.
Mitch
 
Scott..that ladder is actually a "roof rafter" from Hansa Systems...I think it will make a nice ladder with a little work...the scale might be a little small...but it's a very nice piece and should look okay once painted and weathered a little...

http://www.hansasystemsusa.com/products.htm#roofrafters


scan0004.jpg

:D yes I did notice that Mike, I think their stuff is 1:35 but as you say once painted and weathered it won't make much of a difference and inside the watch tower is perfect for the job.

I found some neat little "pots" the other day made of wood I bought then and gave them a lick of terracotta paint, I will post some pics in a few days as I left my camera at a friends house who lives in another city about 1 hour away :(
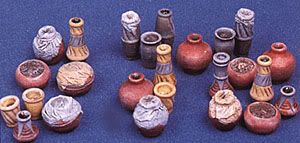

I would really like to see your pots...I bought some from Squadron...

http://www.squadron.com/ItemDetails.asp?item=CD0335

CD0335.jpg


funny story...

I talked to a woman named Mackie on the phone...

she said they were discontinued...long ago...completely sold out...apologized and that was it...

she called me an hour later and said she would get them to make a "run" on them...asked me if tomorrow would be fast enough...

hahahaha...for real...:D

true to her word...I own them now...nice story huh?

you won't see that happening too often...

That certainly was a nice gesture on their behalf for sure. I'll get the pics up as soon as possible. I feel lost without my camera LOL.
 

Users who are viewing this thread

Back
Top